Indexing job
The content indexing jobs:
- assign the default index zone(s) to the files, emails, Teams messages, and Teams chat messages of the selected entities
- use Elasticsearch as the back end server (a third-party index server) to manage and store indexes and perform searches
- crawl Backup Administration and send document text and metadata to the Elasticsearch server
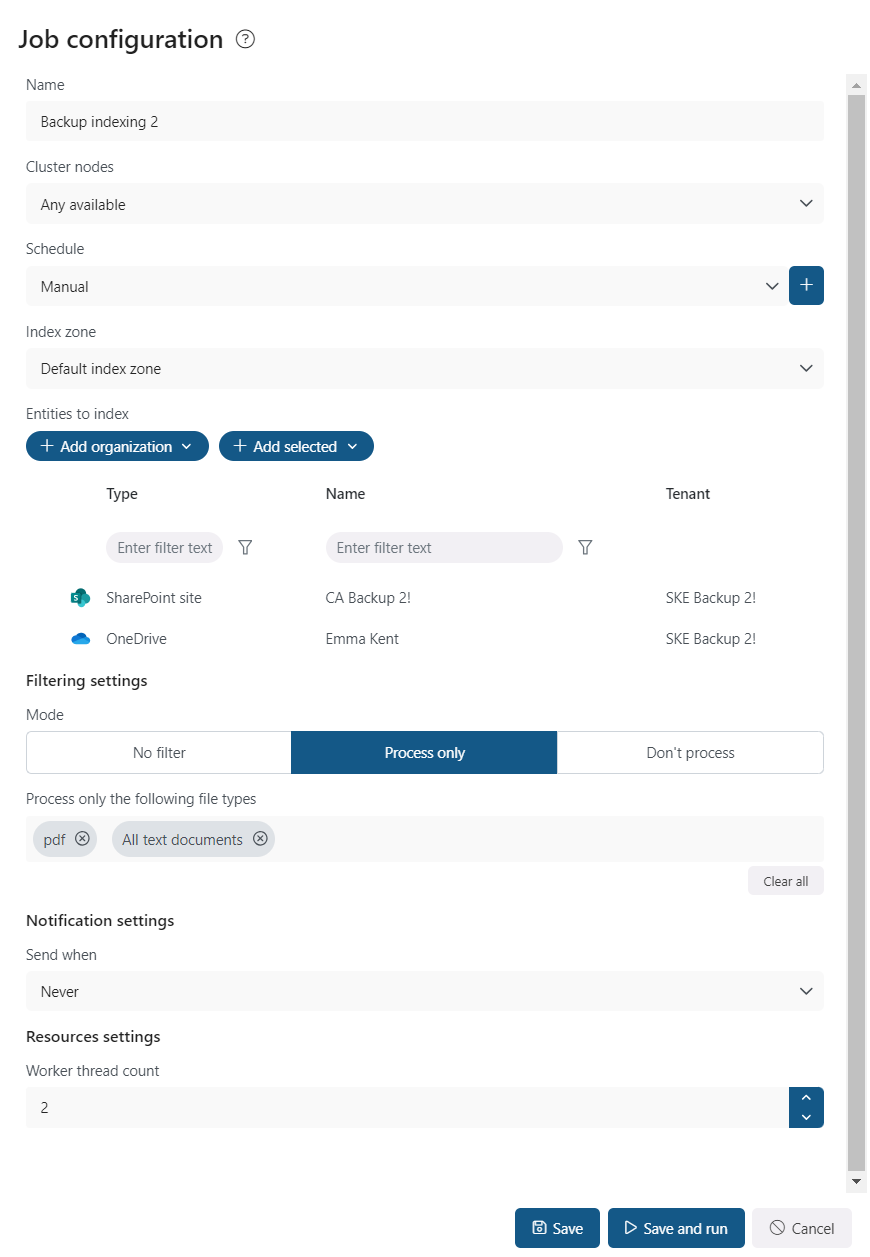
On the configuration page of the given job, you are required to specify the following settings:
✓ Name
Each backup indexing job requires a unique name to distinguish it from the other indexing jobs. It is recommended to give the job a name that clearly indicates for what purpose the indexing job was created for. By default, the automatically created indexing job is called “Backup indexing”.

✓ Cluster nodes
Here, you can set the node, where the indexing job will run.

✓ Schedule
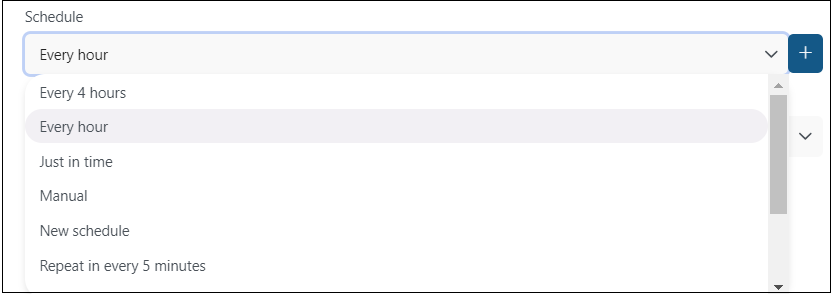
In this step, you must select the running times of the indexing job. You can either select a schedule from the list or create a new one by pressing the + button in the Schedule row. For indexing jobs, it is recommended to set up a schedule that will run continuously, or at certain times during the week. For more information about setting schedules, please refer to the section Schedules above.
✓ Index zone
The index zone that will be assigned to items by the indexing job is set here. Currently, only the default index zone is available from the dropdown menu; it is not possible to create a new index zone manually.

✓ Entities to index
Set the entities that will be processed by the indexing job here.
There are two options to choose from: + Add organization (in this case, all mailboxes, SharePoint or OneDrive sites, teams, or private chats will be processed) or + Add selected options (where only the selected entities will be processed).

If you choose + Add organization and All mailboxes/SharePoint sites/etc., all entities will be listed in the Entities to index section.

If you wish to index only the selected entities, click + Add selected option first, then choose items from the dropdown menu. Upon selecting an option, a repository of entities will appear in a pop-up window. Check the desired ones, then click Save.

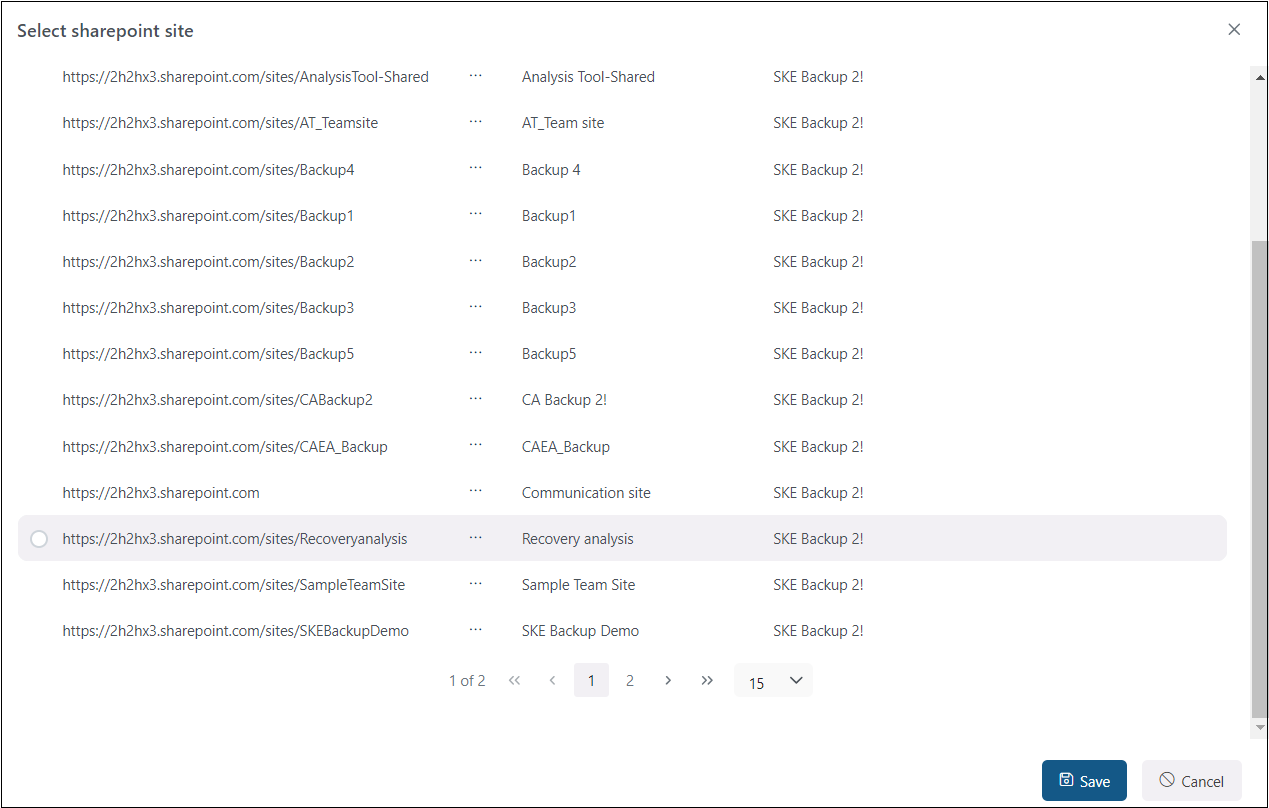
It is also possible to remove the chosen entities by selecting them from the list. In this case, a Remove option will appear in the Entities to index section, allowing you to remove them.

✓ Filtering settings
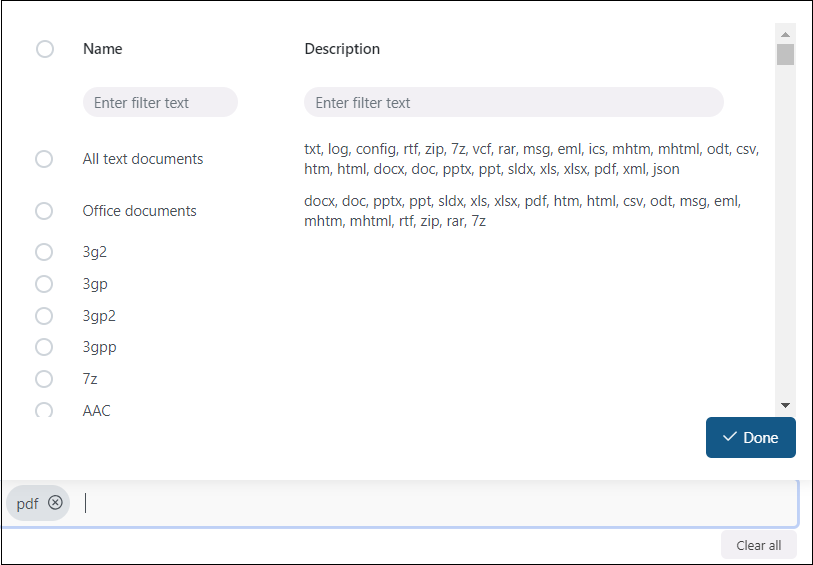
Set the file types that should and shouldn’t be processed here, or run the index job without any filters applied. File types can be added individually, but grouping functionality is also provided. The advanced filtering option allows you to select a group of file extensions at once instead of selecting each required file type individually. Currently, two extension groups are predefined and ready to use:
- All text documents – contains extensions like txt, log, config, rtf, zip, 7z, eml, json, mhtm, etc.
- Office documents – contains extensions like docx, pptx, xlsx, pdf, html, etc.
The index job can run in three modes
- No filter – the Process only the following file types textbox is hidden, and the indexing will process all items from the selected entities
- Process only – the index job will only process items matching the criteria set in the Process only the following file types textbox
- Don’t process – the index job will exclude the items with the extensions specified in the Process only the following file types textbox

The advanced filtering works in both Process only and Don’t process modes. Simply click into the Process only the following file types textbox, and a pop-up window will appear with all the groups and individual extensions. In this window, multiple file types and groups can be selected at once. Extensions can be selected in three ways:
- using the search bar, you can search for individual extensions or groups
- you can scroll down the list
- you can manually add extensions to the Process only the following file types textbox
✓ Notification settings
Here, select when you want to receive notification emails from the indexing job. You can choose to receive notifications always, never, or only if an error/warning occurs during the indexing. For example, if the indexing fails on one or more items, you will get a notification email about this error. In the Recipient list textbox, enter the email address(es) of the person/people to whom you would like to send these emails.

✓ Resource settings
Set the value, that will determine how many items will be processed simultaneously by the indexing job. The recommended value is 2.

Never forget to save your job configurations at the end. Click the Save button at the bottom of the UI to be redirected to the Jobs page.
If you want to start the processing immediately, press the Save and run button. This action will start the indexing job, and you will be redirected to the Job progress page.
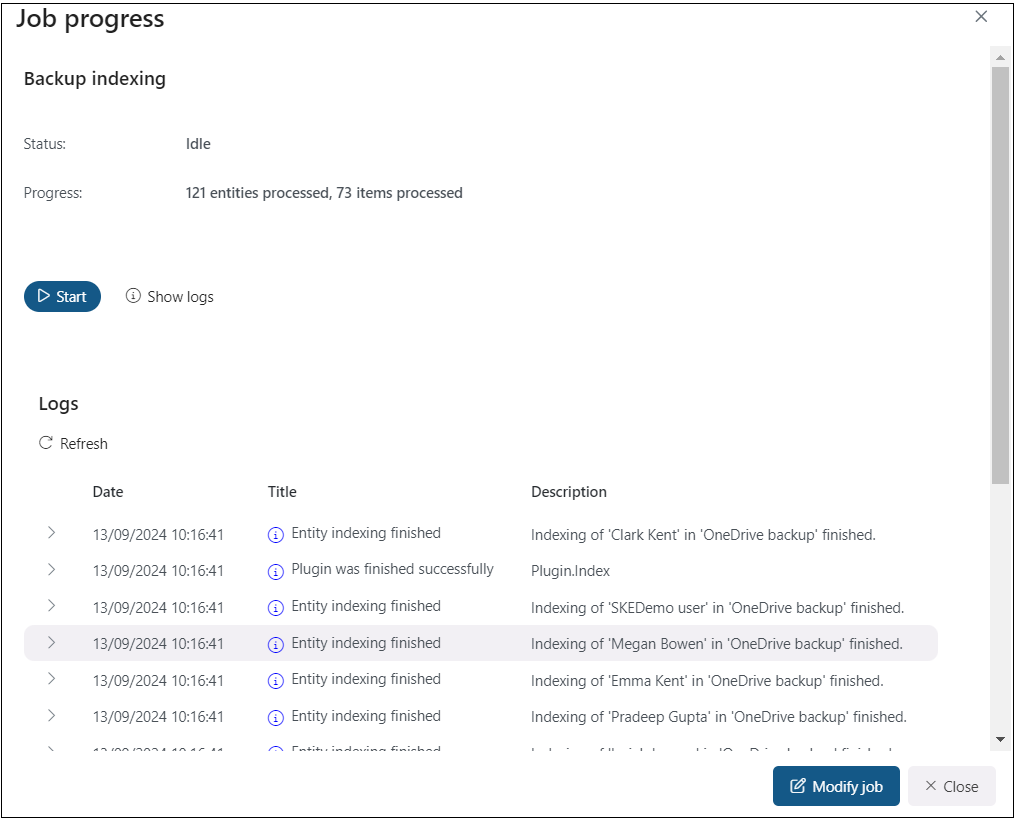
In the Job progress window, you can check the progress bar, which shows the current state of the job (if it’s running or done) and the progress of the index job.
Moreover, you can restart a finished job or stop the running one by clicking the Start/Stop button on the Job progress window, as well as check the last logs by clicking the Show last logs option.
This window also contains the session logs for the currently running job.
Additionally, it is also possible to modify the job from this page. Upon pressing the Modify job button, you will be redirected to the Job configuration page.
