Teams restore job
The teams restore job in Backup Administration is used to restore deleted or clone existing teams in MS Teams. This process can restore various components of the team, including:
- Team name and team configuration
- Membership information
- Channels
- Tab configurations
- Messages and shared files
- SharePoint data linked to the Team
The restore job can reconstruct the entire team structure: messages and items that have already been backed up will be restored to their source location, the structure of the channels will be created in the restored team, and the SharePoint data related to the selected team will also be restored.
To create a recovery job, navigate to the Jobs page, and click the + New button. In the dropdown menu, select the Teams restore job. The Job configuration window will appear on the screen.
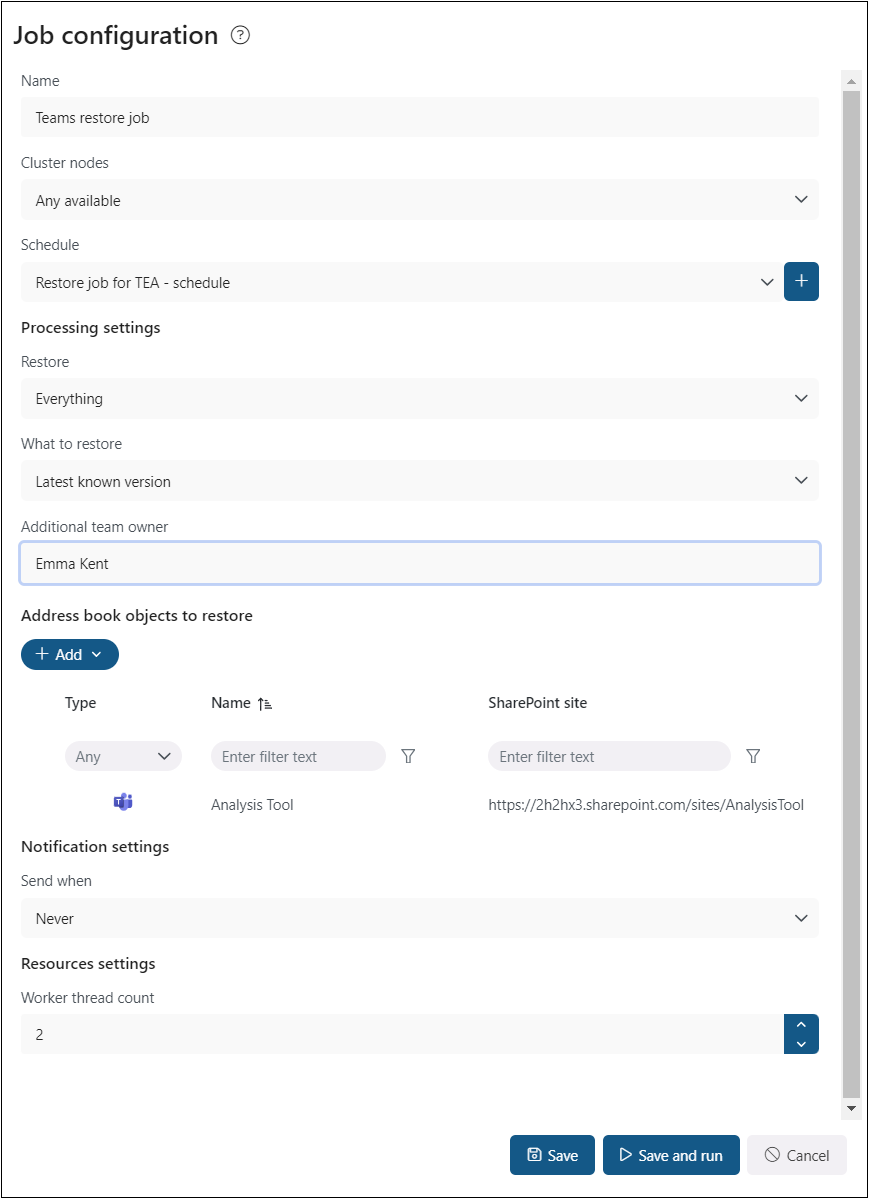
On the job’s configuration page set the following:
✓ Name
Each restore job requires a unique name to distinguish it from other restore jobs. By default, the system assigns a name to the new restore job, but the user can change this name.

✓ Cluster nodes
Set the node where the restore job will run.

✓ Schedule
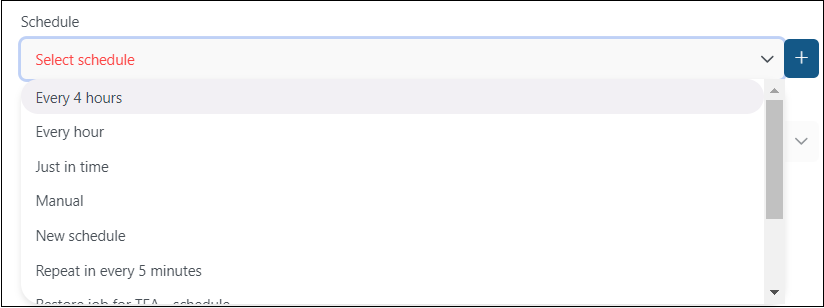
Here, select the running times of the restore job. You can either select a schedule from the list or create a new one by pressing the + button in the Schedule row. For restore jobs, it is recommended to set a One time schedule or to start the job manually. For more information about setting schedules, refer to the section Schedules above.

✓ Processing settings
In this section, the user configures what will be restored and how it will be restored:
Recover – what will be recovered
- Everything – the restore job will create the backed up team structure and restore the messages and files/items from the database
- Structure and files only – restores the backed up team structure and the files and items (uploaded and SharePoint files) including contents of tabs (Wiki, Tasks, Calendars), but doesn’t restore messages!

What to restore
- Last known version – the job will restore the latest version of the item/message
- Specific date – restores the version that was valid at the specified time (modification date older or equal to the specified date.

Additional team owner
The restore job restores users as they were in the original team (the owners will be restored as owners, and the members will be restored as members). You can also add and additional team owner to the team. These users will be added automatically to the restored team. Just type in the email address or the first name, press Enter, and the selected user will be added to the restore job. Limitation: users who are already members of the team can’t be restored as owners; this change must be done manually in the team.

✓ Address book objects to restore
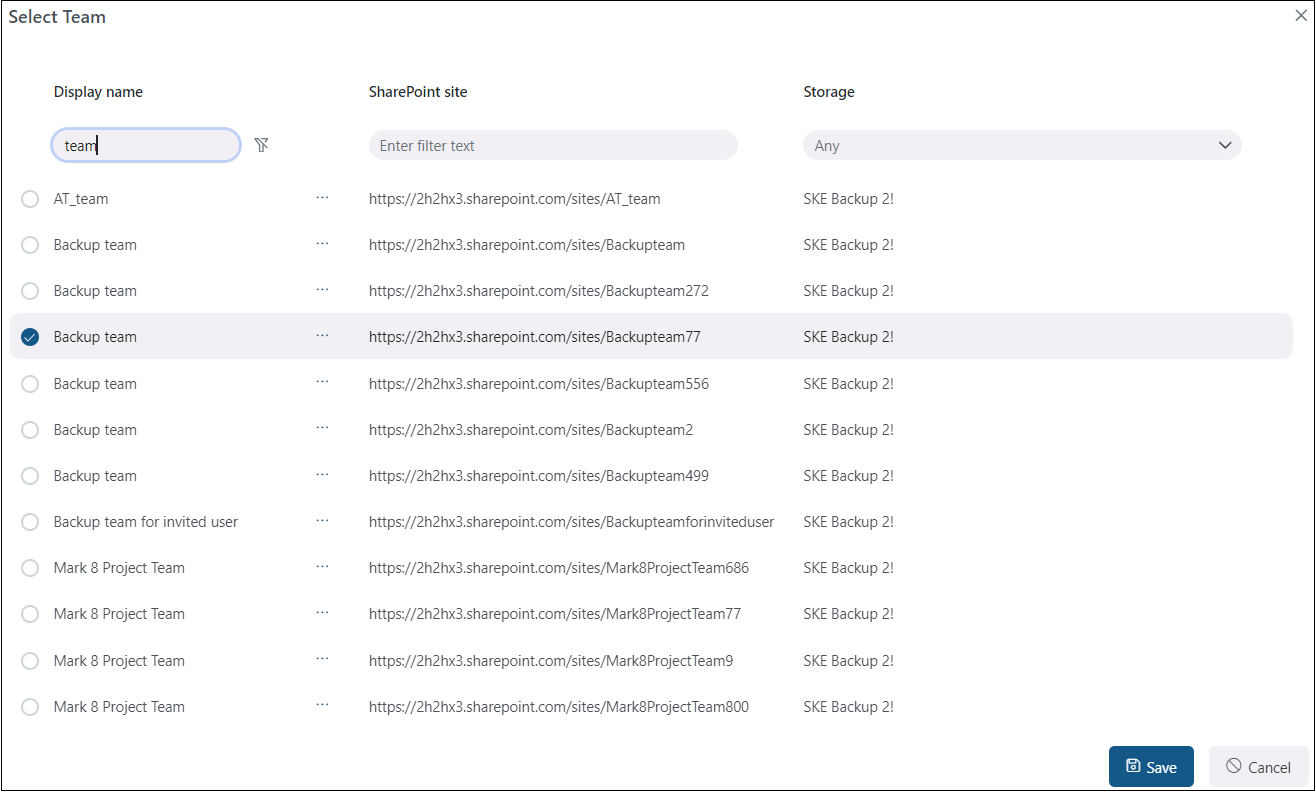
Here you can select teams or the entire organization to be processed by the restore job. Click on the + Add button, check the teams in the Select team window, then click Save.


✓ Notification settings
Here, you can select the cases when you will need to get notification emails from the Restore job. You can choose to receive notifications always, never, or only if an error/warning occurred during the restore process. For example, if the restore of one or more items fails, you may get a notification email about this error. In the Recipient list textbox, insert the email address(es) of the person/people, to whom you would like to send these emails.

✓ Resource settings
Set the value, that will determine how many items will be processed simultaneously by the restore job. The recommended value is 2.

Remember to save your job configurations at the end by clicking the Save button at the bottom of the UI. You will be redirected to the Jobs page.
If you want to start the processing immediately, press the Save and run button. This action will start the restore job, and you will be redirected to the Job progress page.

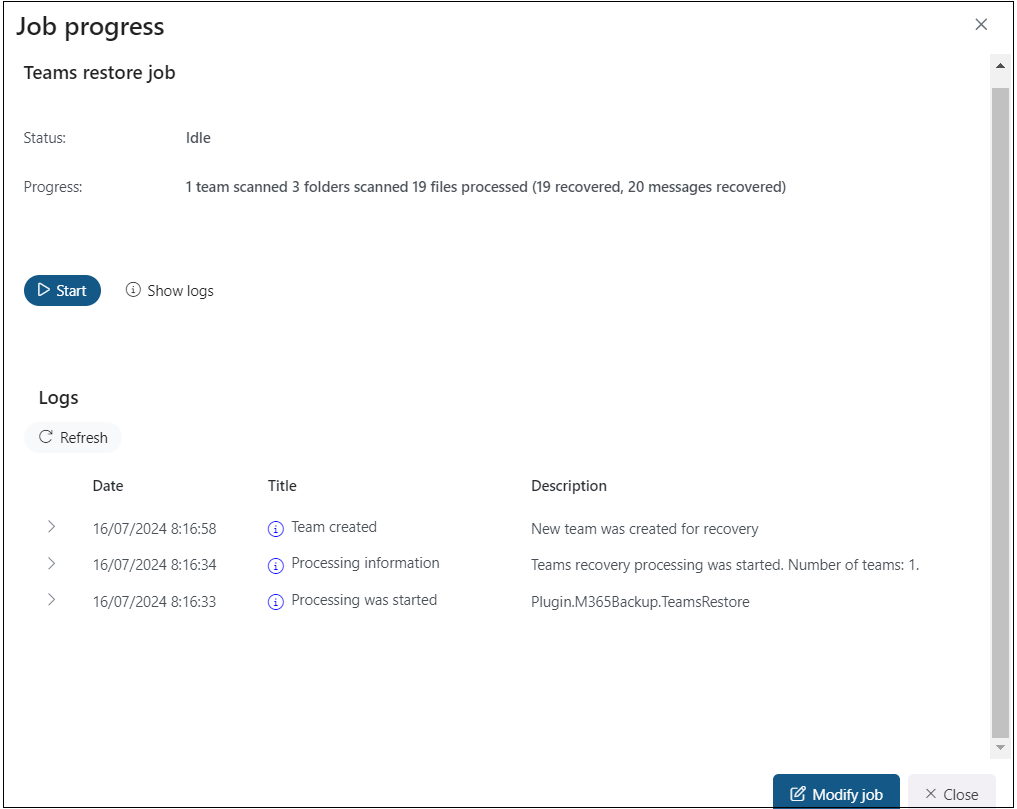
In the Job progress window, you can check the progress bar, which shows the current state of the job (if it’s running or done) and the progress of the restore.
Moreover, you can restart a finished job or stop a running one by clicking the Start/Stop button on the Job progress window, as well as check the last logs by clicking the Show last logs option.
This window also contains the session logs for the currently running job.
Additionally, it is also possible to modify the job from this page. Upon pressing the Modify job button, you will be redirected to the Job configuration page.
