Installation of the contentACCESS Administration
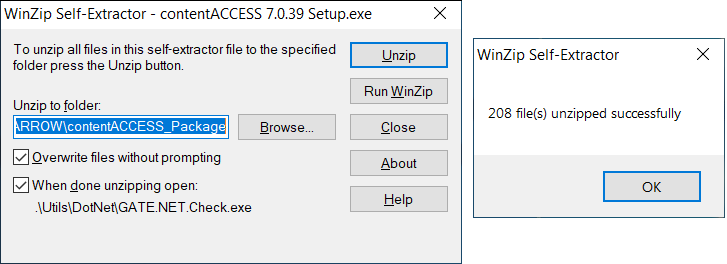
contentACCESS Administration is part of the contentACCESS setup package. To install contentACCESS Administration (and the other components), download and run the setup package (contentACCESS X.X Setup.exe). By default, it unzips to the C:\TECH-ARROW\contentACCESS_Package folder, but you can use the Browse button to change the directory. After the files are successfully unzipped, click OK.
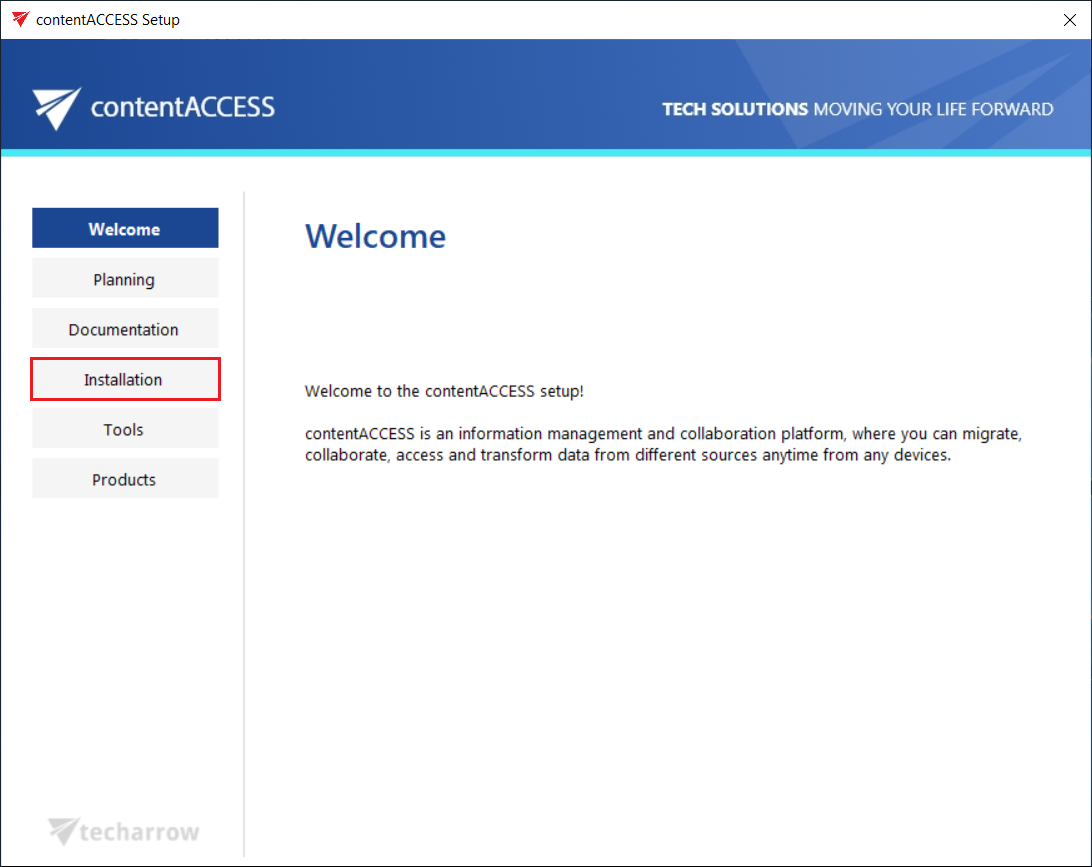
After this, the contentACCESS installation wizard opens and leads you through the steps of the deployment process. Click Installation on the Welcome page.
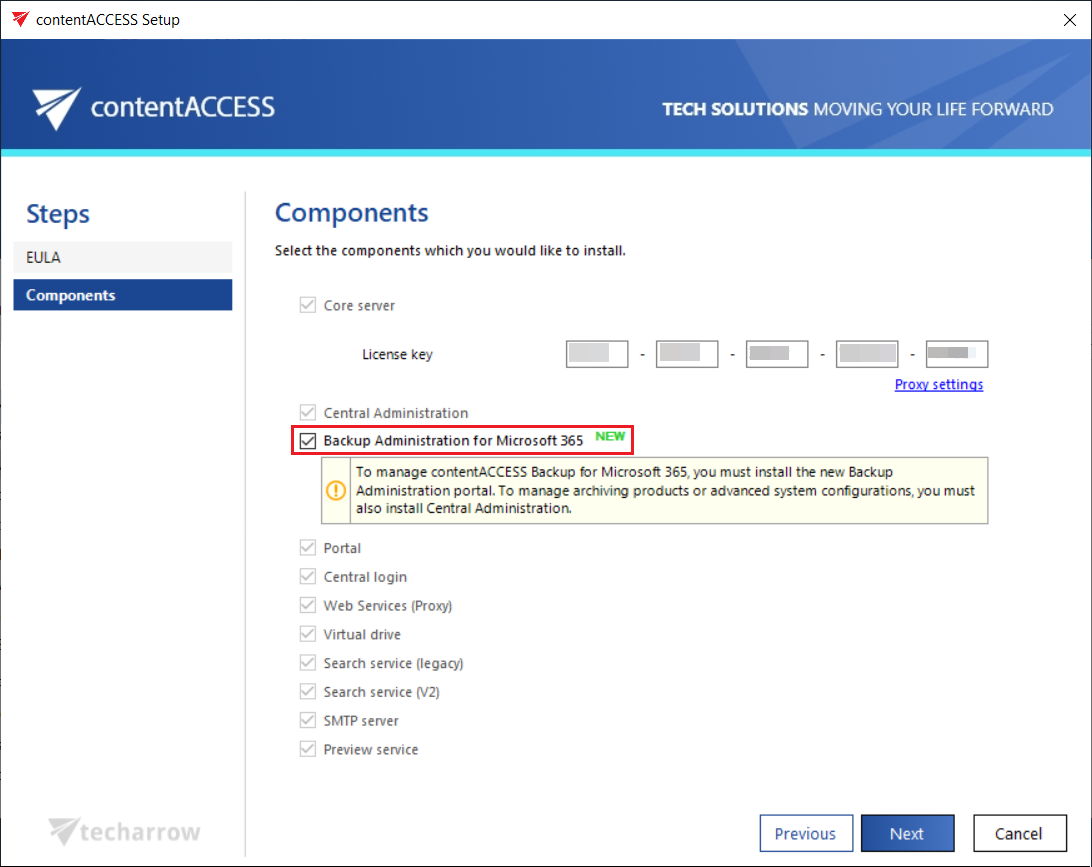
After you have carefully read the End User License Agreement and clicked NEXT to accept the terms of the agreement, you will be redirected to the Components page. Please be aware that we will only describe the contentACCESS Administration configuration here; the step-by-step configuration of the other contentACCESS components can be viewed in the contentACCESS Manual.
In this section, we will only guide you through the installation process of the contentACCESS Administration component.
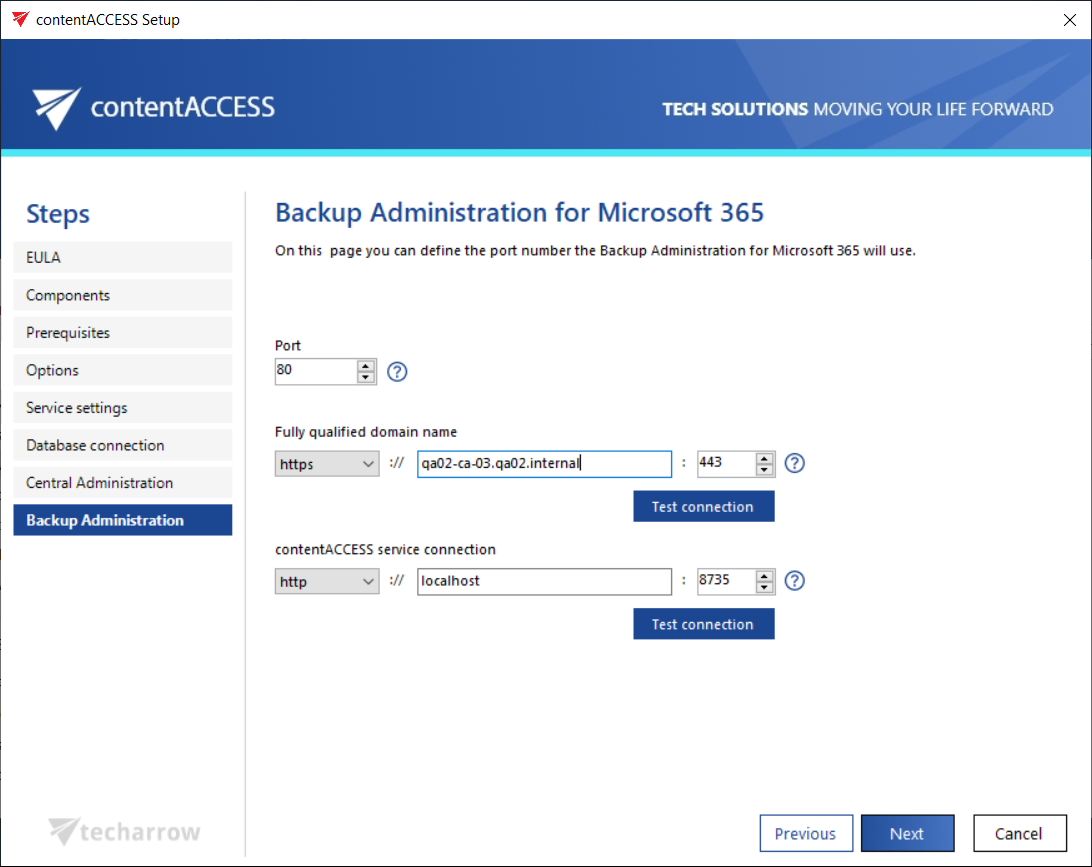
Upon reaching the Backup Administration for Microsoft 365 page, you can define the port number that the Backup Administration for Microsoft 365 will use.
Port: This port is the physical port of contentACCESS Administration used by the Internet Services (IIS) on the current server.
Fully qualified domain name: FQDN allows the user to access the given component (in tis case Backup Administration) from everywhere (from home, from the office, etc.). The FQDN that’s defined here is written in the Application settings (System tab => Client applications group => Application settings page) in the Central Administration, and can be changed from there any time. During the next update, the setup will automatically read the value defined in the Application settings.
contentACCESS service connection: This URL is used by Backup Administration to communicate with the contentACCESS server. If contentACCESS server is installed on the same machine, you can use “localhost” as host name. There are 2 communication types that can be used between Backup Administration and the contentACCESS server:
- http – use this if you want to establish a direct connection with contentACCESS. If direct connection should be used, do not change the port number that’s prefilled by the setup package (8735), otherwise contentACCESS proxy connection will be used automatically.
- https – use this to establish a secure connection through the contentACCESS Proxy server
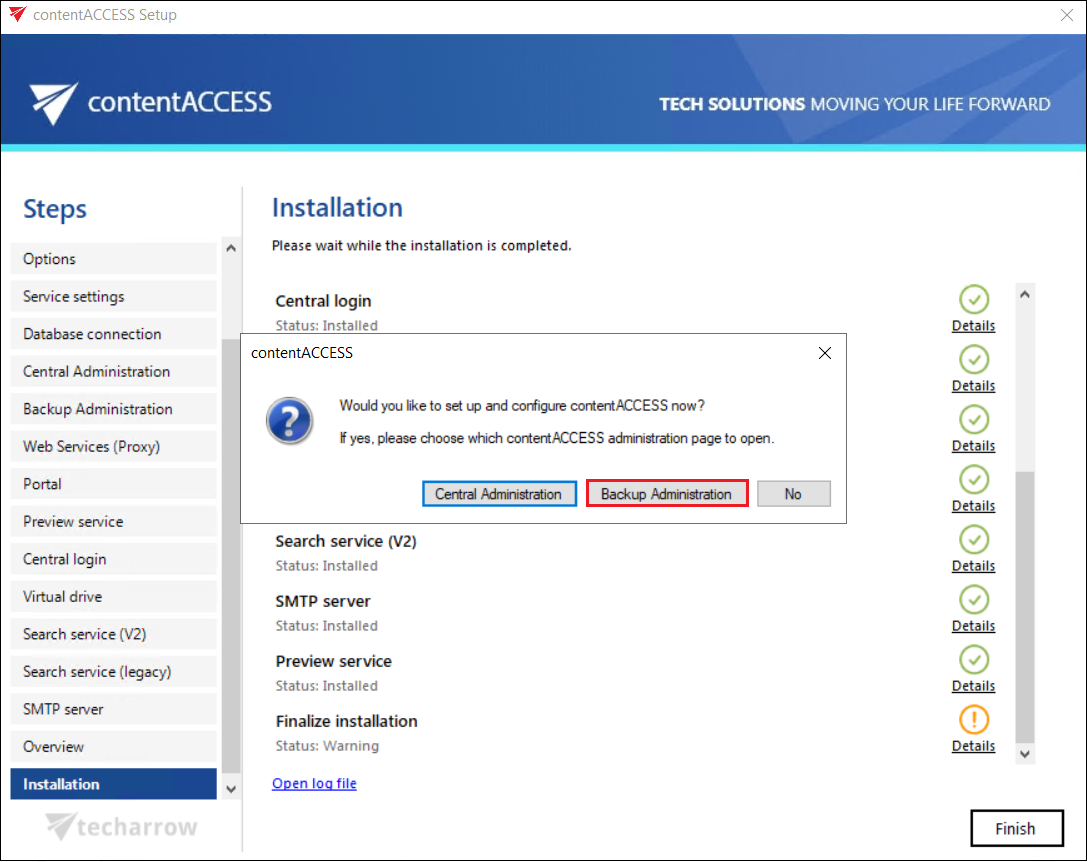
Once all components are set, click Install on the Installation page, and contentACCESS Administration will be installed along with the other components.
When all required components are installed, click Finish to complete the installation process. If you want to continue with further settings and configurations in contentACCESS (Central Administration or contentACCESS Administration), choose one of the two available buttons to select the administration page you wish to configure.
