Schedules
Jobs in contentACCESS Administration can be automatically triggered with using schedules. Schedules define when processing tasks should start, end, and restart automatically. Administrators can schedule jobs based on their scheduler settings. Multiple schedulers can be set up, and users can select the appropriate one from a dropdown menu when configuring a job. Schedulers help users avoid manually starting jobs each time they need to run a specific task. To view previously created schedules or add a new one, navigate to the Schedules option on the left-side menu.
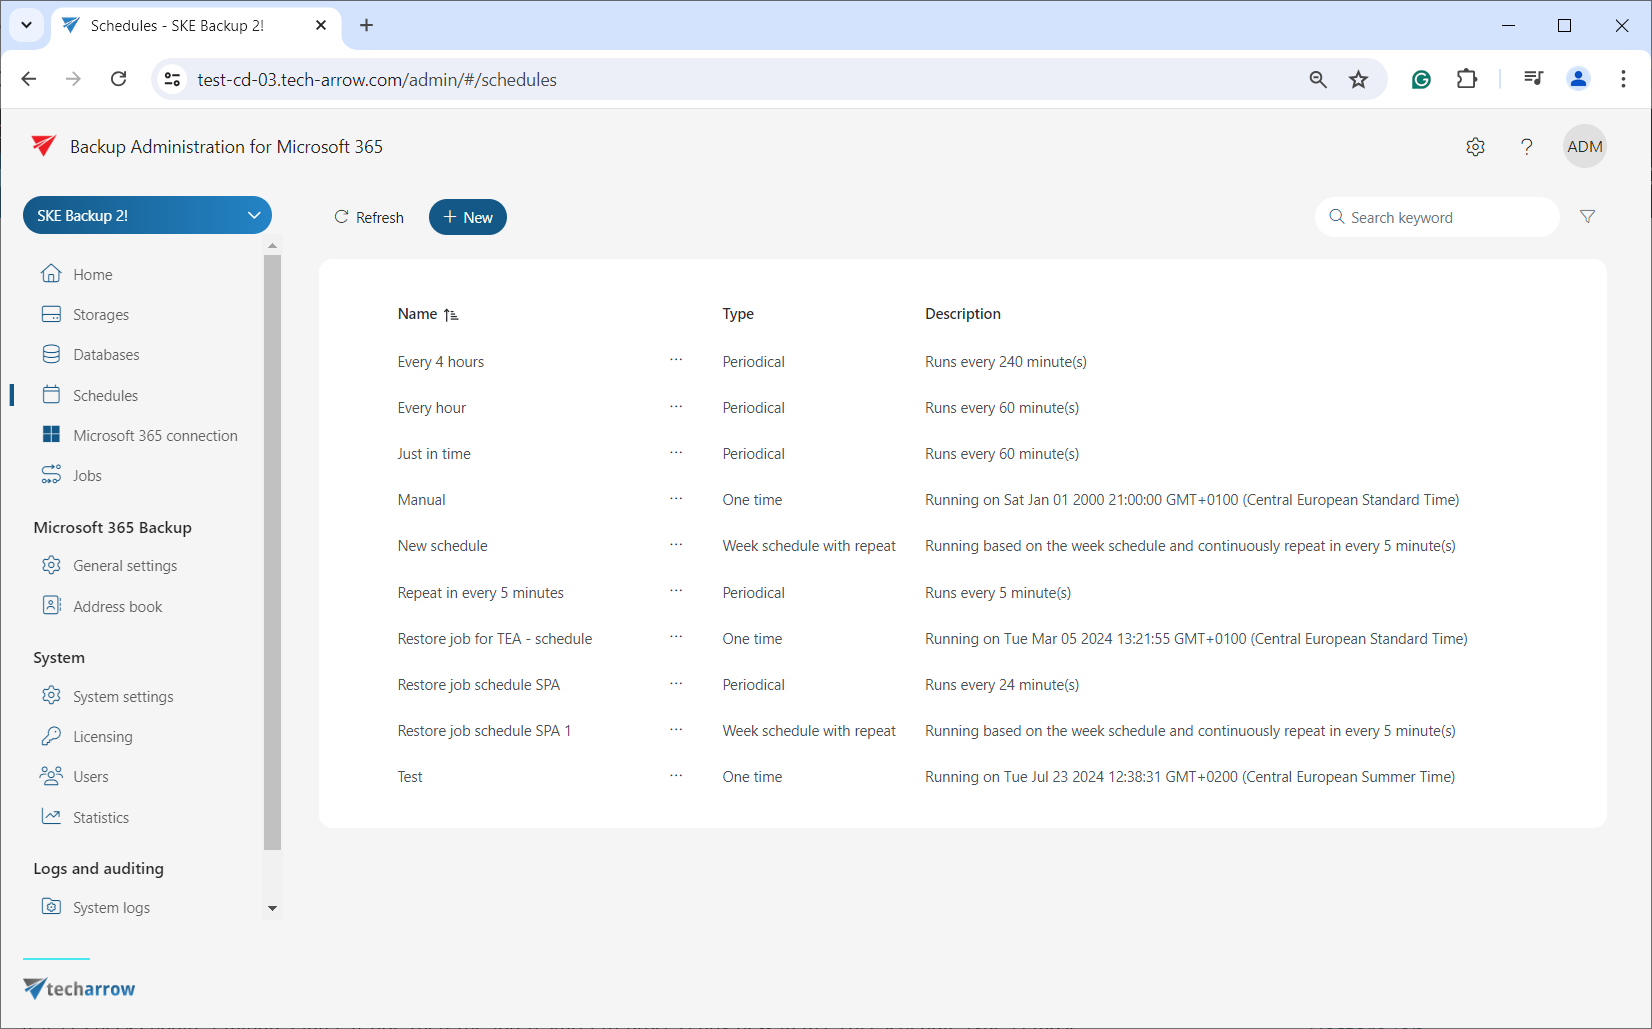
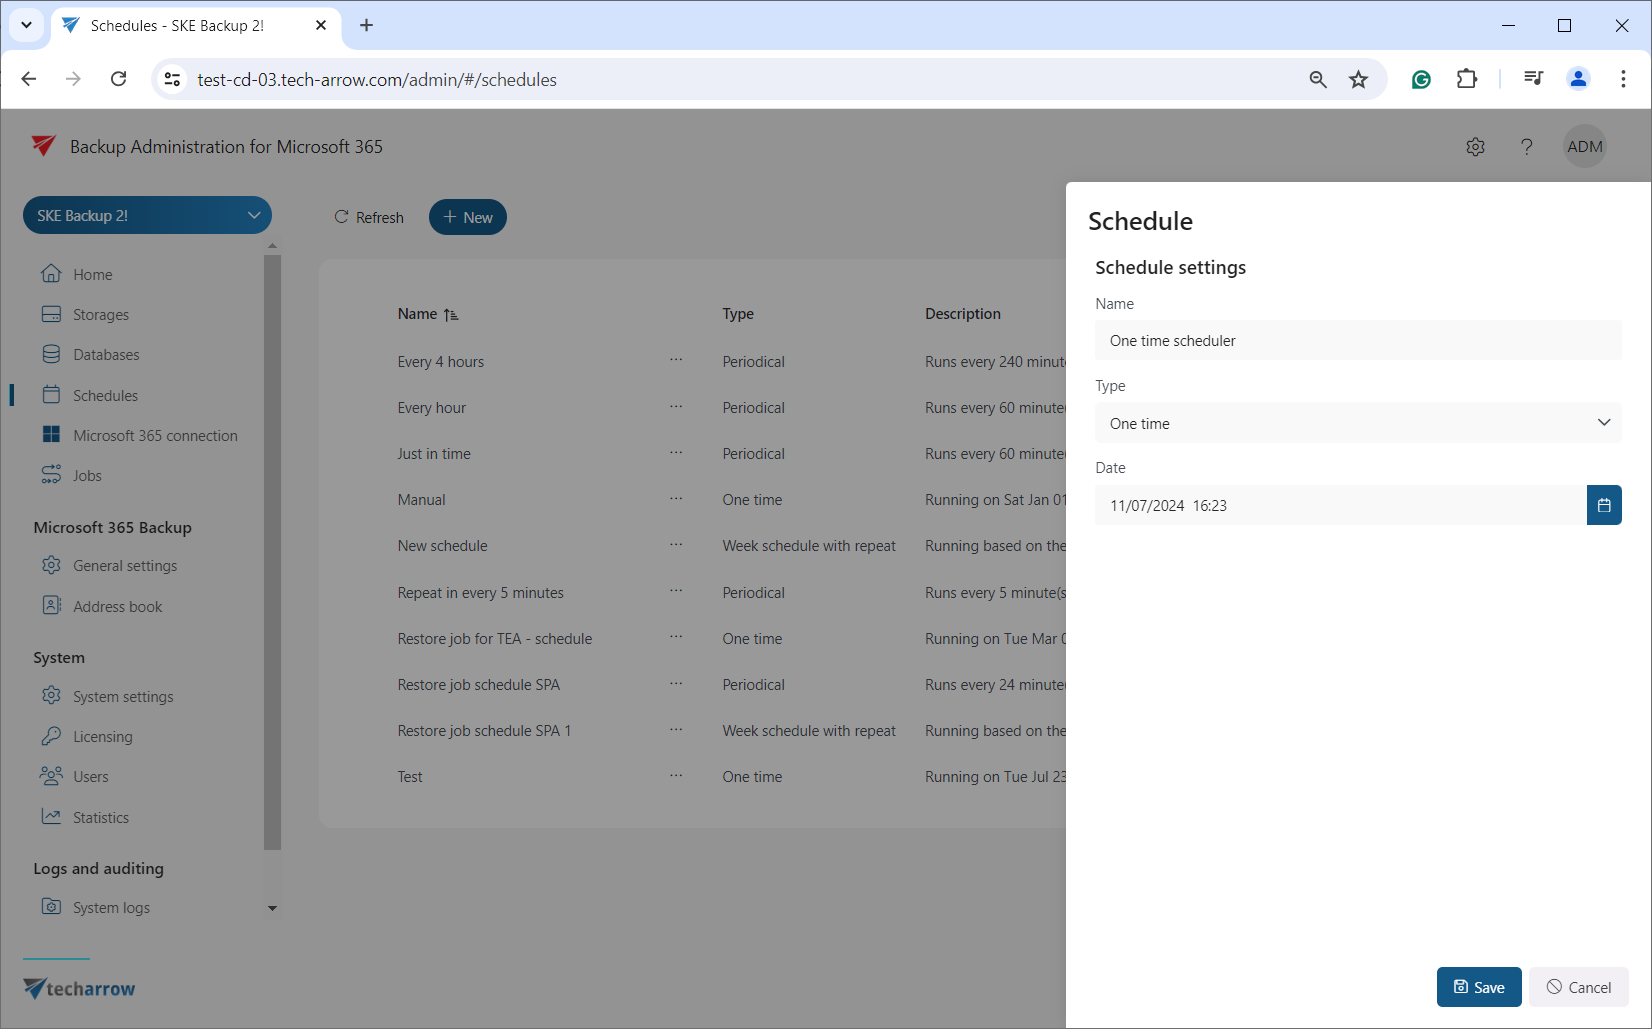
Click on the + New button. In the Schedule window, enter the schedule Name and select the Type of schedule from the dropdown list.
In contentACCESS Administration, there are 3 types of schedules that can be set: One time, Periodical, and Week schedule with repeat.
One time schedule runs only once on the specified date and time. With this type of schedule, the user specifies the start date only and the job ends when the processing completed. One time schedules are often used for restore jobs (jobs that run occasionally).
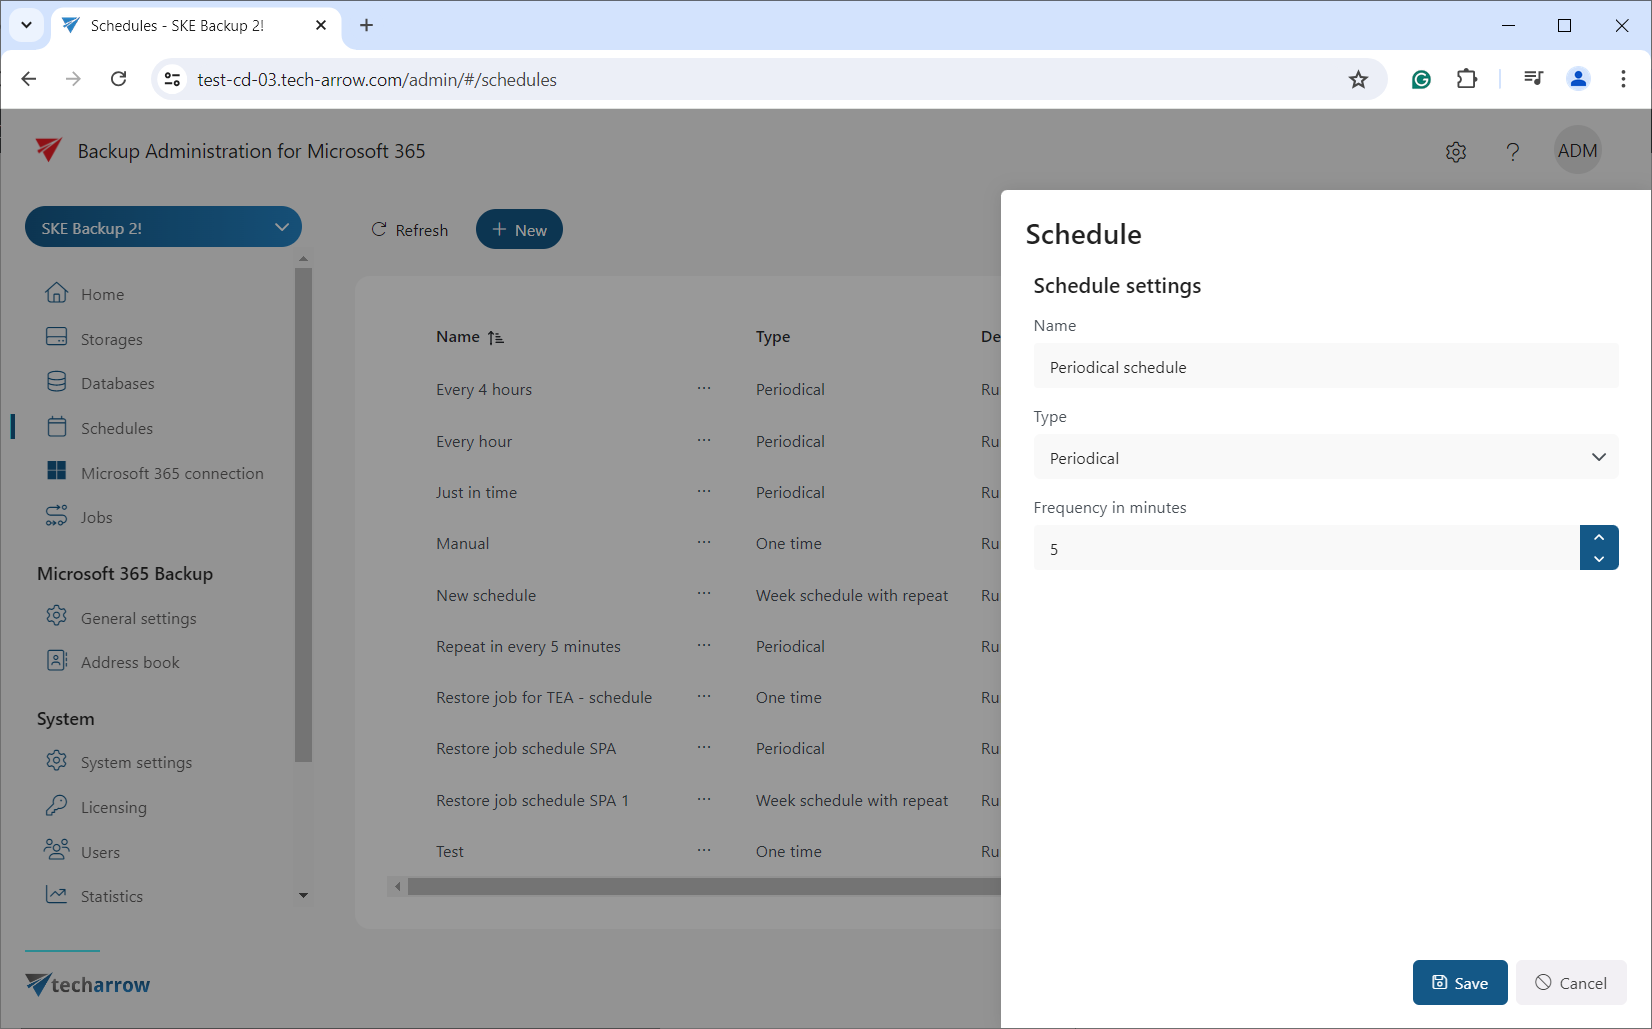
Periodical schedules run repeatedly. Jobs using this type start immediately after configuration and saving. The Frequency in minutes function allows the user to set time intervals for the schedule to check if the job is running. For example, if the schedule is set to 5 minutes, the schedule wakes up every five minutes to verify if the job is still running. If it is, checks again 5 minutes later. If not, then the job restarts to process any new items. This schedule type is most effective for backup jobs.
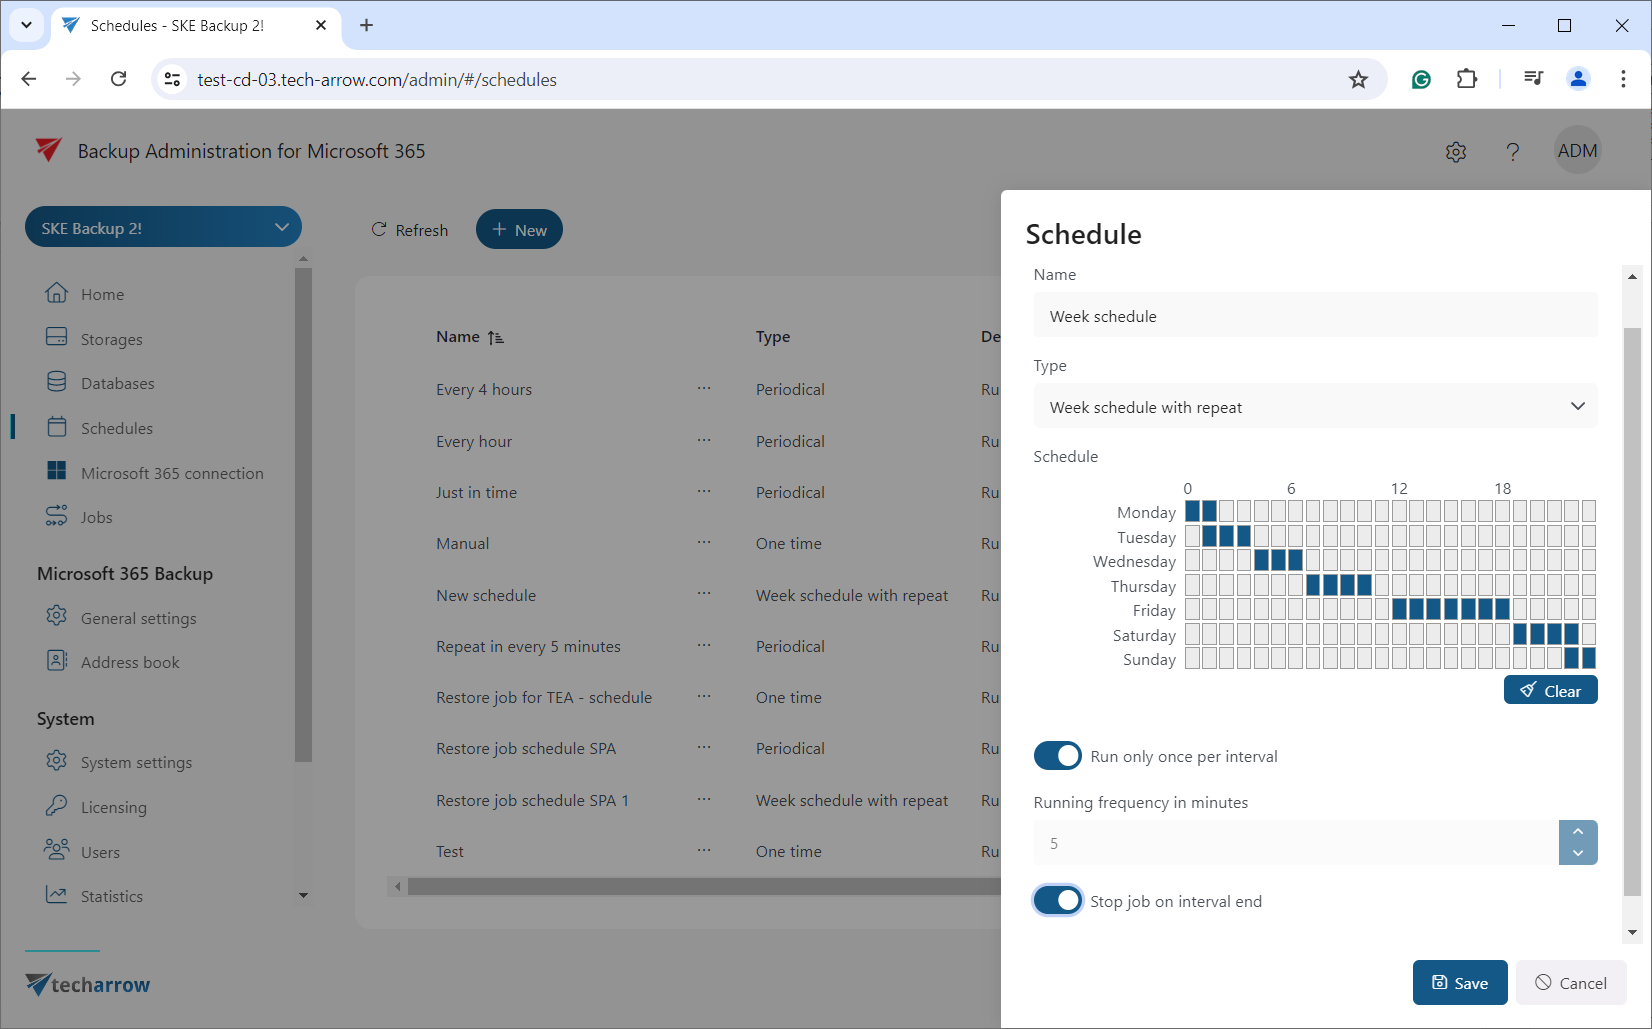
The Week schedule with repeat runs at the same hours every week, regularly. In the scheduling tab, click on the fields to set the days and hours when the processing should start. Each cell represents one hour. Using the Running frequency in minutes option, the user can set time intervals for the schedule to check if the job is running. Similar to the Periodical type, setting a Running frequency in minutes for 5 minutes, means the checks the job does in every 5 minutes. If the job is running, it will wait; if not, the job starts again.
This option is useful for continuous processing, such as from morning to evening. Checking the Run only once per interval checkbox deactivates the running frequency, causing the job to run only once during the specified time period. This option is recommended for tasks like end-of-day processing.
To stop a job after a set time interval, check the Stop job at interval end checkbox. The job will be forcibly stopped, even if the process is unfinished, and restarted according to the schedule settings.
The blue cells in the Schedule section marks the time intervals when the job is running. Exact start and end times are displayed beneath the calendar.
Easily set the time range by clicking cells or moving the cursor over the desired period.
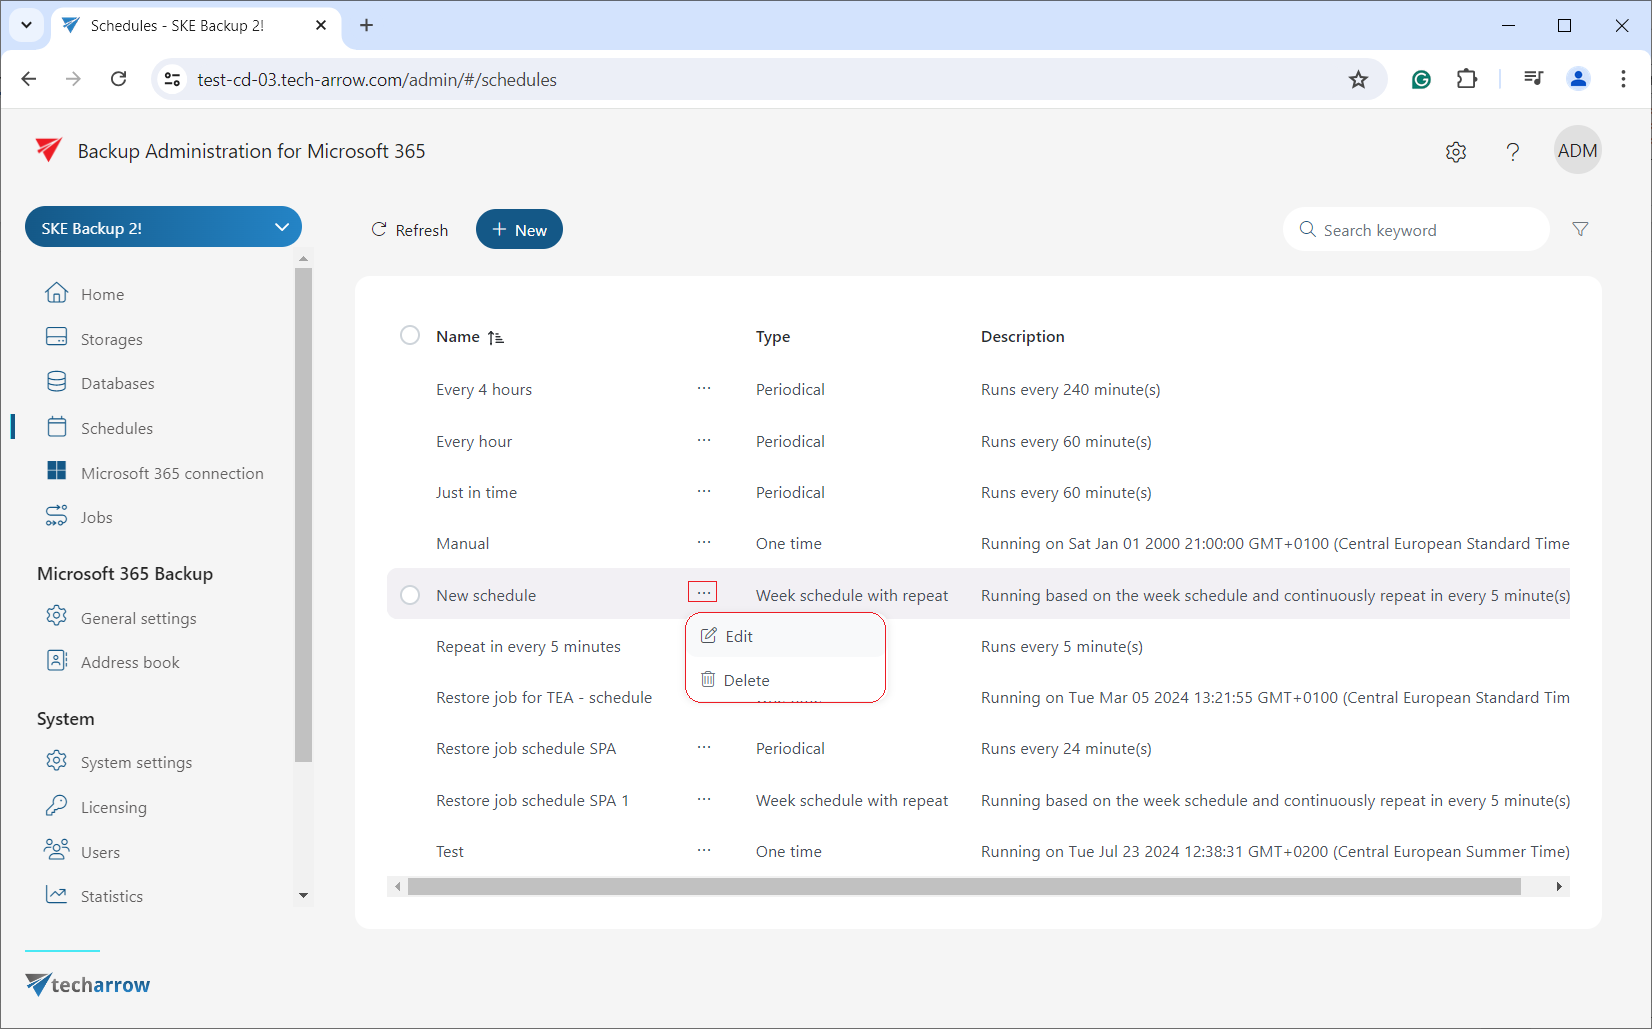
It is possible to edit or delete a schedule from the list using the selected schedule’s context menu. When a schedule is selected from the list, the Delete option will appear next to the + New button, allowing you to delete the schedule. The schedule type and its description can also be viewed on the Schedules page.
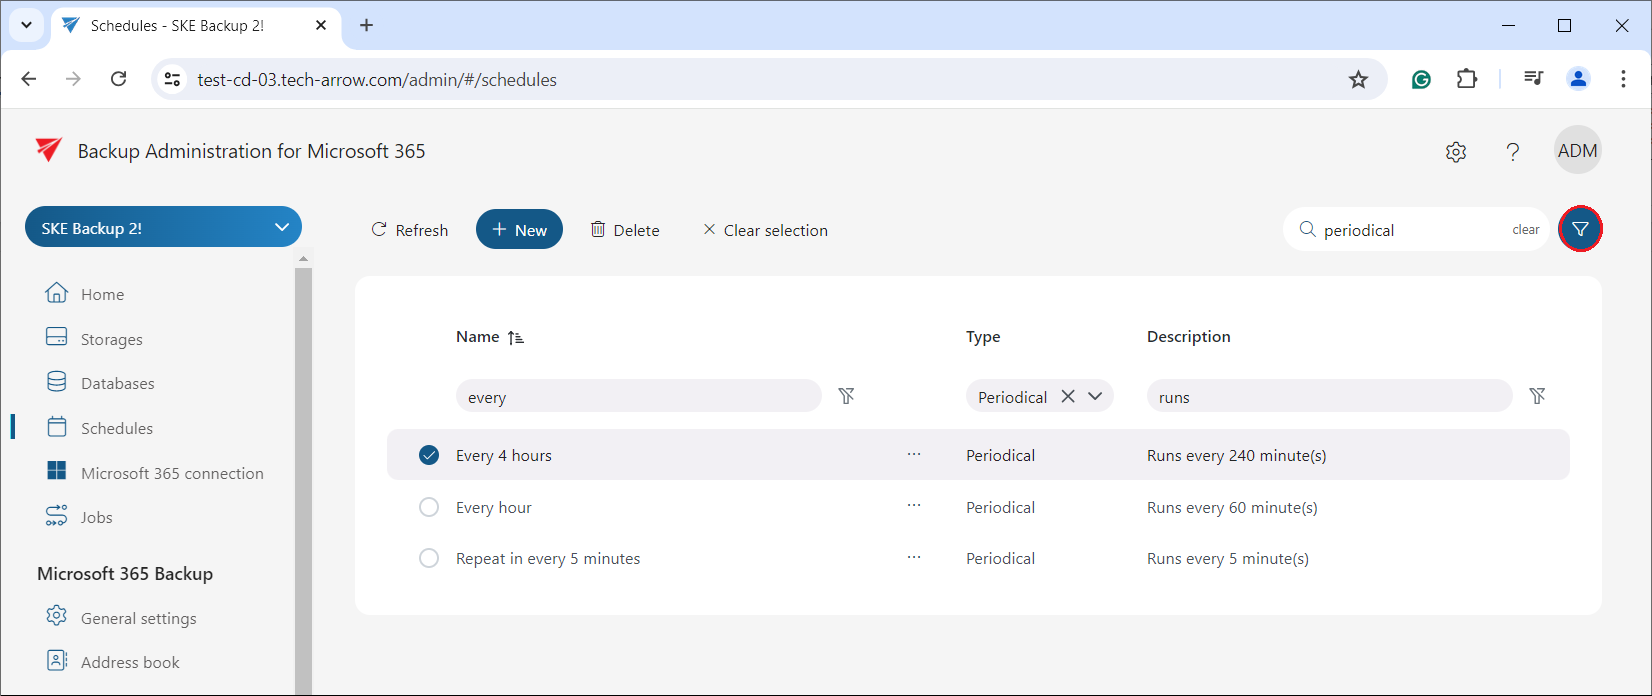
In addition, you can search on this tab by clicking into the search textbox or filter schedules by the Name, Type, and Description columns. Simply click the Funnel icon to start filtering.
To filter through the Name or Description columns, enter the filter text, and it will be executed automatically.
To filter by type, either open the dropdown menu and select a schedule type or enter the keyword manually by clicking into the search textbox.
The Refresh button will refresh the Schedules page.