7.6.Importing contentACCESS configurations from files
contentACCESS allows to import data from files in the following available file formats: CSV, XML, Tab delimited files and Space delimited files. This simplifies adding of huge amount of data to different configuration sections in contentACCESS instead of entering each entry manually. There’s an option to set if we want to overwrite the existing items, update or skip them. The user may also download a sample file to check, if the file that he wishes to import contains all necessary information (column) for the given configuration section. Column names are displayed in the sample file if the “First row is header” option is turned on in the respective importer dialog.
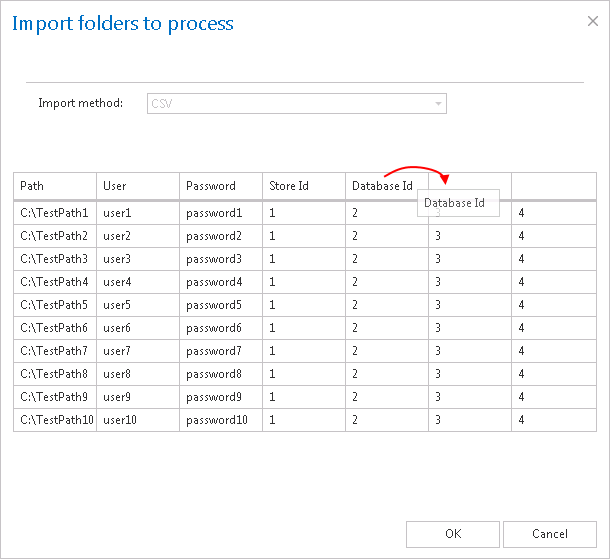
After browsing the file to be uploaded and configuring the importer the file can be uploaded. After the initial upload the file’s columns can be mapped to the importable entry’s fields by dragging the column headers. When the mapping is finished the newly imported entries will be added to the configuration section.
contentACCESS allows to import the folders to be archived/restored/recovered/excluded:
- to File archive, File restore, File recovery jobs
The import option is available on the respective job configuration page, under sections “Folders to process” and “Exclude folders”: - to Email archive, Email restore, Email recovery jobs
The import option is available on the respective job configuration page, under section “Exclude folders” and “Exclude addresses”: - File Archive provisioning job (used to synchronize the users in the Active Directory with contentACCESS) also uses this feature to import the objects to be provisioned:
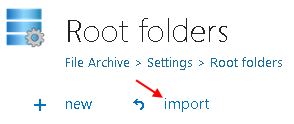
- The root folders used in File Archive may be also imported into contentACCESS from files (read more here):
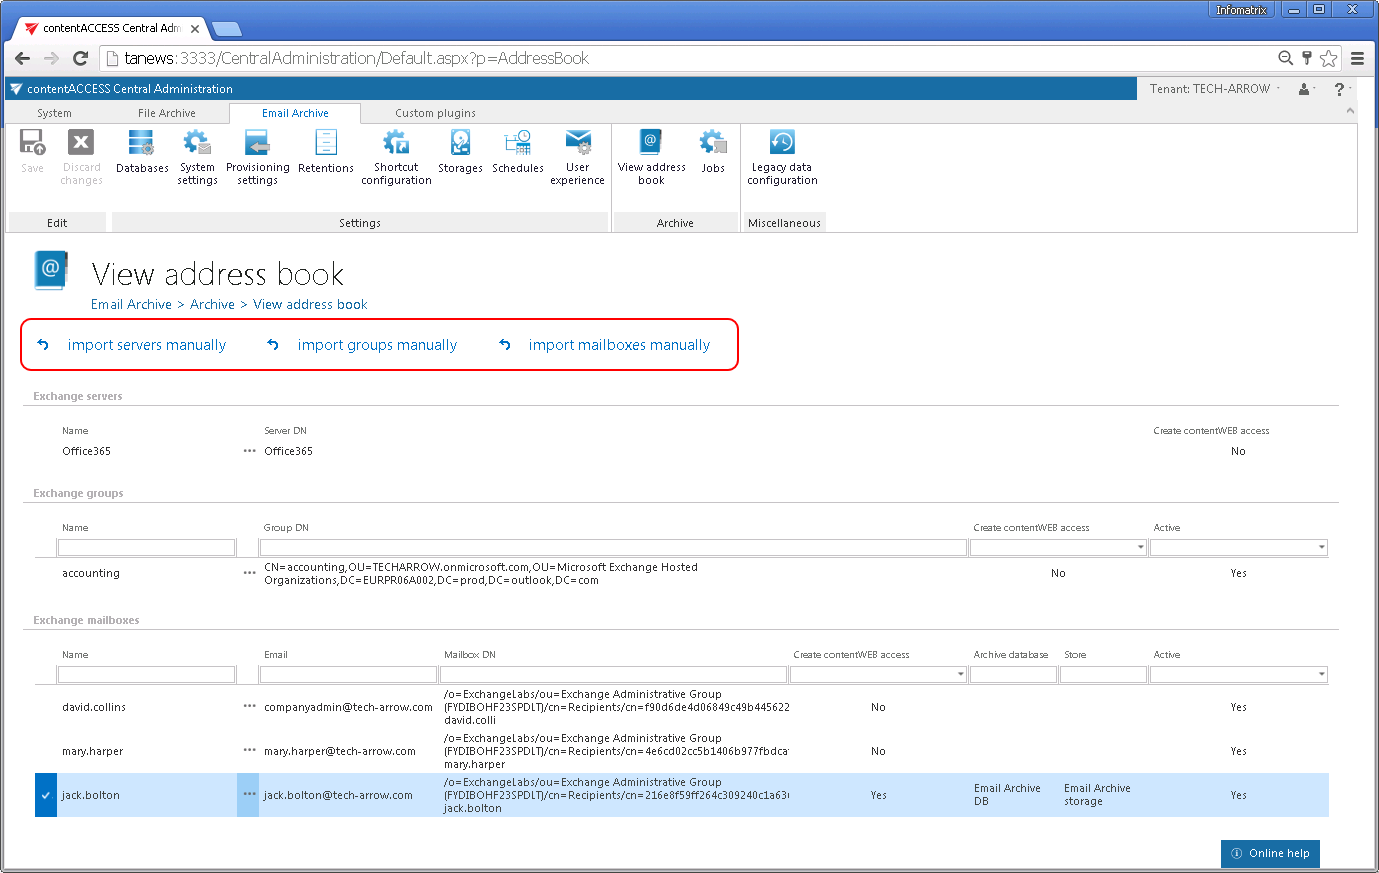
- Servers/groups/mailboxes can be imported from files to the contentACCESS Address book using options “Import servers manually”/ “Import groups manually”/ “Import mailboxes manually” as well (read more here):

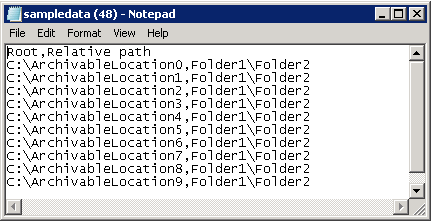
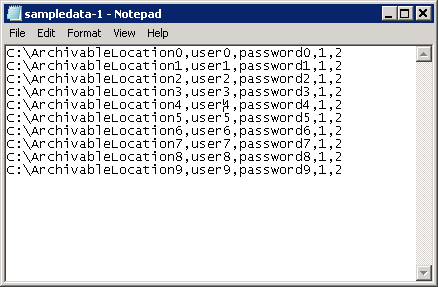
An importable file with Folders to process contains the following rows:
Root – mandatory
Relative path – nullable
Example in case of a CSV file:
An importable file with Folders to exclude contains the
Exclude pattern, e.g. if folder called “test” needs to be excluded, the CSV will look like this:


An importable file with Excludable folders contains the Exclude pattern, e.g. if mailbox folder called “test” needs to be excluded, the CSV will look like this:

An importable file with Exclude addresses contains the:
Address(es) to include
Exclude type(s) – Sender/Recipients/All
Example in case of a CSV file:
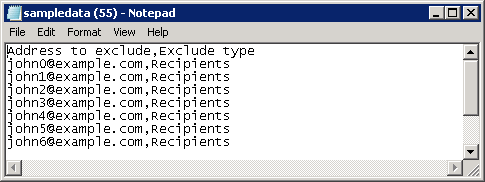

The importable file must include the:
Name
Object type
Example in case of a tab delimited file:
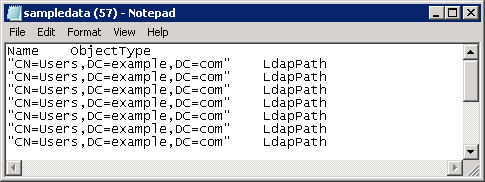
To import a file follow these steps:
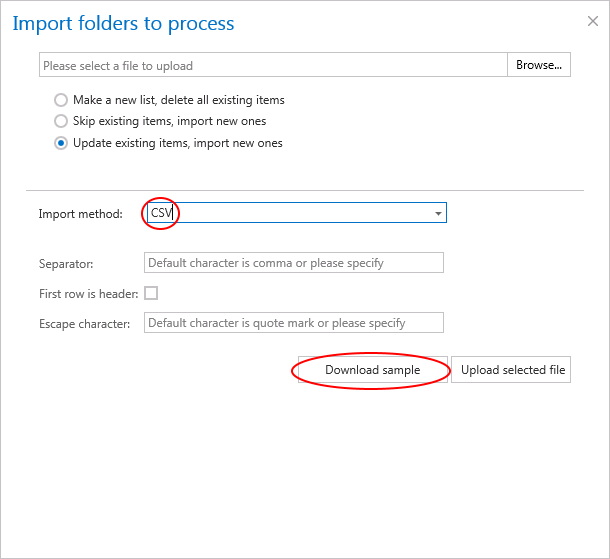
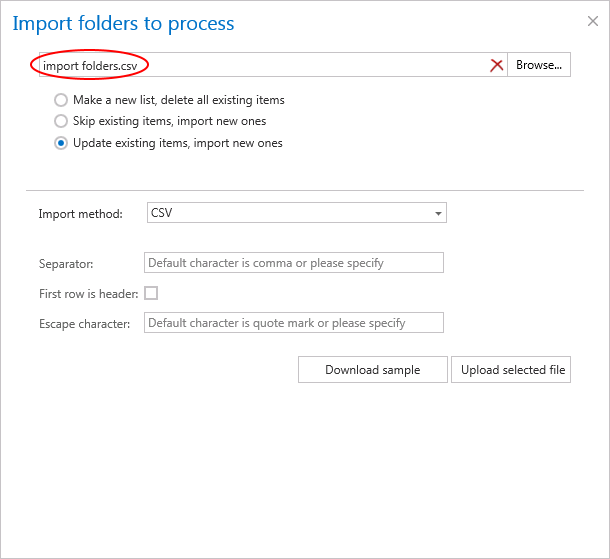
Make a new list, delete all existing items – select this option to create a completely new list of items; any already set items will be deleted
Skip existing items, import new ones – select this option to add the new items from the list; while the already configured items will be skipped
Update existing items, import new ones – this option is available by importing root folders from files; it can be applied if the password has been changed and should be updated
In case of CSV:
Specify the CSV separator (in our case it is a comma). If the first row in the CSV file is a header, mark the respective checkbox. Further specify the escape character, if such exists in your CSV file (in our case quotation marks)
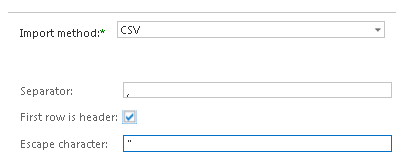
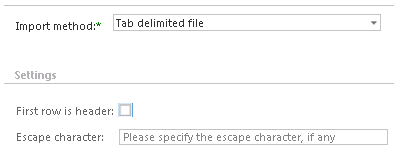
In case of Tab delimited file
If the first row of the file is a header, mark the respective checkbox. Further specify the escape character, if such exists in the file.
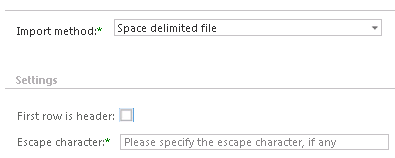
In case of Space delimited file
If the first row of the file is a header, mark the respective checkbox. Further specify the escape character, if exists in the file.
In case that the file to be imported is an XML, no further settings are required.

- Click Upload selected file to upload the file with the desired items.
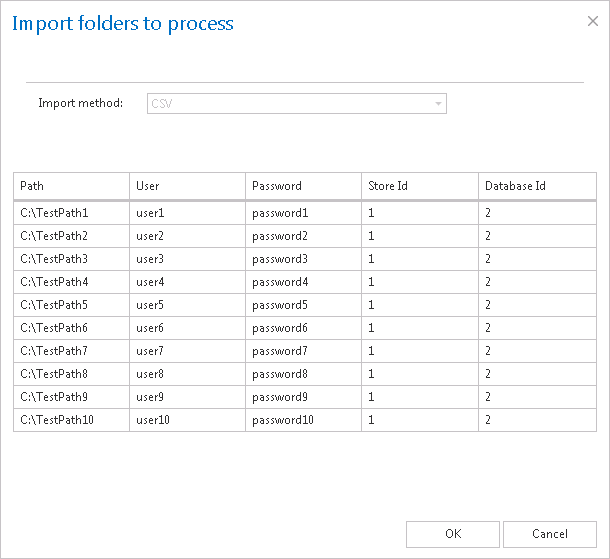
- Click “OK”. The list of imported items will be added to the respective section.
In a file containing multiple columns the user may specify, which column should be imported. Simply drag and drop the column header (on the picture below the Database ID header) over the respective column that should be imported.
