6.7.System
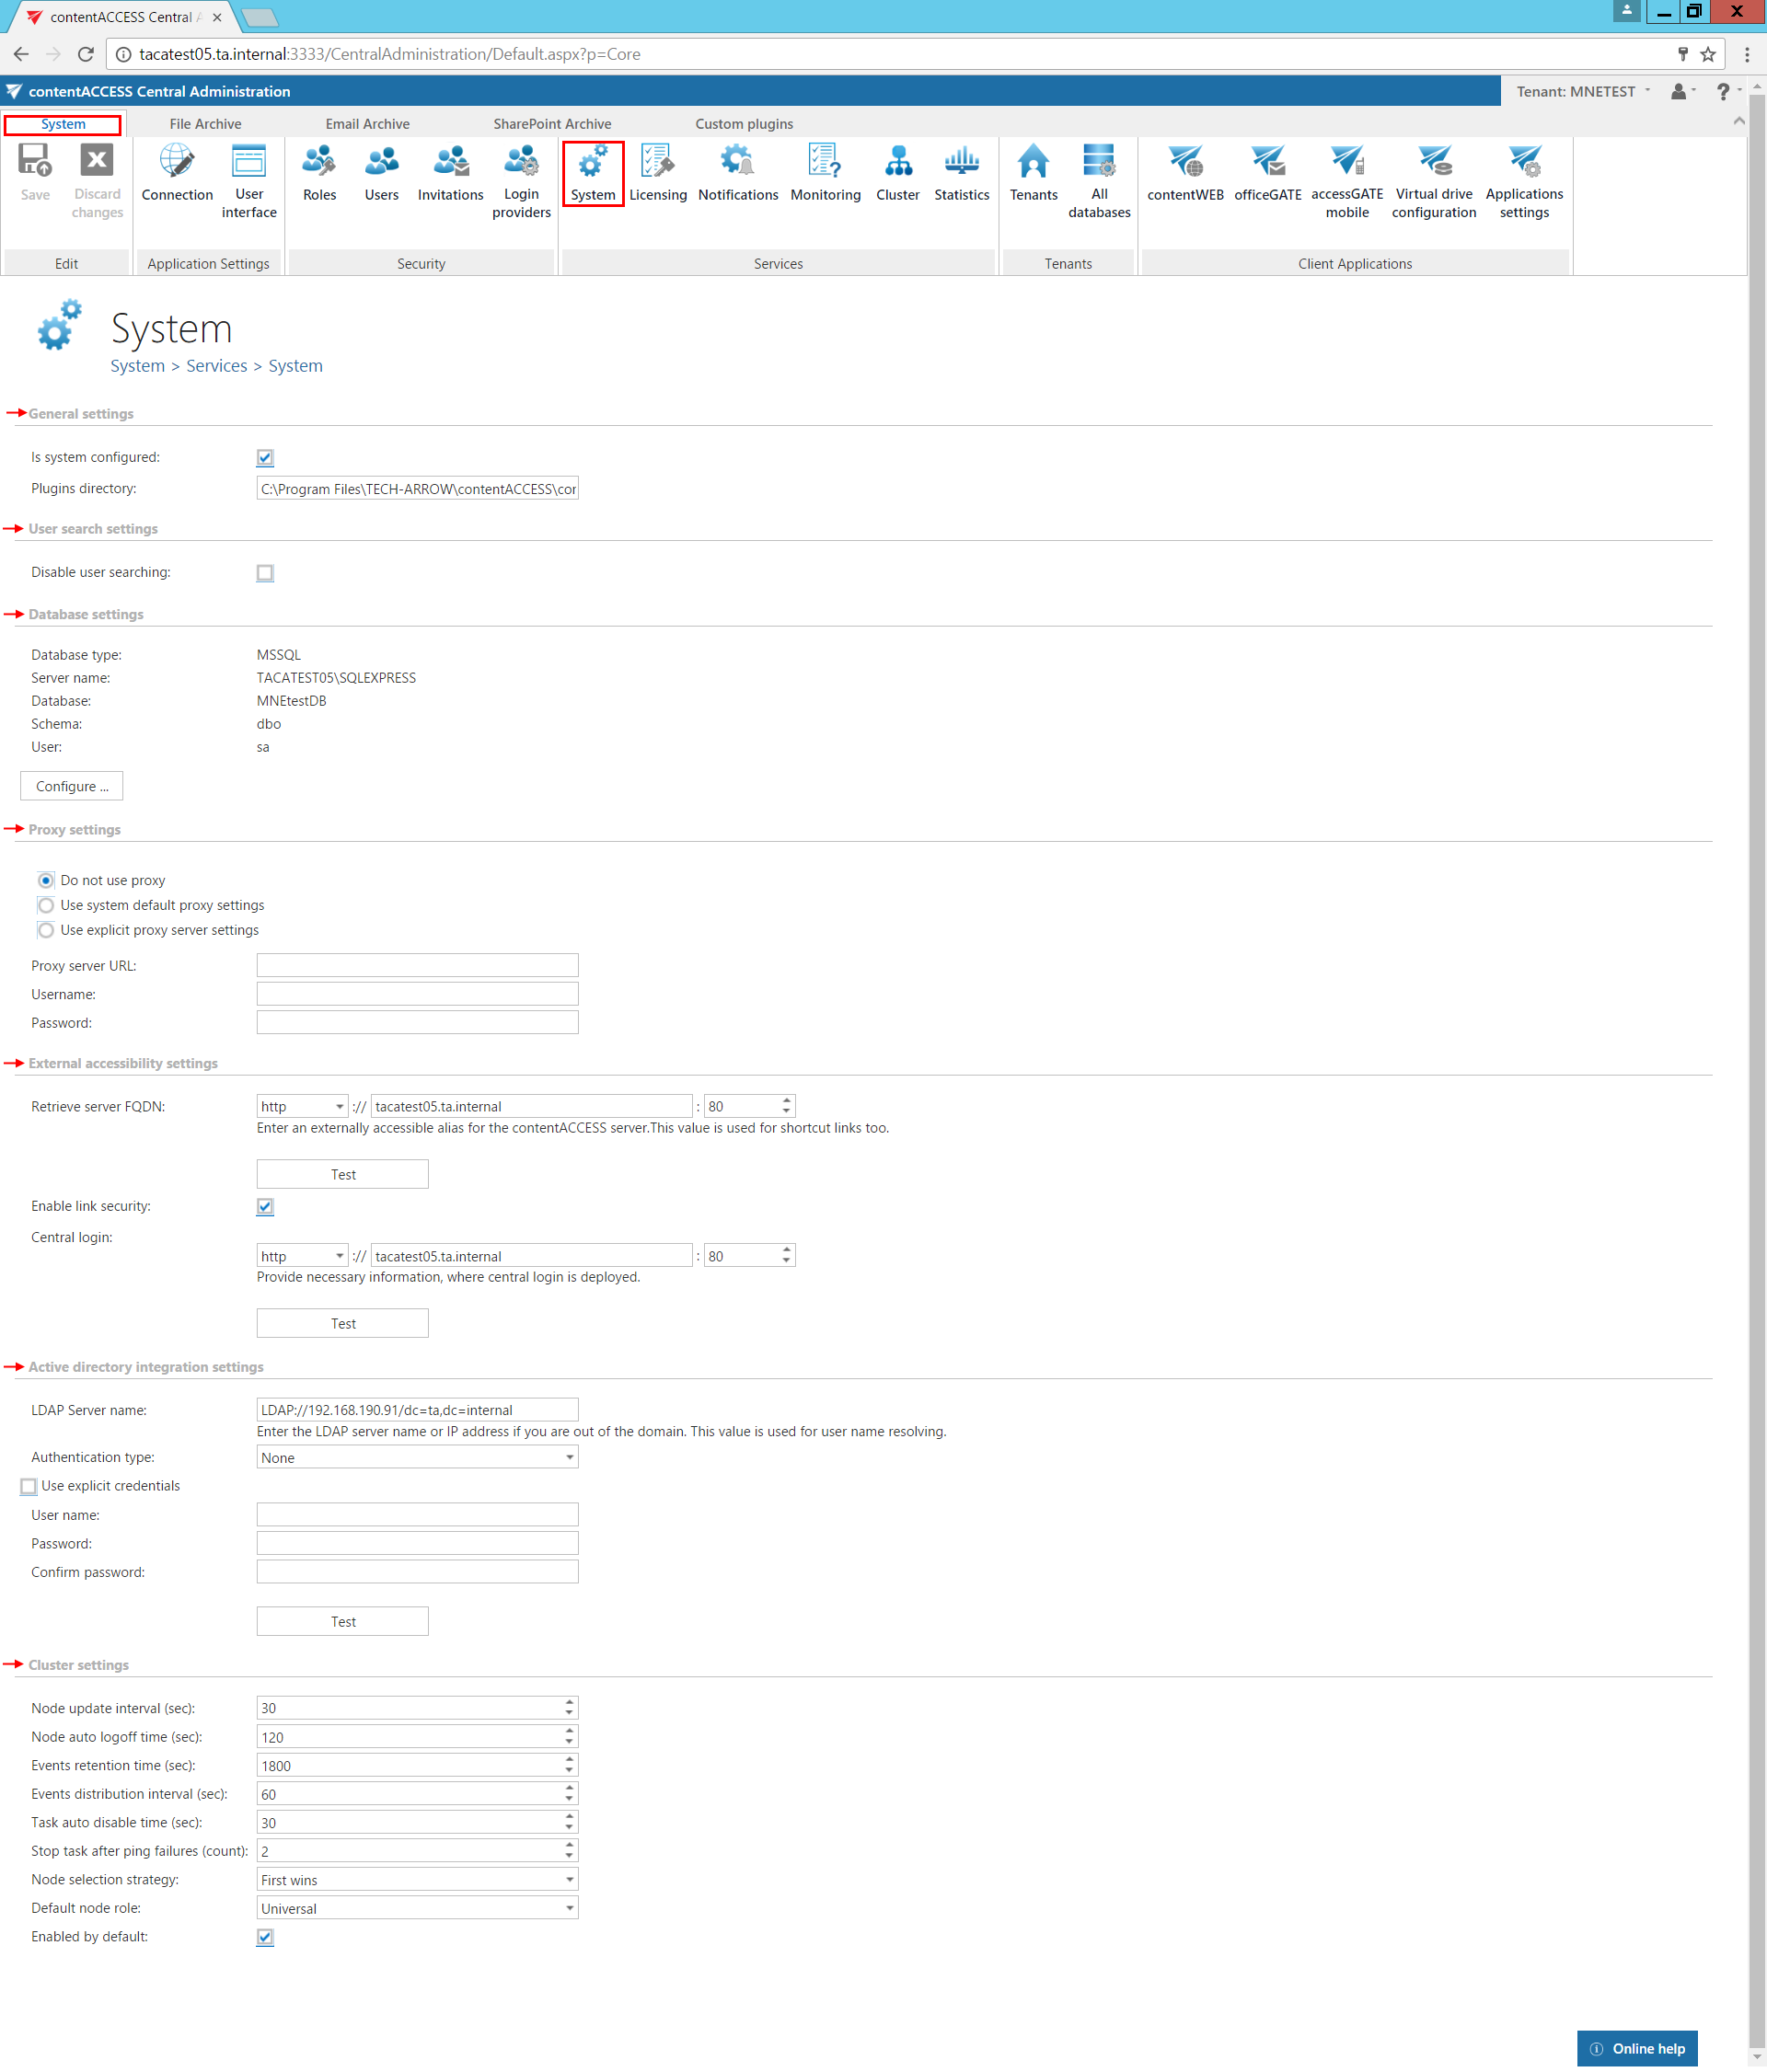
The “System” page (System ⇒ Services ⇒  System) consists of 7 configuration sections: General settings, User search settings, Database settings, Proxy settings, External accessibility settings, Active directory integration settings and Cluster settings. The first two sections are configured by the setup by default.
General settings
If the 1st checkbox is checked it means that the system is configured, thus connection to SQL Server database is well configured and the plugins directory is pointing to a correct folder. Until this checkbox is not checked, the contentACCESS will run in a so called “zombie” mode.
Plugins directory textbox contains the path where the processing plugins are stored on the server.
User search settings
By default this option is turned off. The feature is used to disable / enable user searching when assigning
- system administrator rights,
- tenant administrator rights,
- File Archive access rights and /or
- access rights to a certain Exchange mailboxes
- access rights to jobs, schedulers, retentions, databases, root connections, email archive shortcuts, storages, file archive aliases
for a contentACCESS user already existing in contentACCESS.
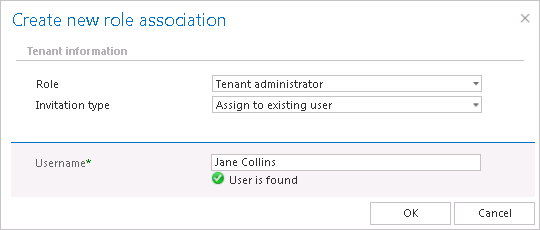
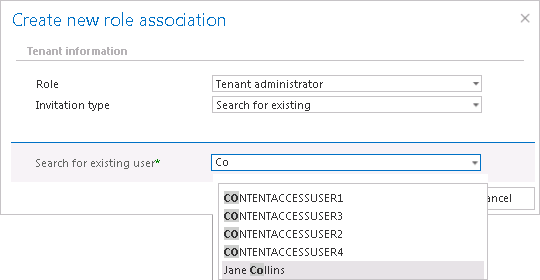
If the option is turned off, all the existing contentACCESS users are listed in the respective dialog when assigning the access rights (like on Screenshot B below). If the option is turned on, then the rights can be granted only in case if the correct contentACCESS User name is specified in the dialog (like on Screenshot A below). This configuration option is used if you have contentACCESS in a hosted environment and you want to hide the users of one customer from the other customer.
Database settings
Proxy settings
In this section the user can configure (or change already configured) URL and user credentials to the proxy server. The licensing component will use this proxy in order to reach the licensing server. The user has multiple options. He can:
- Use default proxy settings – based on the Proxy settings on the contentACCESS server machine (Control panel => Internet options => Connection tab => LAN settings => Proxy server section) or
- Use explicit proxy server settings (explicit proxy server URL and user)
- “Do not use proxy” option is used to disable proxy usage.
External accessibility settings
Under Retrieve server FQDN: enter the externally accessible, fully qualified domain name for the contentACCESS proxy server into the Server FQDN textbox (in case the contentACCESS proxy is not installed, then the domain name of contentACCESS server need to be entered here). The contentACCESS proxy server ensures the communication between the user and the contentACCESS, and forwards user requests to the contentACCESS server. These external accessibility settings are used by the shortcut links in the Email Archive system. If you have contentACCESS Email Archive and/or accessGATE Mobile, then this setting is mandatory. In all other cases this setting is also highly recommended.
Under Retrieve server FQDN is the option to enable link security:
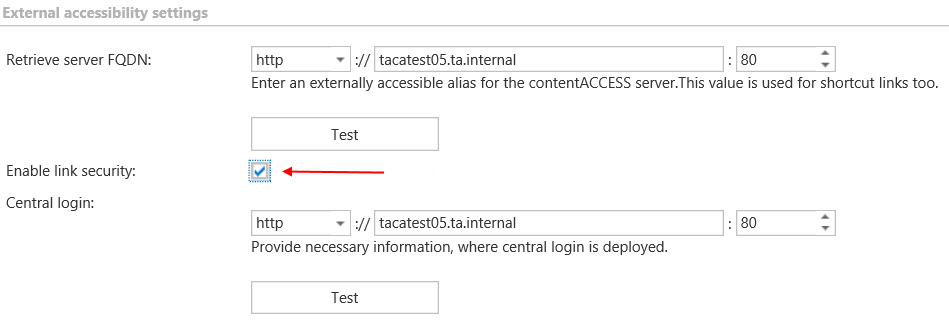
If you would like to protect the links in your mailbox pointing to archived items from unauthorized access, it is recommended to have this option turned on.
If this option is checked and you try to download some files, you will need to authenticate via CentralLogin. That means if you click on a link (download email, attachment, shared files), at first you will get to login page, then after succesful login you can download your file.
The following parts are affected:
- MailApp for archivation
- ShareApp links
- Email shortcuts
- contentACCESS Outlook add-in
- All download links for files, emails, attachments
Under Central login: the Central login page URL and communication port configurations (previously specified in the setup package by installing the product) are accessible here. The package writes here/reads from here the Central login page URL if it’s changed. Read more in Installation of contentACCESS.
Active directory integration settings
Some contentACCESS functionalities [like contentWEB access for mailboxes or Virtual Drive] require LDAP connection. Enter the required data and the user/administrator credentials into the user name and password textboxes over which you would like to connect to the active directory. It is not necessary to fill in these fields in case that you use an online Exchange server.
Cluster settings
contentACCESS supports clustering, which enables to run contentACCESS and its jobs on multiple nodes, and thus improve performance. To adjust default cluster settings, scroll down on the System page. At the bottom of page, the following can be adjusted:
Node update interval (sec): in time intervals, which is set here (in our case in every 30 seconds) each node will “ping” the central database and will update his state in it.
Node auto logoff time (sec): if an input has not been received by a node during the time period set here, the node will automatically switch to offline.
Events retention time (sec): events (i.e. commands to run a job, added/changed/removed job configurations, changes in already set schedulers etc.) that are shared and distributed between nodes will be stored in the database during this retention time.
Events distribution interval (sec): events to be distributed between nodes are written into the system database. These events are periodically checked by each node in time periods, which is set here.
Task auto disable time (sec): if any failure occurred when running of a node (server shutdown, hardware problems etc.), the task(s) performed by this specific node (job running, retrieving contents etc.) will be automatically disabled within the time set here.
Stop task after ping failures (count): the value which is set here will determine, after how many ping failures will be the task stopped. After the ping failure count reaches this value, all the tasks running on a node will be stopped.
Node selection strategy: the administrator can select here, how the nodes will be automatically selected for processing. A node that is picked up for a task can be selected according to one of these strategies:
“First wins” strategy – using this strategy the first running node will be picked for the task.
“Balanced” strategy – by this strategy type the CPU- and memory usage, and the number of running jobs will be considered before picking up the node for a task.
Default node role: the administrator can select here the default role type of a node added to the system. It is recommended to set here “Universal”, i.e. when the node can be used both for processing and retrieving data. Later on, the role type of a node can be adjusted with navigating to System ⇒ Services ⇒ Cluster on the Central Administration ribbon, in the nodes’ grid, from the nodes’ context menu.
Enabled by default: by default all nodes are enabled (the checkbox is checked), i.e. if contentACCESS service starts up, the nodes start the processing (to run jobs, publish models etc.), too. In case the user will install contentACCESS components on next nodes, it is recommended to disable the nodes (uncheck this checkbox). The reason for this is, that a node must be fully configured before he picks up any job for processing. Enabled status of a node is marked with green color, disabled status is signed with yellow color in the nodes’ grid.
