11.21.1.Email archive job configuration
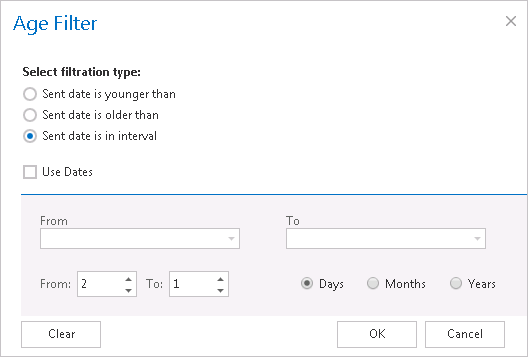
In this use case we will configure an email archive job, which will archive the mailbox items of mailbox “edit.balazsy@tech-arrow.com” that are older than 1 year but younger than 2 years. The archived items will be replaced with HTML shortcuts. The archive process will run each working day from 5 PM CET till midnight. By this processing type it is a must to configure the following sections on the job’s configuration page:
✓ Processing settings:
The administrator may select here, if he would like to use MAPI protocol to communicate with the Exchange server. EWS (Exchange Web Services) connection is selected by default, if MAPI is not selected here. It is important to know, that O365 Exchange server does not support MAPI connection. Another requirement to use MAPI is to have Exchange server 2013 or earlier version.
Since some other functions might still use EWS, the EWS connection must be configured in any cases.
With checking Split attachments option the attachment will be stored separately from the email body. By default this (recommended) option is always turned on.
On this use case we will use EWS and we will split the attachments, too.

For database settings select an already configured connection from the dropdown list, where the metadata will be stored. We have configured for our archived emails database “Email Archive DB”, so we set it here. (For further information how to set database connections please refer to section Databases).

In this step the running time(s) of the Email archive job must be selected. It is possible either to select a scheduler from the list or to create a new scheduler via create new… option from the dropdown list. For an email archive job it is recommended to set a Week schedule with repeat, which will start the job running at the same time on every day. In our use case we set a scheduler which starts the archive job each day after the business hours (starts at 5 PM CET and ends at midnight). (For more information about how to set schedulers refer to the section Schedules above.)

For storage settings choose an already configured storage from the dropdown list. The processed binaries will be stored here. On the screenshot below we selected our already configured disk type store: “Email Archive store”). (For more information how to set storages check section Storages above.)

In the mailbox the archived emails will be replaced with the shortcuts that is set here. You will be able to select from the shortcuts that you have previously configured in section Shortcut configuration above. If the mailbox items have not been archived yet (are archived for the 1st time), check the “Apply to NOT ARCHIVED items” checkbox. It is recommended to use HTML shortcut for emails/attachments that are 1 to 2 years old, so we select the “HTML_emails in age 1-2 years” shortcut here.

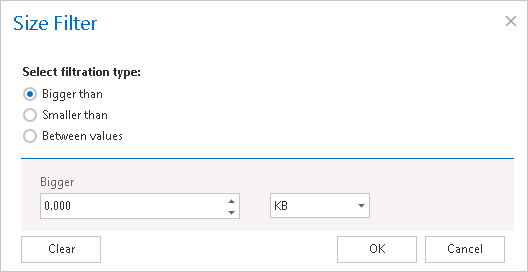
You can also set the age and size of the emails to be archived. For Age filter and Size filter settings click on the corresponding “Change” button and set the age of the emails that should be archived and the size of the items to be archived. The maximum size that can be set is 1024, and the available size units are: KB, MB, GB, TB. It is important to keep in mind that the sent date of the emails is the determinative date in case of the age filtering.
In this use case we will process all emails regardless of the file size, so we set the value to “0”.
✓ Retention settings:
Under Retention settings choose an already configured retention time from the dropdown list. The archived emails will be stored during this time in the storage, and it will be impossible to delete them from there. It is highly recommended to select a retention time which is required by the law of your country. (For more information how to set retentions check section Retentions above.)

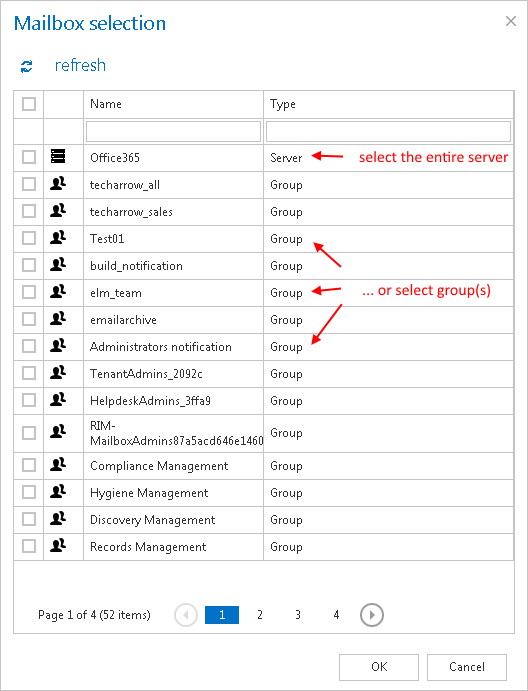
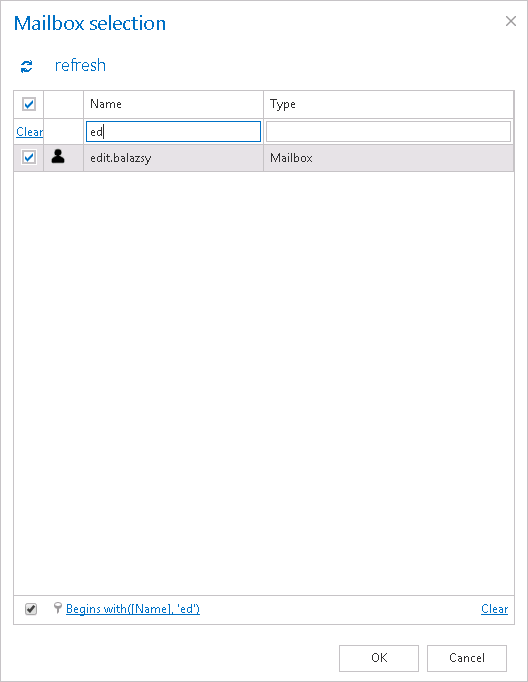
Here the administrator may select the mailboxes, groups or the entire Exchange server which will be processed by the archive job. Click on the
 select option and check the desired groups or servers in the Mailbox selection window, then click on OK. In this use case we will archive mailbox “edit.balazsy@tech-arrow.com”, so we select it from the list:
✓ Include folders:
Email archive job is crawling the entire mailbox or recursive folder structures from the mailbox for further processing. Before you enter the folder name(s) to be crawled, it is necessary to select the folder filtering type.

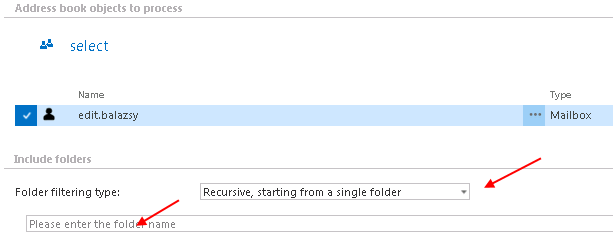
In our use case we select the whole “INBOX” to archive:

With this function you may set, which folders/subfolders should not be archived. If you would not like to exclude any folder from the archive process, you can skip these settings.
The folders may be excluded using one of the available methods: a) They may be added manually via the + new option; b) they may be imported in one of the available file formats via the import option.
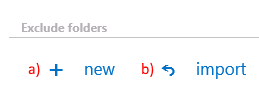
- Add exclude folders manually:
Click on + new option. In the Exclude folder dialog’s textbox specify the folder(s) to be excluded. Use the hints that are featured in the same dialog. %INBOX%\TECH-ARROW pattern on the picture below means that “TECH-ARROW” folder on the “INBOX” root folder will be excluded.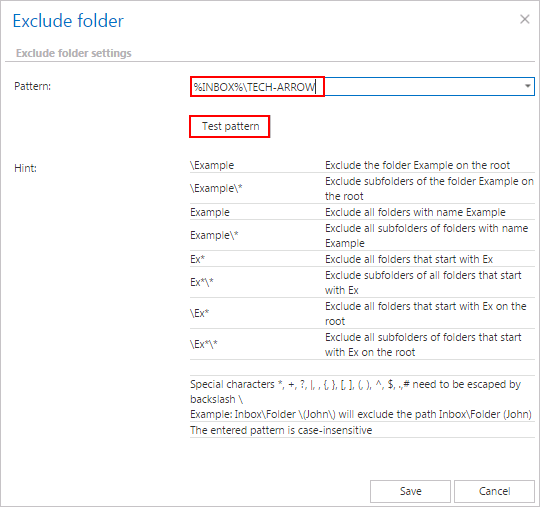
Test pattern button
This button is used to check, if the entered pattern will be suitable for the path that the user would like to exclude from the archiving process. With clicking on the Test pattern button, open the Test pattern matching window. Enter the folder path into the Folder path field (this time without the % sign), and click on Test button.The test will be successful, if the Pattern was entered correctly into the Exclude folder window.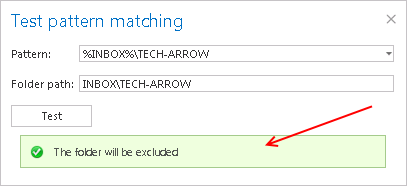
- Import the list of exclude folders:
Exclude folders may be imported from files in one of the available formats: CSV, XML, Tab delimited files or Space delimited file. The file to be imported must contain the list of exclude folders.
Important: Root folders must be specified in wildcards (%) in the import files. Subfolders must be added to a root folder with a backslash (\). To import such a file with the list of folders refer to chapter Importing contentACCESS configurations from files of this guide.
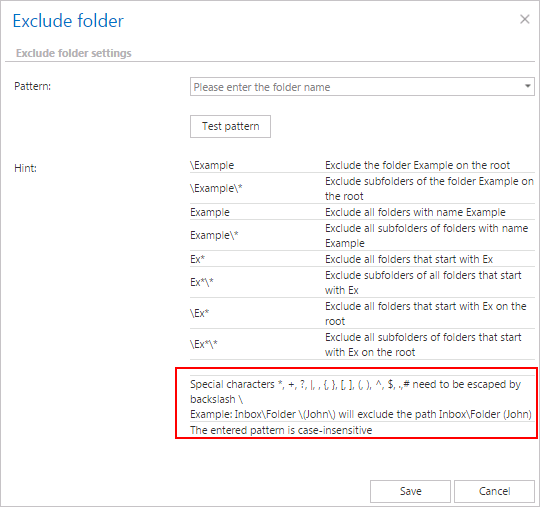
Excluding folders with special characters
Also the folders including special characters like brackets, hyphens, question marks etc. can be excluded from the archiving process. To exclude such folders from the archiving process, the special characters included in the folder(s) must be excluded using the backslash “\” escape character. The escape character must be added before the special character to be excluded, in the Exclude settings of the archive job’s configuration page.
E.g. you have such a structure in the mailbox: INBOX\Important (folder)
and the “Important (folder)” must be excluded (the special characters are the brackets), then you must specify the folder to be excluded like this: INBOX\Important \(folder\)
This information is available at the bottom of the Exclude folder window:
✓ Item filtering
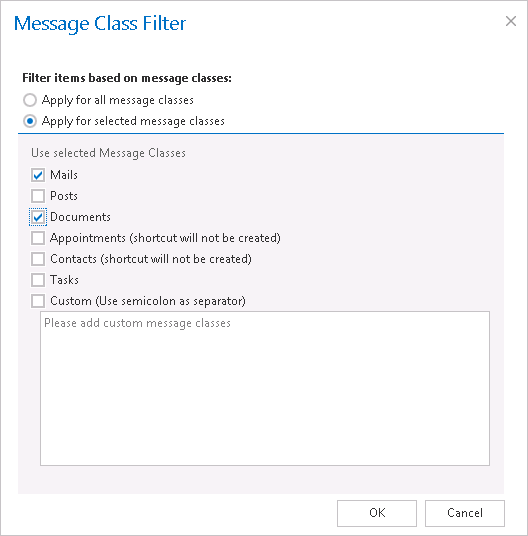
This configuration enables filtering among your items by their message class. Using this filter the user will be allowed to select different document types, such as mails, documents, contacts etc. to archive.
To set message class filters in the archive job activate the Message class filter button by checking the checkbox next to it, then click on the active button.

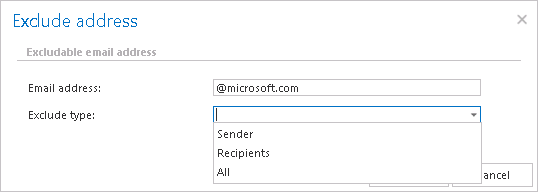
With the “Exclude addresses” feature you may exclude certain
- user mailboxes (e.g. john.arrow@tech-arrow.com) or
- domains (e.g. @microsoft.com) from the list of archivable messages.
The filtering option is configurable and it filters emails based on
- recipient(s),
- sender(s) or
- both (recipients and sender).
The list of ojects to be excluded may be
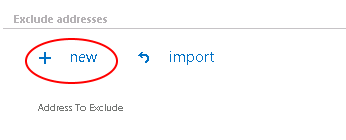
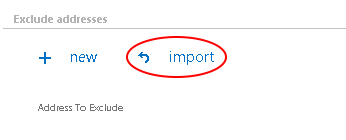
- Added to contentACCESS manually using the +new option;
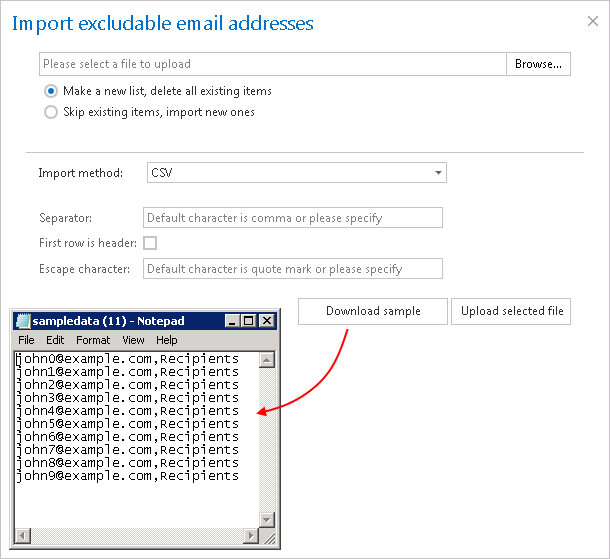
- Imported into contentACCESS from a file using the import option.
✓ Notification settings.
Select here, when you will need to get notification emails from the Email archive job. It is possible to set here, if you need such a notification email always/never, or, you need it only in case when an error/warning occurred during the archiving process − for example, if the archive of one or more items failed, then you may get a notification email about this error. Into the Recipient list textbox insert the email address(es) of the person(s), who will get such notifications. Notifications should be used if the administrator does not use the monitoring feature.

Set the value, which will determine how many items will be processed simultaneously by the email archive job. The recommended value is “2”.

Combining the shortcutting methods in an Email archive job
What are the advantages of combining the shortcutting methods for the user?
Companies use the “Keep original” archiving method on a daily base. This archive method ensures, that the emails and its attachments are ready at hand during the time when they are still in use. After certain time period (usually after 6 months) it is redundant to keep these emails in the mailbox(es), as they take up too much space. However, these emails must be still easily accessible at any time. From this reason, it is recommended to replace them with shortcuts, which save space in the mailboxes but guarantee easy access to the older mailbox items. With combining the shortcut methods the end user will easily achieve the demanded result.
This use case will demonstrate how to configure an Email Archiving job, which will archive the items older than 10 days, while keeping them in the original file location. The job will also replace these items with shortcuts after 6 months. The job combines the “Keep original” archiving method with the shortcutting after the item reaches a certain age (6 months in this use case). The size of the items to be archived and shortcutted can be set as well.
The following steps should be executed to set up an email archive job using the advantages of this method:
✓ Set up a new Email Archiving job and open its configuration page.
✓ Set all required sections on the job’s configuration page.
✓ On the configuration page of the Email Archiving job navigate to the “Shortcutting” section, and check the “Apply to NOT ARCHIVED items” checkbox.

✓ Apply the shortcutting to the items archived with the “Keep original” method, which are older than 6 months and larger than 100 kB. Choose HTML shortcut type, which will be used by the job.
Check the “Apply to ALREADY ARCHIVED items with keep original shortcutting method” checkbox. Choose the already configured “HTML” shortcut from the dropdown list. Set the sent date to 6 months and the size to “larger than 100 kB”.
USE CASE: How to set up the shortcutting if all items should be archived and items under 100 kB should be kept in the original location, while items over 100 kB should be replaced with shortcuts? In this use case set the size filter in the 2nd!!!! row only (refer to screenshot above) to >100 kB and do not set a size filter in the 1st row.
✓ Save your settings and wait until the job starts to run according to the configured scheduler.

