4.1.Installing Outlook forms
In Microsoft Outlook, each of the windows where you enter content — for example, a new email message or a new calendar appointment—is called an Outlook form. These default forms are stored in the Standard Forms Library for Outlook. There are additional libraries as well, including Personal Forms and Organizational Forms if you have an Exchange Account. Each folder within the Outlook hierarchy has a default Outlook form associated with it. As you would expect, a mail folder such as your Inbox has the Message form as the default, and the Contacts folder opens the Contact form as its default.
When archiving MS Exchange contents, the contentACCESS MS Outlook forms are used to open an HTML shortcut – which replace the archived email message – transparently with the original email message. If the forms are installed, then the end user will not notice any change between the original email and the archived (shortcutted) one.
There are 3 contentACCESS Outlook forms available. For the correct functionality all these forms must be installed.
- CA_techarrow.oft – is used to transparently open the standard archive messages
- CA_R_techarrow.oft – is used to transparently open the replied archive messages
- CA_F_techarrow.oft – is used to transparently open the forwarded archive messages from the mailbox.
To install Outlook forms, open the Tools section in the contentACCESS installation wizard => click the Outlook forms option.
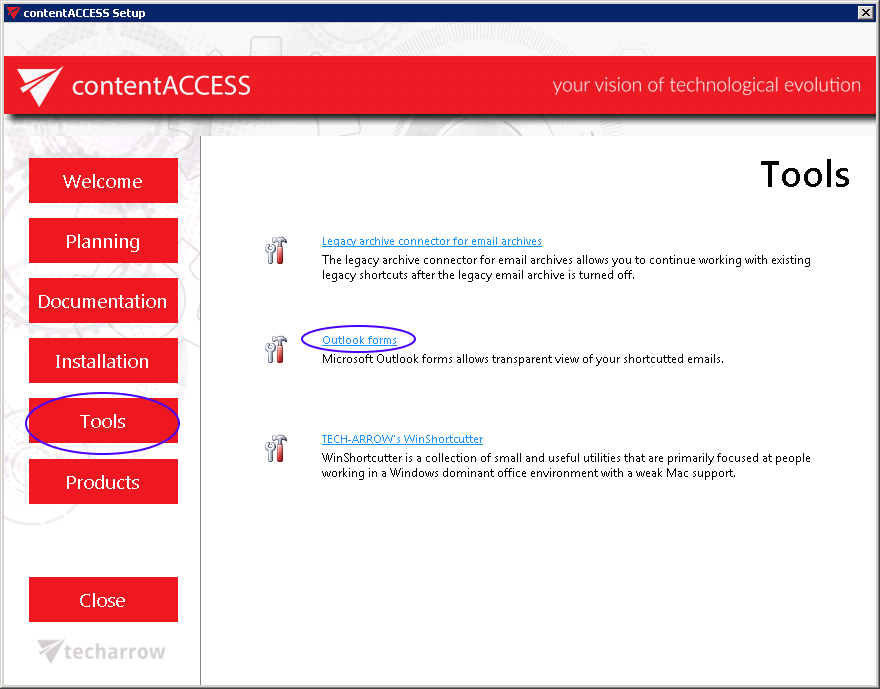
By clicking the option the Install Outlook forms window opens:
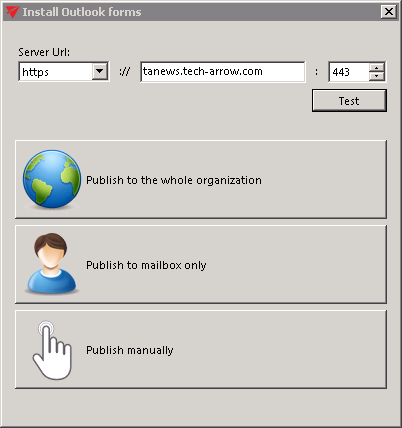
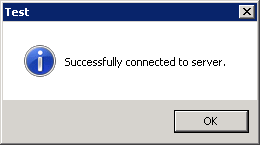
First the administrator needs to set the contentACCESS retrieve server (contentACCESS Proxy) URL. This option allows to install the forms for HTTP and HTTPS Proxy, too. It is also recommended to test the connection with the server.
The application simplifies the Outlook form publishing, by providing an automated way for publishing. The application allows automatic publishing of the forms to the Organization forms library but also to publish the forms into the user Personal forms library.
- Publish to the whole organization (Organizational forms library) – this is the recommended method, because the forms must be published once and will be available for the whole organization.
- Publish to mailbox only (Personal forms library) – if it’s not allowed to publish to Organizational forms library (Office 365 doesn’t have Organizational forms library), then this option is used.
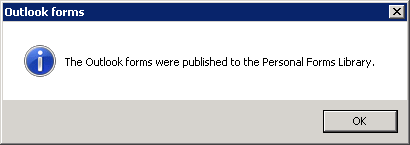
By publishing to Organizational and/or personal forms library, Outlook starts automatically. If forms were published successfully, the user is warned about this:
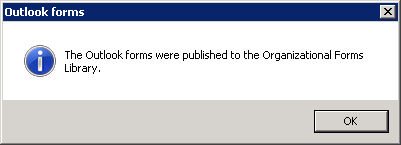
Requirements for automatic publishing are the following:
- Outlook x64 2013 and higher
- The user account running the application must have the necessary permissions
If the requirements for automatic publishing are not fulfilled, manual publishing is used:
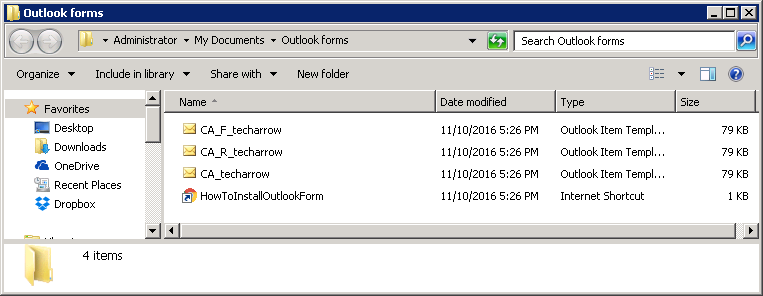
- Publish manually: you need to select a folder, where the forms will be exported together with the link pointing to the Outlook forms installation manual.
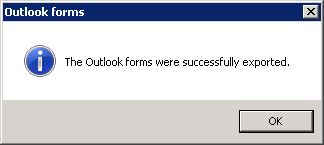
Once exported, the folder will be opened and you can deploy the forms using the steps described in the manual (click to get the link to the manual).
During the email archive process, the archive job changes the message class of the email messages:
- Standard messages – get the IPM.Note,CA message class
- Replied messages – get the IPM.Note.CA.R message class
- Forwarded messages – get the IMP.Note.CA.F message class
Based on these message classes, the Outlook forms mark the archived emails with the following icons:
- Standard messages –

- Replied messages –

- Forwarded messages –

There are 2 possible ways how to solve this:
- Use an earlier version of MS Outlook to publish the Outlook Forms;
- Publish the Forms to your Personal Forms Library and then use the Outlook Options ⇒ Advanced ⇒ Developers group ⇒ Custom Forms… ⇒ Manage Forms functionality to copy the form from Personal Forms to Organizational Forms.
