16.Virtual drive configurations
What is a virtual drive?
It is a virtual file system that presents/virtualizes any data (files and folders of an actual disk) to the end-user. Virtual drive is a non-existing drive that does not physically exist in the computer, but it contains the exact structure of the items that have been processed by contentACCESS.
The contentACCESS Virtual Drive was developed by TECH-ARROW and serves as a key access point between the end user and the contentACCESS File Archive. Virtual Drive is a must-to application for user who have File system Archive and would like to use shortcutting. The user can view their archived files from here. A file opened through the Virtual drive is opened in read-only mode. By default only the active items can be viewed on the virtual drive (active items = items in the archive, which have an original file or shortcut in the file system, too). To enable inactive view, the “Show inactive view” checkbox must be selected on the Virtual drive configuration page. This drive can be also shared with another users, so they can easily browse for their associated archived files in case of need. The original folder/ item permissions are also applied for the files/ folders in virtual drive. A user can access only the items on which he has access permissions in the original file system.
After the Virtual drive was installed (link to the Virtual drive setup is accessible in the Tools of the contentACCESS setup package), it is necessary to configure its settings on the Virtual drive configuration page.
In contentACCESS Central Administration navigate to System tab ⇒ Client Applications ⇒ Virtual drive configuration control to open this page:
Enter the server name – where virtual drive (henceforth “VD”) is installed – into the Virtual drive server name textbox. To load the actual settings of VD click Load virtual drive settings button.
contentACCESS server connection
It is possible to connect the Virtual drive to contentACCESS either through net.pipe connection or through the contentACCESS proxy with a secure (HTTPS) or insecure (HTTP) connection, or directly, over HTTP connection.
The net.pipe communication is the fastest way of the communication between the Virtual drive and contentACCESS and it is using shared memory for the communication. The disadvantage is, that this type is possible only if the Virtual drive and contentACCESS server is installed on the same machine. In such cases this is the reccommended communication type.
The connection through the proxy is recommended, if the virtual drive is installed somewhere in the cloud, or on a server which differs from the contentACCESS server. It is recommended to use a direct connection (without using the proxy), if the virtual drive and contentACCESS are installed on the same server.
- Virtual drive configurations, if secure communication should be used (over the proxy):
The proxy must be installed over HTTPS connection (HTTPS connection must be selected during the installation process of the proxy);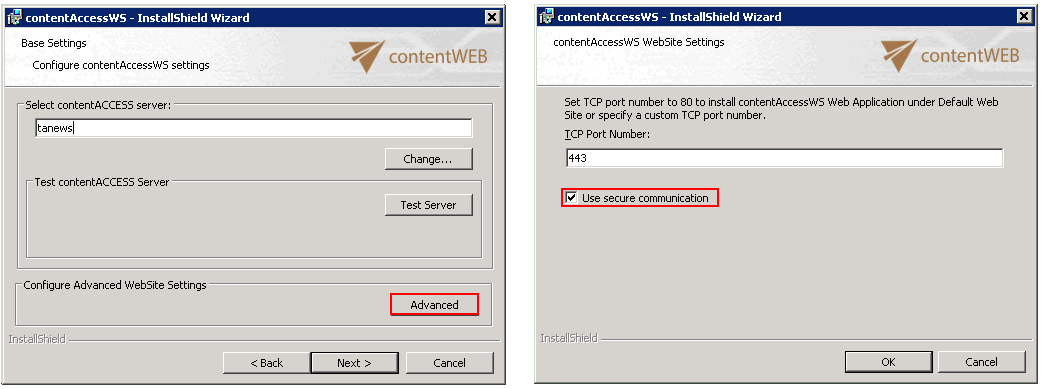
In Central Administration, on the Virtual drive configuration page:The connection of the Virtual drive to contentACCESS must be established over a HTTPS connection; port 443 must be entered into the connection URL.
- Virtual drive configurations, if the virtual drive will connect to the contentACCESS server directly:
In Central Administration, on the Virtual drive configuration page: By a direct connection select HTTP connection when specifying the contentACCESS server name URL. The virtual drive and contentACCESS are installed on the same server, so the “localhost” URL can be configured. Enter 8736 for the port number.
- Virtual drive configurations using net.pipe for communication, if Virtual drive and contentACCESS are installed on the same machine:

In the next steps it is required to specify the user, over which VD will connect to contentACCESS.
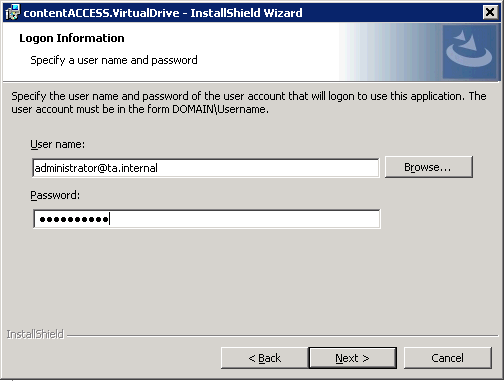
To establish the connection with the contentACCESS server, the system user, or a Windows user can be used. The Virtual drive will connect to contentACCESS over these credentials. By default, the contentACCESS system user is used for this connection. If you do not want to change these connection settings, leave the “Use Windows authentication checkbox” unchecked. To enable the connection with Windows account the following steps must be performed:
- When installing the Virtual drive the Windows user credentials should be specified. This VD service (GATE.contentAccess.VirtualDrive.Service) user will be taken to log in to contentACCESS.
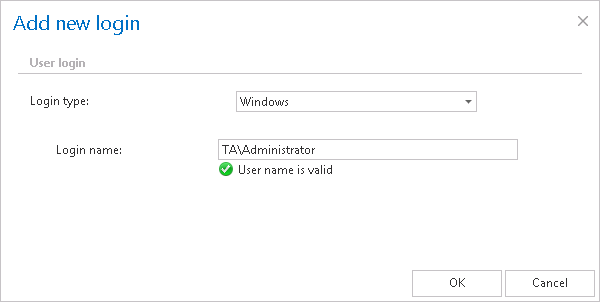
- In contentACCESS the corresponding Windows user login needs to be created (under System ⇒ Security ⇒ Users…double click on the user…add Windows user login in the User logins section…fill required fields in the Add new login dialog).
- On the configuration page of virtual drive, the “Use Windows authentication” checkbox must be selected:

The main advantage of a Windows user is: if the system user credentials are changed by the user and he forgot to change it in the Virtual drive settings, Virtual drive will be disabled to connect to contentACCESS. If a Windows user is used, such problems can be avoided.
To finalize the VD configuration continue with configuring the following settings. Some of them are set by default, these can be left as they are:
Cache size limit (MB): When opening archived data, the processed data are cached to unburden virtual drive from unnecessary operations, or to shorten access time to this data. This function helps to unburden the VD server. Here we can define the maximum size of data, which will be downloaded and stored by the virtual drive. In our case we set this limit on 1,000 MBs (=1 GB).
Cache timer interval (ms): The time set here will define the intervals when the cache is “cleaned”. At the intervals which are set here, the cache will check if the cache size limit has not been exceeded.
Debug: If you check this textbox, then all errors, warnings that have been noticed will be written into the .log file or into the debug view. It is recommended to turn on this function only if the user notices some problems with running of virtual drive, otherwise these notifications might slow down the operations.
Download locally: contentACCESS data can be stored a) as files in the cache, or b) as content in the memory. If you check option “Download locally”, then files will be stored in the cache.
Folder refresh interval(s): The virtual drive folder will be refreshed in time intervals which is set here. At these intervals the newly archived files will become visible in the virtual drive folder.
Root mount point: Here you can choose an available disk for the Virtual drive. By default it is “disk Z”, but it is allowed to change it.
Temp path: Any files that are opened through virtual drive will be stored temporarily here.
Timeout: The duration of running of all operations can be determined here. After this time period the operation will be interrupted. Value “0” means that the operation will be waiting to infinity.
Show inactive items: the user may set here, if he wants to see the inactive items (items in the archive, which do not have an original or shortcut in the file system) in the virtual drive, or not. In default view, the active items are shown only.
Virtual drive status: This will show the current state of the virtual drive. With the buttons below you can start/stop the virtual drive. To connect to the G drive and start the virtual drive click on Start virtual drive.
Do not forget to save the configurations.