10.19.Configuration of File system shortcut synchronization job
This job is able to process and update shortcuts, which are pointing to files in the archive.
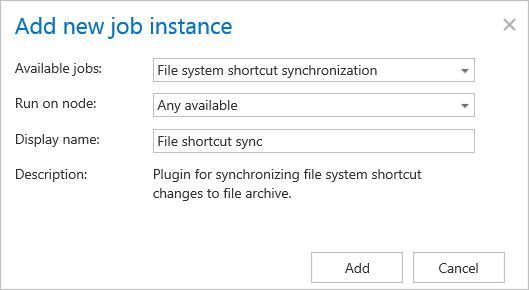
Go to Jobs -> Add new -> File system shortcut synchronization.

On the job’s configuration page go through the following sections:
✓ Scheduling settings
In this step the running times of the job must be selected. It is possible either to select a scheduler from the list or to create a new scheduler via the “Create new …” option.

✓ Retention settings
Here it is possible to choose an already configured retention time from the dropdown list. The archived files will be stored during this time in the storage and it will be impossible to delete them from there. It is highly recommended to select a retention time that is required by the law of your country. (For more information on how to set retentions check section Retentions).

✓ Processing settings
The processing settings specify the functions, which should be executed inside the job.
- The “Allow to update folder and file permissions” checkbox enables the permission updating funcionality for the folders and files.
- The “Allow to update folder path based on the shortcut location” checkbox turns on/off the folder path synchronization.
- The “Allow to clean up orphaned shortcuts” checkbox turns on/off the function that deletes shortcuts, which are pointing to files that were deleted (purged) by the Delete job.

✓ Folders to process
In this section the user is required to select the folder(s) that will be involved in the job. There are two available options how the list of folders may be specified:
- The folder(s) may be added via +new option. In this case the folder(s) must be added manually one-by-one. Click on +new to open the File Path dialog.
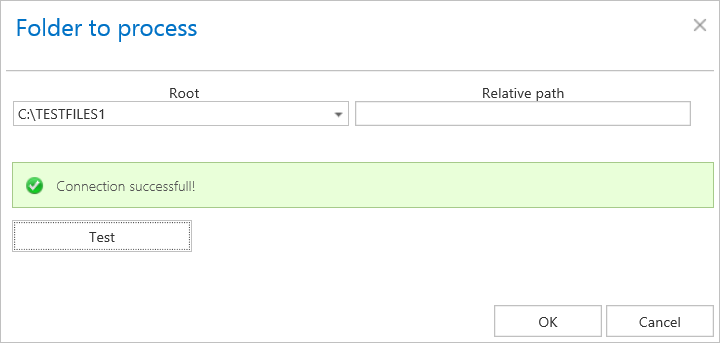
Click on “new” to specify the folder(s) to be processed. In the “Folder to process” dialog unroll the list of already created roots and select the one that should be applied. This dropdown lists the roots that are already configured (in File Archive settings: File Archive ⇒ Settings ⇒ Root folders). Enter the Relative path if necessary, test the path via the “Test” button and click “OK”.


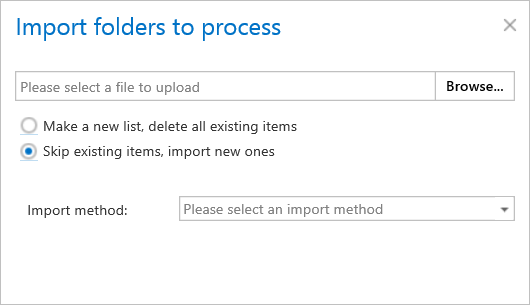
- The folder list may be also imported from a file. The file to be imported must contain the list of folders that should be processed. Click the import button and the Import file location dialog opens. Specify here the required settings according to chapter Importing contentACCESS configurations from files of this guide.


✓ Resource settings
Set the value, which will determine how many items will be processed simultaneously by the delete job. The recommended value is 2, as in our case.

At the end never forget to save your job configurations: click on Save in the upper left corner of UI.
