12.21.1.Journal post processing job configuration
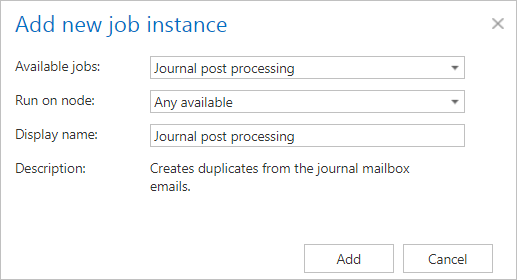
Go to Jobs -> Add new -> Journal post processing.

On the job’s configuration page go through the following sections:
✓ Scheduling settings
In this step, the running time(s) of the job must be selected. It is possible either to select a scheduler from the list or to create a new scheduler via create new … option from the dropdown list.

✓ Address book objects to process
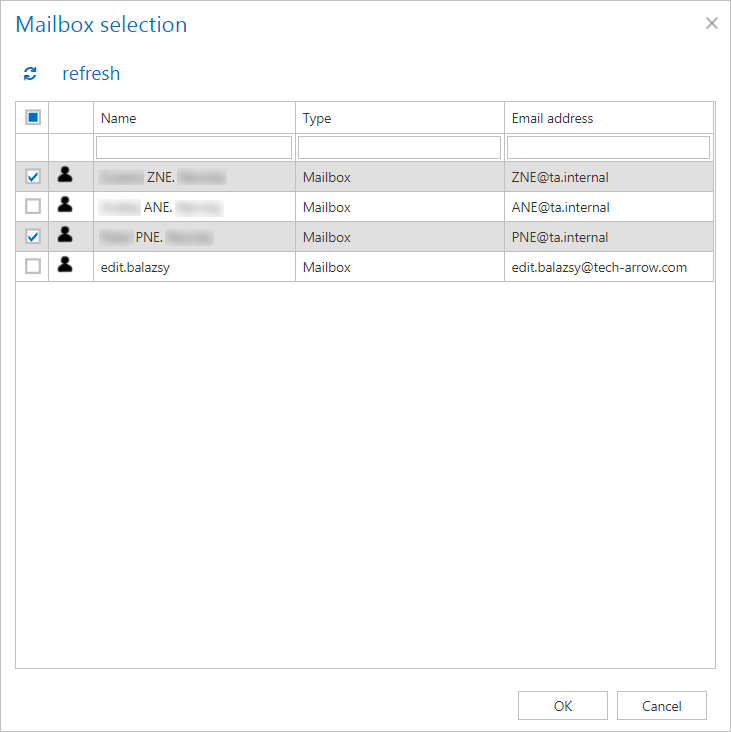
Here the administrator may select the mailboxes that will be processed by the job. Only the mailboxes marked as Process as journal are listed in the selection dialog. Click on the  select option and check the desired mailboxes in the Mailbox selection window, then click on OK.

✓ Notification settings
Select here, when you will need to get notification emails from the job. It is possible to set here if you need a notification email always/never, or you need it only if an error/warning occurred during the process. Into the Recipient list textbox insert the email addresses of the people whom you would like to send these emails to – if there are multiple recipients, the addresses must be separated by “,” or “;”.

✓ Resource settings
Set the value, which will determine how many items will be processed simultaneously by the job. The recommended value is 2, as in our case.

At the end never forget to save your job configurations: click on Save in the left upper corner of UI.
