11.17.Configuration of a File system restore job
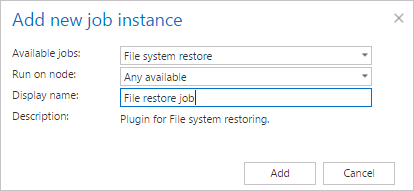
File system restore jobs are used to restore already archived items from shortcuts back into the original file location. To create a restore job, navigate to File Archive ⇒ Archive ⇒ Jobs button (File archive jobs page), and click on +new. In the Add new job instance dialog, select File system restore job from the dropdown list, select a node where the job should run from the Run on node dropdown list (if you would not like to specify a node here and the job should run on any available node, then select “Any available”), enter a Display name and click on Add.

✓ Scheduling settings:
In this step the running times of the restore job must be selected. It is possible either to select a scheduler from the list or to create a new scheduler via create new option. Restore jobs are run only in specific cases. In most of the cases a One time scheduler is used for the restore job (e.g. with start date 7th of September as in our case). (For more information about how to set schedulers refer to the section Schedules above.)

✓ Folder to process
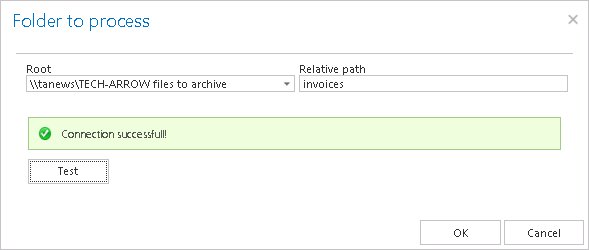
In this section you have to select the local folder(s) or remote share(s) where the shortcuts — which replaced the original files — are located. The job will restore the original files from these shortcuts. There are 2 methods how these folders may be specified:
Import the folder path(s) to be restored from a file. Click “import”, browse for the import file, select the import method and specify the required settings, then upload the file with the desired file path(s). Learn more about importing files in chapter Importing contentACCESS configurations from files of this guide.
✓ Exclude folders
With this function, you may set which folders/subfolders should not be restored. The same rules as in the file archive job apply for these settings. If you would not like to exclude any folder from the restore process, you can skip these settings.
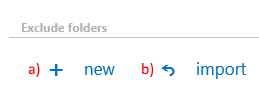
The folders may be excluded using one of the available methods: a) They may be added manually via the + new option; b) or may be imported in one of the available file formats via the import option.

- Add exclude folders manually:
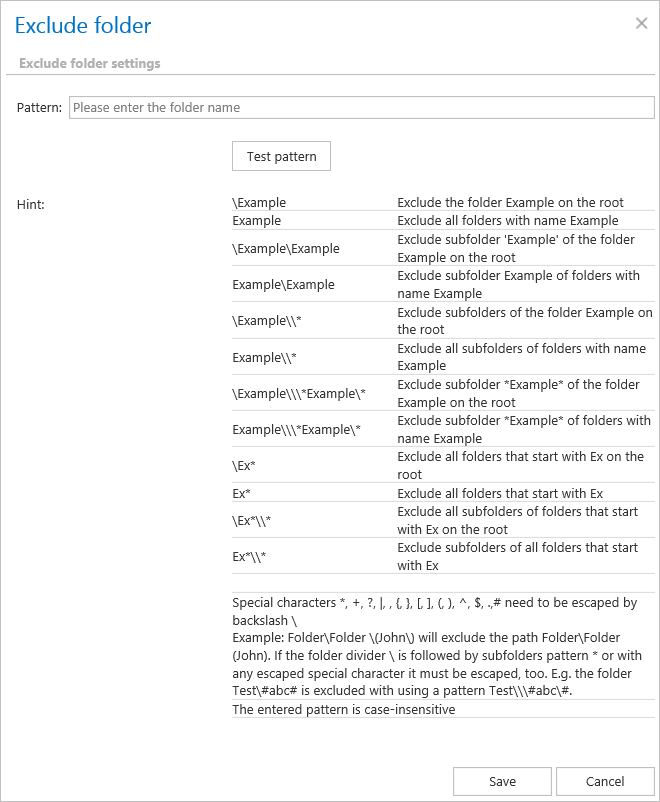
Click on + new option. In the Exclude folder dialog’s textbox specify the folder(s) to be excluded. Use the hints that are listed in the same dialog. the same dialog.
- Import the list of folders:
Folders to be excluded may be imported as files in one of the available formats: CSV, XML, Tab delimited files or Space delimited file. The file to be imported must contain the list of folders to be excluded. To import such a file with the list of folders refer to chapter Importing contentACCESS configurations from files of this guide.
✓ Modification date
This section allows to command to a restore job to restore the archived item a) either with the original modification date [original modification date (default)], or b) with the date of restore (restore date).

✓ Notification settings.
Select here the cases, when you will need to get notifications from the File Archive restore job. It is possible to set here if you need a notification email always/never, or you need it only if an error/warning occurred during the restoring process − for example, if the restore of one or more documents failed, then you will get a notification email about this error. Into the Recipient list textbox insert the email addresses of the people, whom you would like to send these emails to. Notifications emails may be used as means of troubleshooting of possible failures/errors. (In this use case we do not require such notifications, so we set it to “Never”)

✓ Resource settings.
Set the value, which will determine how many items will be processed simultaneously by the file restore job. The recommended value is “2”.

The restore job has finished its task. The restored items can be viewed with the restore dates in the original file location.


