12.19.1.Email restore job configuration
For this processing type the following sections must be configured:
✓ Report mode settings:
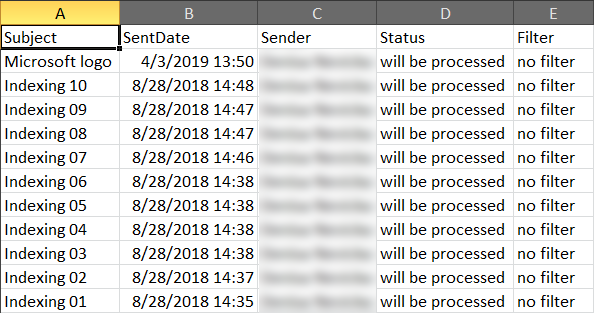
If the Use report mode checkbox is checked, the job will run in report mode. After the job finishes its run in this mode, the user will be able to download a .csv report file here in this section. The file will contain a list of emails that belong to the entities selected in section Address book objects to process of the job and some information to them, including whether they will be processed or not.

✓ Scheduling settings:
In this step the running time(s) of the restore job must be selected. It is possible either to select a scheduler from the list or to create a new scheduler via create new option. Restore jobs are usually scheduled with “one time schedulers”. Our restore job will run on 1st of October, with a start date 6 PM CET and will run until it finishes the restore process. (For more information about how to set schedulers refer to the section Schedules above.)

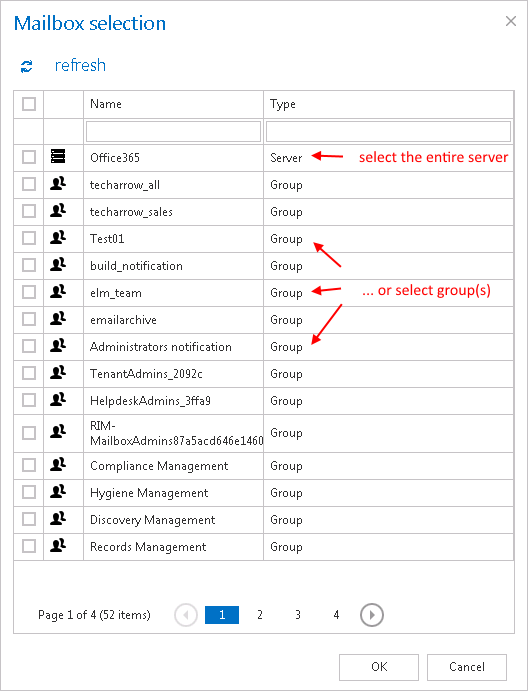
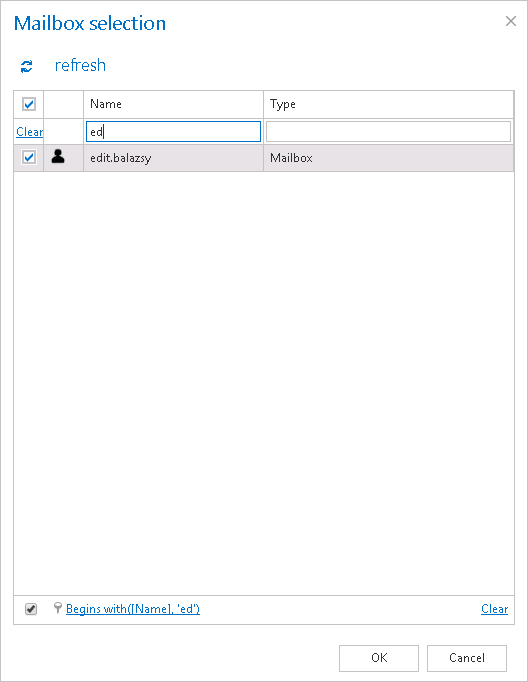
Here you can select the mailboxes, groups or the entire Exchange server that will be processed by the restore job. In this use case, we will restore the mailbox of “edit.balazsy”, so we select it from the list. To find it, we click on the
 select option and start to write the mailbox name into the Mailbox selection search field:
Steps to take:
- open job’s configuration page
- remove the group from the list of Address book objects to process
- select the group and re-add it to the list
- save the job configuration
✓ Include folders:
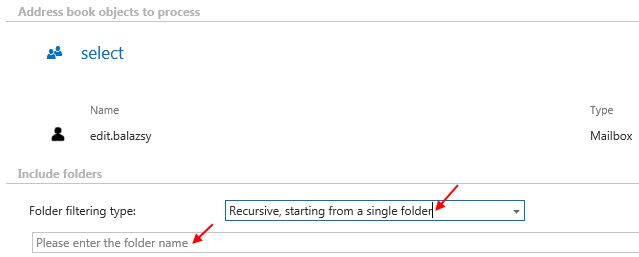
Email restore job is crawling the entire mailbox or recursive folders from the mailbox. Before you enter the folder name(s) to be crawled, it is necessary to select the folder filtering type.

How to restore the whole mailbox? It is important to bear in mind that by selecting “Recursive, starting from a single folder” filtering type under “Include folders” section and leaving the folder path textbox empty, the whole selected mailbox will be restored:
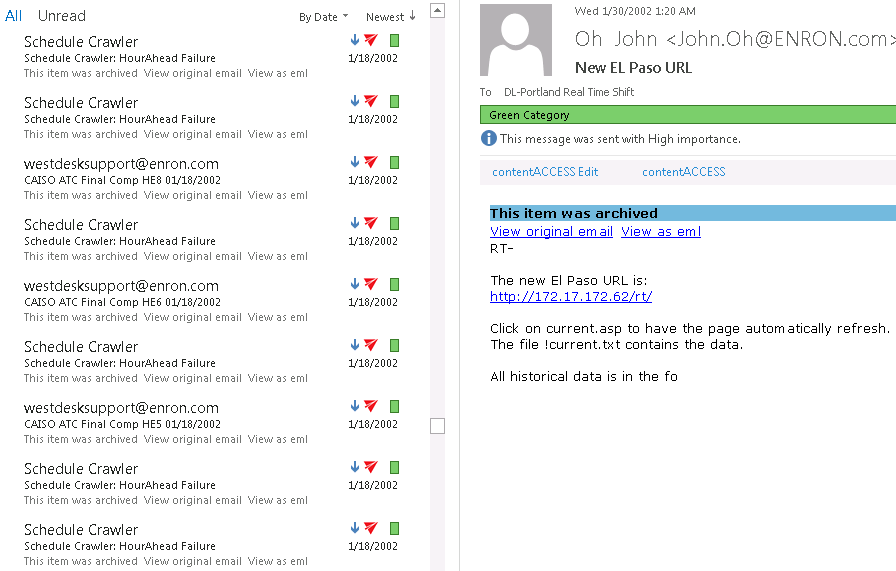
Now we will restore the content of single folder “Subfolder 1” on the “INBOX” root (check screenshot).

With this function, you may set which folders/subfolders should not be restored. The same rules apply for the restore job as for the archive job. The folders may be
- added (via the + new option) as it is described in the Email archive job configuration or
- imported (via the import option).
To learn more about these settings refer to chapter Importing contentACCESS configurations from files of this guide.
✓ Filtering settings
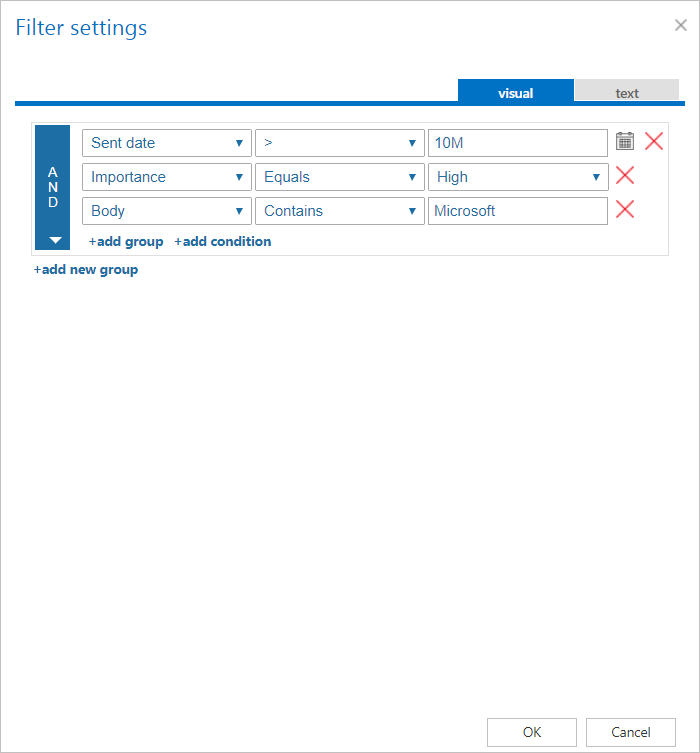
Click on the Change filter button and set the filtering according to your needs and/or regulations. To learn more about how to work with filtering settings, please, check this section of our documentation.
✓ Notification settings.
The user may select here, when to send notification emails from the restore job regarding the successfulness of the restore process. It is possible to set here if you need a notification email always/never, or you need it only in case when an error/warning occurred during the restoring process. Into the Recipient list textbox insert the email address(es) of the person(s), whom such notifications will be sent to. Notification emails may be useful if the System logs feature is not used to detect possible failures of job running.

The administrator may select here if he would like to use MAPI protocol to communicate with the Exchange server. EWS (Exchange Web Services) connection is selected by default if MAPI is not selected here. It is important to know that O365 Exchange server does not support MAPI connection. Another requirement to use MAPI is to have Exchange server 2013 or earlier version. Since some other functions might still use EWS, the EWS connection must be configured in any case.

Set the value, which will determine how many items will be processed simultaneously by the email archive job. The recommended value is “2”.
✓ Save your changes!
✓ Wait until the job starts to run according to the schedule.
If the job finished processing, the shortcuts linking to the matching items will be replaced by originals in your “Subfolder 1” folder.
