15.3.Teams archive Provisioning settings
The provisioning job
- Synchronizes users of the Teams specified on the Provisioning settings page to the Teams archive Address book
- Verifies the user’s Teams memberships and records these memberships to contentACCESS
- If contentWEB user creation is turned on in the Address book for an object (Teams/Team groups/Teams’ users), it creates a contentWEB user for the object users with an Office 365 authentication type
- Based on the roles assigned in the Address book, it gives permissions on the specific Teams
In contentACCESS, a provisioning job is created automatically when Teams Archive is activated for the first time.
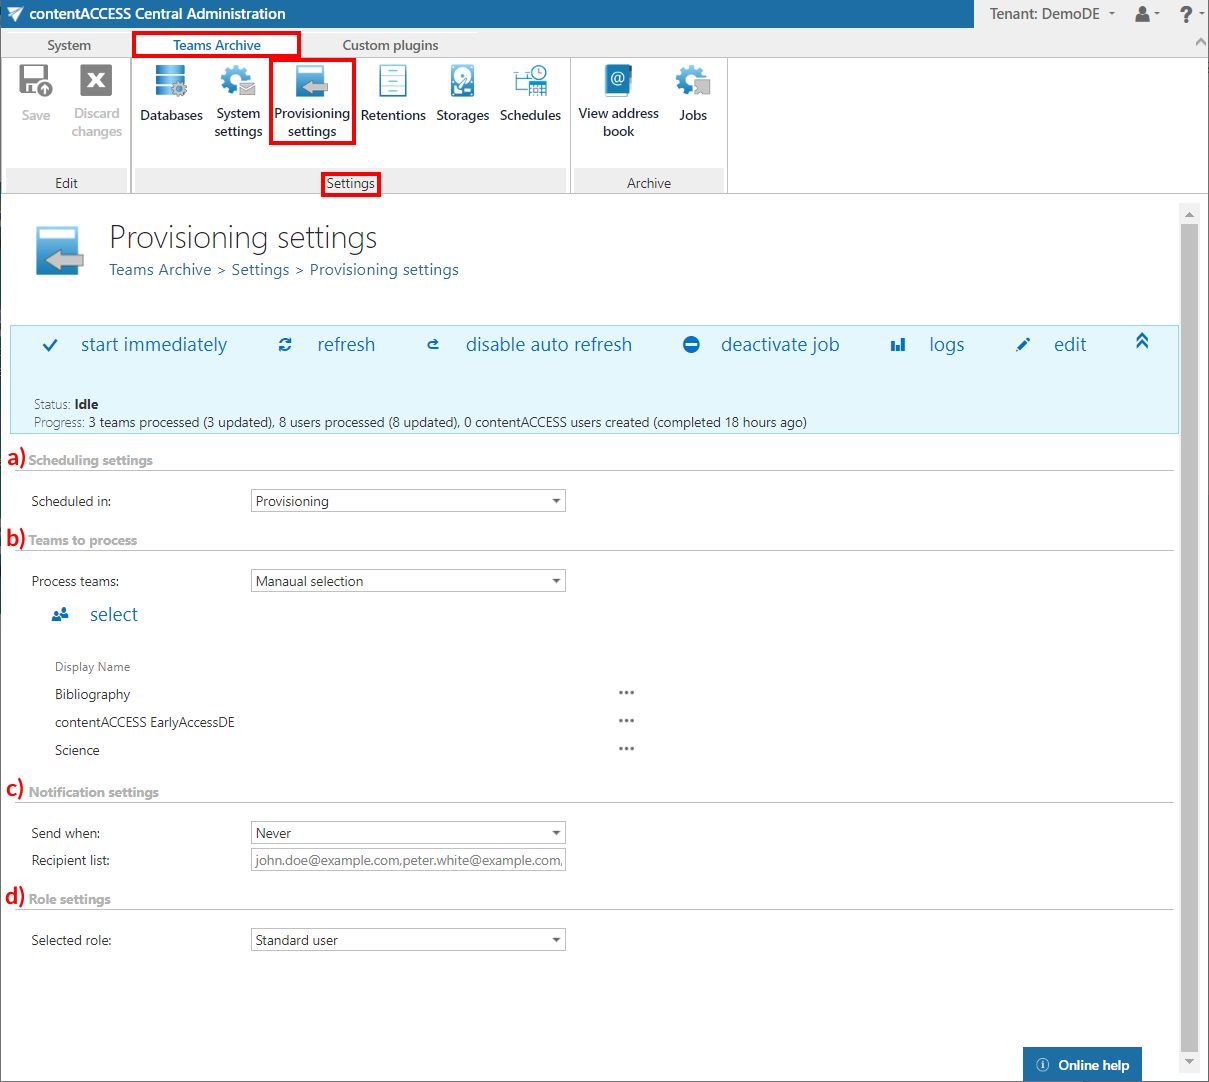
Teams Archive provisioning settings are available on the Provisioning settings page (Teams Archive -> Settings -> Provisioning settings):

a) Scheduling settings
Select the running times of the provisioning job or create a new scheduler. For more information on how to configure scheduler settings please refer to section Schedules described above.
b) Teams to process
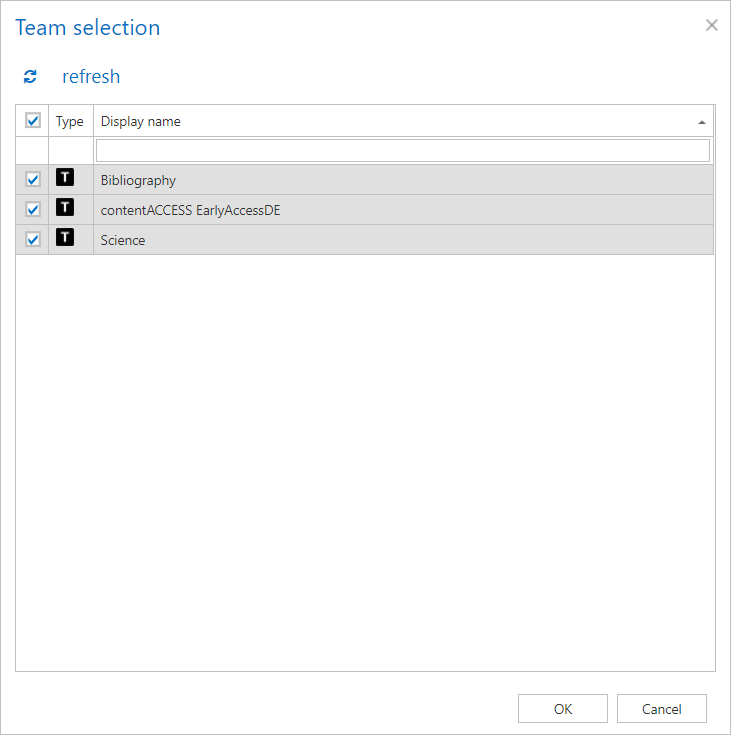
In this section, the user can choose if he wants to process all accessible Teams and Team groups or select only some of them manually. If he decides to select them manually, the  select option will appear. After clicking on it, the Team selection window will open. Here it is possible to select the Teams or Team groups to be processed. After the selection is made, click OK.

c) Notification settings
If the provisioning job could not run properly due to some reasons, contentACCESS can send a warning about the problem. The notification email message will be sent to the email address that is set here under Recipient list option. Here you can also choose, when these email messages should be sent: only if errors occur, or when errors or warnings occur, or always, regardless of the faultless running of the provisioning job.
d) Role settings
Here it is possible to select the role that will be assigned by the Provisioning job.
Save the settings and start the Provisioning job.
