12.10.Address book objects
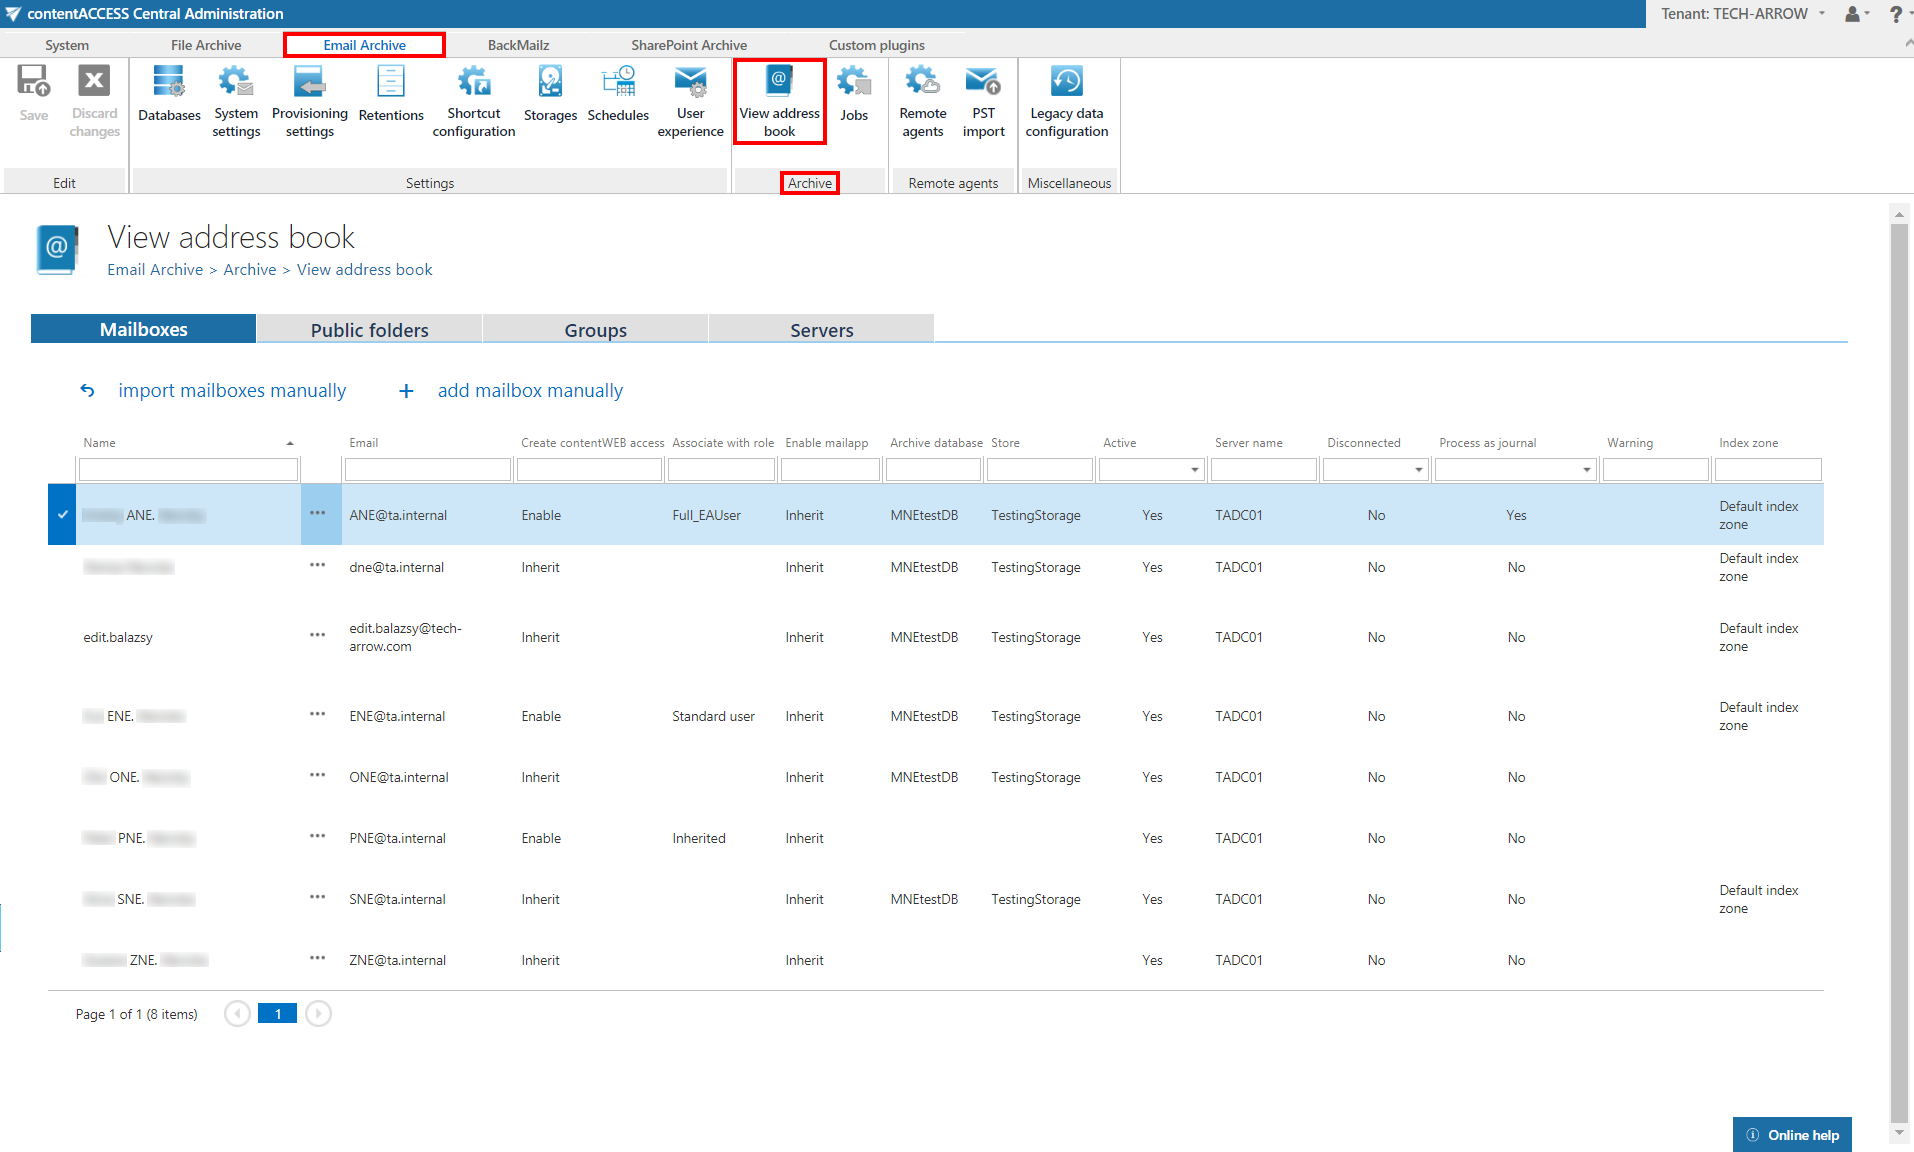
Navigate to Email Archive ⇒ Archive ⇒ View Address Book to open the View address book page:
The address book contains a read-only list of objects that are provisioned in the address book. The objects can be added to the address book:
- by the Email Archive provisioning job – read more here
- manually – using the import manually (read more here) or add manually (read more here) options on all tabs, except Public folders
The address book objects are organized on the page into four tabs: Mailboxes, Public folders, Groups and Servers. Read more about public folders in this chapter.
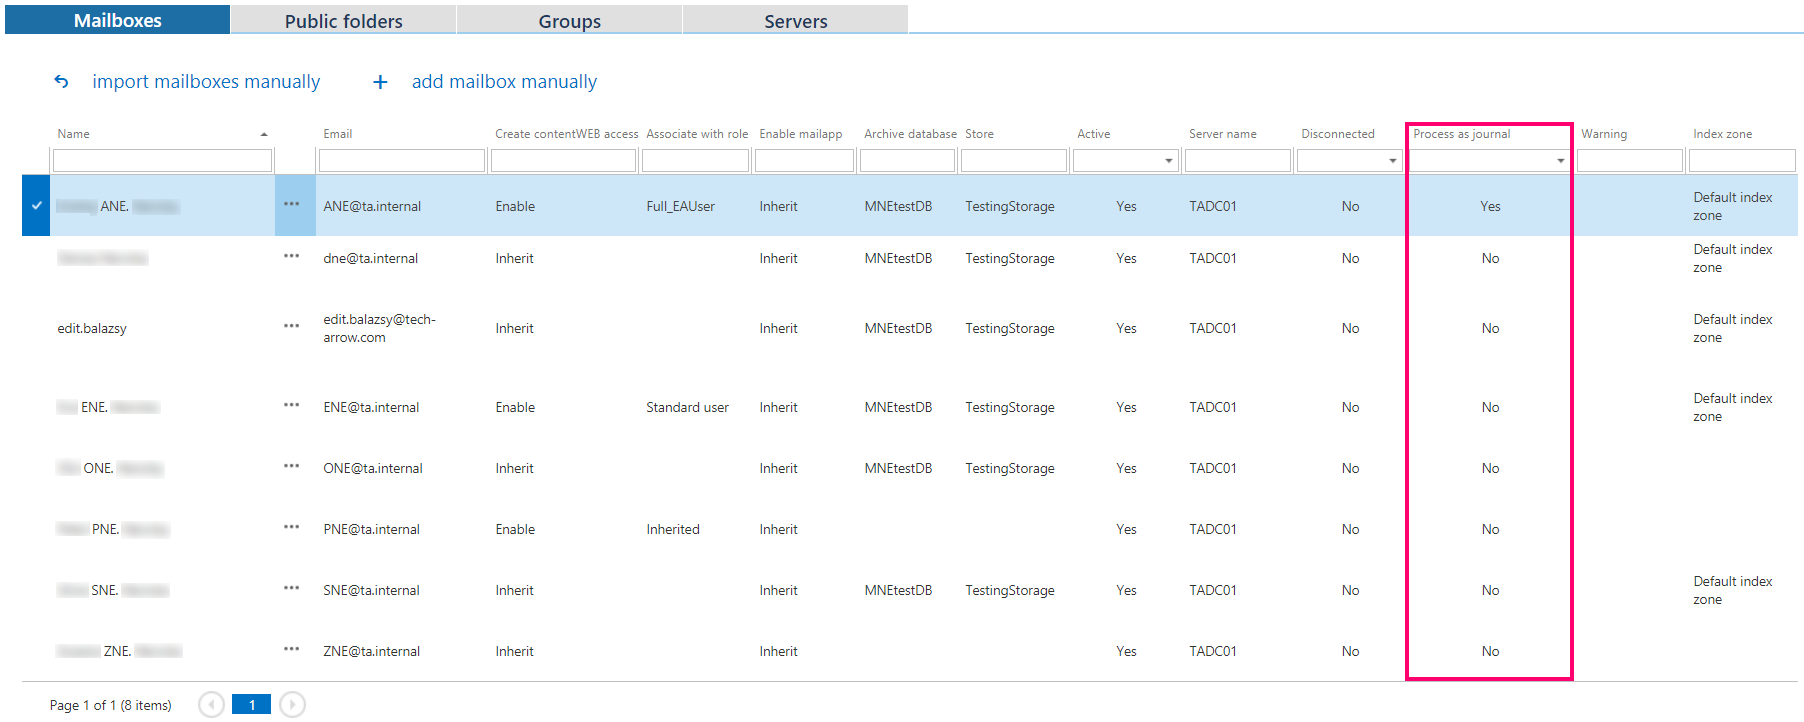
The Create contentWEB access columns indicates if there is a command for the provisioning job to create contentWEB users for the selected object (mailbox, group or server). If the Create contentWEB access column displays Inherit, the object will inherit the Create contentWEB access option from its parent. Once a contentWEB access is granted (provisioning job must be run), every user of the provisioned object will be able to access the archived content of the mailboxes, which he is able to access also on the Exchange server.
The Associate with role column displays the role assigned/to be assigned for the Exchange object by the next running Email provisioning job. By default, the Exchange server mailboxes inherit the default role specified in the Email archive Provisioning settings, but the administrator can decide to assign custom roles for the objects. Such custom roles can be selected, when contentWEB user is created for the Exchange object (more information here).


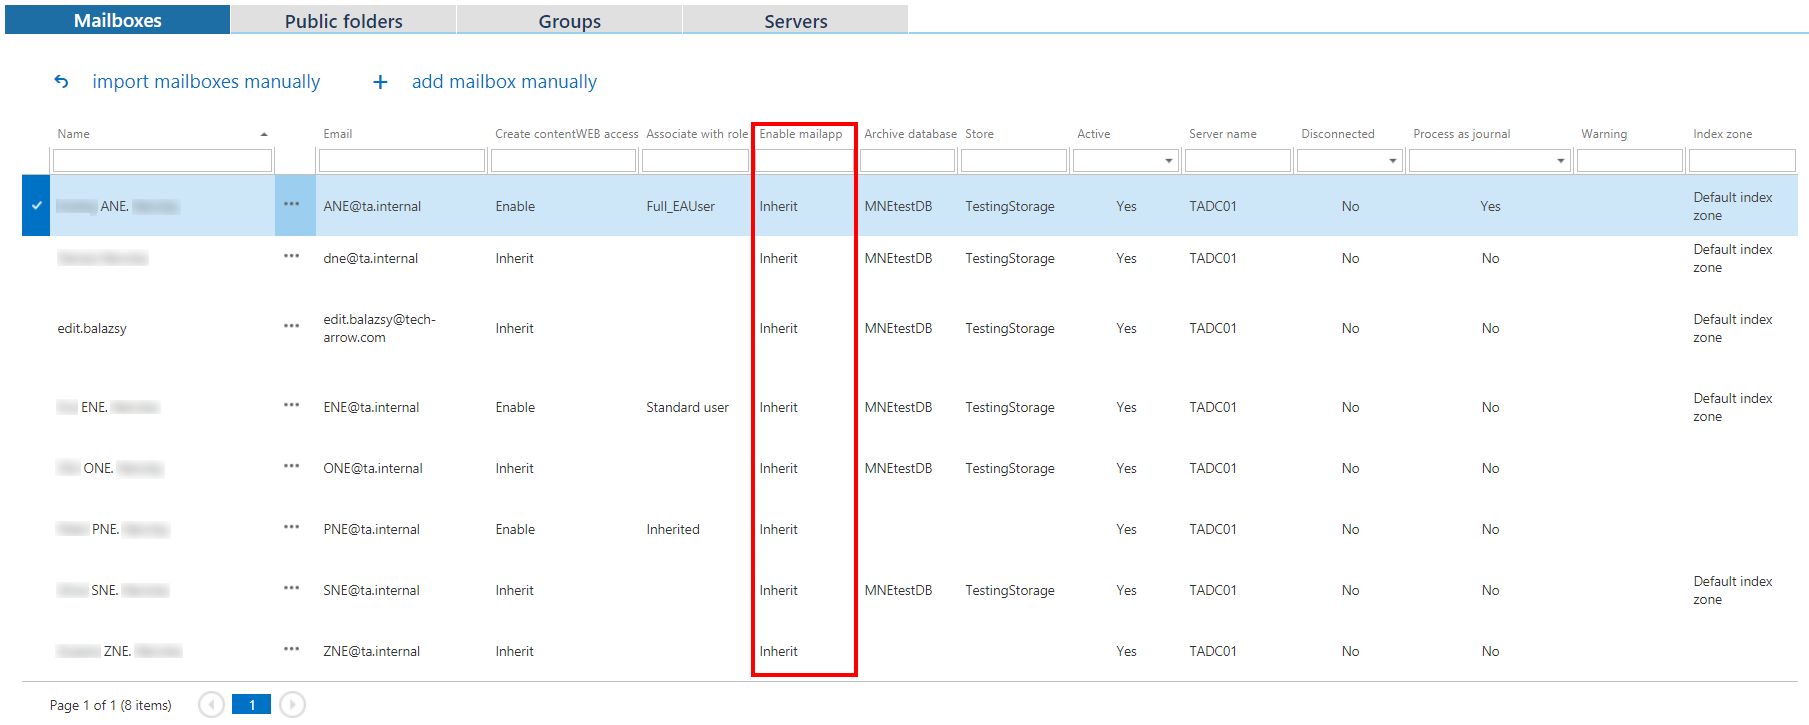
Column Enable mail app shows, if Mail app was allowed for the respective mailbox, group or server. By default, the Exchange server mailboxes and groups inherit the Mail app access from the parent, but the administrator can decide to explicitly allow/forbid the access for the objects.


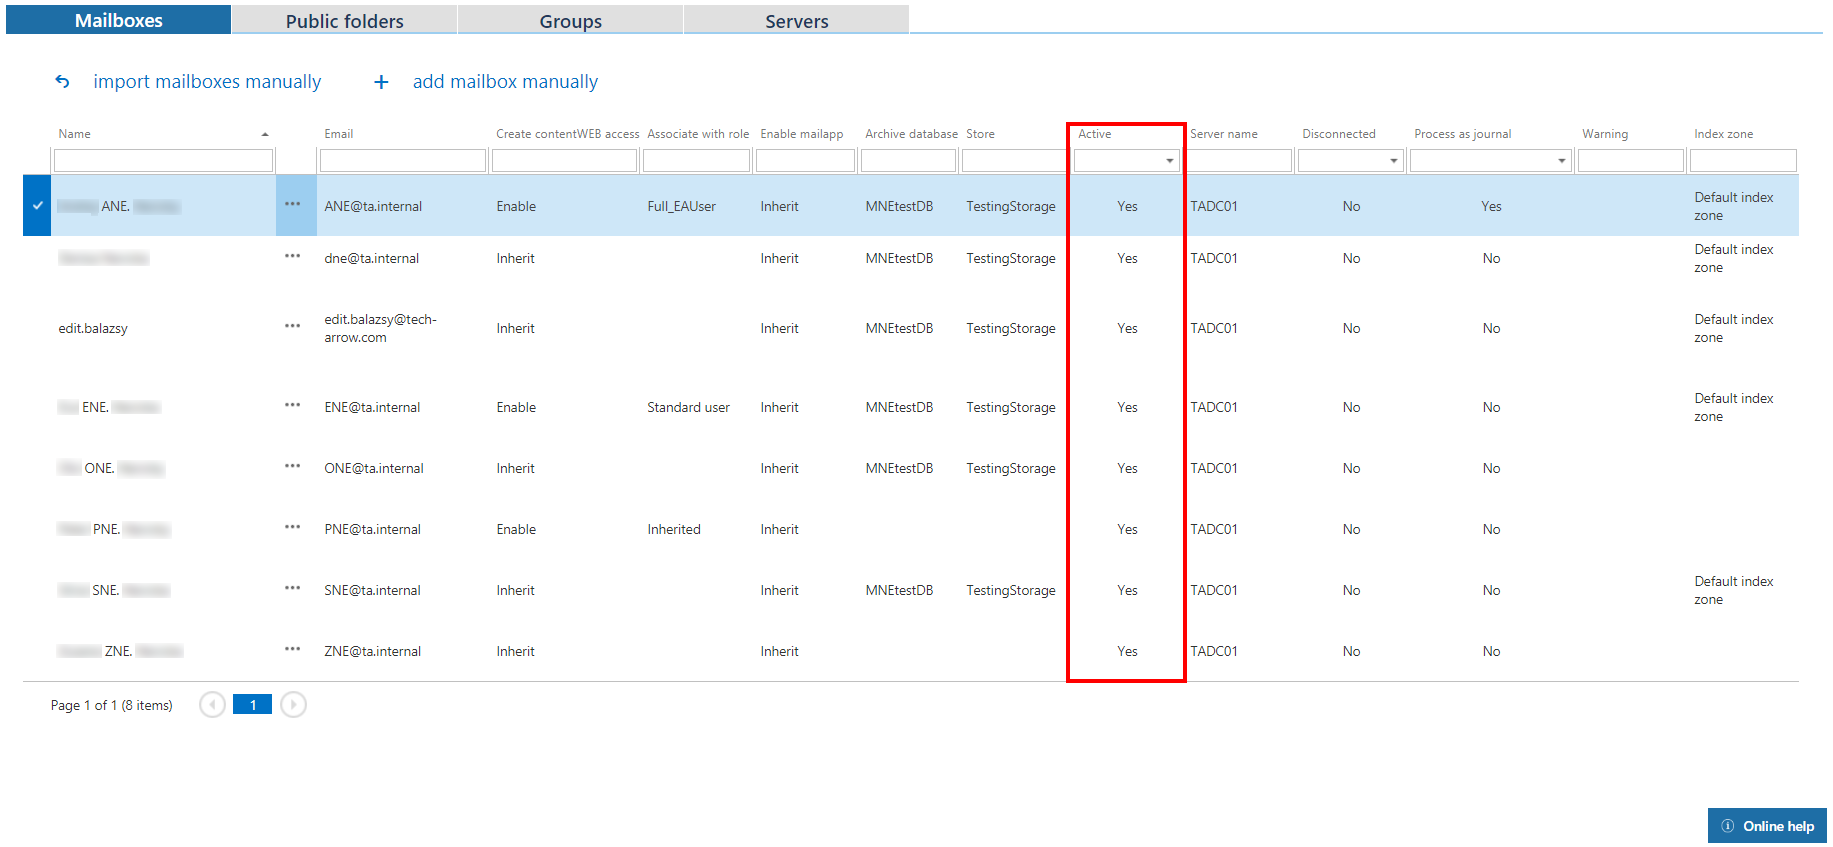
Column “Active” shows, if the respective mailbox or group is active in contentACCESS. With this feature it is possible to deactivate no longer used mailboxes, keeping the licenses under control. Deactivated mailboxes/groups are neither touched by the Email archive/Email restore, Email recovery and/or by the Shortcut synchronization jobs, nor they are counted to the licensed mailboxes. To set a group or mailbox to active/inactive, the telemetry job must be run, too. It is running automatically every day or can be started manually on the Licensing page (System tab => Services group => Licensing, option “update telemetry”). Please note that you can’t have more active mailboxes than the license allows. If you have already reached the limit, it won’t be possible to add more mailboxes for archiving.


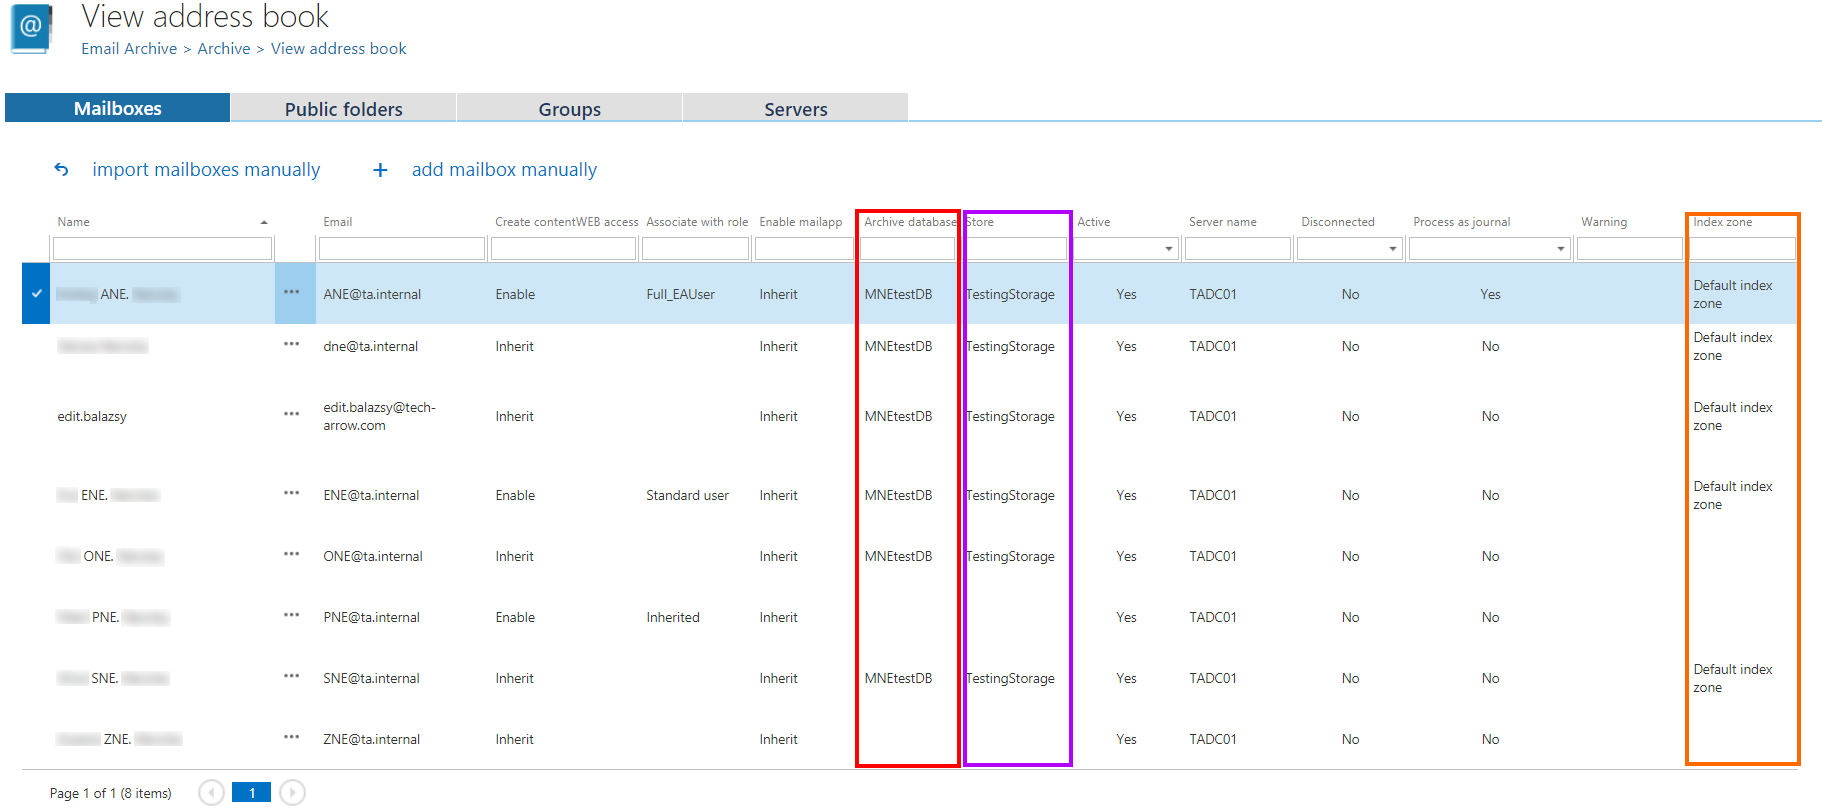
The email archive database, storage and index zone assigned/to be assigned to the Exchange mailbox(es) are displayed in the Archive database, Store and Index zone columns. Database and storage is assigned automatically either by the provisioning job or by the first running archive job, or manually using the mailbox context menu. Index zone can be assigned by the provisioning job or archive job, not manually.

The Process as journal column shows if the mailbox will be processed as journal when selected in Address books objects to process in email archive job configuration (read more here).
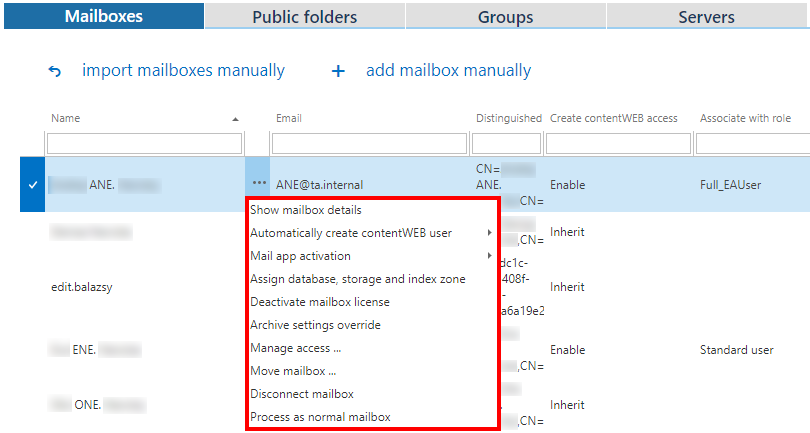
Using the server’s/group’s/mailbox’s context menu the administrator with the necessary permissions is allowed to
- View mailbox details
- Automatically create contentWEB user also with custom permissions (read more here)
- Mail app activation – read more here
- Assign database, storage and index zone for Exchange groups and mailboxes (read more here)
- Activate/deactivate mailbox licenses
- Archive settings override – read more about the option below in this section
- Manage access for second users to the selected archive mailbox(es) (read more here)
- Move mailbox (read more here)
- Disconnect mailbox
- Change server settings (read more here)
- Select the mailbox to be processed as journal/normal (read more here)
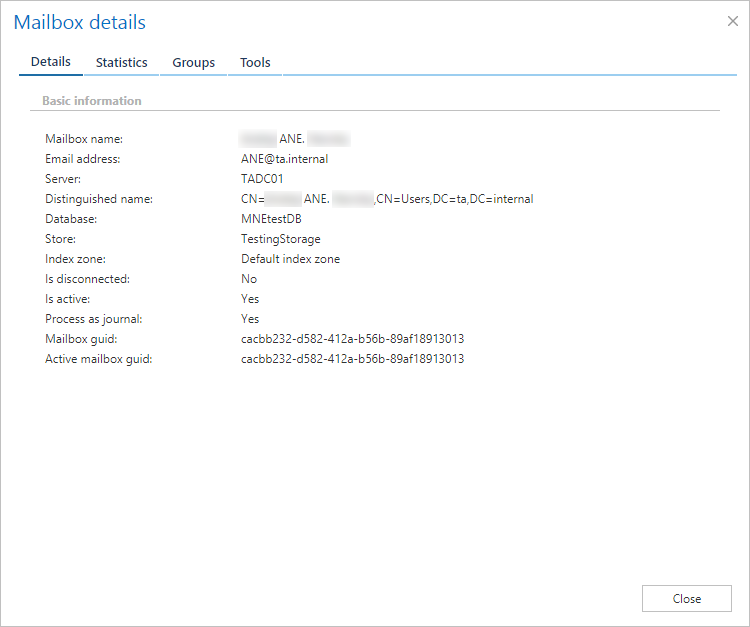
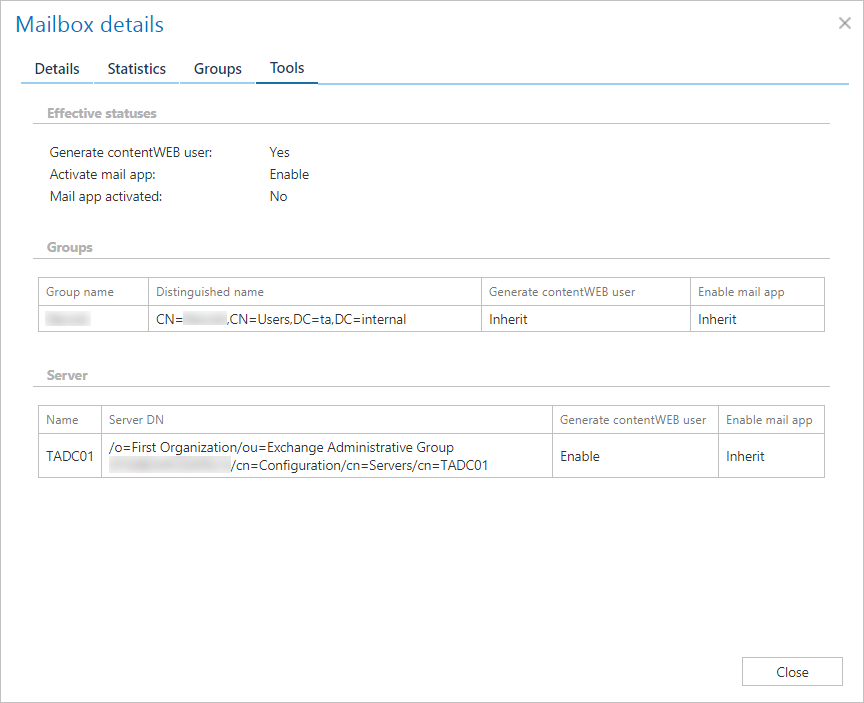
After clicking on Show mailbox details, a pop-up opens. Here it is possible to see the mailbox details, archive statistics and the list of groups of the user.
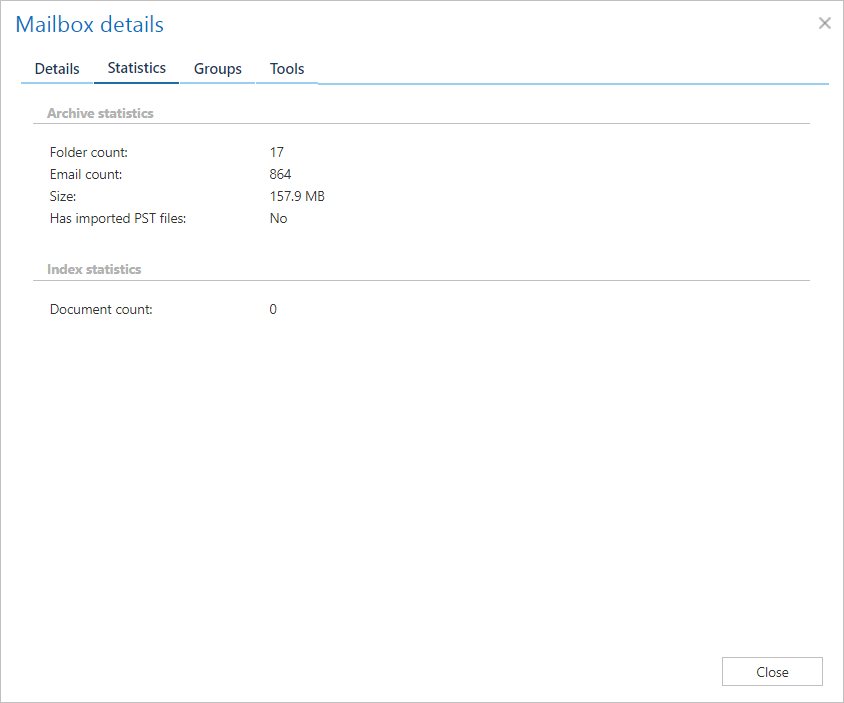
On the Statistics tab, it is possible to see Folder count, Email count, total Size of the emails, whether the mailbox has some Imported PST files or not and Document count processed by the Indexing job.
On the Tools tab, it is possible to see if Create contentWEB access was allowed, if Mail app activation was allowed, if Mail app was already activated and details about the Group and Server that the mailbox belongs to.
You should only use the Disconnect mailbox option if the mailbox no longer exists and you want to re-use the email address for a new user/mailbox. By disconnecting the mailbox, the email address will be changed – allowing to use the email address for a new user.

After you disconnect a mailbox, the email address is prefixed with #.
![]()
If the mailbox was not re-used yet, you can undo the operation and Reconnect the mailbox.

If the mailbox is marked with the warning Guid changed (read at the end of this section), a new menu option (Re-link deleted mailbox) appears. By using this option it is possible to locate the new mailbox, which was created for the user.

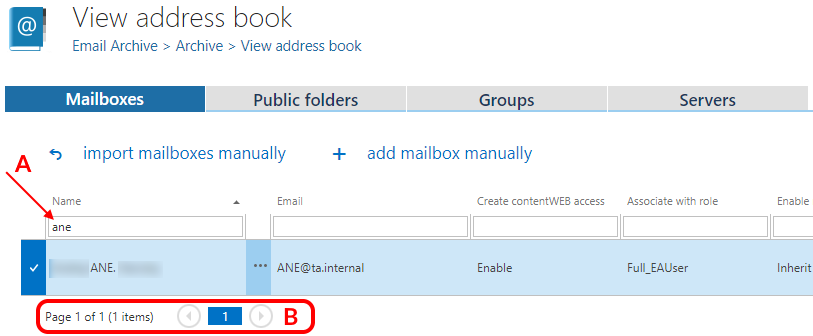
The search textboxes (A) and page listing (B) options at the top and bottom of each section ensure an easier handling with the address book objects.
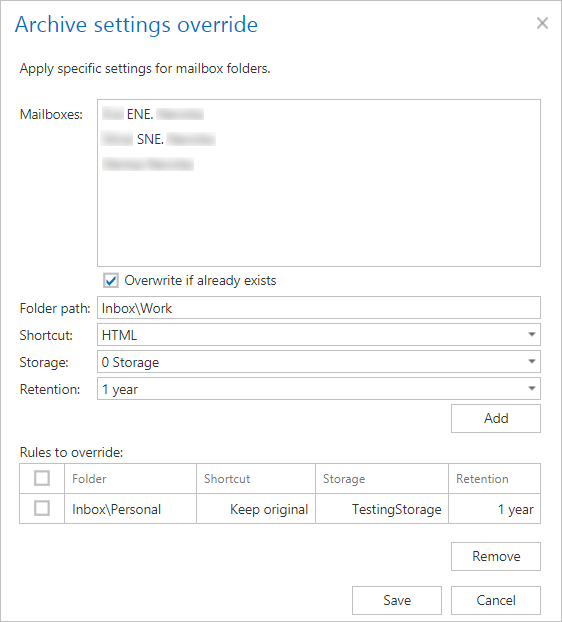
It is also possible to assign specific storage, retention and shortcutting type to selected mailboxes and groups on folder level by clicking on the Archive settings override option from their context menu– these setting will be always prioritized.

The selected mailbox(es) will be displayed in the Mailboxes section. If you want to ovewrite already existing settings for the mailbox(es), check the Overwrite if already exists checkbox. Fill in the path of the mailbox folder, select shortcut, storage and retention from the respective dropdown lists and click on Add. The rule will be added to the list below. Click Save. Once this is done, the official archiving (live mail and offline mail) will check for each item to be archived if there is a folder override for that item.
Change server settings
To change server settings, switch to Servers tab in Address book. Select a server and pick Change server settings from its context menu. In this window, it is possible to change the EWS version or specify custom EWS URL.

Warning flags
In the Address book, the objects may be displayed with different colors:

 – the object is ok
 – selected object
 – the object has a warning, the warning is displayed in the Warning column
 – the object is not active (or set to inactive at the next provisioning run), the license was removed
 – the object was deleted, Guid changed – displayed in the Warning column
The warnings may be:
- Deleted – the object was detected as deleted
- SID changed – the owner of the mailbox was changed (the mailbox was assigned to a different Windows user)
- Guid changed – the mailbox was manually deleted and a new mailbox was created for the user
Based on the status of the mailbox, different context menu is displayed.

