4.3.1.Installing Legacy MAM retrieve service and its configuration on the MAM server
Installing Legacy MAM retrieve service and its configuration on the MAM server
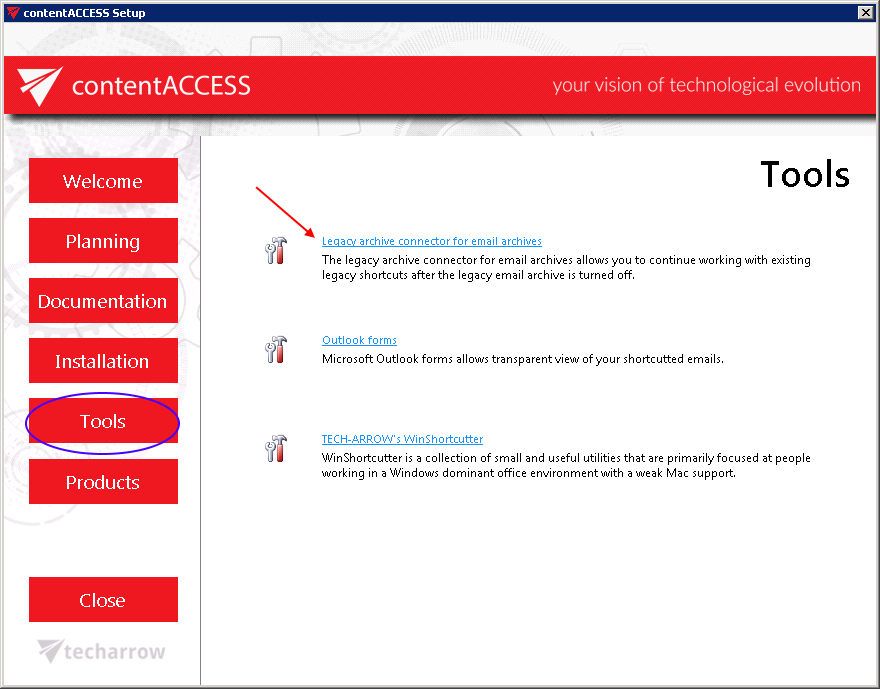
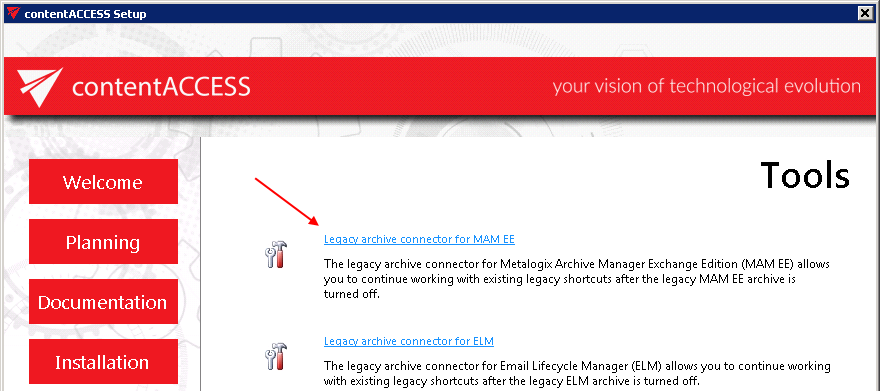
1. In the Tools of the contentACCESS setup package click on Legacy connector for email archives/Legacy archive connector for MAM EE and run the setup package.
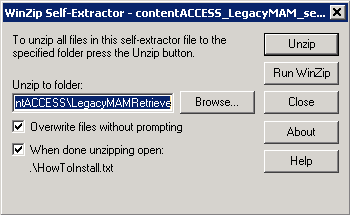
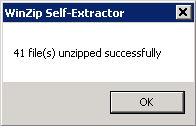
2. A short HowToInstall manual will automatically open to help you with installing the server. Follow the next steps of this short step-by-step manual:
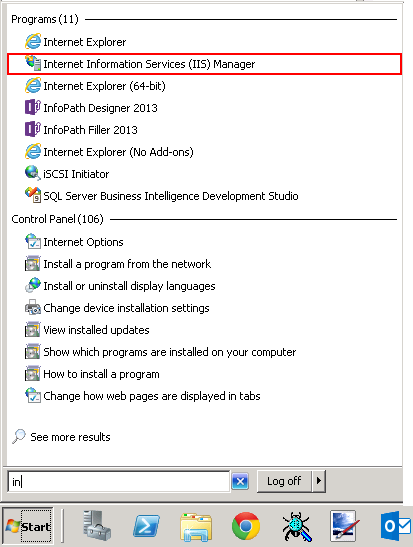
3. Open Internet Information Services (IIS) manager from the Start menu:
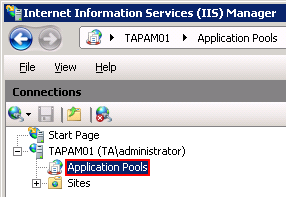
4. Navigate to the following node in the tree on the left side: [SERVER_NAME]\Application Pools:
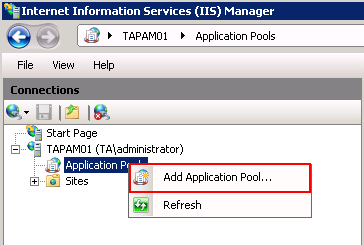
5. Right click on the node “Application Pools” and select “Add Application Pool“:
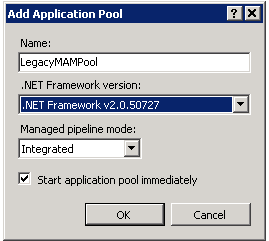
6. The “Add Application Pool” window will open. Enter “LegacyMAMPool” as name and select the .NET Framework version from the .NET Framework version dropdown list, then click OK.
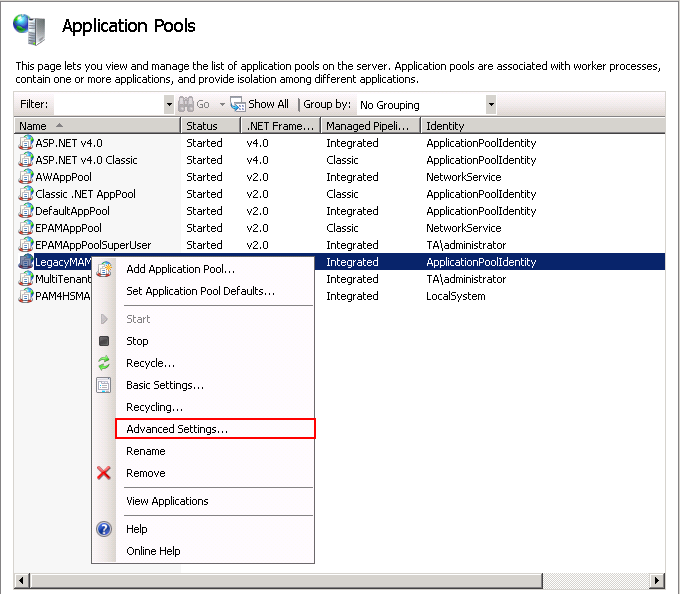
7. Right click on the newly created “LegacyMAMPool” in the grid, and select “Advanced Settings” from its context menu.
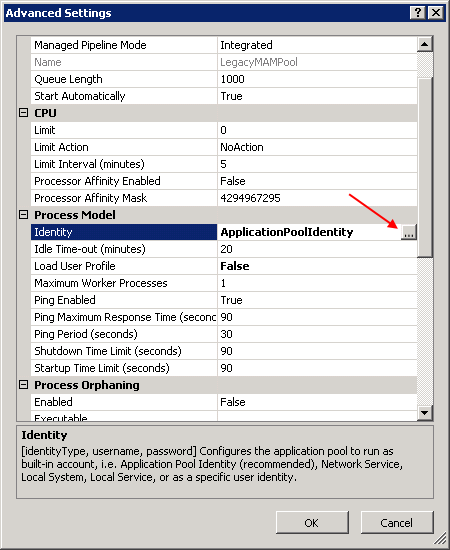
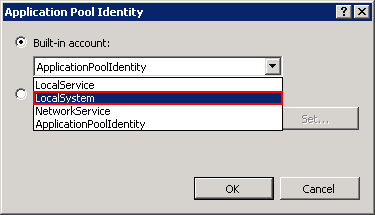
8. Change “Identity” to “Local system” built in account in the “Application Pool identity” window, then click “OK“.
9. Navigate to the following node in the tree on the left side: [SERVER_NAME]\Sites\Default Web Site\ExchangePAMWS:
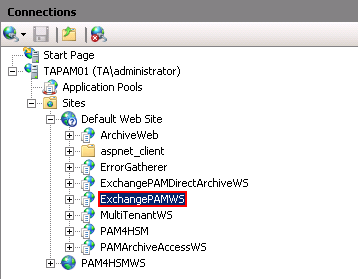
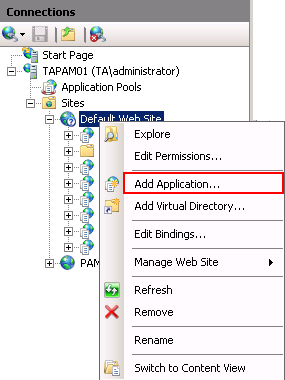
a) Right click on the “Default Web Site” and click on the “Add Application“.
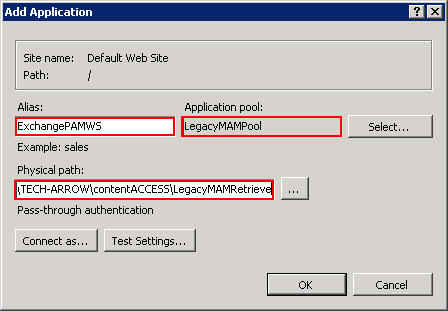
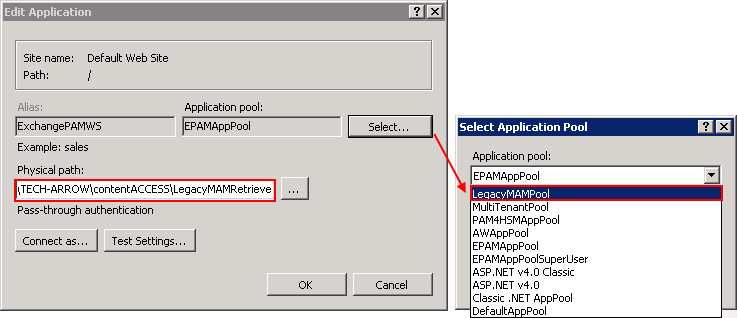
b) Enter “ExchangePAMWS” into alias and “C:\Program files\TECH-ARROW\contentACCESS\LegacyMAMRetrieve” as Physical path. Select the “LegacyMAMPool” by clicking the “Select” button.
c) Click “OK“
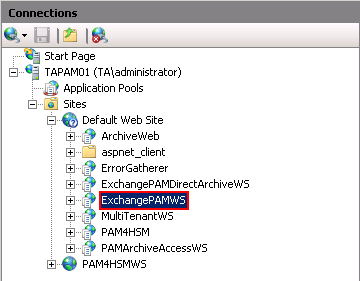
If the ExchangePAMWS is found, then:
a) Select the “ExchangePAMWS” node by clicking on it.
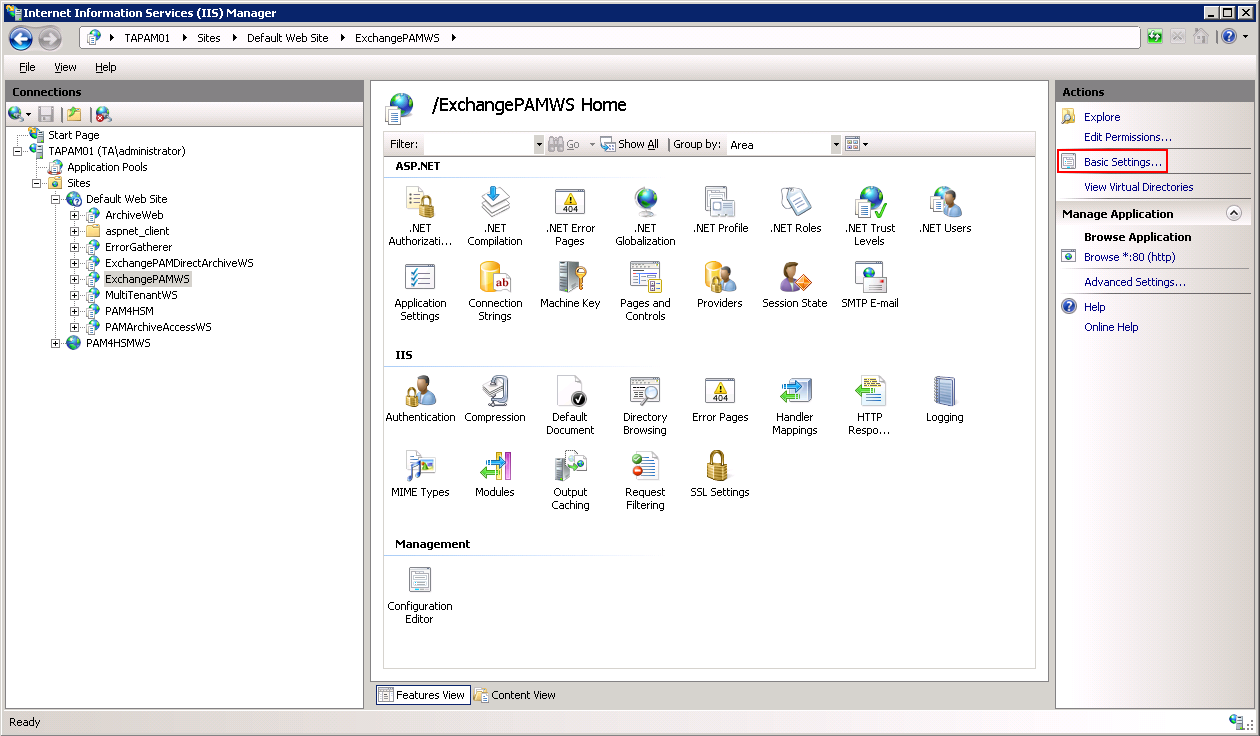
b) Click “Basic Settings…” in the Actions pane (right side of the IIS Manager).
c) In the “Edit Application” dialog, select the “LegacyMAMPool” by clicking the “Select” button and enter “C:\Program Files\TECH-ARROW\contentACCESS\LegacyMAMRetrieve” into the Physical path textbox.
10. Continue with setting up the MAM server in contentACCESS, which will be explained in the next section.
