14.1.OneDrive Archive job configuration
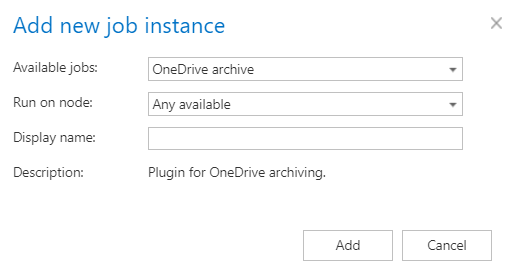
After you have configured all necessary settings, you can create and configure a OneDrive Archive job. Click “+ new” on the Jobs page (SharePoint Archive tab => Archive group => Jobs), fill the required settings (Job type, Run on node, Display name) in the pop up window and click on “Add”.

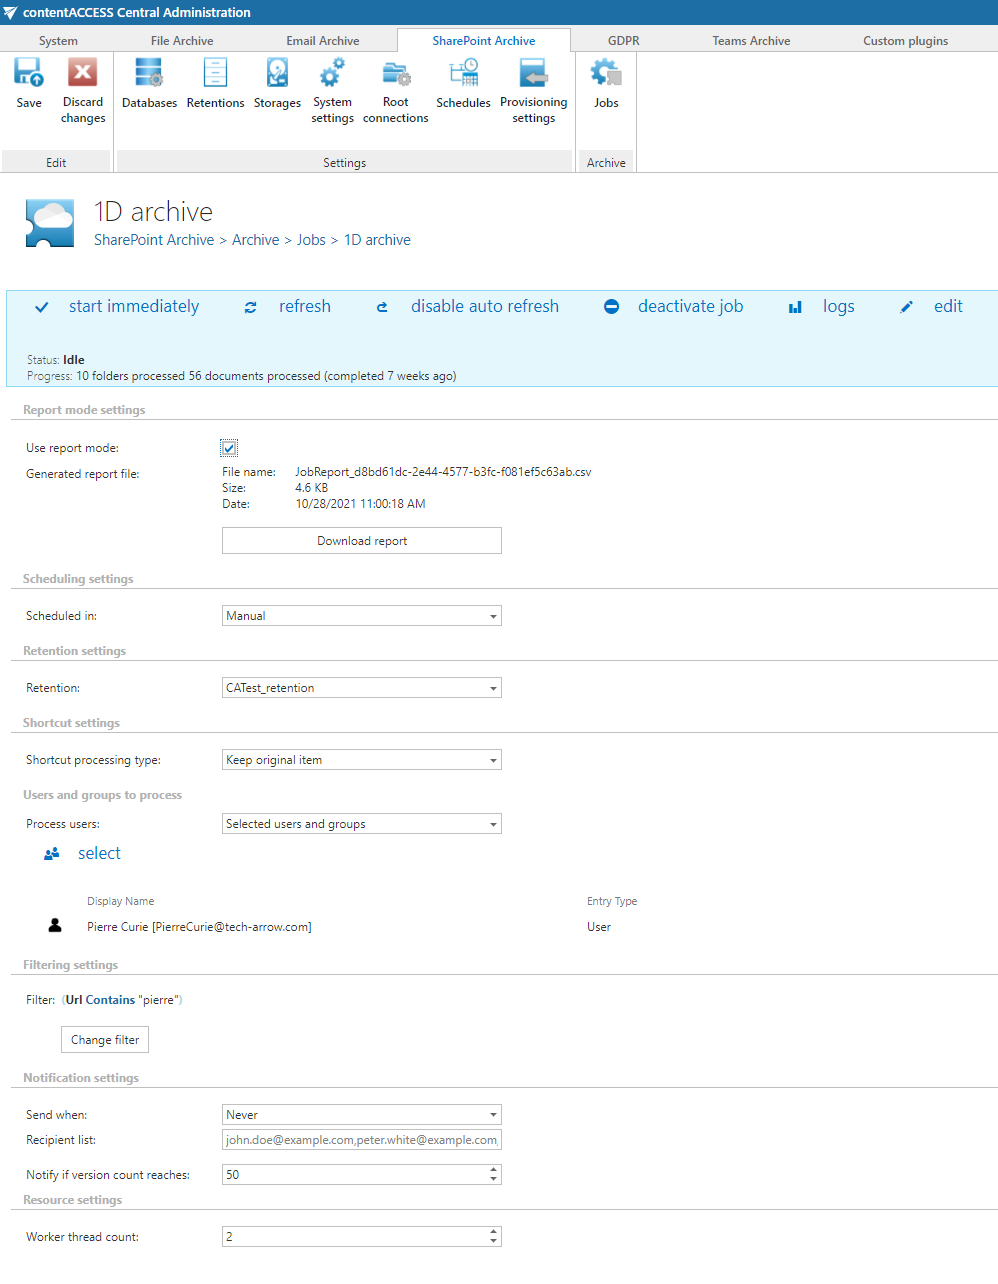
To configure the job immediately, click “Yes” in the next pop up window, or configure it later on (using the “Configure” option in the job’s context menu). On the job’s configuration page set the:
- Report mode settings – if the checkbox is checked, the job will run in report mode and the user will be able to download a .csv report file here in this section after the job finishes the run
- Scheduling settings – time slots of the job running
- Retention settings – time period of keeping the archived item in the storage
- Shortcut settings – the administrator can decide if the archived item will remain in the original location and will be directly accessible from there – option “Keep original item”, or that it will be deleted and will be accessible only from the archive interface – option “Delete original item”. With this option only the items are deleted – folders are kept untouched.
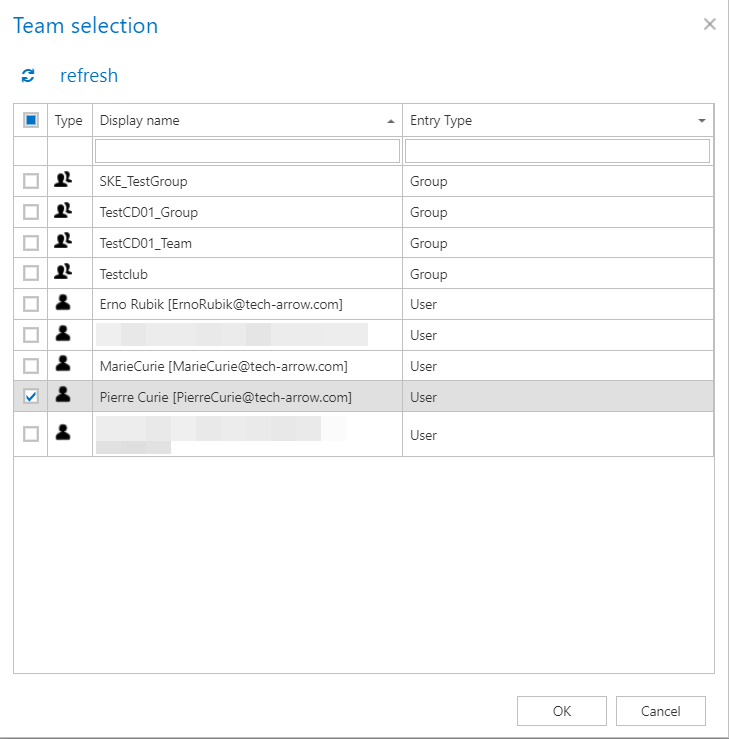
- Users and groups to process – Click on “select” and specify the users and groups in the pop-up window. The selected users or groups OneDrive accounts will be archived.
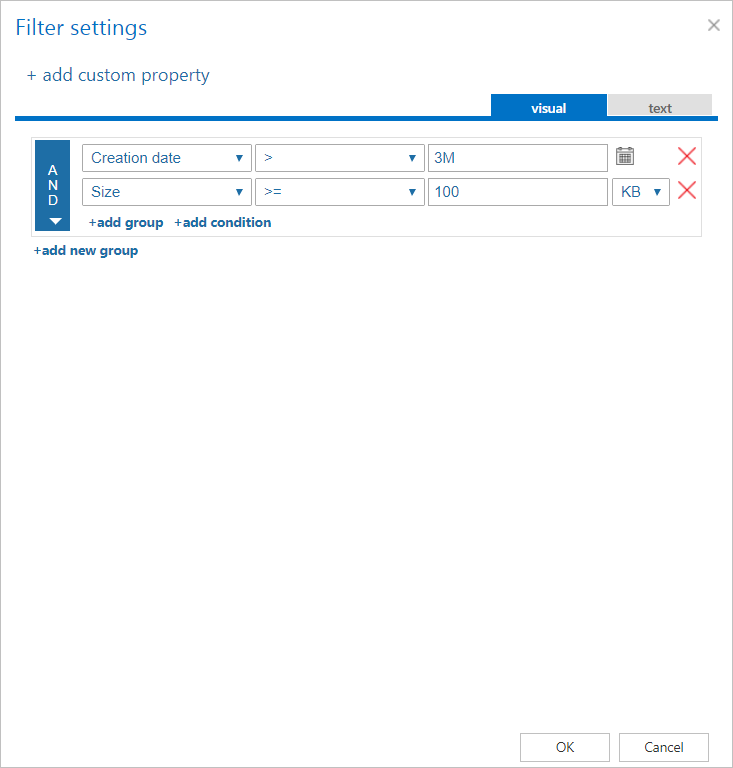
- Filtering settings – Click on the Change filter button and set the filtering according to your needs and/or regulations. To learn more about how to work with filtering settings, please, check this section of our documentation.

- Notification settings – Select here, when you will need to get notification emails from the OneDrive archive job. Into the Recipient list textbox insert the email address(es) of the person(s), who will get such notifications. It is also possible to set that the emails will be sent only when the version count reaches a certain number.
- Resource settings – The number of worker threads responsible for the archiving processes can be set here; by default this value is set to 2.


If the job is configured, save your changes and wait until it starts based on the defined schedule (or start it manually from the status bar).
Help Guide Powered by Documentor
