11.10.Provisioning settings and managing access to contentACCESS Portal
The File Archive provisioning setting are accessible on the File Archive ⇒ Settings ⇒ Provisioning settings page.
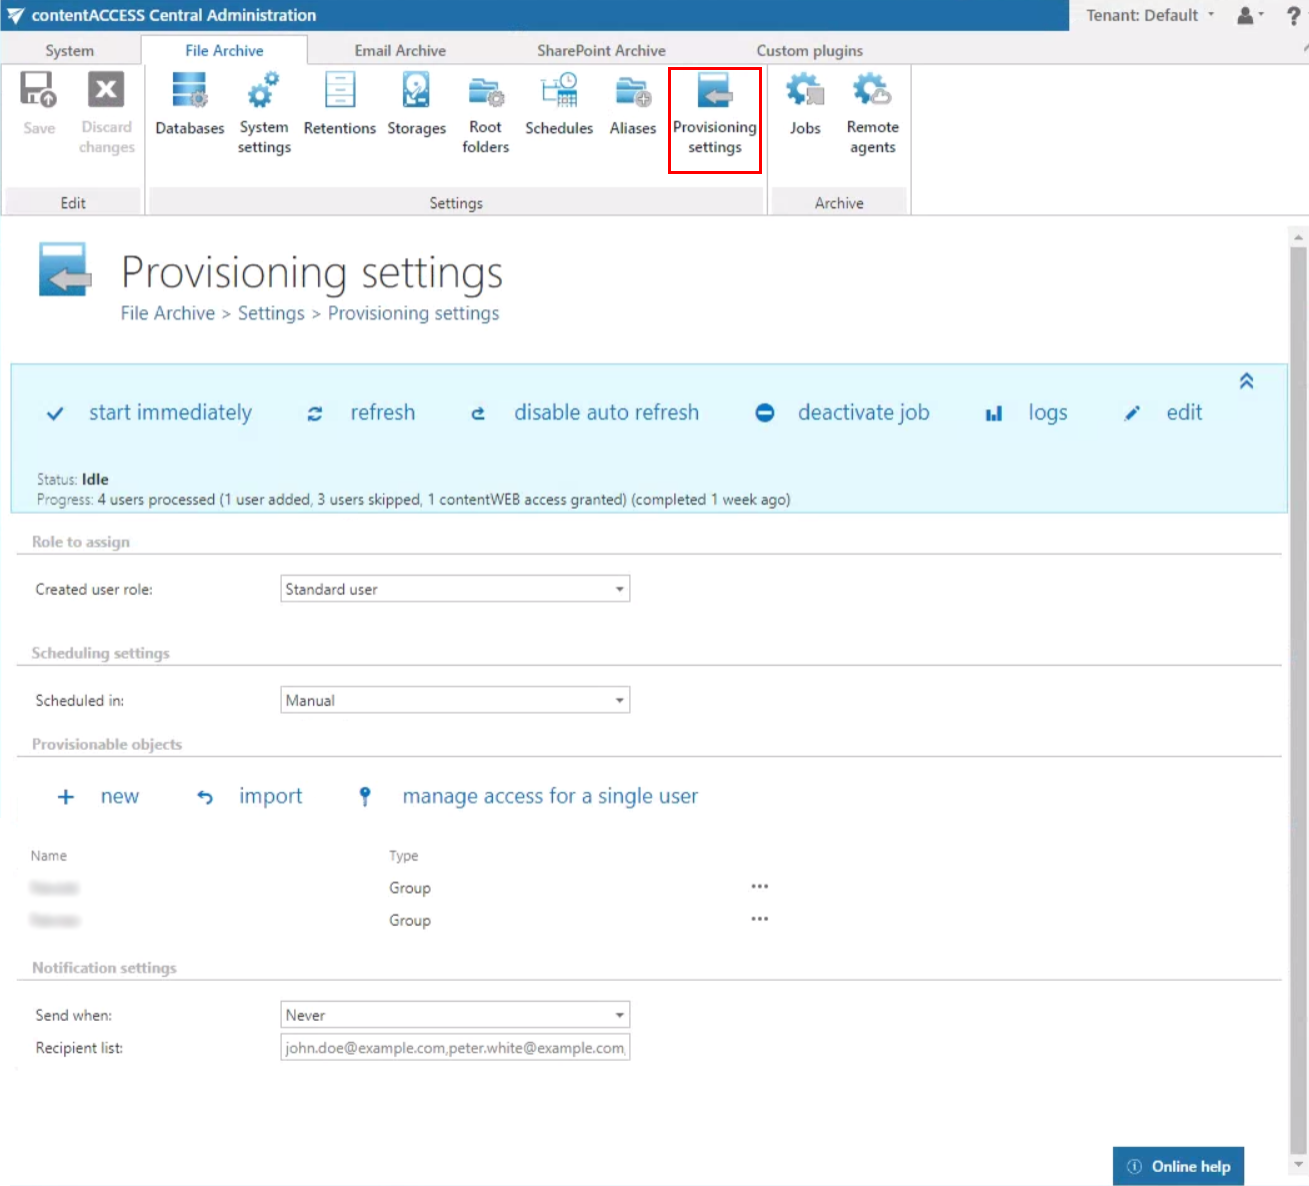
The provisioning job that synchronizes the Active directory with contentACCESS can be set directly on this page.
When the provisioning job is started, it automatically adds the new Active Directory users into contentACCESS based on provisioning settings. The provisioned objects will automatically get log on rights to the contentACCESS Portal File Archive.
Hint: Access permissions on the file archive folders/items are NOT granted by the provisioning job. Provisioning job grants only log on rights to the contentACCESS Portal File Archive. The access rights to files/folders are evaluated and updated by the file system archive job. Read more in Introduction to File system archive, section “Synchronization of rights to a folder/file”.
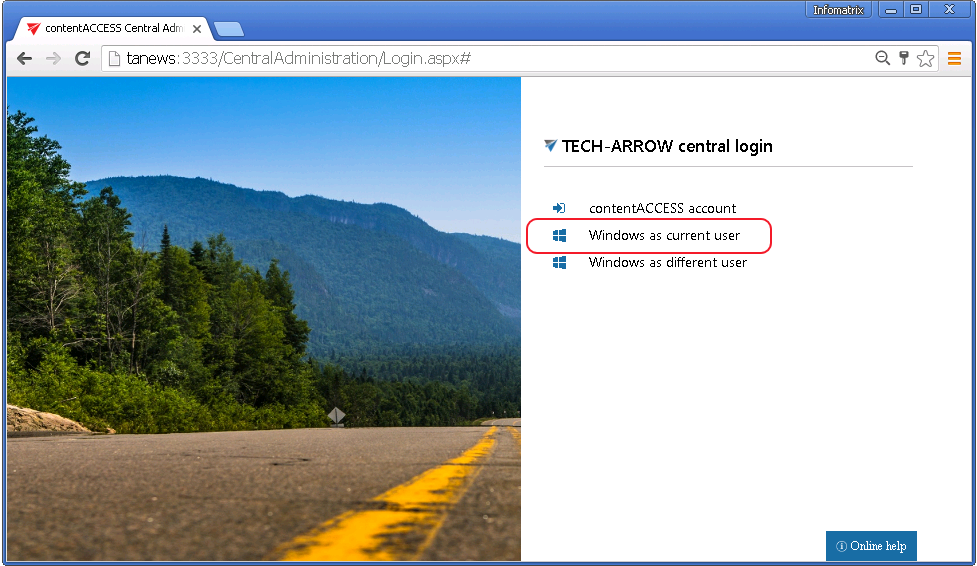
The contentACCESS Portal users can log in to contentACCESS Portal using Windows authentication.
The existing contentACCESS Portal users can be viewed by clicking on the “manage access for single user” option on the Provisioning settings page:

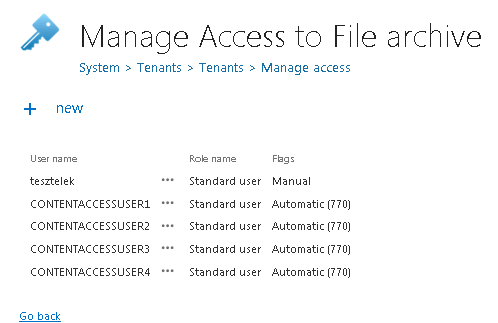
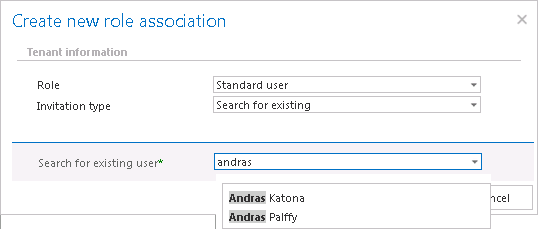
New contentACCESS Portal users can be manually added to the contentACCESS File Archive using the + new option on the same (Manage access to File archive) page. File archive access rights can be given to an already existing or a new contentACCESS user.
Configuration of File archive provisioning:
To configure the File archive provisioning, the administrator is required to set
- The role, that will define the file archive user’s permissions in contentACCESS Portal. Standard user role is available in the list by default, other roles with other permissions must be first configured on the Roles page.
- The time periods, when the provisioning will run – this must be configured in section “Scheduling settings”.
- The objects to be provisioned – must be set in section “Provisionable objects”
- Notification settings (optional)
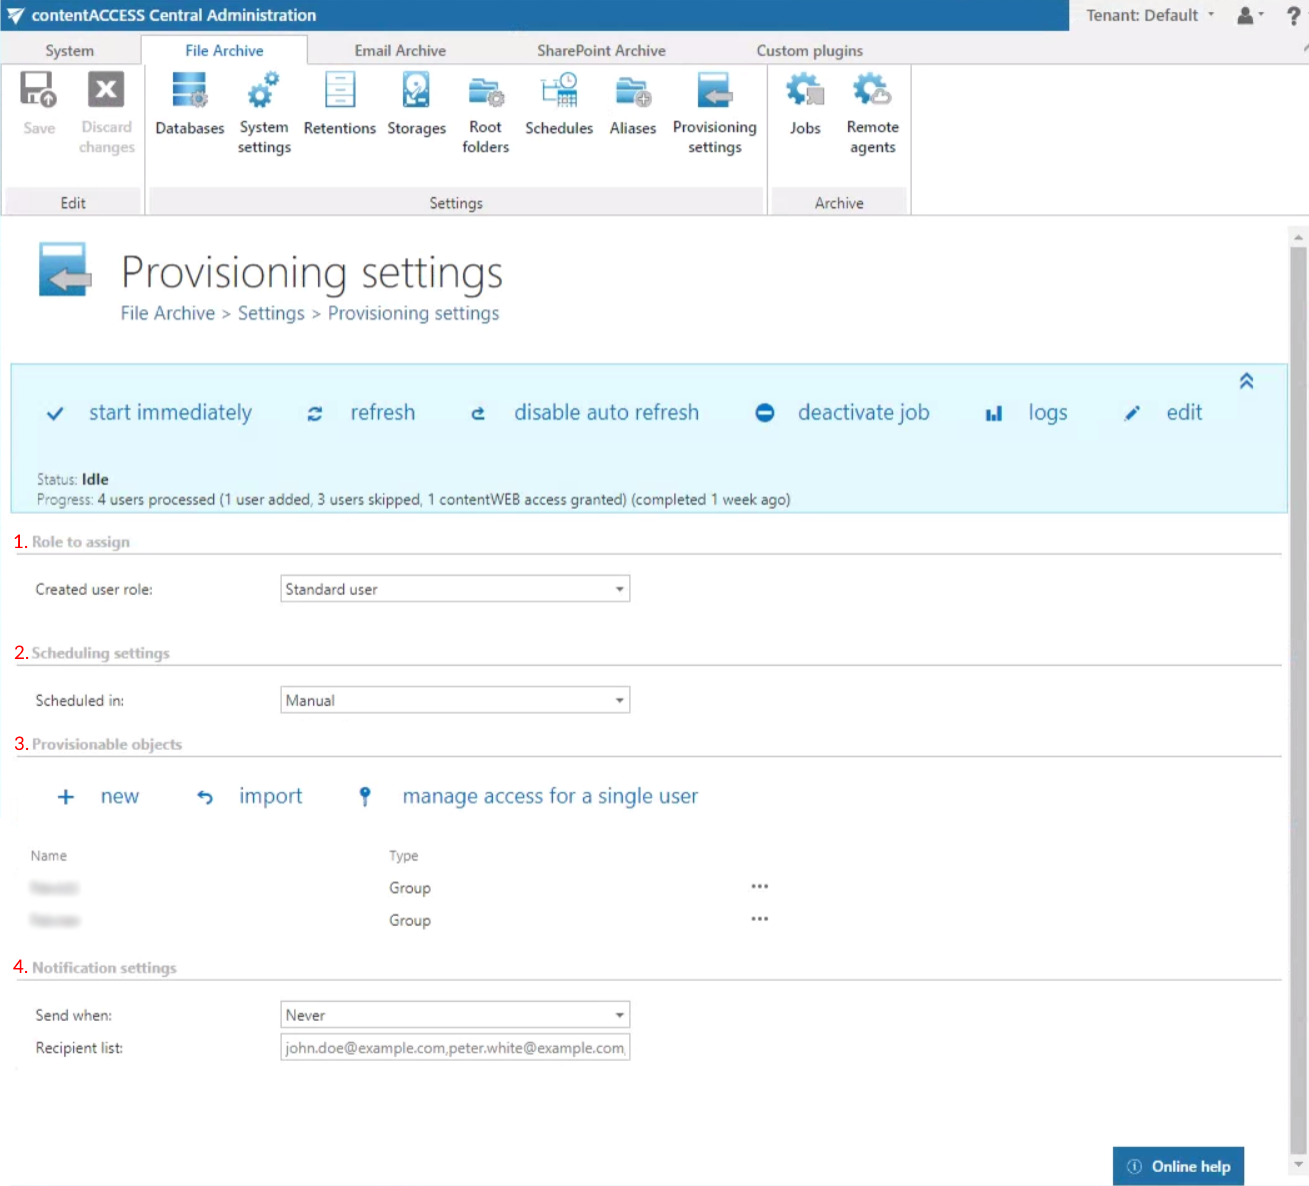
Provisionable objects may be added:
- from importable files, using the “import” function (described in more details in chapter Importing contentACCESS configurations from files)
- manually, via the “new” button
To add object manually, click on “+ new” and specify the object(s) in the respective dialog. You can select a group that contains the objects to be provisioned, or you can select an Active Directory container and synchronize all users inside this container. Choose the object type and enter the data in the following format:
- in case of a Group: enter the name of the group
- in case of a Container: enter the distinguished name (DN) like in the sample.
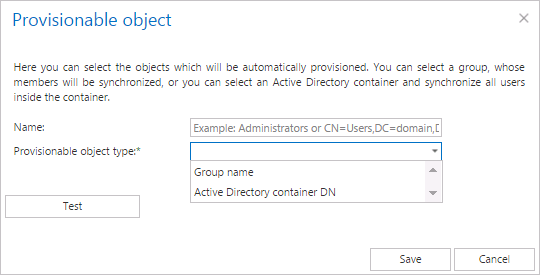
It is recommended to use the “Test” button to verify if the Active Directory container DN/Group name has been correctly entered in the first text box.
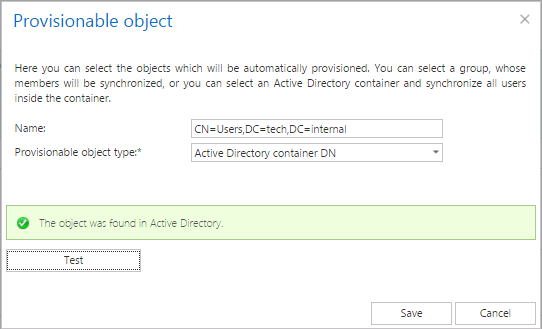
Screenshot A: Selecting an AD container to be provisioned
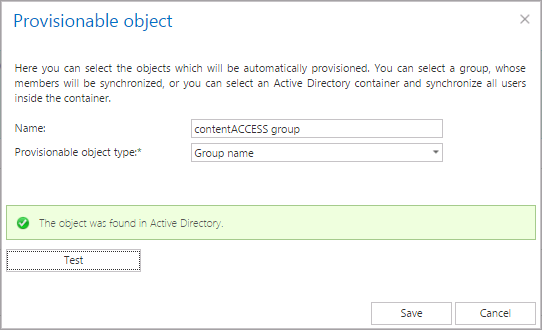
Screenshot B: Selecting an AD group to be provisioned
If incorrect data is entered, then the provisionable object is not found and the user is warned about this:
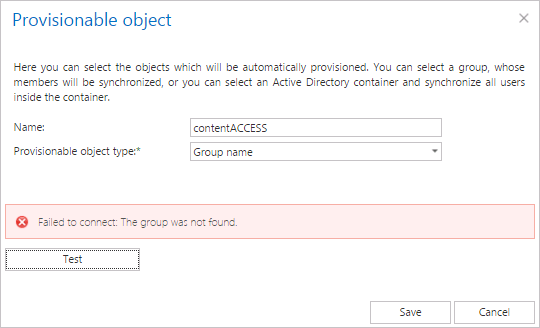
The provisioning job
- adds all the users involved in the Container/Group into contentACCESS
- grants contentACCESS Portal File Archive permissions (based on the selected role) for the users involved in the LDAP path/Group.
How to find the distinguished name (DN) of an Active Directory object
Objects are located within Active Directory domains according to a hierarchical path, which includes the labels of the Active Directory domain name and each level of container objects. The full path to the object is defined by the distinguished name (also known as a “DN”).
If the object to be provisioned (to be synchronized) into contentACCESS is an Active Directory container, then it can be located in the Active directory using its DN. The distinguished name of an Active Directory object can be found using the “dsquery” command line application. For more information about the “dsquery” read this guide.
General use case for identifying the “Users” container in the Active directory
- Open a Windows command prompt.
- Type the command dsquery group –name Users (example: dsquery group –name [known object name])
- The result will look like “CN=Users, CN=Builtin, DC=MyDomain, DC=com”:

General use case for identifying the “Test” Organizational unit in the Active directory
- Open a Windows command prompt.
- Type the command dsquery OU –name Test (example: dsquery OU –name [known object name])
- The result will look like “OU=Test, DC=MyDomain, DC=com”:

File archive provisioning’s notification settings are used to send automatic email notifications to specific addresses if any warnings/errors occur. Set the notification emails if necessary and save your settings.
