6.17.Indexing
The content indexing jobs
- assign the previously created index zones to files/emails of the selected entities
- use Elasticsearch as back end server (3rd party index server) to manage and store indexes and to perform search
- crawl the contentACCESS archive and send document text and metadata to Elasticsearch server
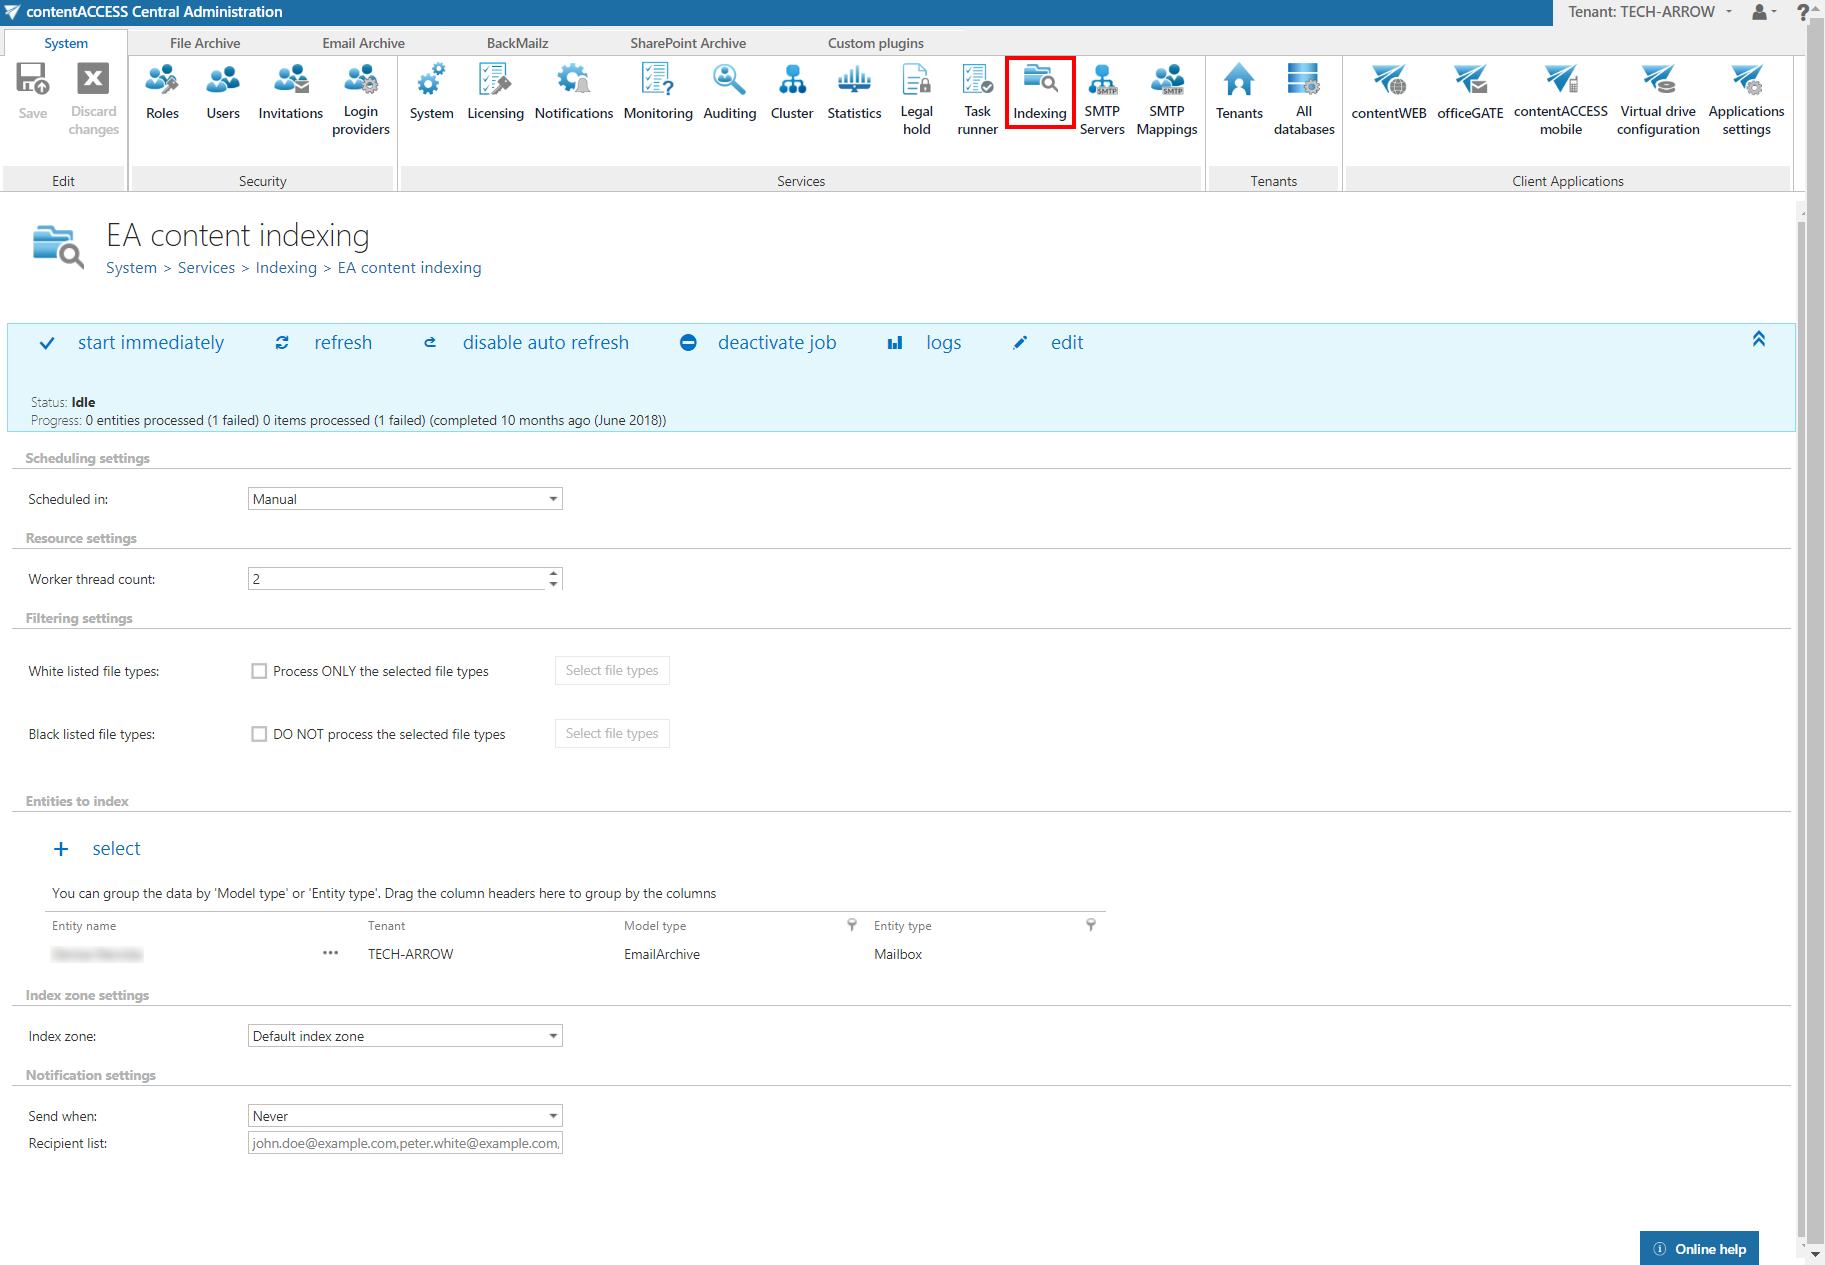
On the configuration page of the given job the user is required to specify the following settings:
✓ Scheduling settings
In this step the running time(s) of the job must be selected. It is possible either to select a scheduler from the list or to create a new scheduler via create new … option from the dropdown list. Using schedulers the administrator may automatize the running times of the given job. The mailboxes are periodically synchronized with the categories written into the queue in time intervals, which are set here. For more information how to set schedulers refer to section Schedules above.
✓ Resource settings
Set the values, which will determine how many items will be processed simultaneously by the job. The recommended value is “2”.
✓ Filtering settings
Set here the file types that should and shouldn’t be processed.
The file types can be added individually, but also grouping functionality is provided. The composed filtering allows the administrator/user to select a group of file extensions at once instead of selecting all required file types individually.
There are some extension groups predefined and ready to use:
- Office Documents – containing extensions docx, doc, pptx, ppt, sldx, xls, xlsx, pdf, one, accdb, pub, htm, html, csv, odt
- All text documents – containing extensions txt, log, config, rtf, zip, 7z, vcf, rar, msg, eml, ics, mhtm, mhtml
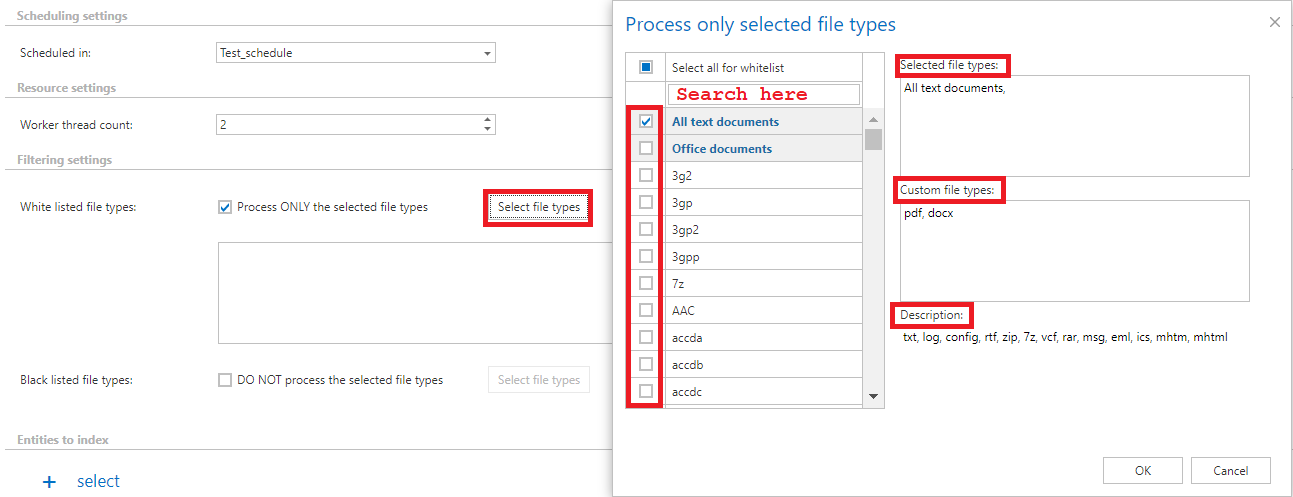
The composed filtering works both for the White and Black listed file types. Just click on the Select file types button on the Indexing page, and a pop-up window will appear with all groups and individual extensions. In this window, multiple file types and groups can be selected at once. The extensions can be selected in three ways:
- with the search bar, the user can search for the extensions individually or can search for the groups
- the user can scroll down on the list
- add manually to the Custom file types textbox
In the right section of the Select file types window, three text boxes are available:
- Selected file types – read-only textbox, the selected file types are listed here
- Custom file types – the user can add the extensions/file types manually here, which are not present on the list
- the extensions can be added with commas and dots (for example .txt or txt,) or without commas and dots (for example txt)
- the comma is required only if the user select multiple file types at the same time
- Description – those file types are listed here, which are part of the selected group
✓ Entities to index
Set here the entities that will be processed by the indexing job.
✓ Index zone settings
Set the index zone that will be assigned to items by the indexing job.

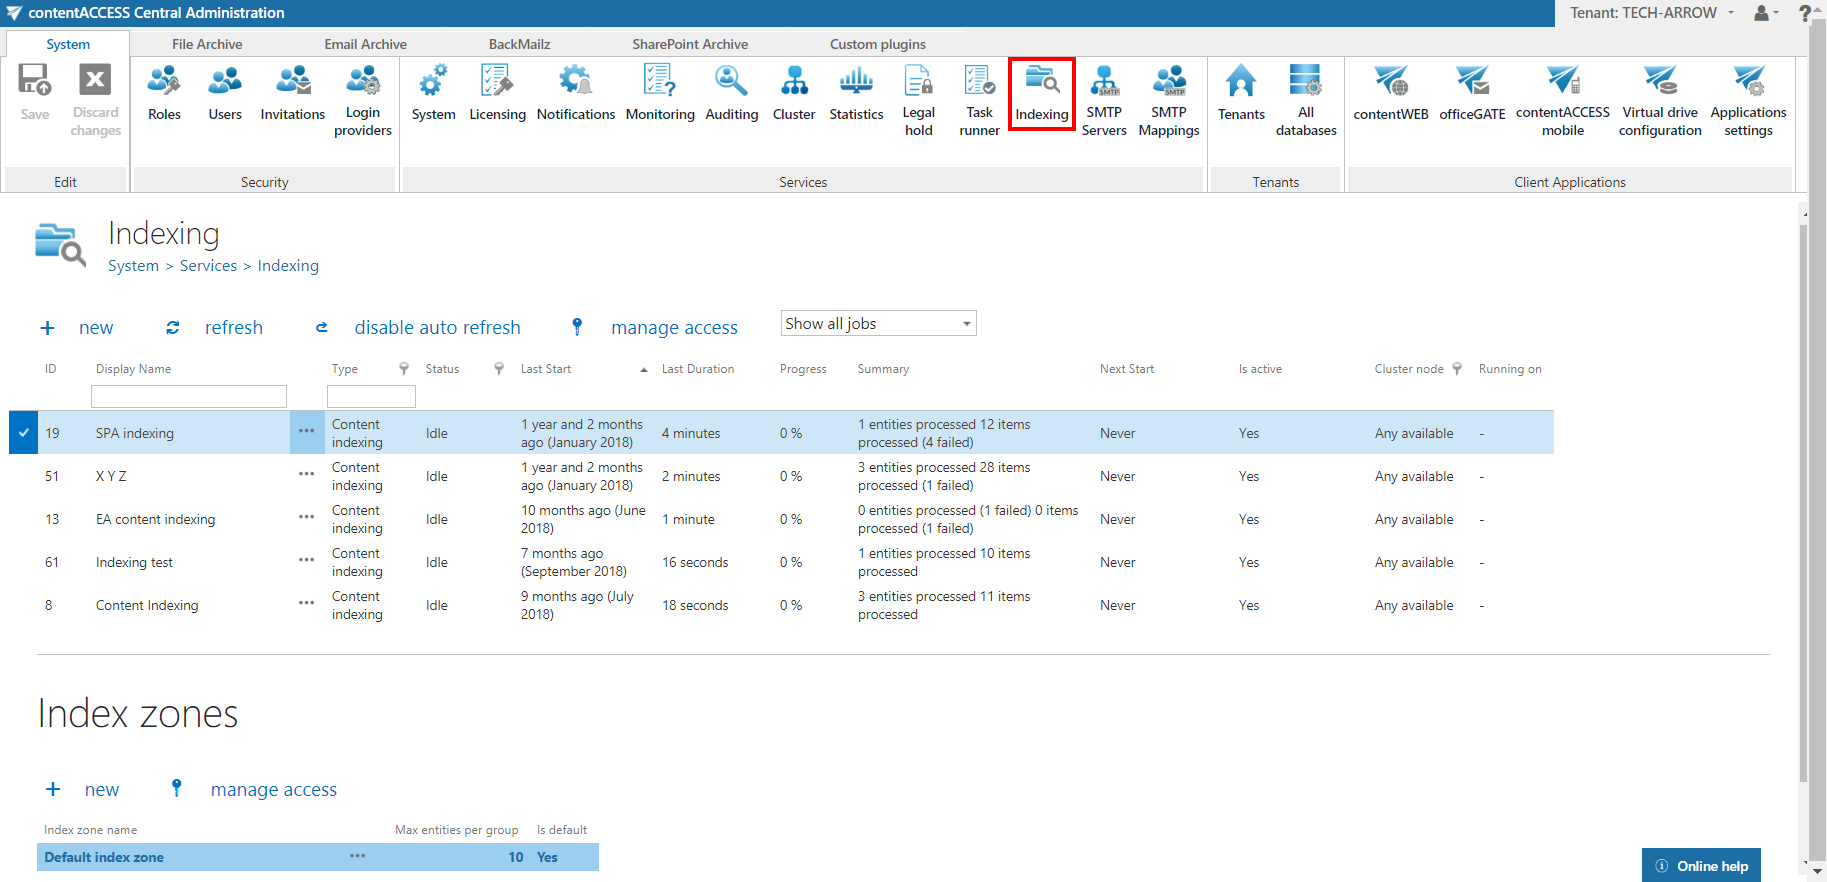
Index zones
Index zones can be defined as a set of one or more Elasticsearch indexes, which are used for logical and physical separation of indexed documents. They were introduced to keep Elasticsearch indexes small, since smaller indexes are easier to move and distribute on multiple Elasticsearch servers.
Index zones can be assigned to entites directly or can be assigned and then overwritten by indexing jobs.
The Maximum entities per group column shows the amount of entities that will use the same indexes on Elasticsearch. The grouping is done automatically by the indexing job. By default, the maximum number of entities per group is 10. The recommended value for File archive is 2, for Email archive 10. If the limit is reached, then a new zone is opened and the rest of entities is included in it.

Index zone name and Maximum entities per group value can be changed by selecting Edit from the context menu of the index zone. Specify the desired name and value and then click on Save.


