3.1.4.contentACCESS Central Administration user interface
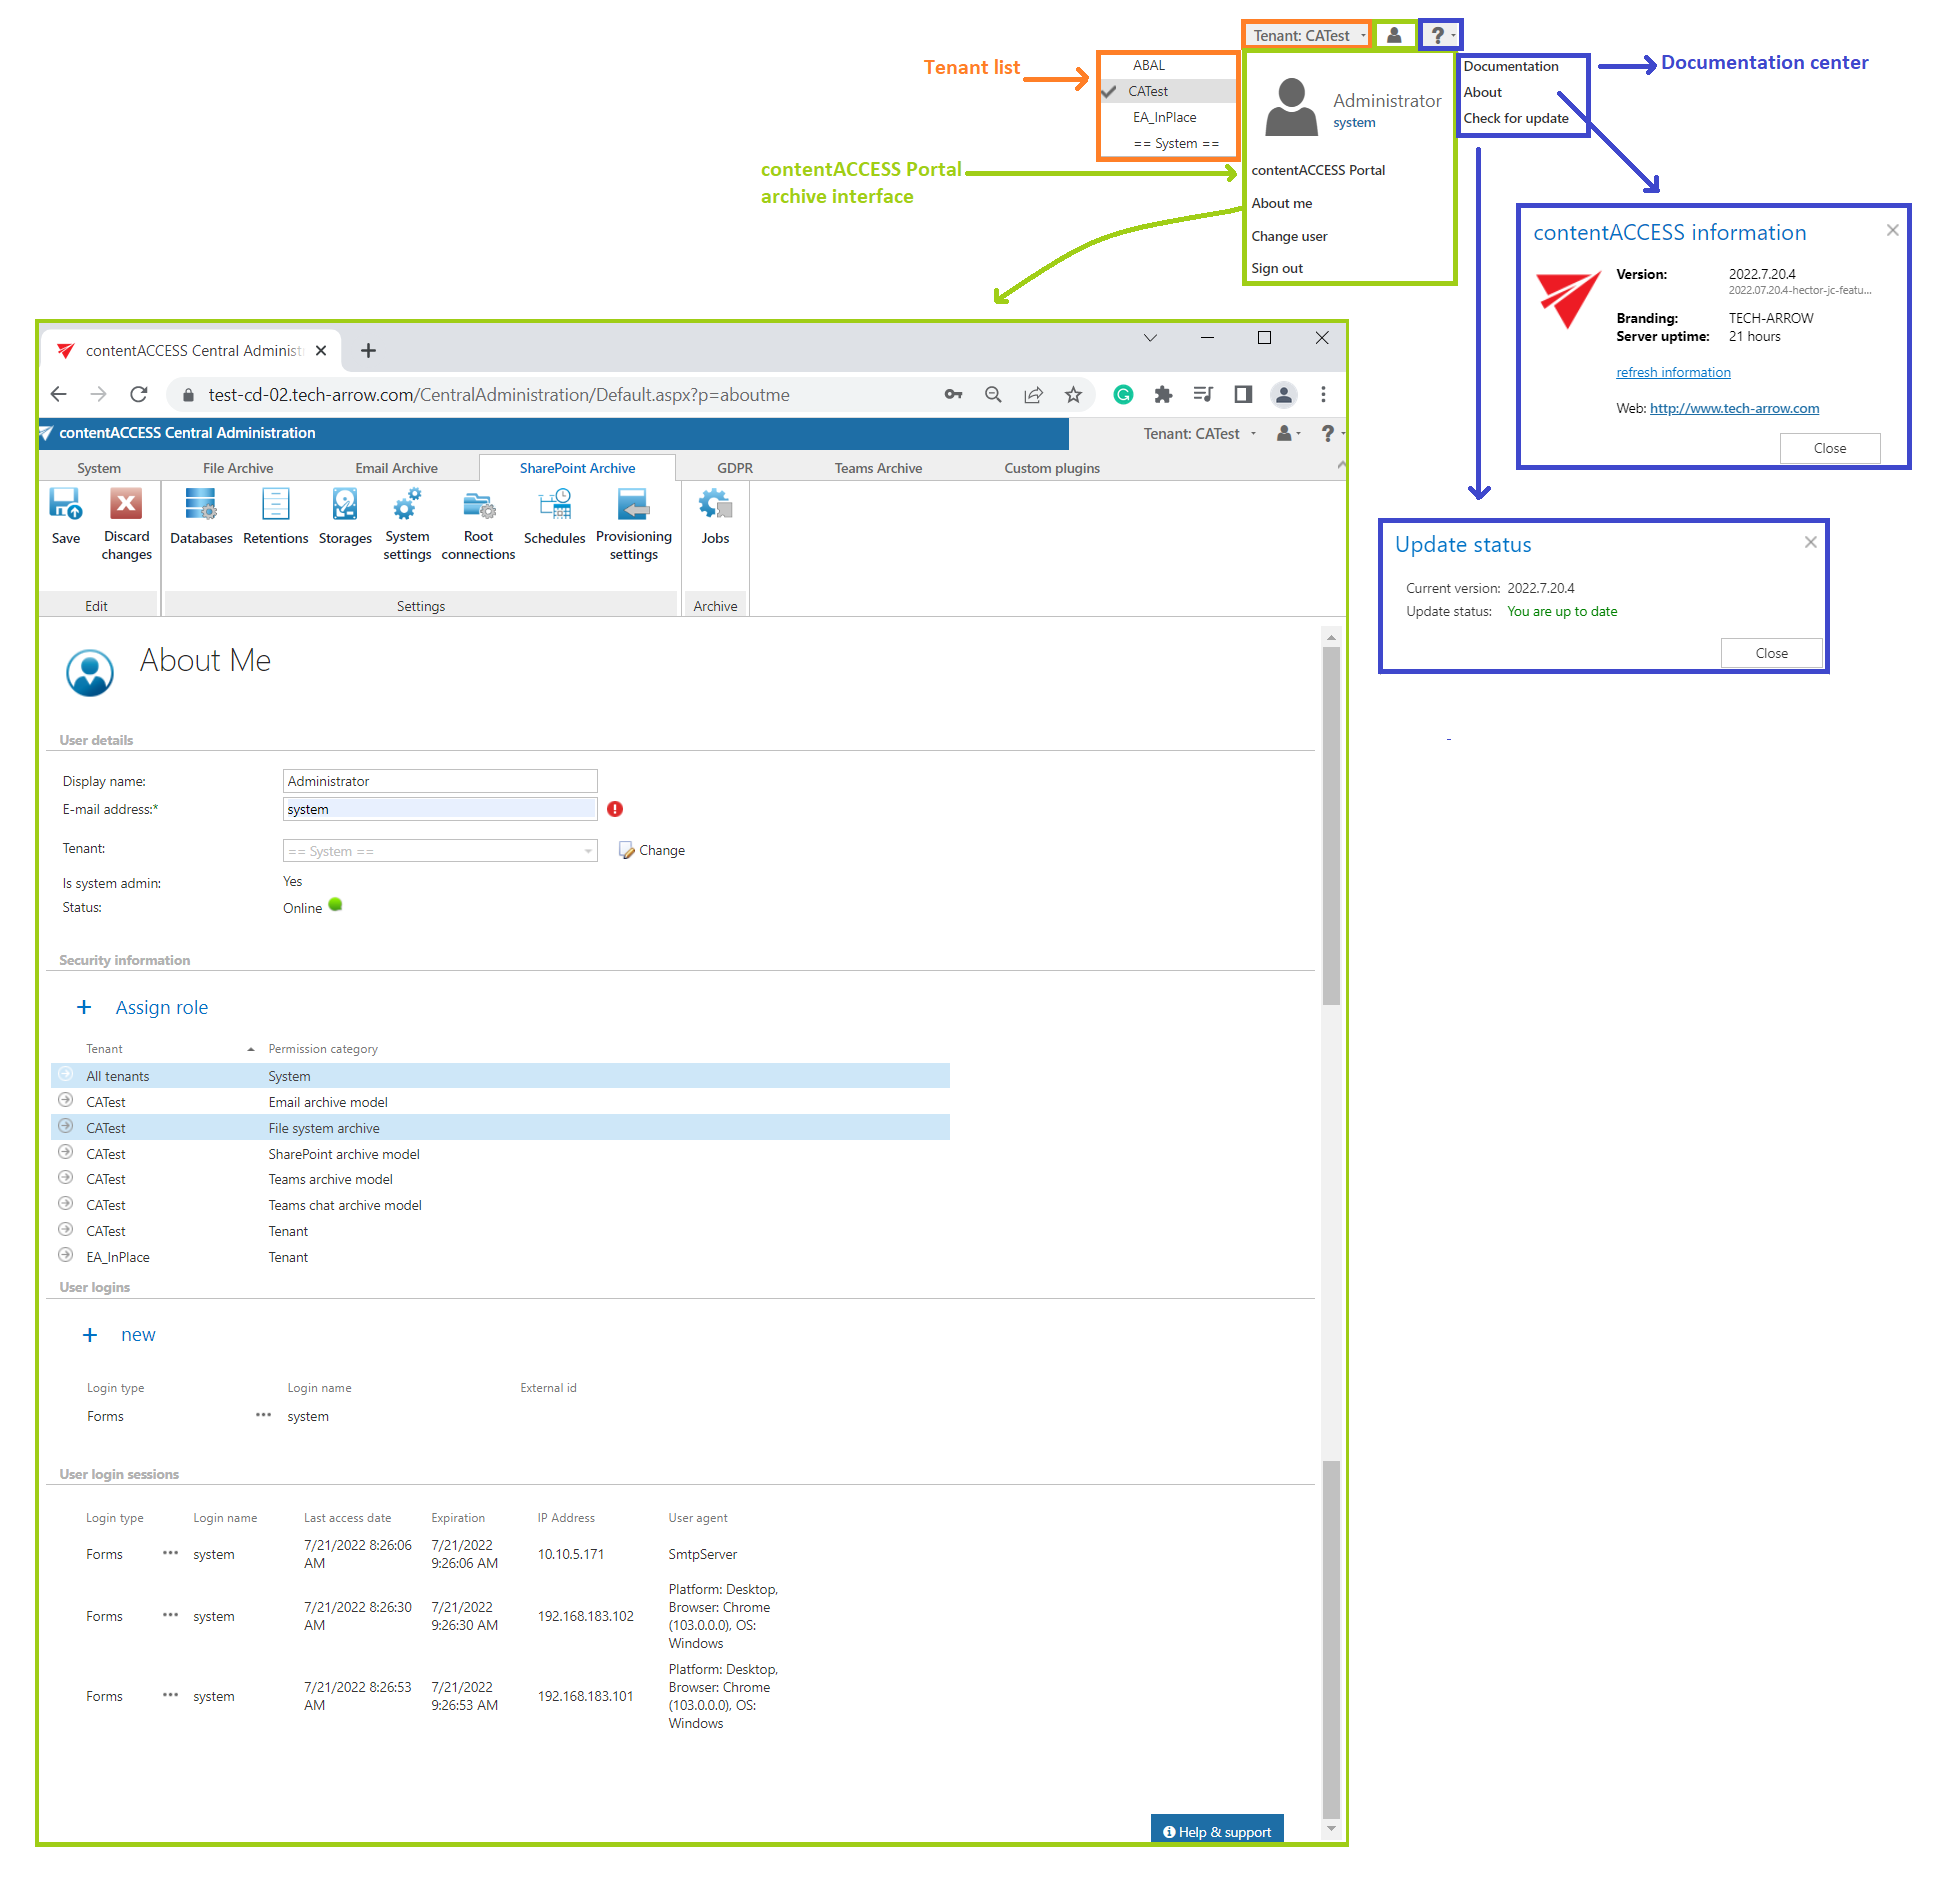
After you have successfully logged in, the Central administration of contentACCESS page will load. The ribbon is divided into 7 main tabs: System, File archive, Email Archive, SharePoint Archive, GDPR, Teams archive and Custom plugins. Each tab is divided into several groups, which also contain several buttons.

You can switch between the tenants in the right upper menu of the Central Administration user interface.
In the user menu you can see the signed in user, the detailed information about the signed in user (About me), or you can change the already logged in user. Also here you can sign out from the Central Administration and log in to the contentACCESS Portal archive interface.
Click on the “?” question mark to roll down the help menu. Under About menu point you will find the information about the contentACCESS version that you have installed, here you can check the system uptime, and it also contains a link pointing to the company’s website. Under Documentation menu point you can access all documentations related to contentACCESS software. Under Check for update menu point provides the chance to the user (who has the manage system permission) to check the latest available contentACCESS version.
Check for update
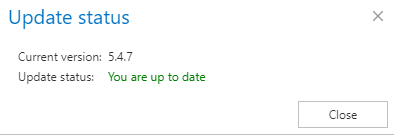
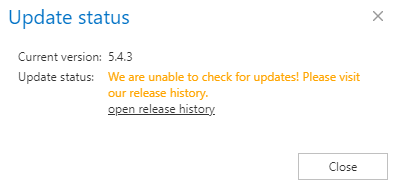
This function provides the opportunity to check the latest available contentACCESS version through the licensing system and notify the people who have the manage system permission about the updates. The Update status window can be displayed in 3 different ways:
- 1. Up to date – in this case, the pop-up shows the Current version (example: 5.4.7) and the Update status: You are up to date
- 2. Update is available – if a new update is available, the Update status will notify the user about the latest version and provides a link to the release notes. Here the user can read more about the new features in the latest version. Also, if the new version is available, the Get an update quote button will be shown in the pop-up.
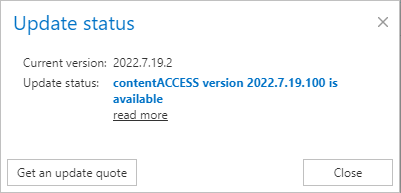
When the user clicks on the button, a contact form will appear, pre-filled with the currently logged-in user’s name, email address, and a predefined message body for update quote with details about the current contentACCESS version. This pop-up contains the same ‘I accept sending detailed system information’ checkbox as the Report issue pop-up. If it’s enabled, the JSON file about the client settings will be sent as well.

- 3. Update verification is not available – if this error message is displayed (see below on the screenshot), it means that the license server is not available, and we can’t send an update notification to the user. In this case, the user can visit the release history webpage to get information about the latest versions.

In contentACCESS, the back/forward button is also supported:

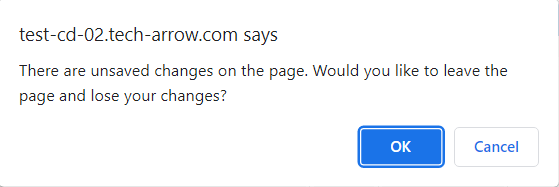
Any changes made in the Central Administration must be saved via the “Save” button, which is accessible in the left upper corner of the ribbon.

When you open contentACCESS Central Administration for the very first time, you need to create a tenant first (check section Tenants in contentACCESS). Further you need to adjust the system settings (refer to section General system configurations).
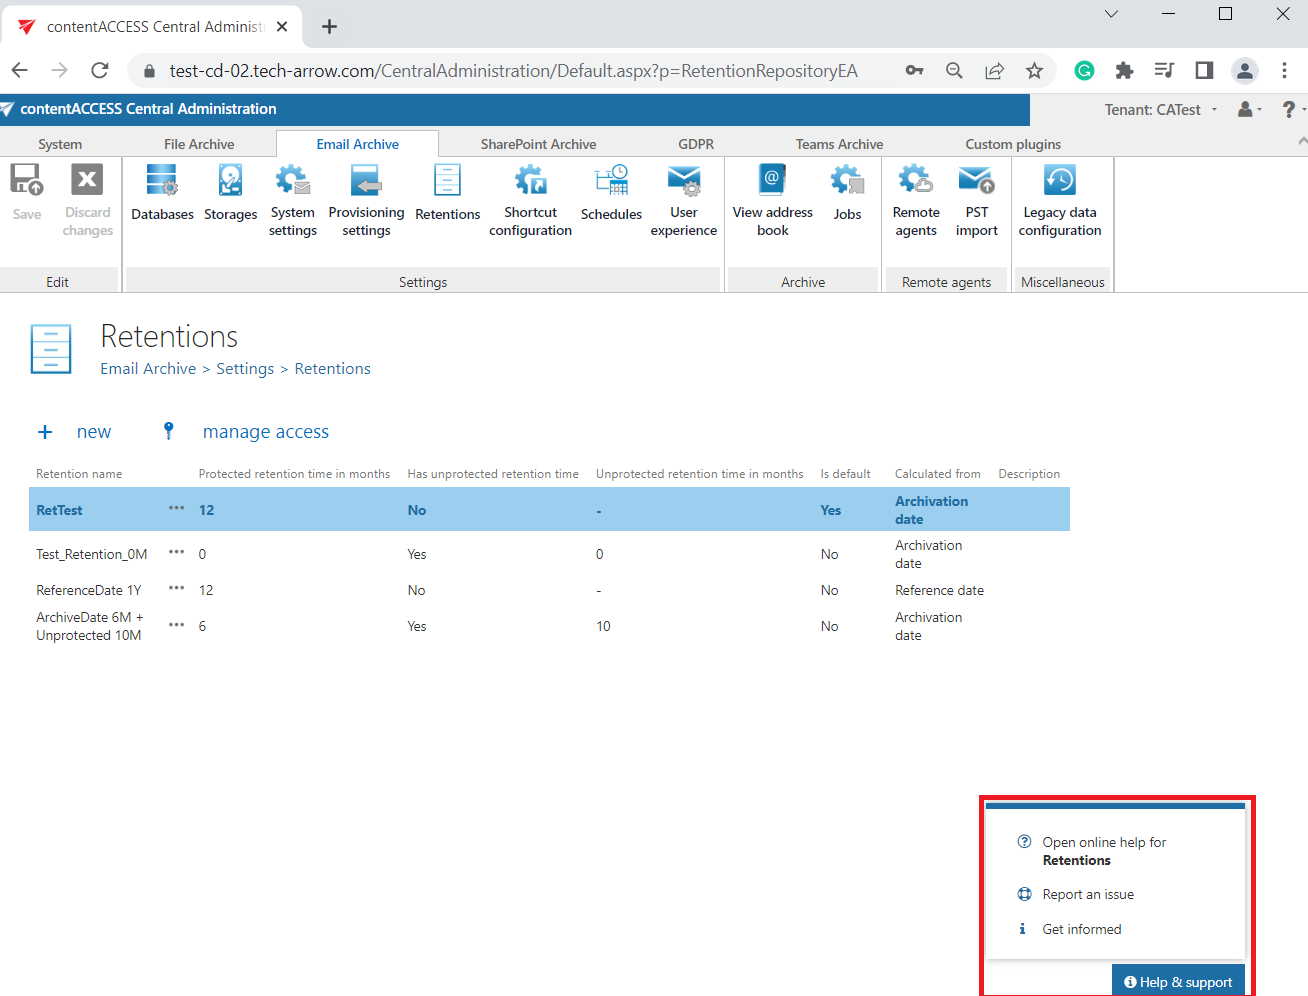
On the bottom of the page (and on every other page), there is a Help & support menu. When the user clicks on this button, a menu is opened with the following 3 options:
-
1. Open online help – opens contentACCESS support site for the current configuration page(example: Open online help for Retentions)
2. Report an issue – a report pop-up form will appear where the user can fill out some information and send the report (more information below)
3. Get informed – opens the newsletter sign-up pop-up (more information below)
The menu is closed automatically when the user clicks away from the menu.
✓ Report an issue
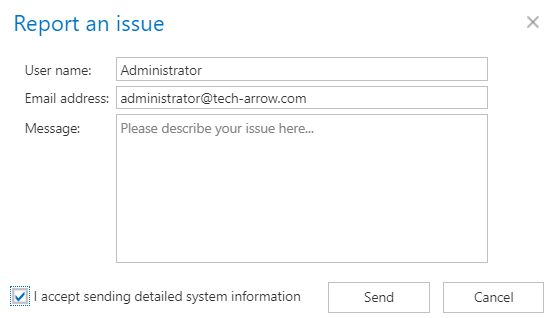
This feature provides an option for the administrator to report an issue directly from Central Administration. The pop-up form contains the following parts:
- Username – it is automatically pre-filled with the current (logged in) user’s name (the administrator)
- Email address – it’s automatically pre-filled (if the user has an assigned email address) with the current user’s email address, or can be added manually
- Message – the user can write the details of the issue
- ‘I accept sending detailed system information’ checkbox – if it’s enabled, a JSON file is sent with the report about the whole configuration -> easier to check the client settings via PowerShell
- Send/Cancel – the ticket will be automatically sent to the Zammad system, or the user can close the pop-up form without sending the report
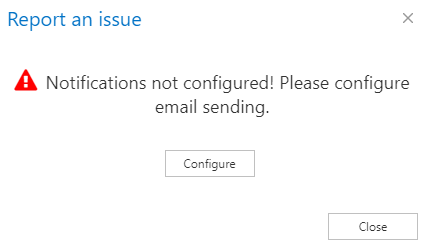
If the logged-in user is the system administrator and the notification settings are not configured, a pop-up window appears with the following message: “Notifications not configured! Please configure email sending.” In this case, click on the “Configure” button, and it will automatically redirect the user to the Notification settings page. Read more about the Notification settings here.
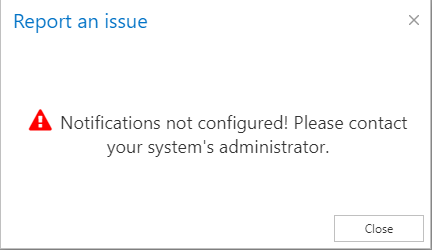
If the logged-in user is the tenant administrator, then a different kind of message will appear (“Notifications are not configured! Please contact your system administrator.”) without the Configure button. In this case, the tenant administrator does not have access to the notifications and needs to contact the user with permissions.
✓ Get informed
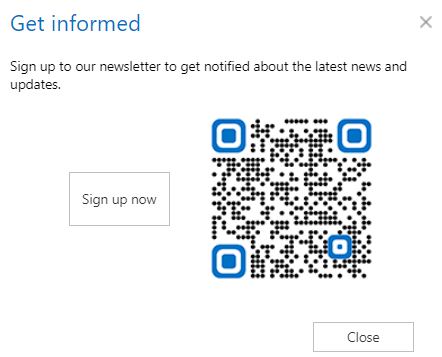
This feature allows the administrator to sign up for our newsletter to get more information/updates about the product(s). The pop-up window contains the following sections:
- Information string – “Sign up to our newsletter to get notified about the latest news and updates.”
- ‘Sign up now’ button – will redirect to the newsletter sign up page
- QR Code – works the same as the ‘Sign up now’ button: redirects to the webpage
- Close (button)
