13.Creating an Email archive job
Now we can create our Email Archive job.
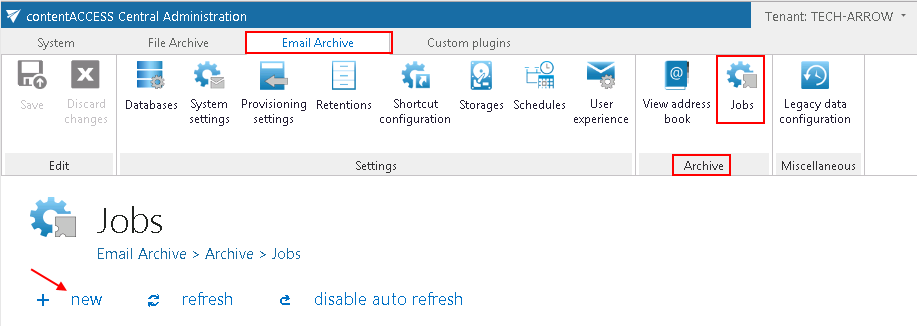
a) On the page of Jobs (Email Archive → Archive → Jobs) click + new option.
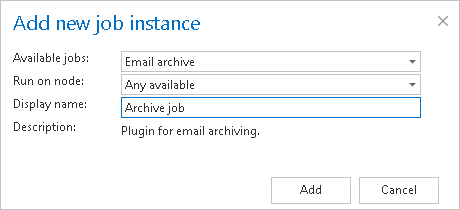
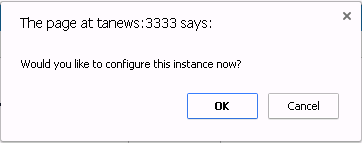
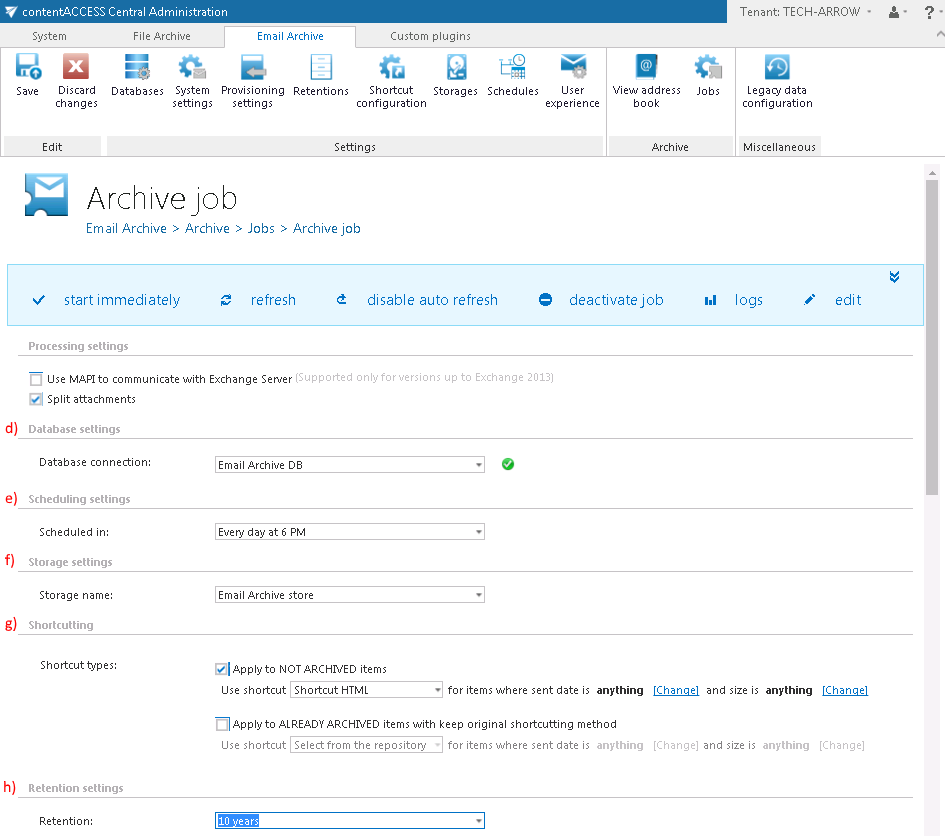
d) Set “Email Archive DB” that we created in step 4 above. The metadata will be stored here.
e) Select the “Every day at 6 PM” scheduler we created in step 10 above.
f) Select the “Email Archive store” storage we configured in step 9 above.
g) In “Shortcut settings”, select “Shortcut HTML” that we configured in step 8 above.
The shortcut settings allow to combine more shortcut types. If you want to archive your messages, but need to keep them in the mailbox during a certain time (e.g., 2 years) and replace them with a shortcut (e.g., HTML), after this time, you can combine the “Keep original” and a second, e.g., HTML shortcut. The screenshot below shows how to combine shortcuts for this use case (for more information, refer to the online guide here).

h) Select retention “10 years”, which we configured in step 7.
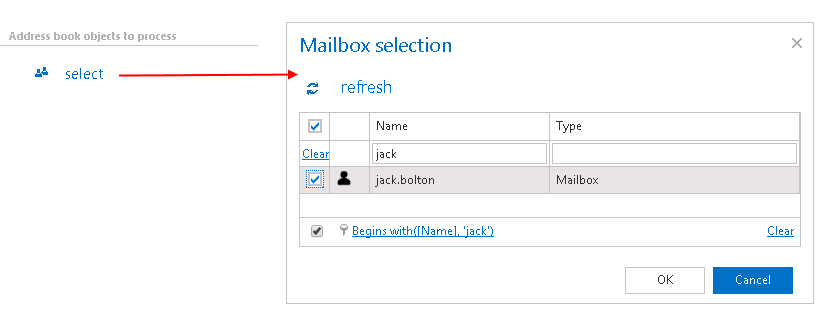
i) In the next step, select “jack.bolton@tech-arrow.com” mailbox to be archived. Click + select option in section “Address book objects to process” and search for the desired mailbox in the dialog.
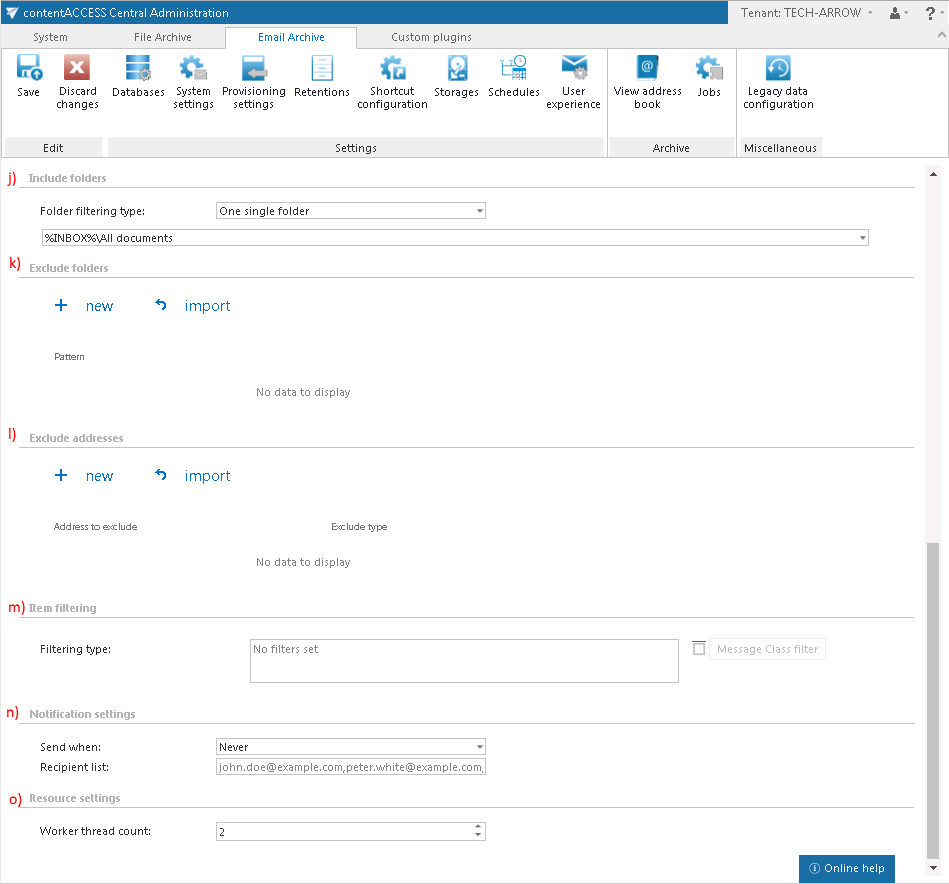
j) Select the mailbox folder that must be archived in the “Include folders” section. By default, the job is set to process the entire mailbox. Now, we will archive only subfolder “All documents” on the INBOX root, so we set it here. (Refer to the picture below.)
k), l), m) The “Exclude folder”, “Exclude addresses”, and “Item filtering settings” allow to set further filters the archive job will use. The exclude criteria can be added manually or can be imported into contentACCESS from a file (CSV, XML etc.). In this use case, we will not define further filtering criteria.
n) Under “Notification settings”, select “Never”, as we will use the monitoring feature to check the details of possible system or job related failures.
o) Under “Resource settings”, set value “2”.
