17.File Archive job configuration
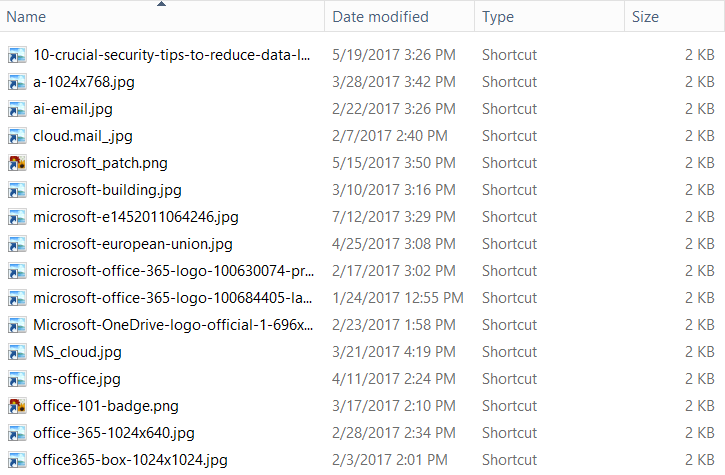
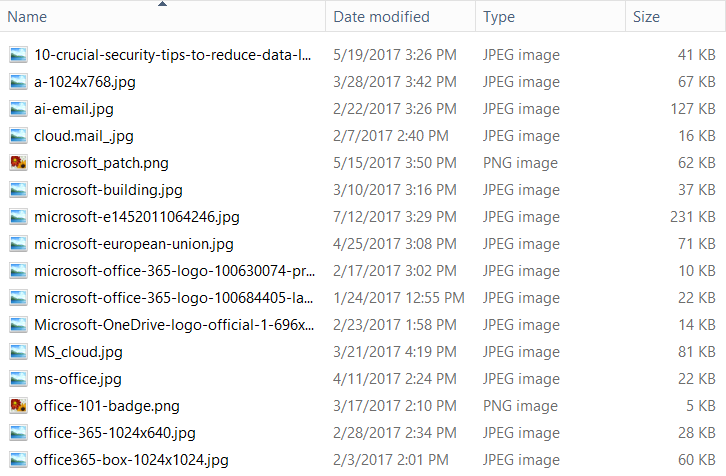
By clicking “OK” one step earlier, the job configuration page opens. Configure the storage, database, folder(s) to archive etc. Set the filters and select the archive method that should be applied. Our File archive job will archive documents older than 1 year on our share \TACATESTMicrosoft materials. Archived documents will be replaced with shortcuts to save space.
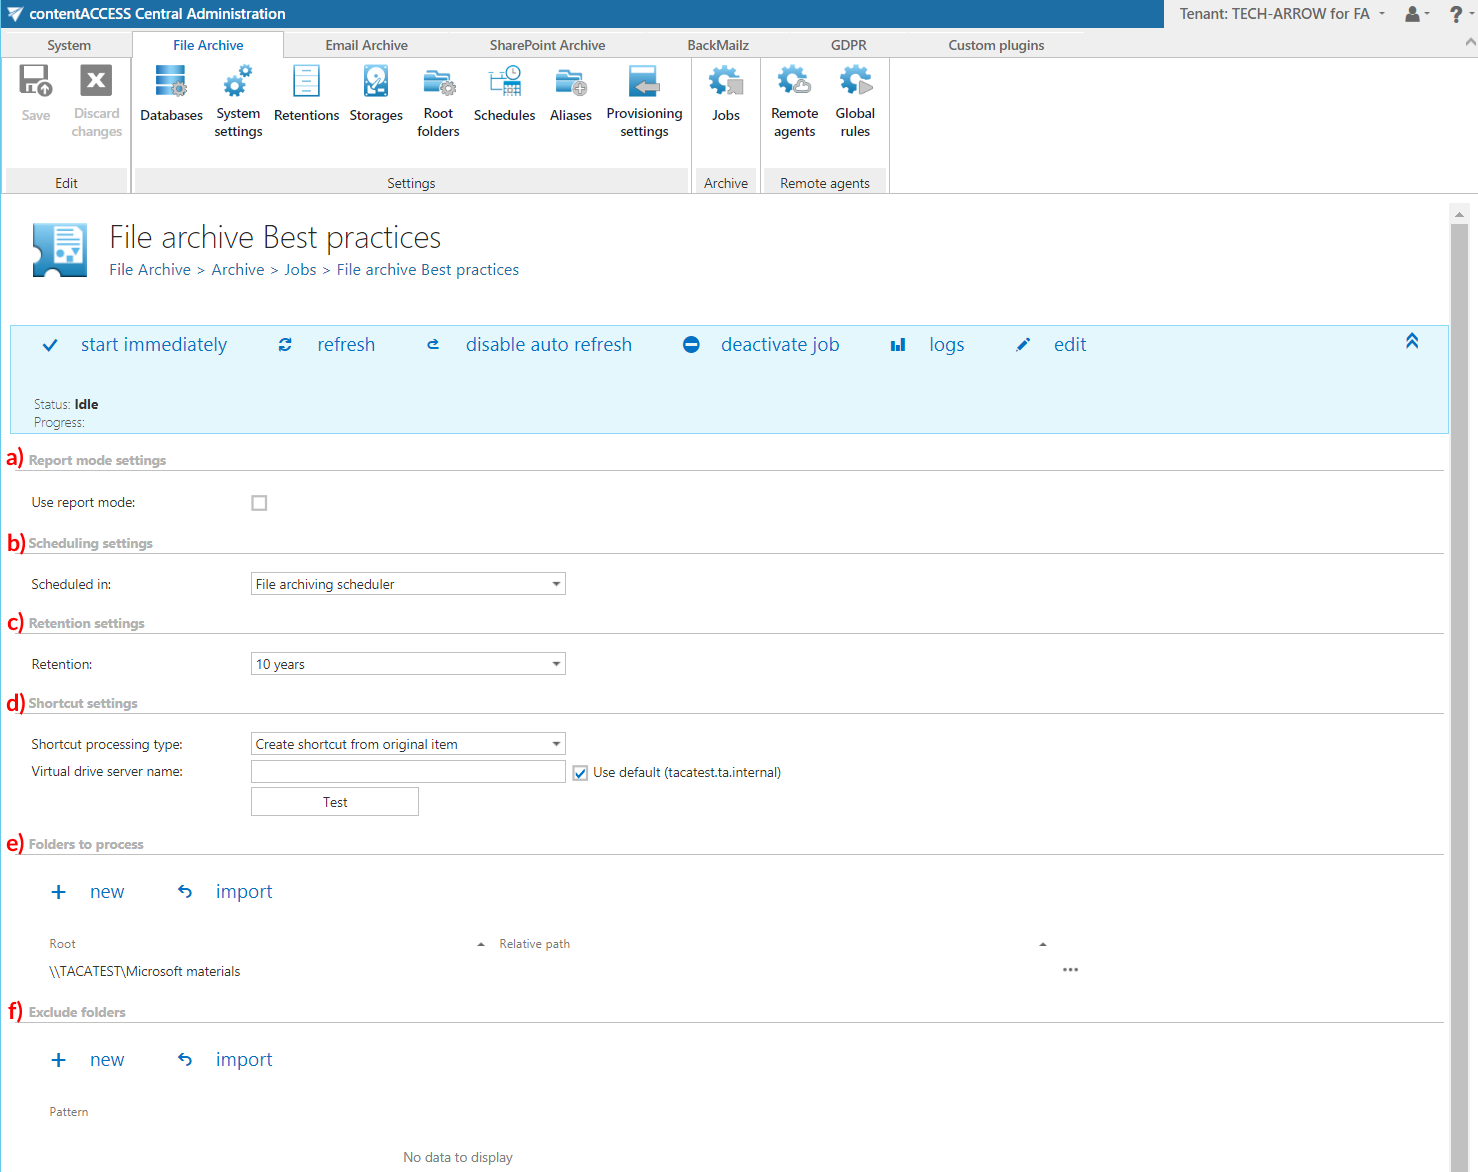
Configuration details
a) Report mode settings: In this case, we can skip this section.
b) Scheduling settings: Set the configured “File archiving scheduler” scheduler that will start your job every hour, as defined.
c) Retention settings: Set the configured “10 years” retention.
d) Shortcut settings: Open the dropdown list and select option “Create shortcut from original item” and specify the virtual drive server name. Virtual drive is used to retrieve the original item(s) from the shortcut(s). Test the connection with the virtual drive server.
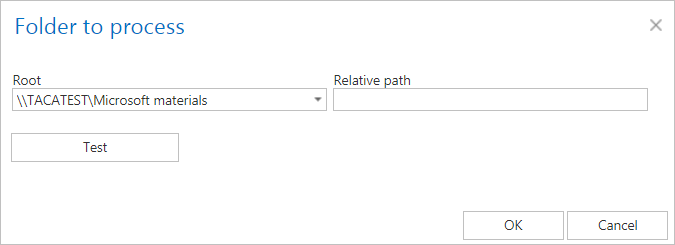
e) Folders to process: Specify the folder(s) to process manually or import the list from a file. Now, we will specify it manually, so we click +new. Select the configured root folder from the first dropdown list and enter the relative folder path if the archive job should start from a lower level. In this use case, the \TACATESTMicrosoft materials share will be archived. Test the connection and click “OK”.
f) Exclude folder: If there are any folders that shouldn’t be archived, exclude them from the process using this option. As we do not have such excludable folders in this use case, we skip these settings.

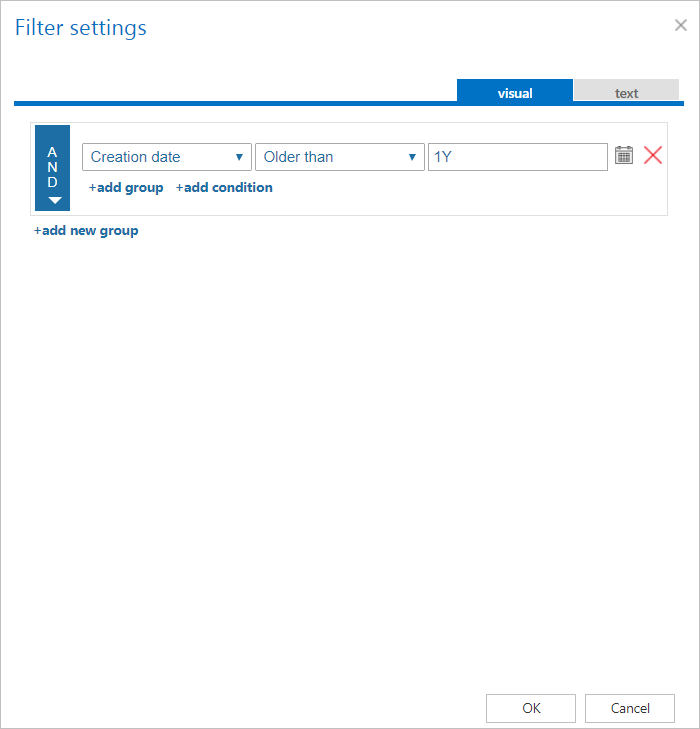
g) Filtering settings: Use this option to set any filters that must be used. In this use case, we will archive everything older than 1 year. Click on the “Change filter” button and set the required time period in the next dialog:
h) Notification settings: If you want to get notification emails about any errors or warning that might occur due to any misconfigurations, you can set it here. Now, we skip these settings.
i) Resource settings: already set to the recommended value
For more information about these settings, refer to the online guide here. Now, the job configuration is ready. Save your settings in the top left corner of the user interface. Wait until the scheduler starts the job in the next hour or start it manually by clicking on “start immediately” in the blue status bar:

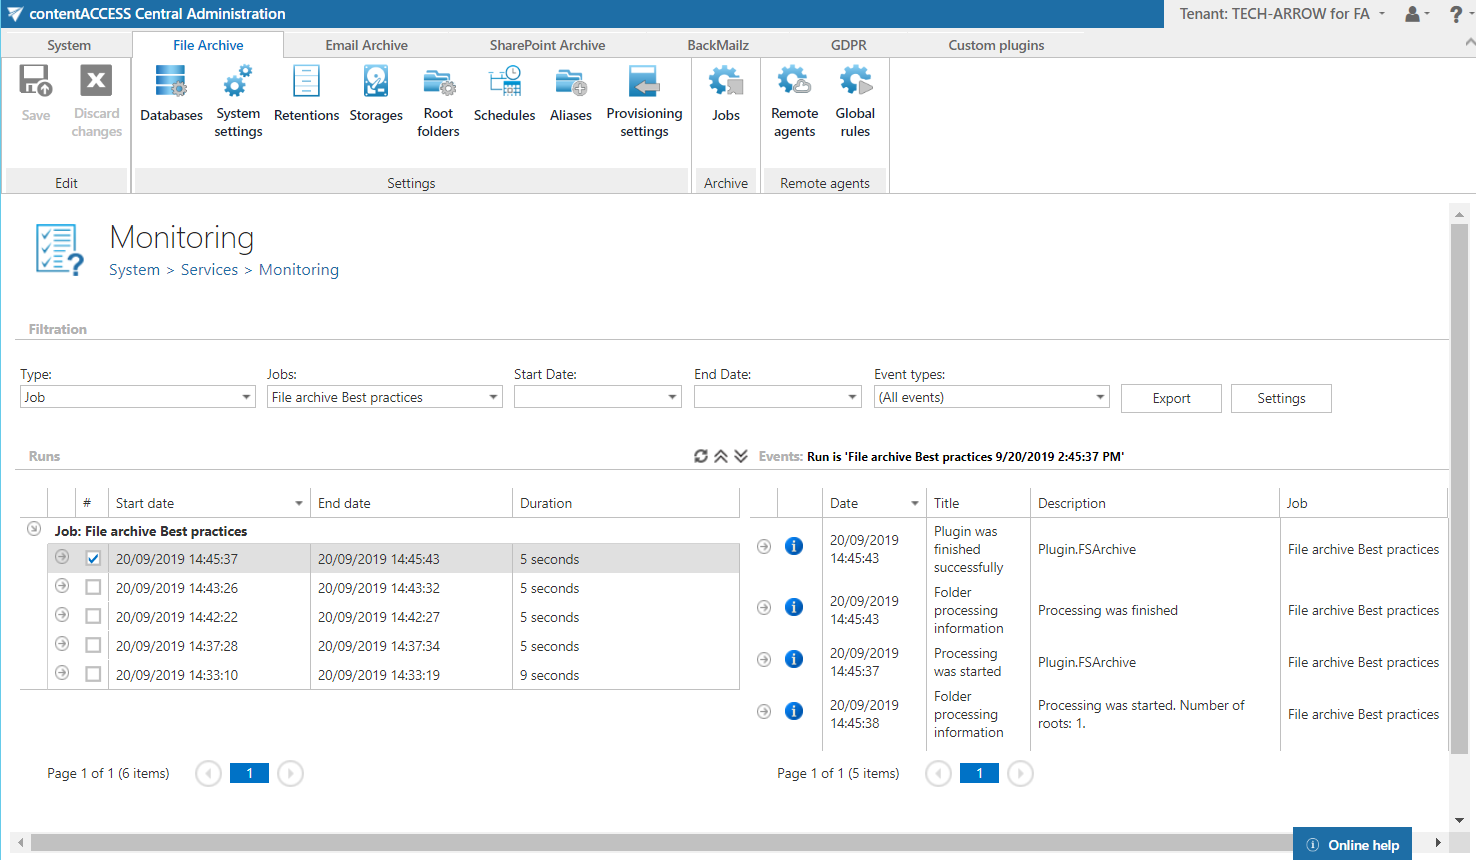
Now, we will check the “File archive job” events to see if everything has run properly. Open the Monitoring page (System => Services => Monitoring) using the “logs” option in the job’s header bar. Under “Events”, you can see the job has finished the task successfully. Use the Export function to export the events into an HTML, XML or CSV file if desired:
Access your archived files using the shortcuts (Screenshot A) or search in the archive using the virtual drive (Screenshot B). You can also view your archived files in contentWEB. Enjoy it ☺
