- What is contentACCESS Portal?
- Main contentACCESS Portal functions:
- Requirements
- Installation
- Logging into contentACCESS Portal
- contentACCESS Portal user interface
- Search functions in contentACCESS Portal: “Connect to search”, quick search, advanced search, GDPR search
- Folder selection methods
- Tasks supported by entities (models)
- File System Archive
- Email Archive
- GDPR Application
- GDPR Exchange
- GDPR File system
- SharePoint Archive
- OneDrive Archive
- Sharing
- Teams archive
9.3.Share item(s) ↑ Back to Top
The sharing feature allows the user to specify the restriction and retention to be applied for the shared items when sharing them. This eliminates the need to retrospectively check the shared files and revoke access to older files.
It also automates the user invitation process in case the items are shared with an external recipient and sends an email with links pointing to the shared items. This makes the sharing very fast and useful for end users.
From the security side, it provides full Auditing log about the sharing user, who was downloading the file, when and from which machine and location, etc.
To share any items, select them and then click on the Share item(s) option. If you want to share only one item, it is enough to use the Share button in the top right corner (marked with arrow on screenshot below).

It is also possible to share folders from the context menu of the items list or the actions from the folder structure. The sharing process is the same as during the item sharing: add recipients, select the download limit and expiration date and send the email or get the link (more information is below).

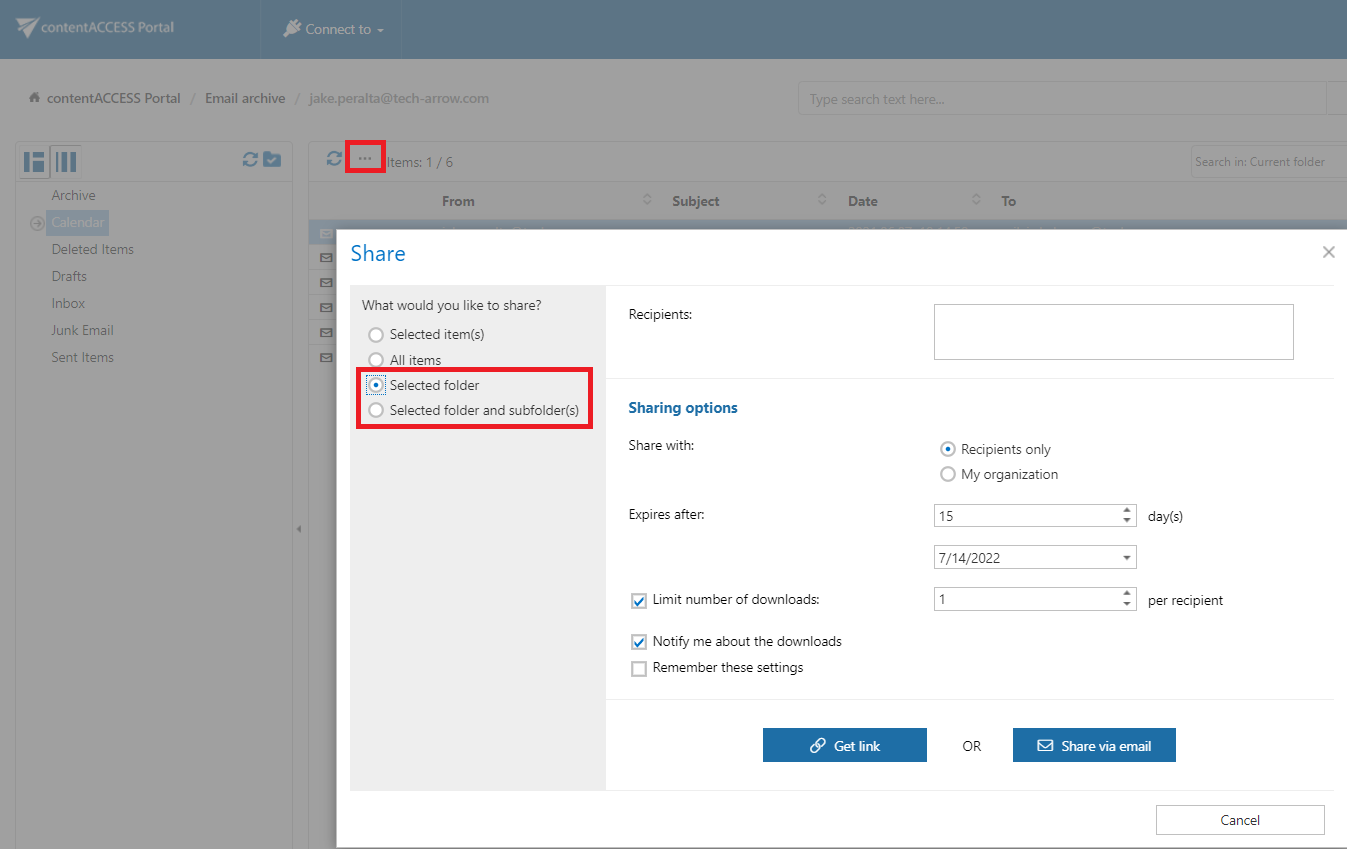
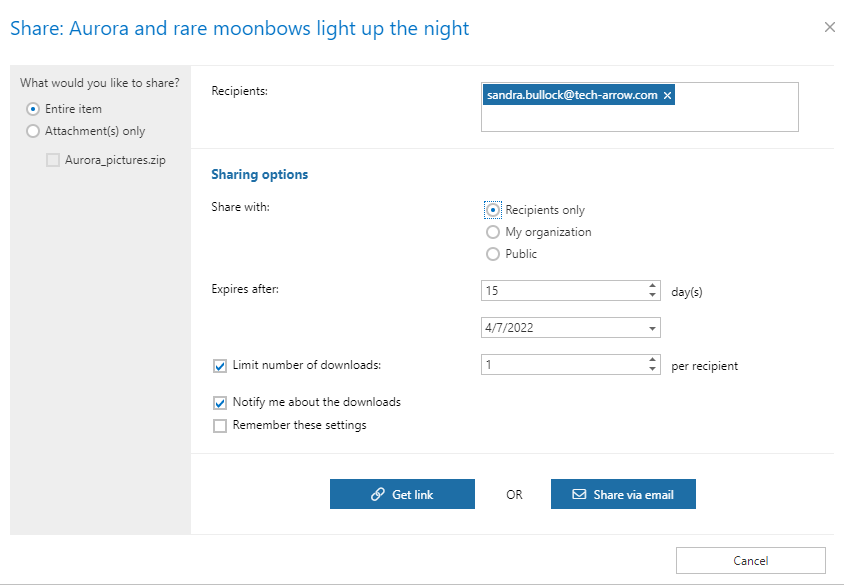
A pop-up window opens.
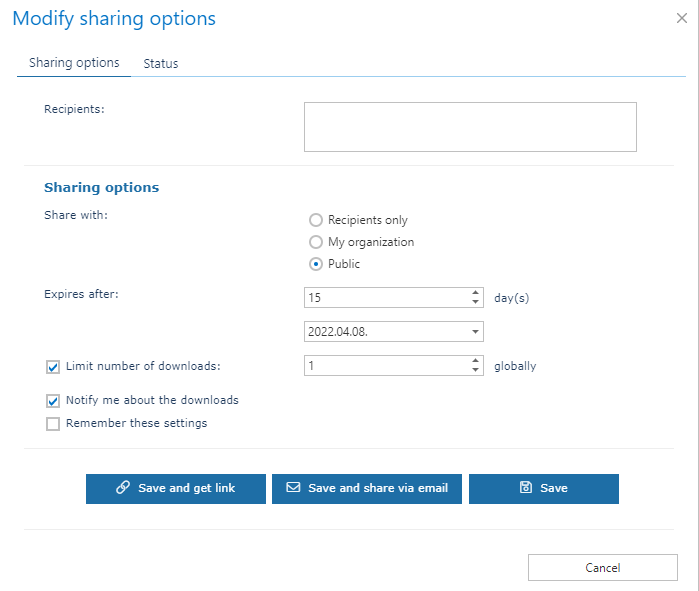
Into the Recipients field, write the email addresses of the people you want to share the item(s) with. In Sharing options, specify who would you like to make the item(s) accessible for:
- Recipients only – even if the email with the link is forwarded, only the recipients will be able to access the shared item(s)
- My organization – only people from your organization (specified in Central Administration -> System -> Services -> Sharing settings) will be able to access the shared item(s)
- Public – anyone with the link will be able to access the shared item(s)
Specify how many days do you want the item to expire in or select the date from the calendar. It is also possible to limit the number of downloads, based on the option selected in Share with:
- Recipients – number of downloads per recipient
- My organization – number of downloads per user
- Public – number of downloads together
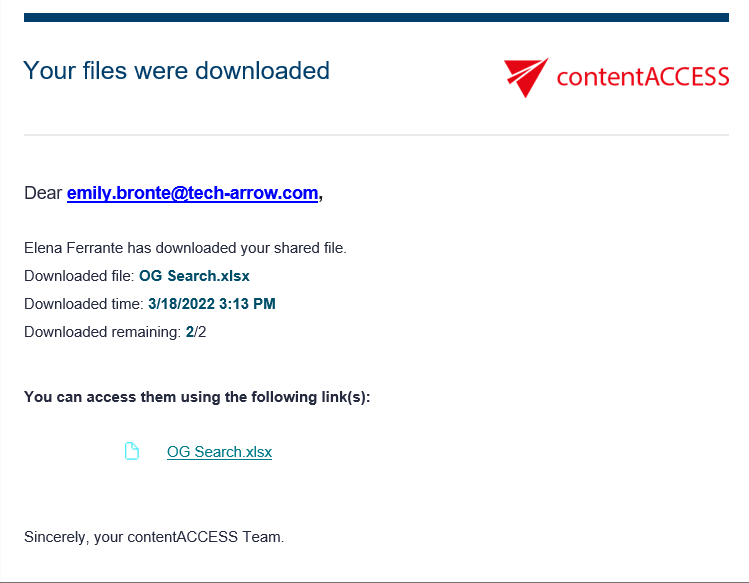
With the Notify me about the downloads function, the owner can get information about the downloads from the recipients’ side. As soon as the users download the shared item, a notification email will be sent to the owner with the following information:
- User, who downloaded the item
- Downloaded file
- Downloaded time
- Downloaded remaining
You can also save these sharing settings for future use by checking the Remember these settings checkbox. That way you won’t need to fill in the Sharing options next time.
If you are sharing an email with attachments, you can choose if you would like to share only those attachments (even select only some of them) or the entire email.
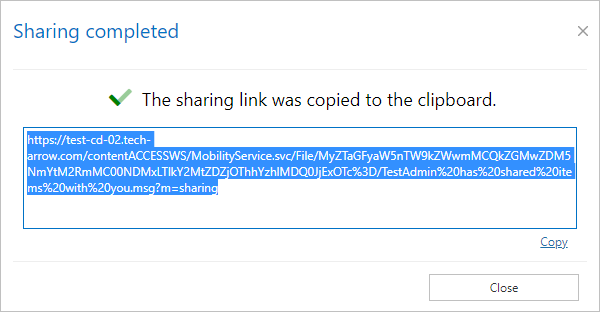
Finish the sharing by clicking on one of the two options: Get link or Share via email. If you select Get link, the link to the shared item(s) will be copied to your clipboard and you will get this window.
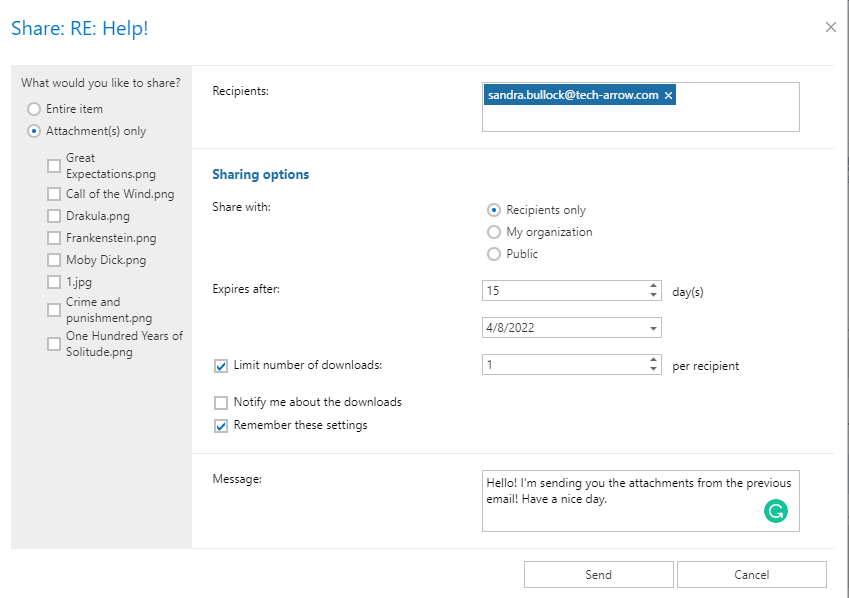
If you select Share via email, the link to the shared item(s) will be inserted to the body of the email and you will be able to write a message, too. The subject of the email will be [USER] has shared items with you. Click on Send to finish the sharing.
If an item has been shared before, it will be marked in its preview. The item sharing is marked with the item icon, and the folder sharing is marked with the folder icon.
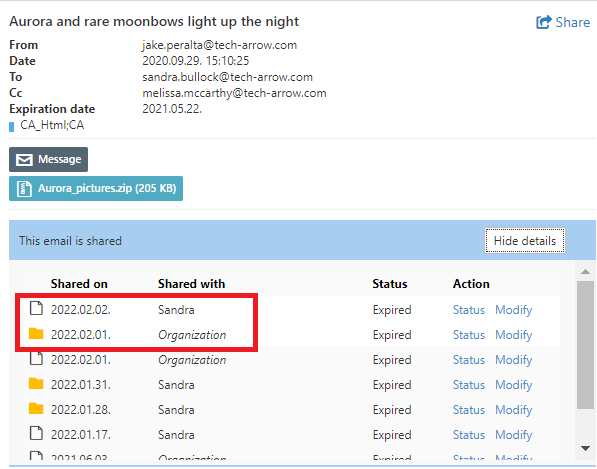
If you have applicable rights and permissions, you will be able to modify the sharing settings. Click on the Modify option. The Modify sharing options window will open. Here, you will be able to add and/or remove recipients, change accessibility, the expiration date and download limit. The option Save and get link works the same as Get link, the option Save and share via email works the same as Share via email. The option Save just saves the changes that were made to the sharing settings.
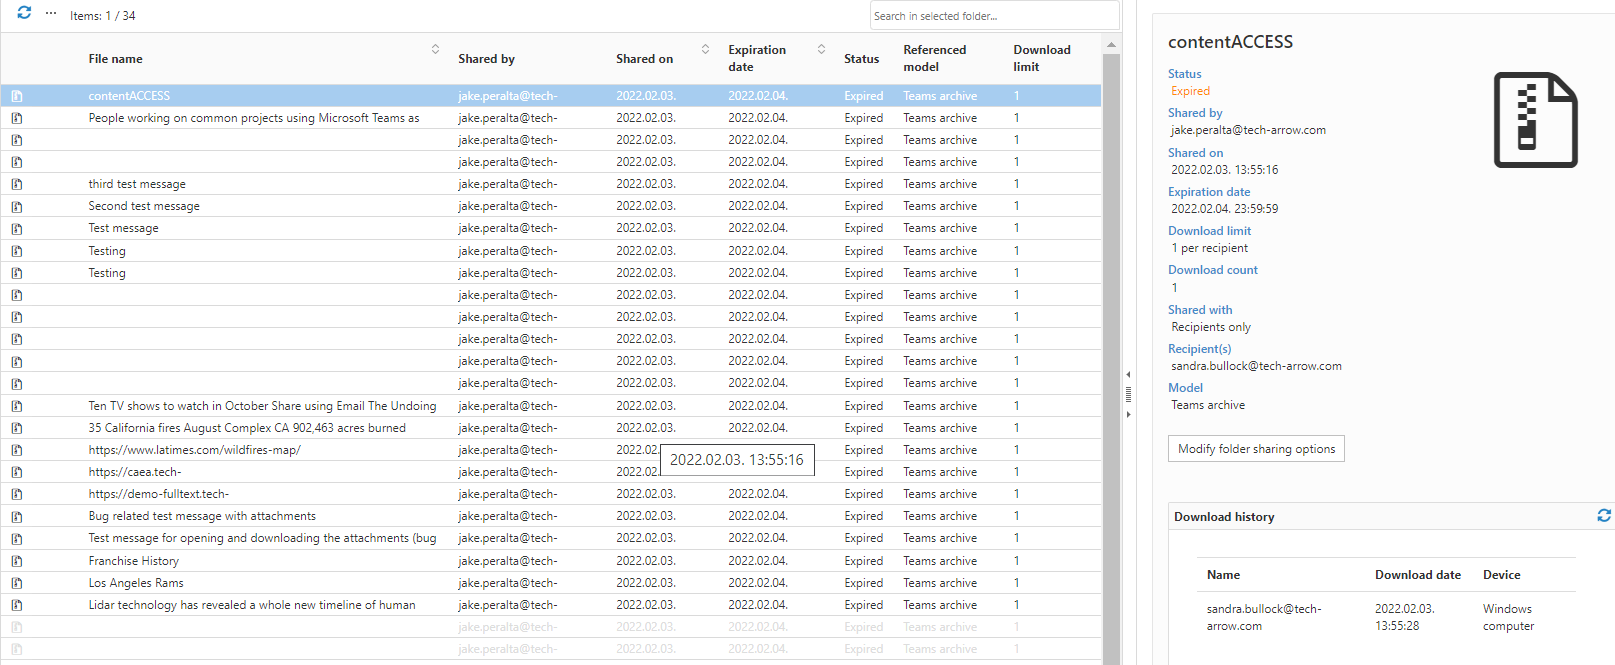
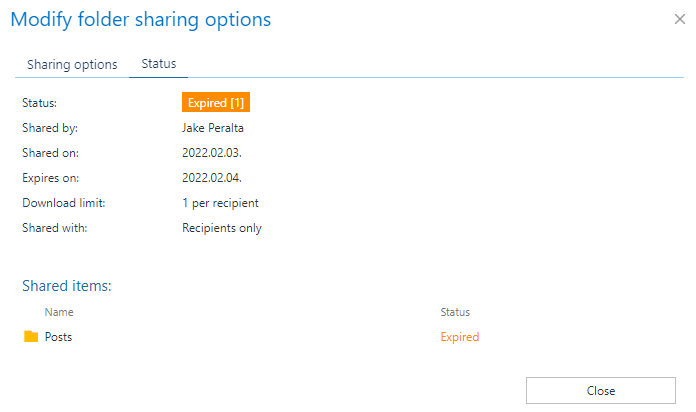
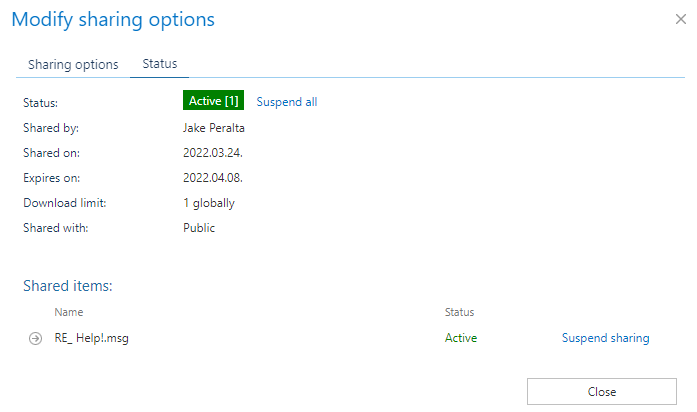
When you click on the Status option, you will be redirected to the window where you will be able to view the status and information about the selected sharing. From here, it is also possible to Activate or Suspend the sharing. When an item (or whole sharing) is suspended, it is not possible to download it, until it is activated back again. If necessary, it is also possible to re-send the sharing notification by clicking on the Send sharing notification button.
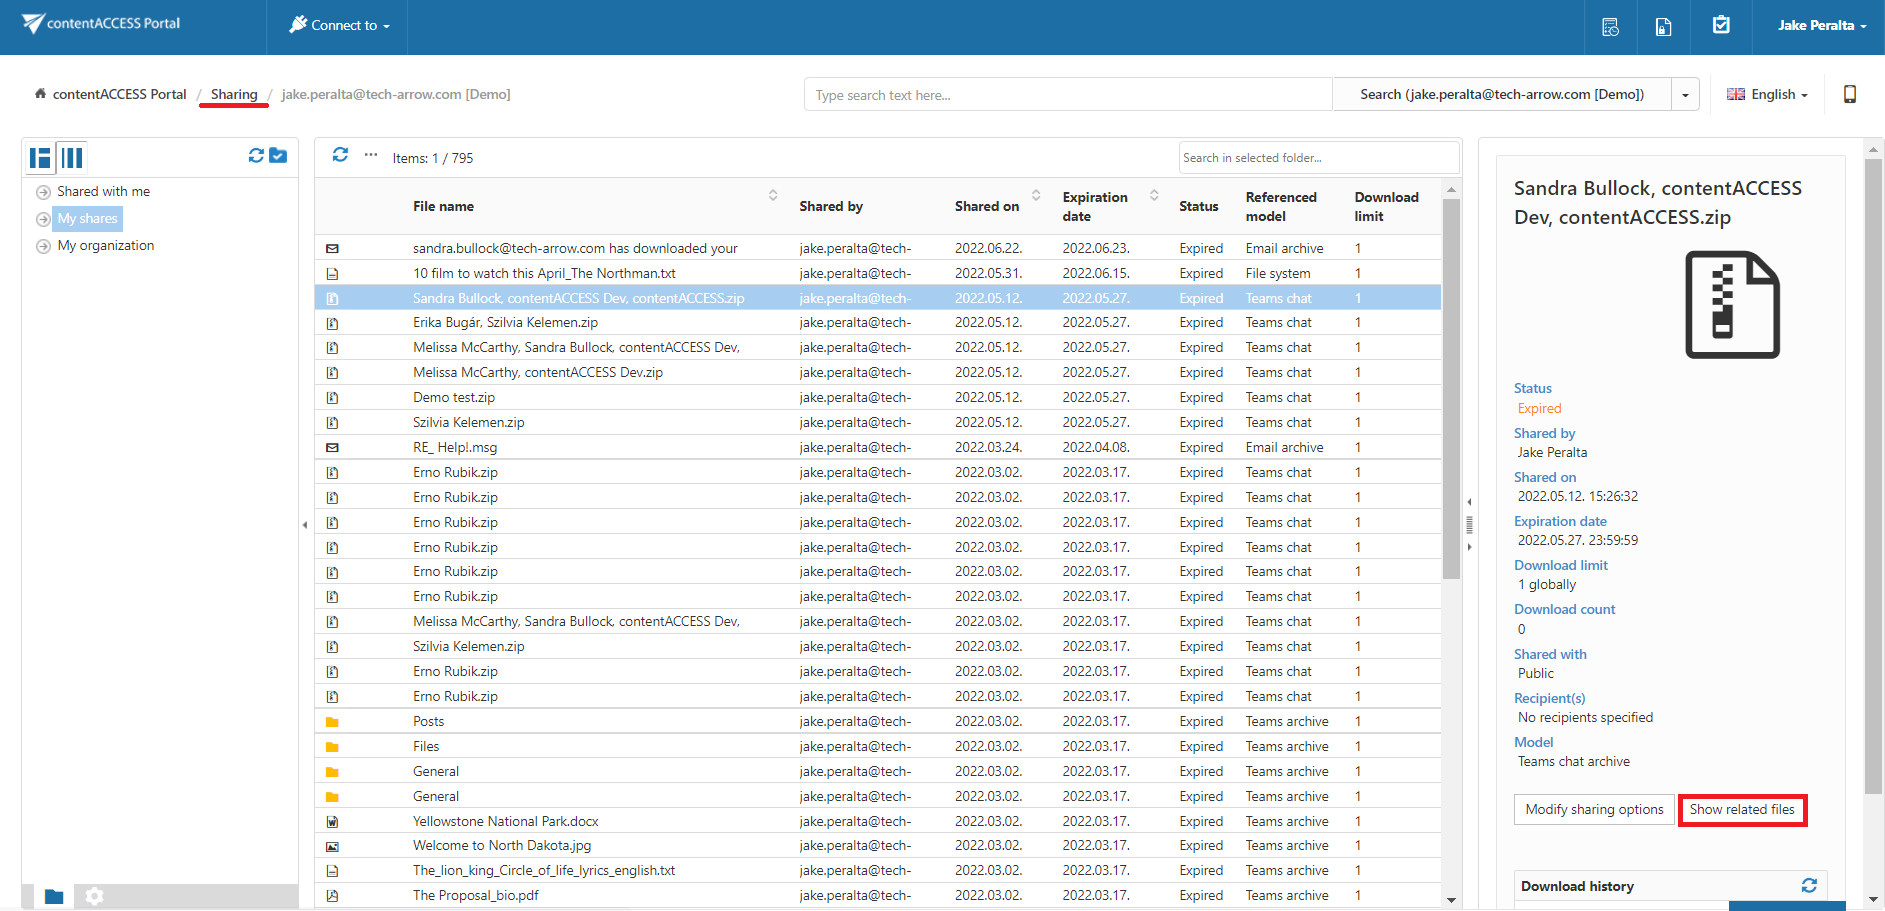
When you connect to the Sharing model, some items will have the Show related files button in their preview. This means that the item was shared together with at least one more item and you can view the list of items by clicking on that button.
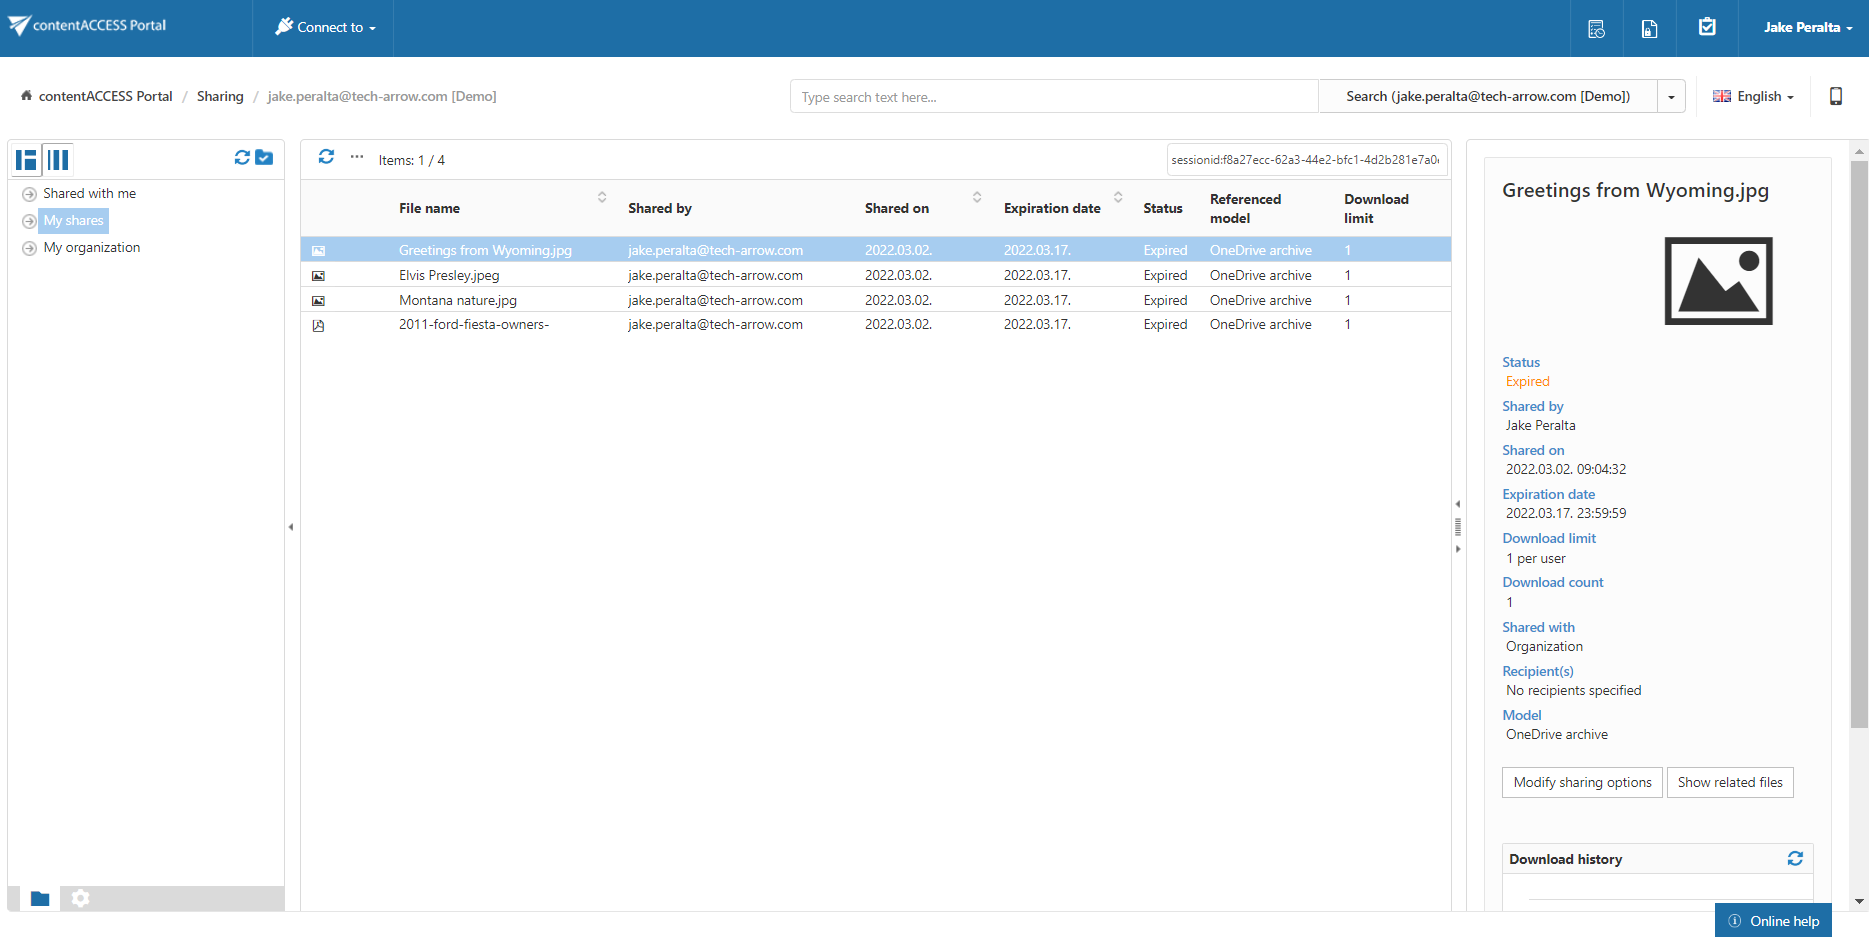
The list will look for example like this:
In the Sharing model, the recipient can’t download the whole folders, only the items from the folders. Click on the folder’s name, and the user will see the items from the shared folder.
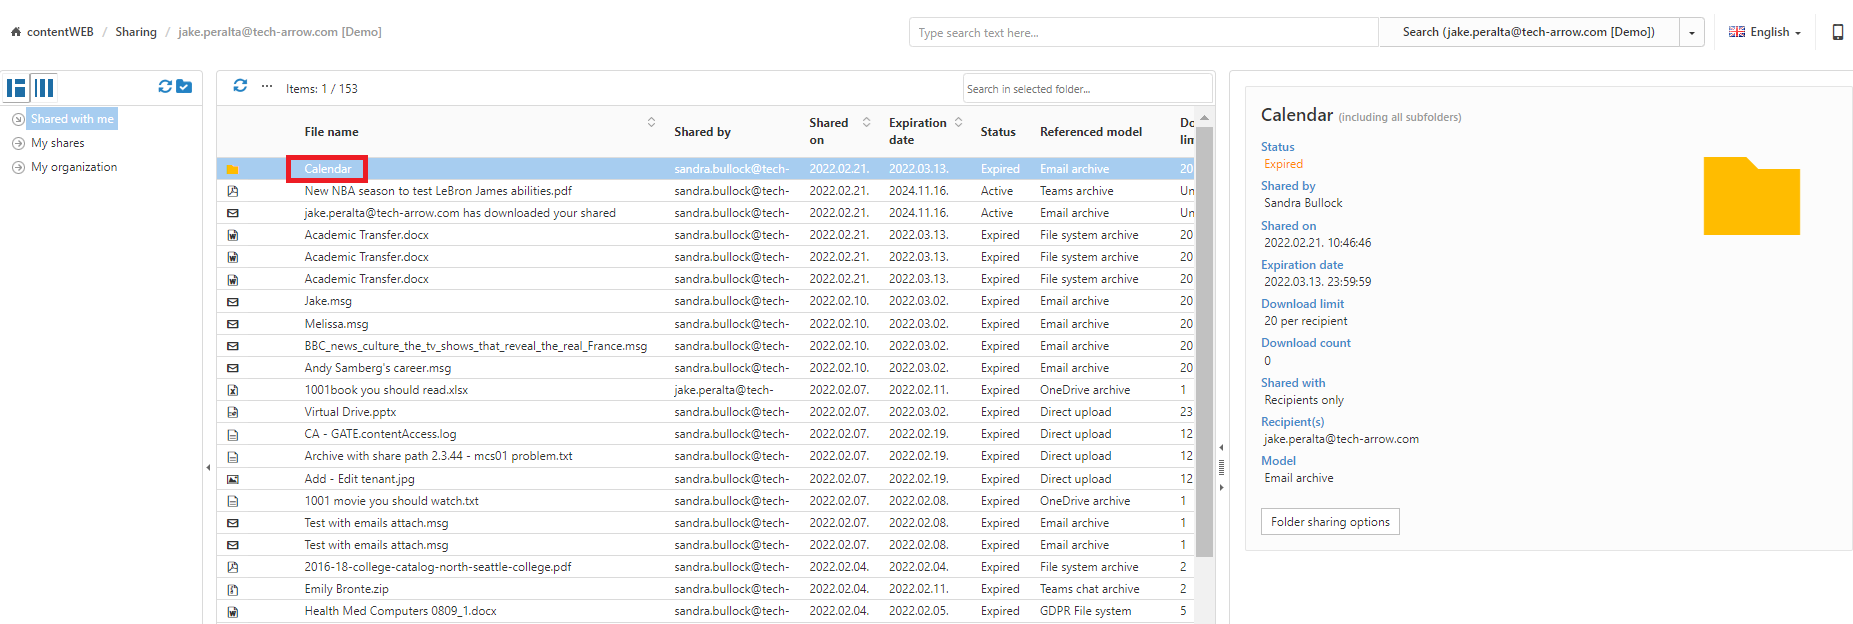
The shared folders are listed under the Shared with me and My Organization folders (as long as the sharing is active) and the My shares folder (always).
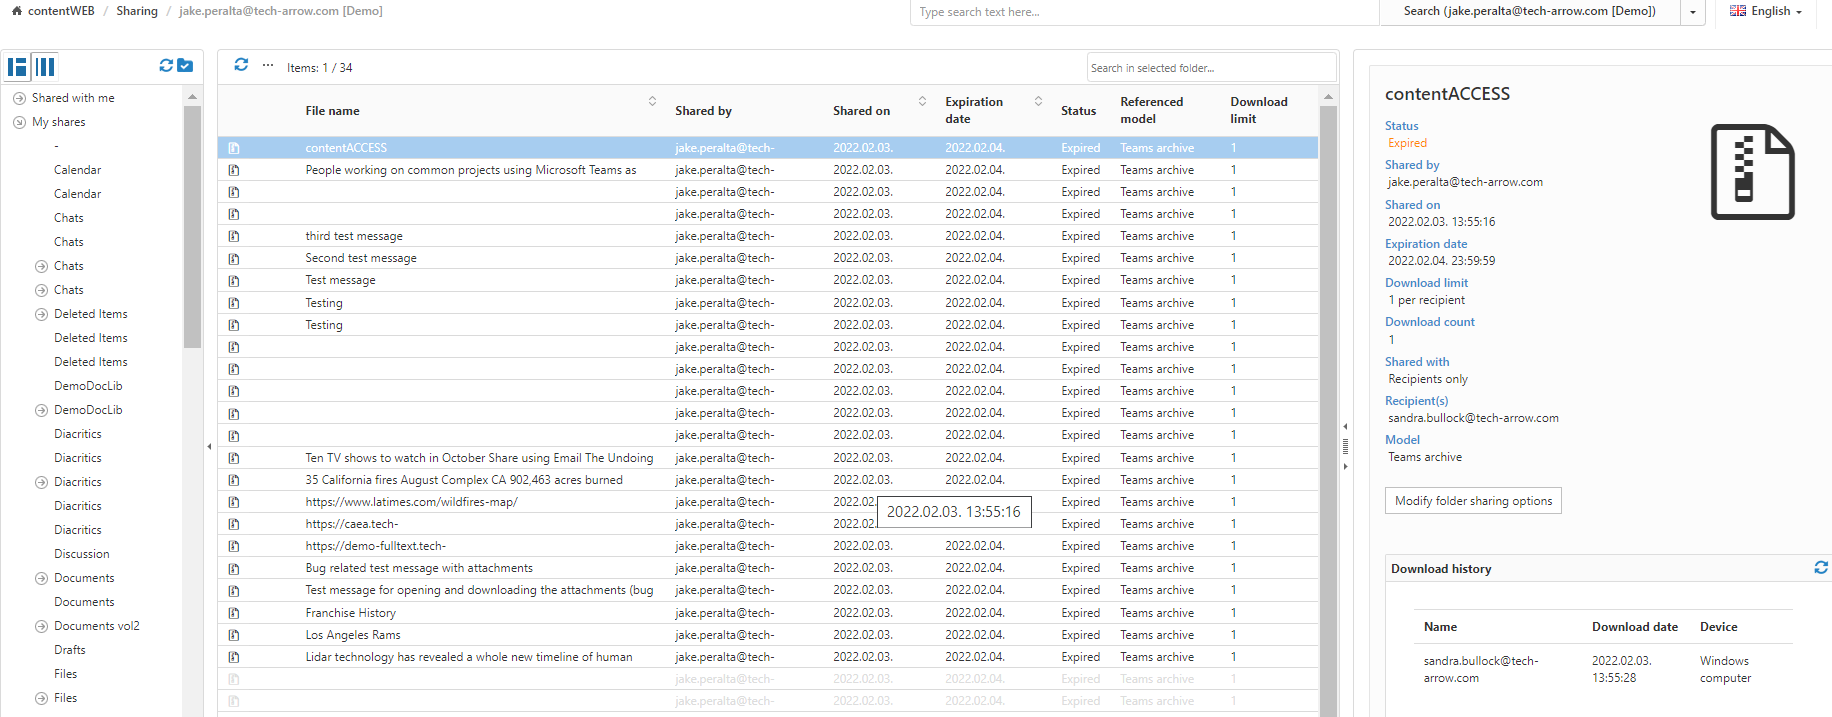
The download history is not available on the folder’s preview, only on the items. The same goes for the Status tab. Here, the owner sees the status of the folder sharing, and because of this, the download history is not available neither on the folder’s preview nor on the Status tab.
The download history is available only on the items’ preview in the shared folder.
