3.5.Active Directory tab
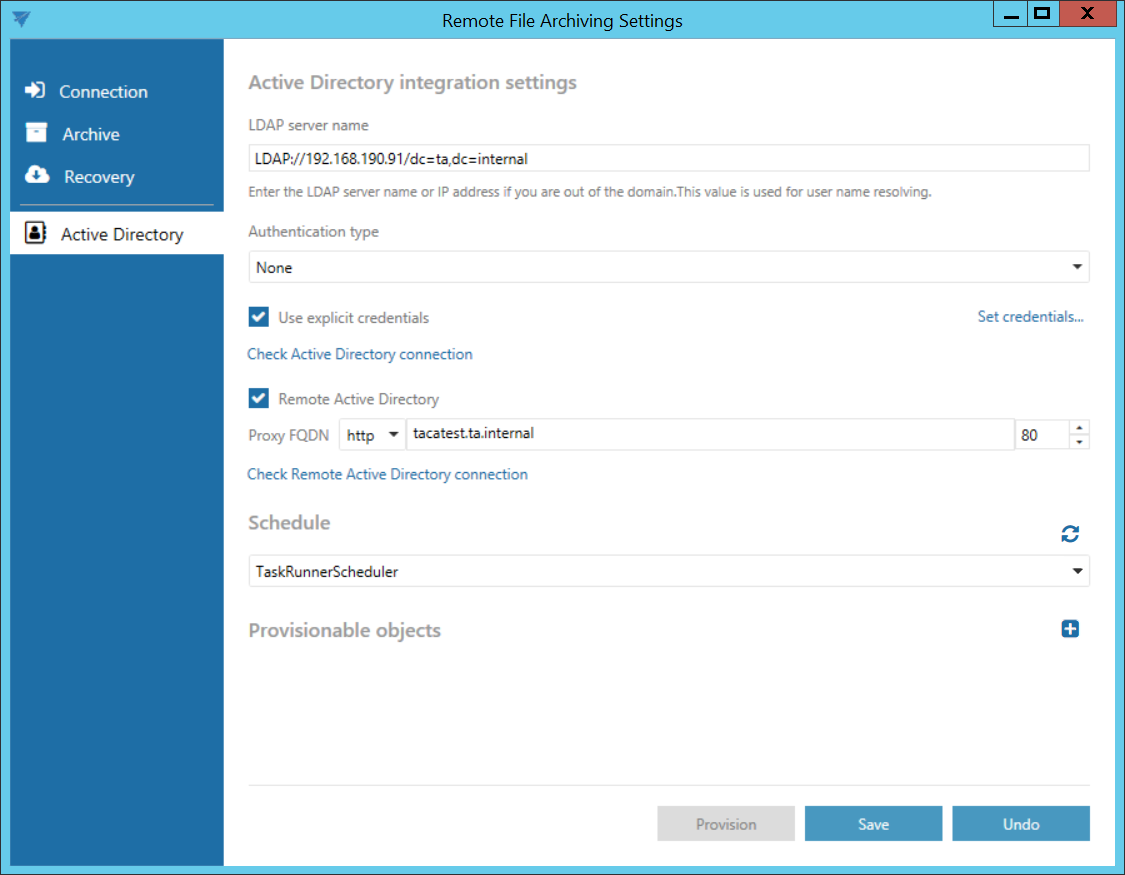
Active directory integration settings
Some contentACCESS functionalities require LDAP connection.
Enter the required LDAP server name. If explicit credentials need to be used to connect to the active directory, check the Use explicit credentials checkbox and click on Set credentials… on the right.

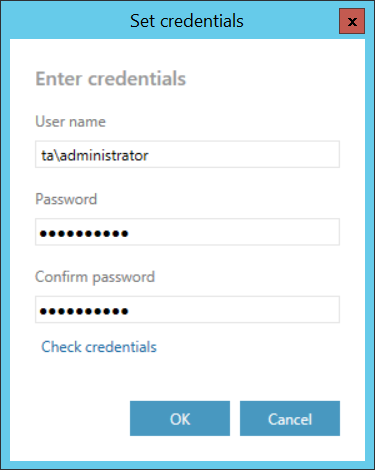
Enter the credentials and then click on Check credentials to verify if they are valid. If yes, click OK.
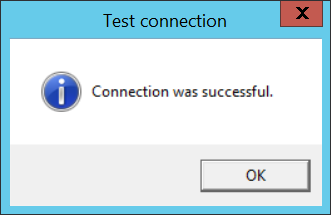
Click on Check Active Directory connection to see, if everything was set correctly.

If the web service, through which the user needs to connect to the local active directory, is on a remote computer, check the Remote Active Directory checkbox. Enter the Proxy server FQDN (if you don’t know how, copy the Retrieve server FQDN from contentACCESS System -> section External accessibility settings). Click on Check Remote Active Directory connection to see, if everything was set correctly.


Schedule
In this step the running times of the archive rule must be selected. It is possible to select only a schedule that was previously configured in contentACCESS. It is possible to refresh the list of schedules by clicking on the  button.

Provisionable objects
The provisioning job synchronizes the Active directory with contentACCESS. When the provisioning job is started, it automatically adds the new Active Directory users into contentACCESS based on provisioning settings. The provisioned users will automatically get log on rights for Remote FA and the External AD login provider will be assigned to them.
To add object, click on  and specify the object(s) in the respective dialog. You can select a group, of which objects will be provisioned, or you can select an Active Directory container, and synchronize all users inside this container. Choose the object type and enter the data in the following format:
- in case of a Group: enter the name of the group
- in case of a Container: enter the distinguished name (DN)
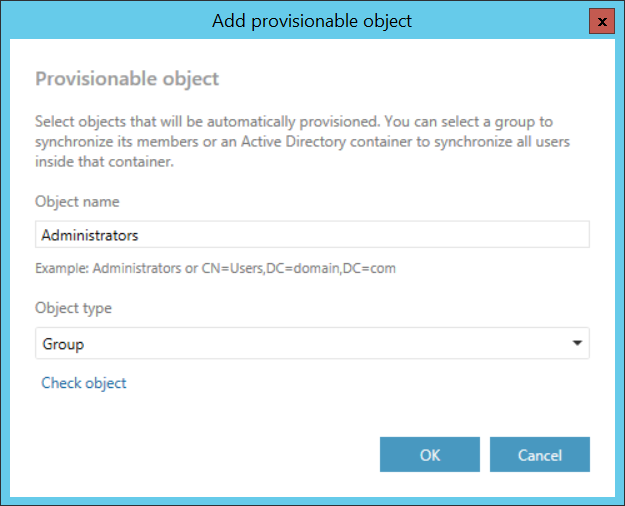
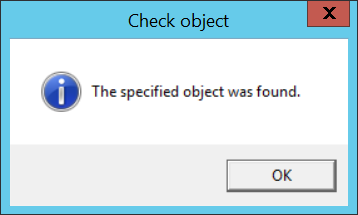
Click on Check object to verify if the specified object can be found.
After specifying the objects to be provisioned, click on Save and the on Provision. After the provisioning is finished, you can verify the created users and logins in contentACCESS Central Administration.

