3.1.Connection tab
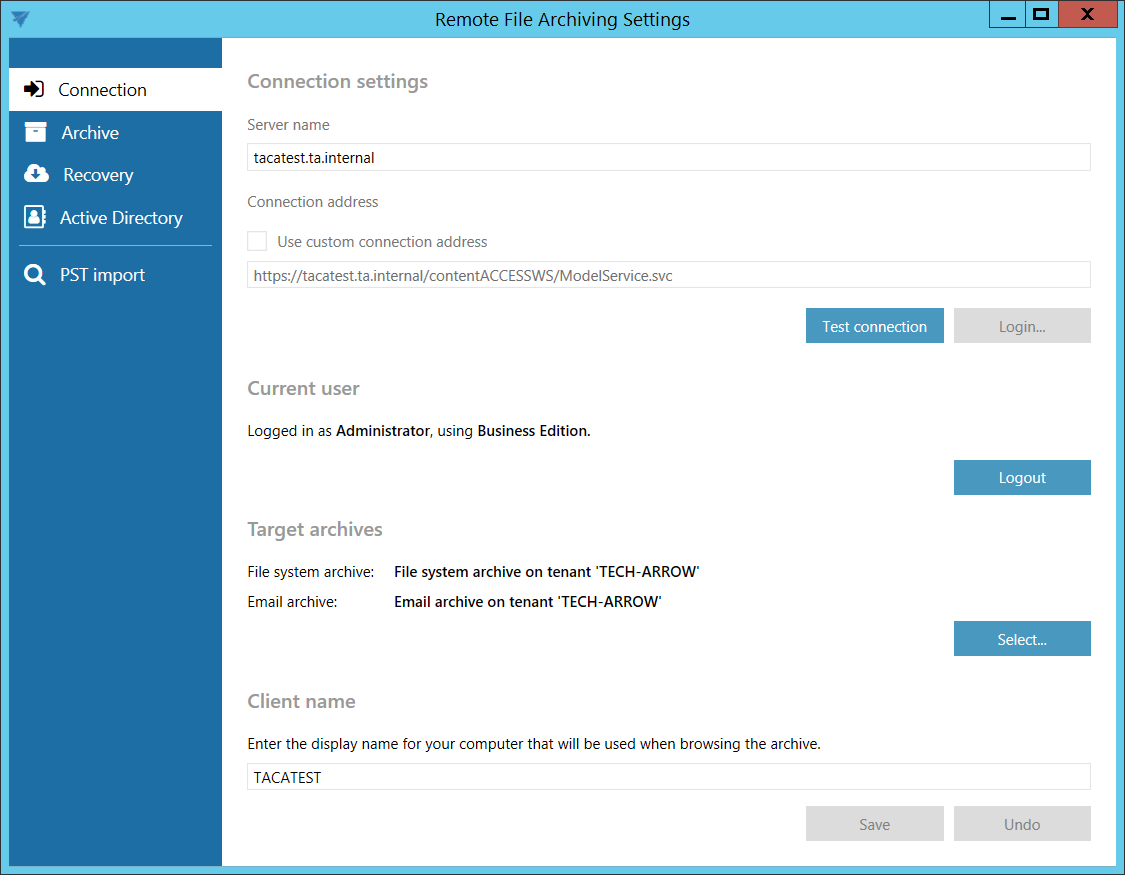
On the connection tab, the server, where contentACCESS is installed, must be specified.

If you use proxy (contentACCESSWS) with secure (HTTPS) connection to connect to contentACCESS, configure the connection as follows:
- Leave the Use custom connection address checkbox unchecked
- Enter the contentACCESS server name into the Server name field – with this action the connection URL will be generated automatically
If you use proxy (contentACCESSWS) with unsecure (HTTP) connection to connect to contentACCESS (i.e. you use proxy but do not have a valid certificate), configure the connection as follows:
- Enter the contentACCESS server name into the Server name field
- Check the Use custom connection address checkbox
- Enter the HTTP connection URL with the correct server name into the Custom connection address field: http://[ServerName]/contentACCESSWS/ModelService.svc (or just delete the “s” from https)
If you use direct connection to connect to contentACCESS (no proxy is installed), configure the connection as follows:
- Enter the contentACCESS server name into the Server name field
- Check the Use custom connection address checkbox
- Enter the HTTP/HTTPS (appropriate to your configuration) connection URL with the correct server name into the Custom connection address field: http://[ServerName]:8736/contentACCESSWS/ModelService.svc (delete the “s” from https and add 8736 port) or https://[ServerName]:8736/contentACCESSWS/ModelService.svc (add the 8736 port)
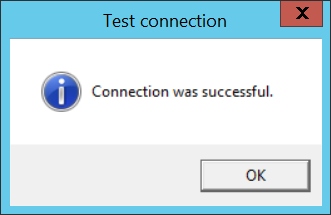
After setting the connection, click on the Test connection button under the custom connection address textbox. If everything was set correctly, this message will appear:

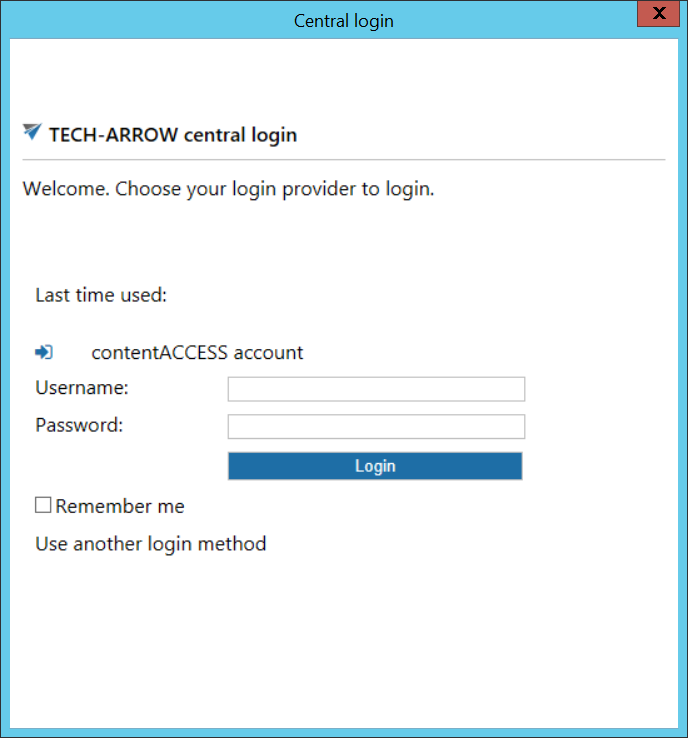
Click on the Login… button next to the Test connection button. Log in using the Forms method, or choose another login provider previously configured in contentACCESS by clicking on Use another login method.

After successfully logging in, the current user’s name will be displayed. The Logout button becomes accessible.

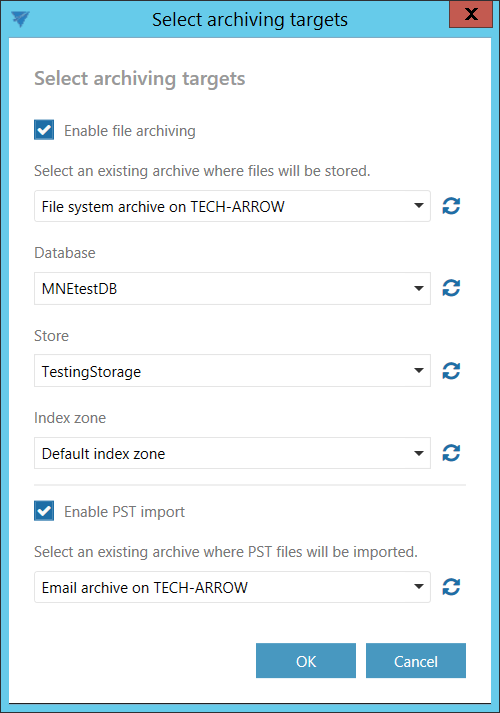
In the Target archive section, click on the Select… button. If you want to use remote file archiving, check the Enable file archiving checkbox. From the archive dropdown list, select one of the previously configured tenants with File system archive model. From the respective dropdown lists, select one of the available Databases, one of the available Storages and one of the available Index zones.
If you want to use PST importing, check the Enable PST importing checkbox. From the archive dropdown list, select one of the previously configured tenants with Email archive model.
File archive is allowed by default for every tenant, Email archive must be first specifically allowed in the license. In the next tabs, only retentions and schedules that were configured for these tenants can be selected from the dropdown lists.


The Client name displays the name of the computer that will be shown when viewing the archive. It is possible to change it.

Save your settings.
