2.Installation
The installation process is simple and quick.
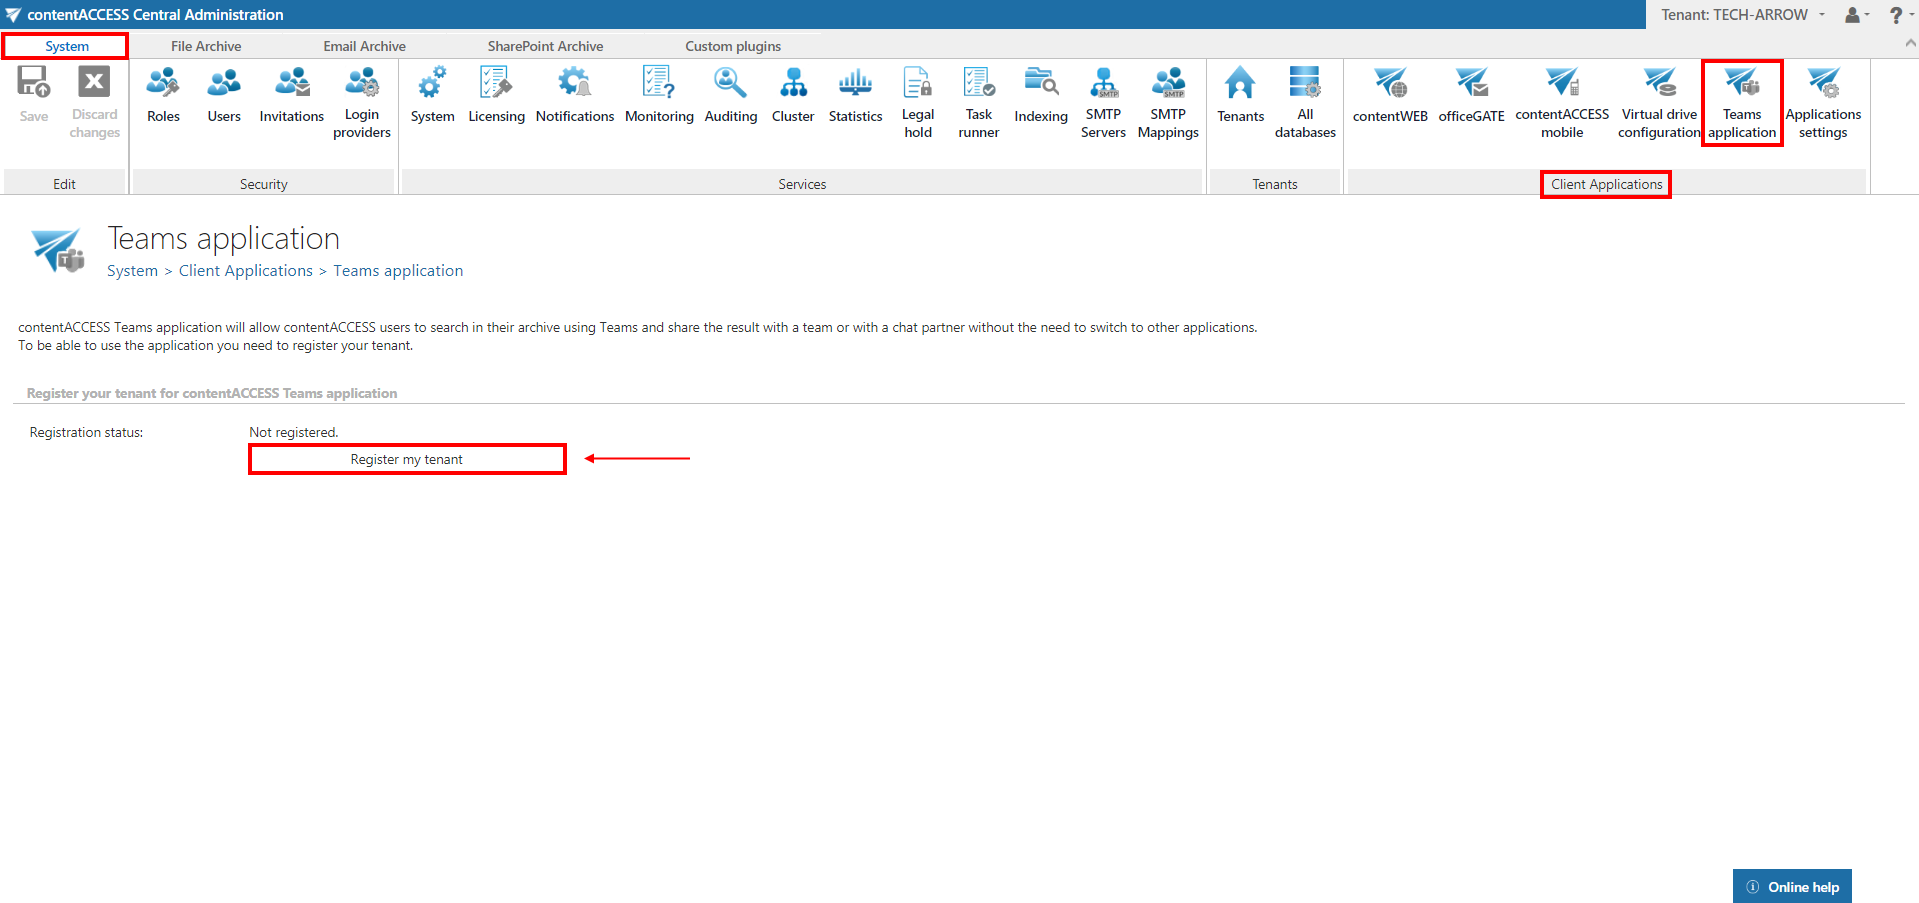
Log in to the Central Administration and switch to the Tenant you would like to use. Go to System -> Client Applications -> Teams application. Click on Register my tenant.
contentACCESS will generate a Tenant administrator user called ‘TeamsAccess_TENANTNAME’ for the tenant. This user will be used by the Teams service to allow the user(s) to download shared files (password of this user is never stored or used externally).
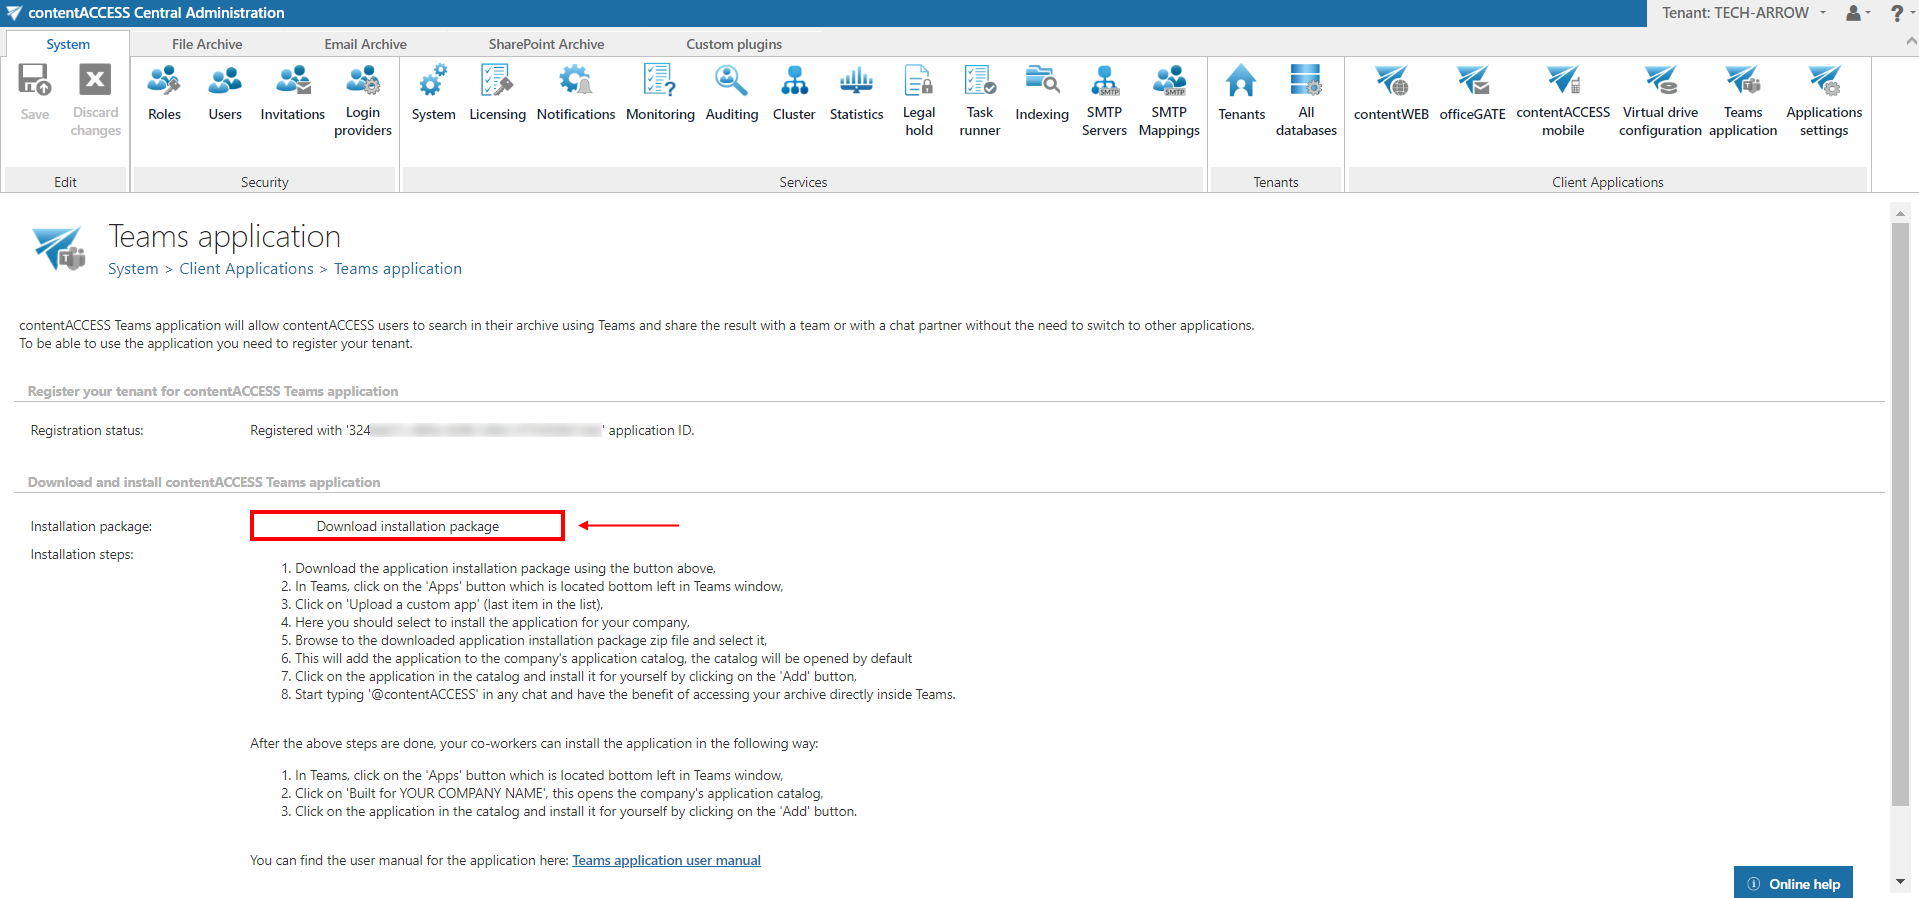
Application ID will be generated. MS Teams will use this ID to retrieve all necessary data (like URL and Tenant ID) from the store.
Download the installation package by clicking on the Download installation package button.
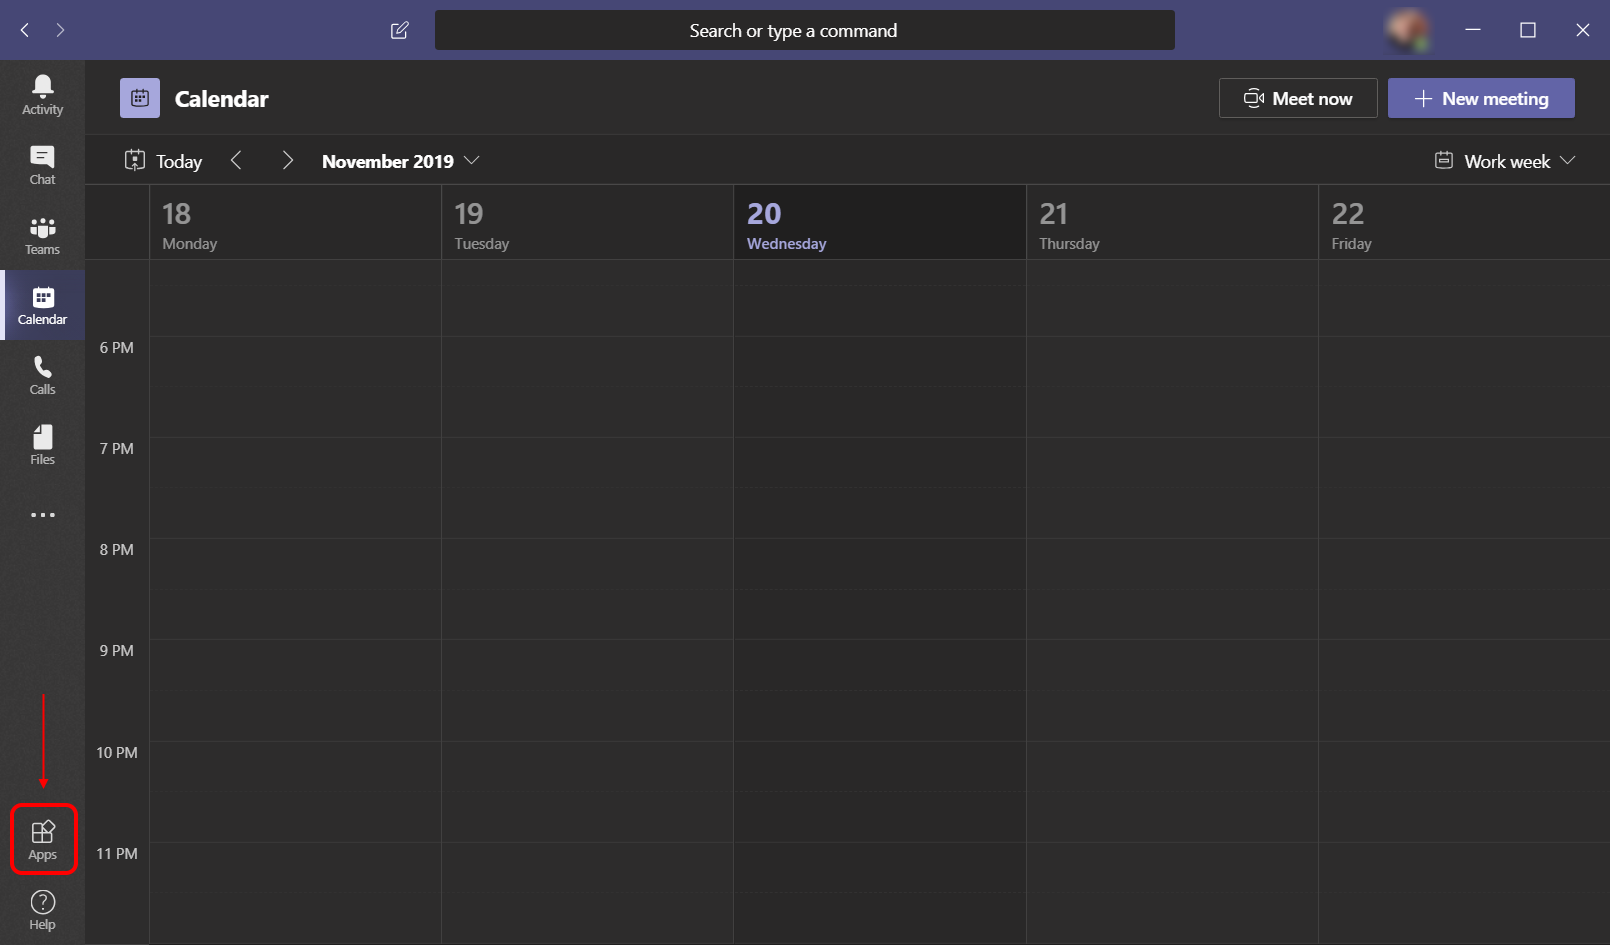
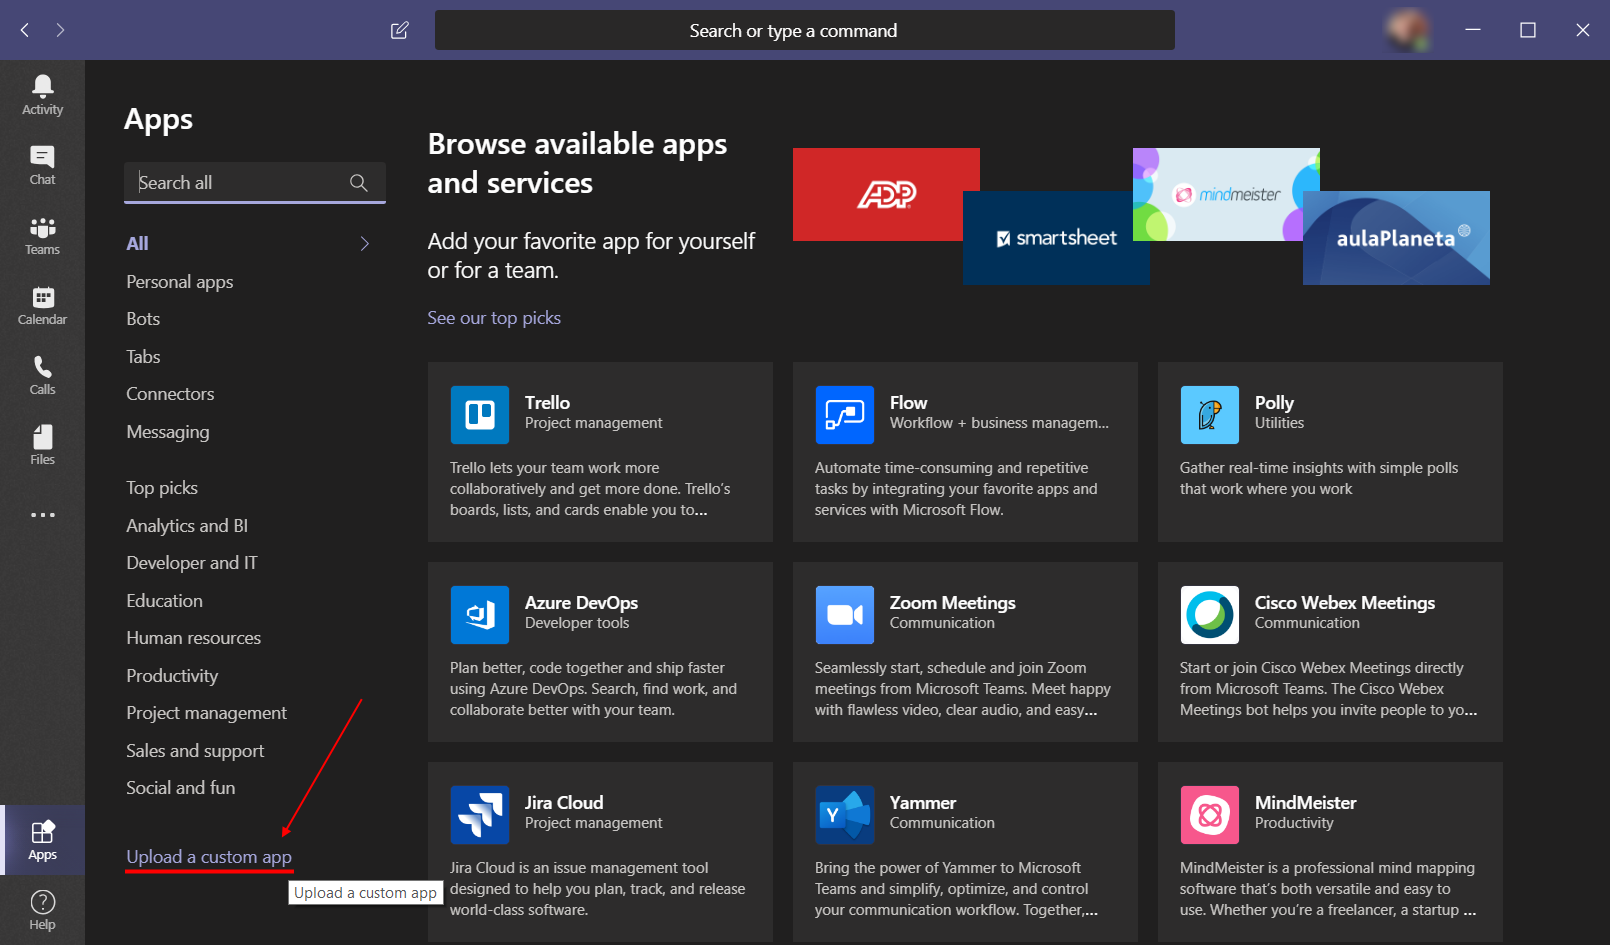
Open your MS Teams application. Navigate to the Apps in the bottom left corner.
Click on the Upload a custom app option.
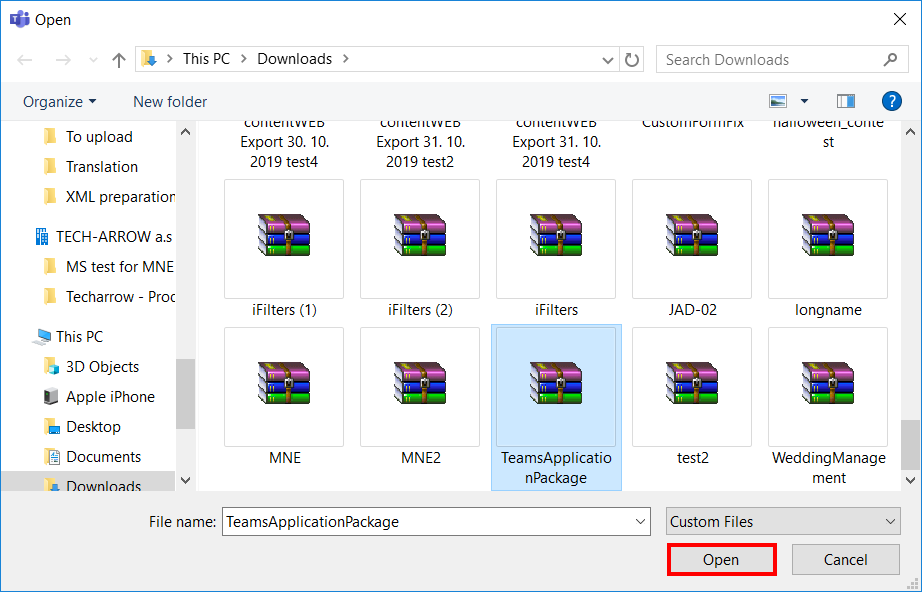
Locate the installation package you downloaded earlier and click Open.
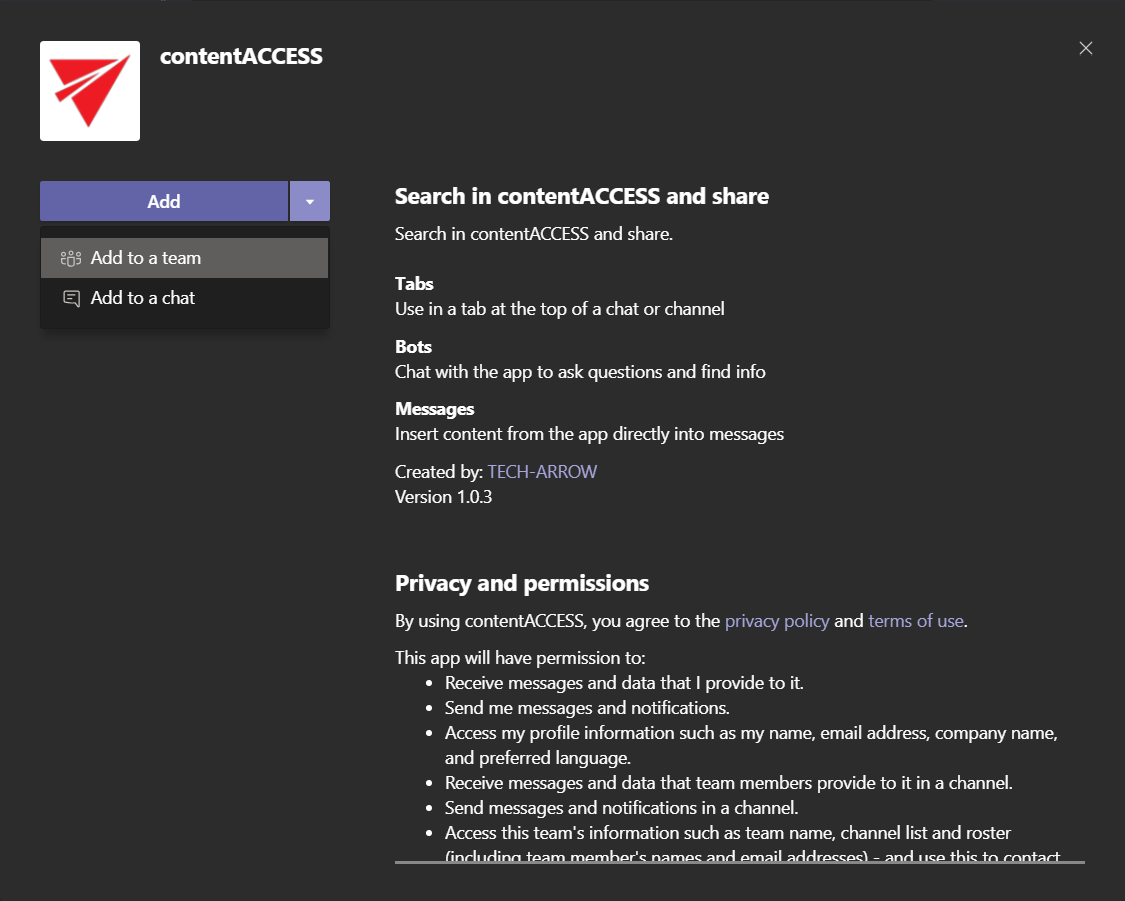
Select one of the three options:
- Add – adds the app to all chats and teams just for the user – this option is recommended
- Add to a team – adds the app to a specific team
- Add to a chat – adds the app to a specific chat – don’t use this option
When installing for a team, it lets you pick between Set up a tab and Set up a bot. When installing for a chat, you have only the Set up a bot option. This bot is forwarding calls to the Teams service.
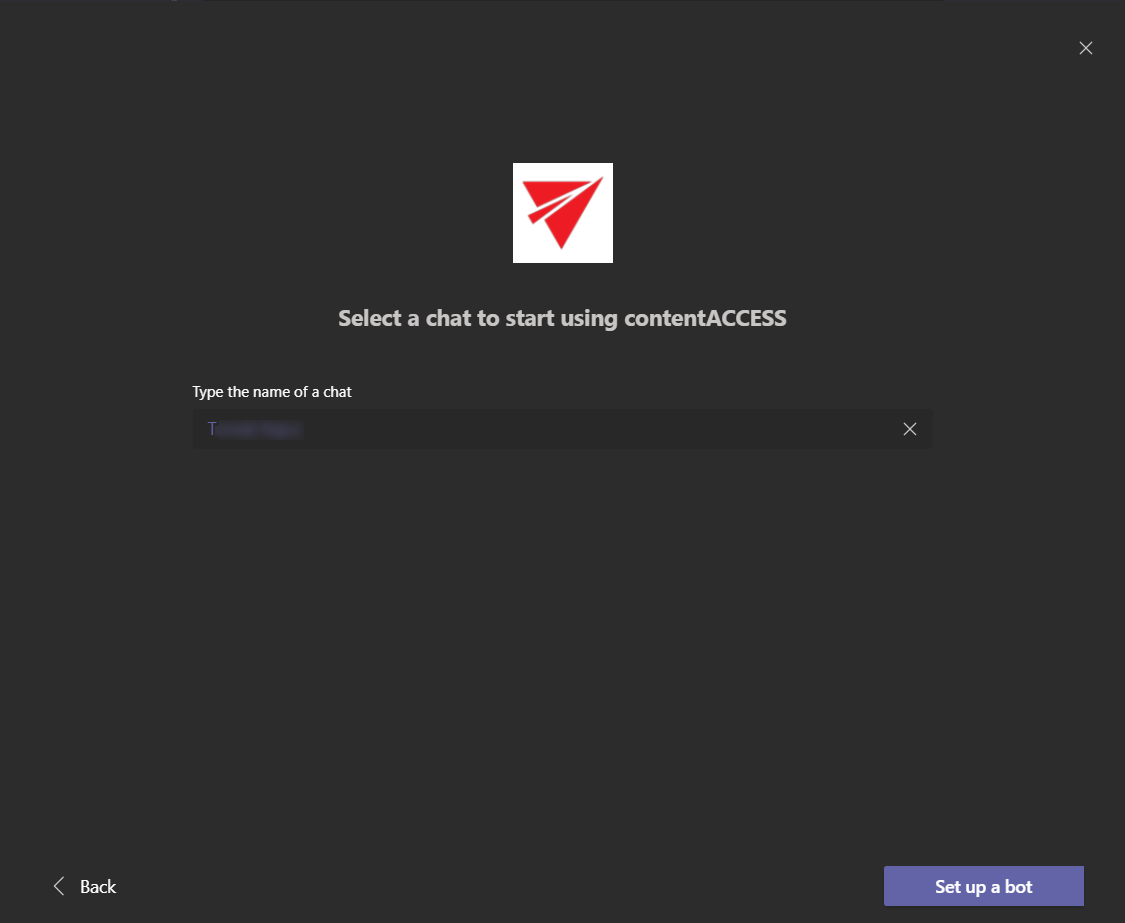
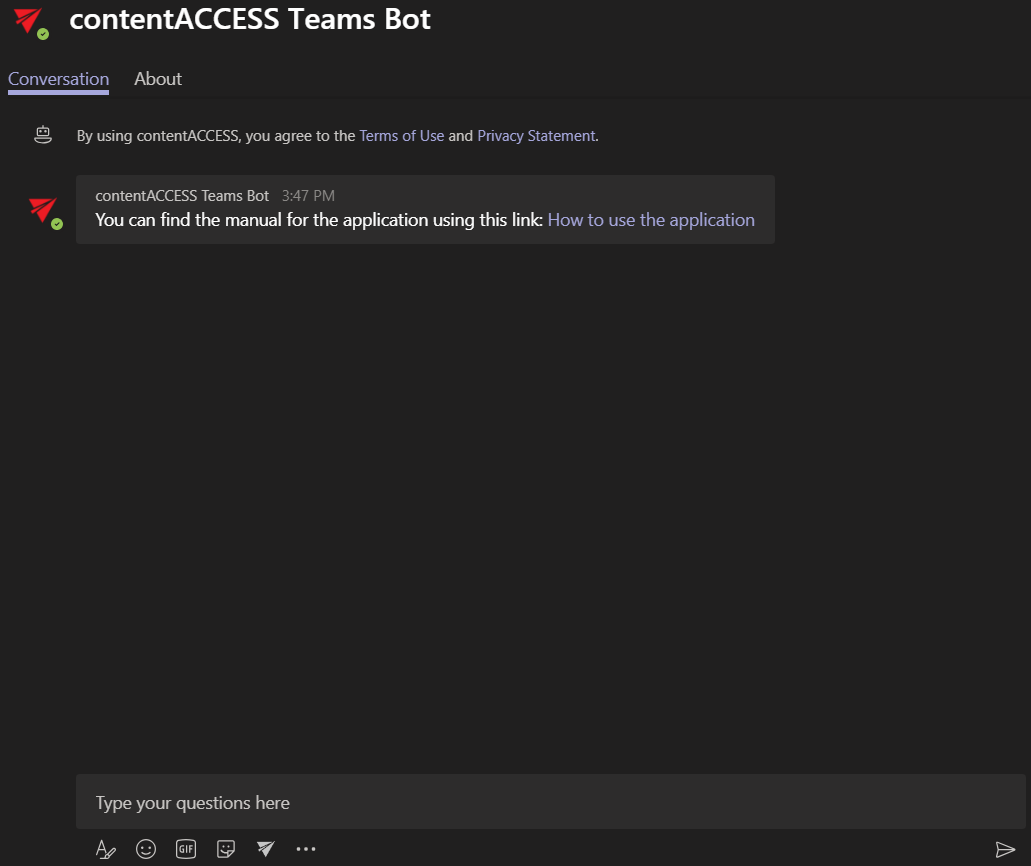
The chat with the contentACCESS bot will be opened. This bot forwards the calls to the Teams service. You can switch to your desired chat now.
