6.12.Distributed environment in contentACCESS — Clusters
Why is it efficient to use clusters? A server cluster is a group of independent servers (nodes) working together as a single system to provide high availability of services for clients. When a failure occurs on one computer in a cluster, resources are redirected and the workload is redistributed to another computer (node) in the cluster. It can happen, that one processing job is currently running on a processing node, but a server failure occurs and the server will shut down. In this case a second, alternative node (either with “Job runner” or “Universal” role) can pick the task up to finish the archiving process. To achieve this, the running of this particular job should be allowed on any available node.
contentACCESS’s cluster technology guard against the following types of failure:
✓ System and hardware failures, which affect hardware components such as CPUs, drives, memory, network adapters, and power supplies.
✓ contentACCESS’s application and service failures, which affect the software, its applications and essential services.
Thanks to clustering in contentACCESS, the user can make the job processes scalable, and thus increase the performance. The user may decide how the nodes should be used, and how the work processes should be divided between them. The jobs can be run on a specific or any available node. It is also possible to install the full contentACCESS on one node and the contentACCESS server part on another nodes to ensure a better performance for job processing and for contentACCESS as a whole. It is also possible to use the nodes in a balanced mode; in this case the nodes are selected according to their Memory and CPU usage. The actually running jobs on the node will be considered as well.
There are 3 main node roles available in contentACCESS (can be adjusted from the context menu of the particular node).
✓ Universal: this type can be used for all operations performed in contentACCESS;
✓ Model provider (retriever) type can be used to publish models, i.e. this type is used to connect client applications with contentACCESS and to retrieve items through these client applications;
✓ Job runner (processing) type was developed to run jobs (plugin instances) in contentACCESS.
The user must decide, which role type he assigns to a particular node, how he divides work processes between the nodes, and how he makes the work processes more effective. A typical use case is, when a customer installs the contentACCESS server, Central Administration and contentWEB on one node, and contentACCESS server on a second node. Then he sets the first node to “Universal” and the second to “Job runner”, and assigns File system archive jobs to the first node, and the Email archive jobs to the second node.
Now, let’s assume, that contentACCESS is already installed one the first “main” node (TANEWS), where the file system archive jobs are running. Now our customer decided to buy TECH-ARROWS’s Email archive, and he would like to run email archive jobs on a second node. To achieve this, he needs to install the contentACCESS server on a second node (e.g. TECHNB0002).
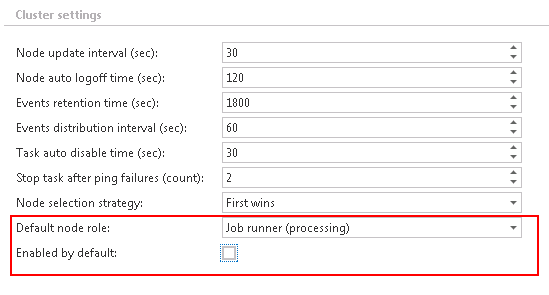
Before the user starts to install any contentACCESS component on a second node, it is always recommended to set the node to disabled (to prevent the new node from picking up new tasks before it is fully configured). We set now the default role type to “Job processing”, as we will use it to run the email archive jobs. For more information about these default cluster settings please refer to section System, section “Cluster settings”.
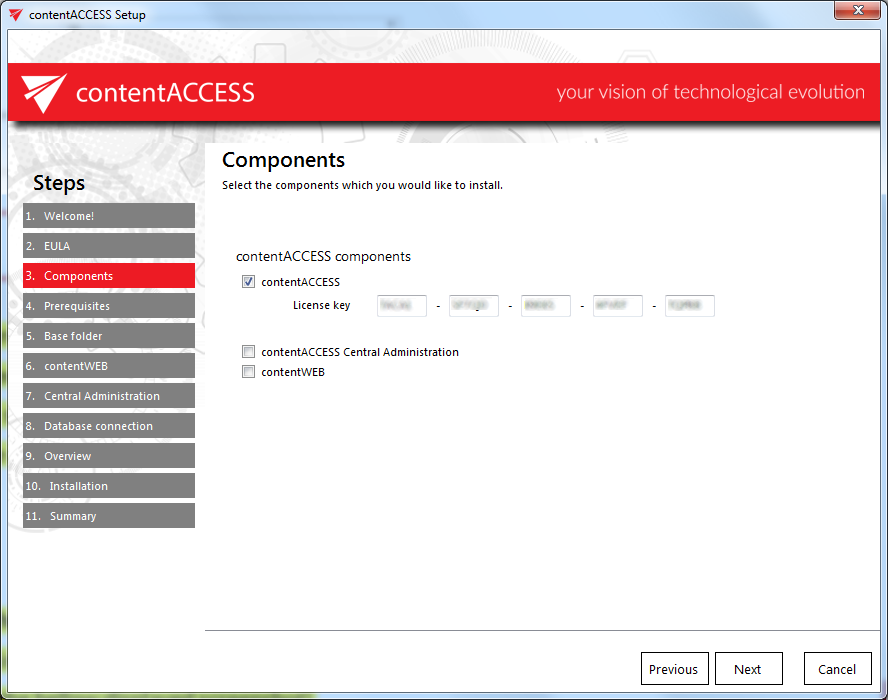
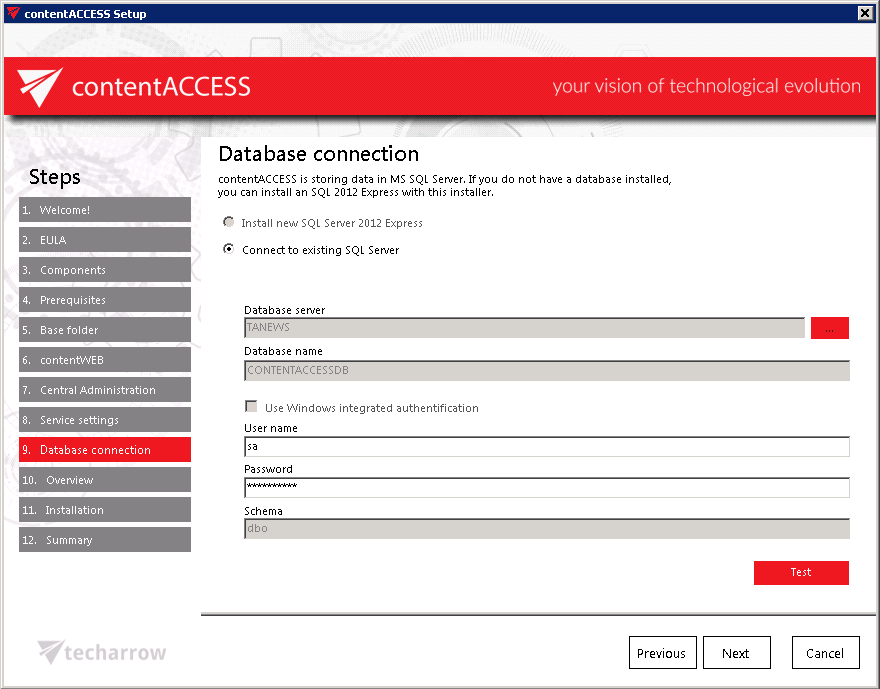
Finish the installation process of this second node. Now, let’s check the available nodes in the Central Administration.
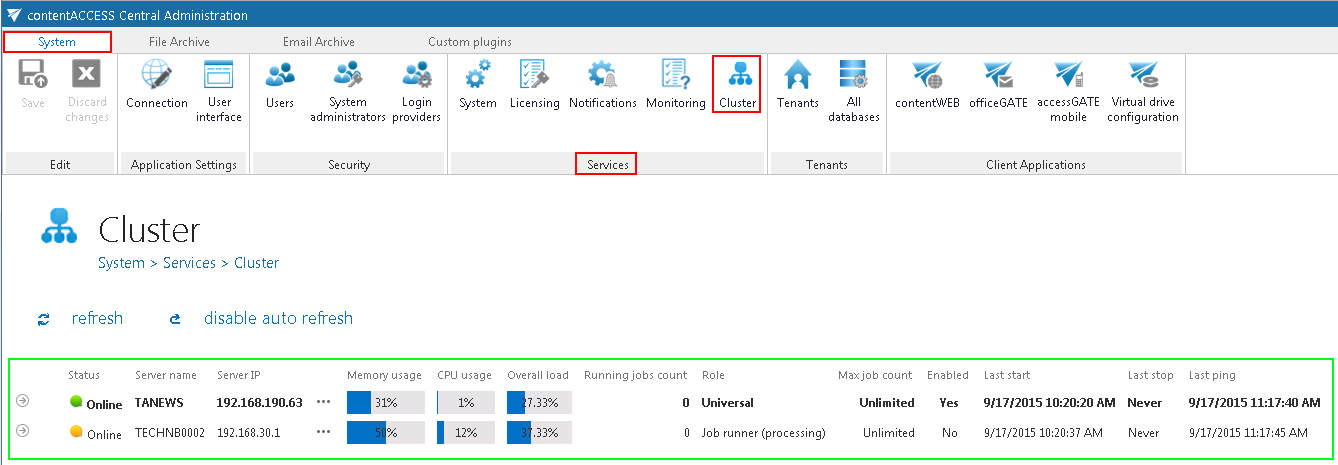
Status pane of nodes, grid of nodes, available operation from the nodes’ context menu: Nodes where contentACCESS components are installed can be viewed with navigating to System tab ⇒ Services ⇒ Cluster, in the nodes’ grid below the status bar (displayed with green color on the below displayed screenshot).
There are 2 control buttons available in the status pane of the available nodes:
✓ “refresh” button serves to reload the last cluster status from the database;
✓ “disable auto refresh”/”enable auto refresh” buttons serve to disable/enable auto refresh (in every 5 seconds) of the last state from the database.
The node where contentACCESS Central Administration is installed is marked with a bold black color.

How a node can be configured? Node configurations are available for the user from the node’s context menu, with clicking on “Edit” in the dropdown list and configuring it in the “Change node” dialog.

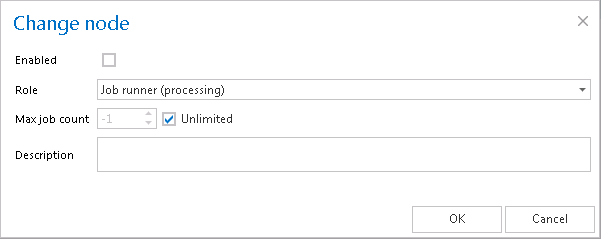
✓ Enable/disable a node with checking/unchecking the Enable checkbox;
✓ Change the role assignment of the selected node with selecting the role type from the Role dropdown list;
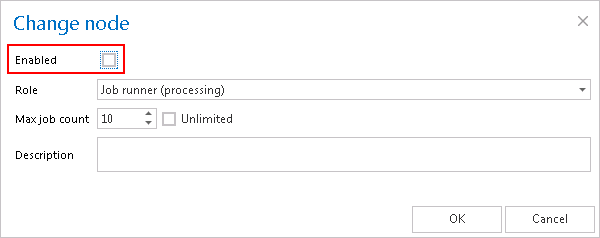
✓ Set the maximum count of jobs that can parallel run on the node (option Max. job count).
The following information are available in the nodes’ grid, when reading from left to right:
Status: This column marks if the selected node is online or offline, i.e. if it is ready to process tasks or not.

✓ The green ( ) spot means, that the node is enabled, i.e. its service is running and the node is ready for processing;
✓ The yellow ( ) spot means, that the node is disabled, i.e. its service is stopped and the user cannot run any plugin on it. However the server is still running.
✓ The red spot ( ) means that the contentACCESS server on the selected node is currently turned off. A node in offline status can be started again with starting up its service (“GATE.contentACCESS” windows service must be started).
Our TECHNB0002 node was installed in disabled mode, which is indicated with a yellow spot in the status column:


Server name:
The server name where the contentACCESS node is installed is displayed here. Our first node is installed on server “TANEWS”, and the second node installed on “TECHNB0002”.
Server IP: The IP of the server, where the node is installed is displayed here.

Memory usage, CPU usage, Overall load: Displays actual information about the load balance of the selected node. If the cluster selection strategy is set to “Balanced”, then the nodes will be selected for the tasks that they should perform according to these values. If the node is in offline status, the value will be “0”. If the value is more than 70%, then the value will get a red background color.

Running job count: Informs the user about the currently running job count on a specific node. On the screenshot below we can see, that on node “TANEWS” two file system archive jobs are running. With clicking on the arrow sign at the left side of the row the user may open the details of these 2 job runs:

Role:
A node can be either universal, job runner or model provider; the role type of the particular node can be viewed here. As we can see, our “TANEWS” node has assigned “Universal” role, and “TECHNB000” has assigned “Job runner” role.

Max. job count: The maximum count of jobs that can be parallel run on a node can be viewed right here. The number of jobs that can run on a node can be limited. In case of our nodes this job count is unlimited.

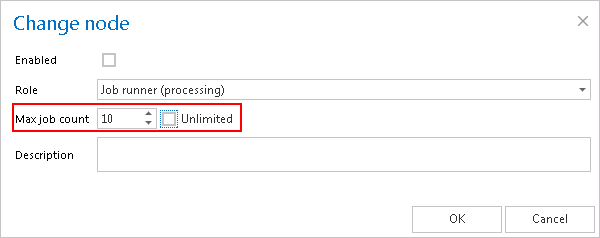

Enabled: A node can either be enabled (it is online, and its service is currently running), or can be disabled. A node is disabled, when it is running, but it is unavailable for further processing tasks. By default, the nodes are in enabled state, but it is recommended to set them here as disabled in case of planned system updates, or if any failure occurred and the problem must be fixed.

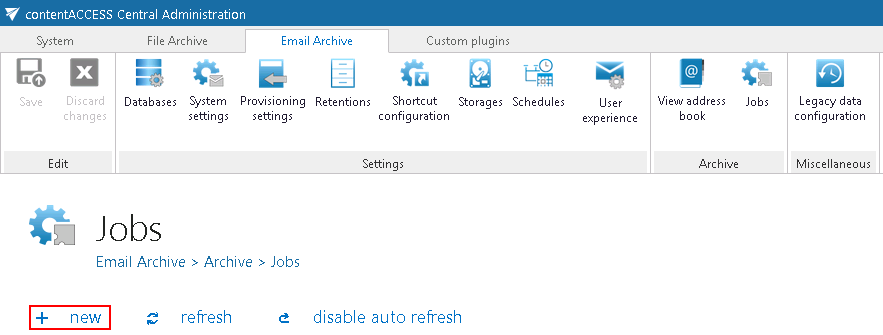
How to assign a job to the selected node? Now we will assign an Email archive job to the “TECHNB0002” node. We navigate to the Email Archive tab ⇒ Archive ⇒ Jobs on the ribbon, and open the Jobs’ page. Here we click on + new to create an email archive job, which will be assigned to this node.
The “Add new job instance” dialog will open. Here we set up the desired job, and select “TECHNB0002” from the “Run on node” dropdown list. Then we click on “Add”.
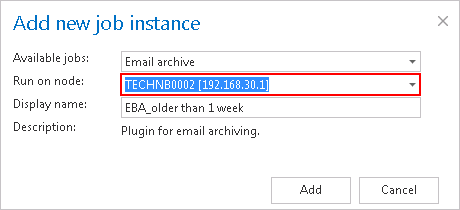
Now we can enable the TECHNB0002 node.

Important!!! When configuring a job that may run in a cluster system the administrator must specify a storage and a database that is accessible by all the nodes in the cluster. If a node which picks up the job can’t access the configured storage or database, the job will fail and will not execute the task:
- In the database repository settings of the database (selected for the job) the administrator must establish the connection with SQL user credentials. If an explicit user is not specified, then the contentACCESS service user will be used, and the service must run under the same domain user. This ensures that the database can be accessed by the job regardless of where it is running.
- In the storage repository settings of the storage (specified for the job) the administrator must specify the storage as a network share (e.g \\ServerName\RootFolder\Subfolder) so it can be accessible by the job from everywhere.
How to shut down a node? In certain cases it might happen, that a node should be turned off. This operation can be done from the context menu of the selected node. Click on the ellipses (…) and select “Shutdown” option from the dropdown list. With this action the contentACCESS service on the selected node will be turned off, and the node will get a red color (offline). Node shutdown is a deferred action and it might take 1 minute.

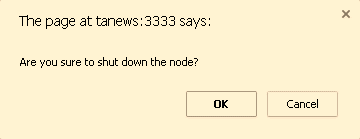
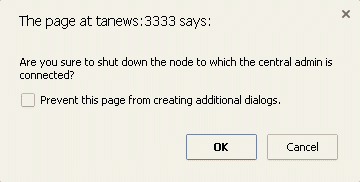
Note: If you are about to turn off the node where Central Administration is running, a next pop-up window will warn you about this again.
How a node can be deleted? With this action the user may delete a node from the node list. Only nodes with offline status can be deleted. When the contentACCESS service is started up again, the node will appear in the list. To delete it, click on it, open its context menu with a click on the ellipses (…), then select “Delete”.

