6.6.System administrators
System administrators are those users who have the right to do any necessary settings to the system. You can have multiple system administrators and their list can be accessed by navigation to the System ⇒ Security ⇒ System administrators button, on the System administrators page:
When adding a new system administrator to the system you have 3 options, so called invitation types which describe how to add him/her. Select System administrator from the Role dropdown list. Now, roll down the Invitation type dropdown list, and select the method, how you would like to add the administrator. There are 3 options: 1) Create new, 2) Search for existing/Assign existing user or 3) Send an invitation.
- Create new
If you have selected the Create new option you must enter the Display name for the new administrator, for example “System administrator”. From the Login type list select the already configured authentication provider that he/she will use when logging in the system. Only provider configurations set up on the “Login providers” page can be selected here (Forms and Windows is enabled by default). Then fill the credentials (if Forms type was chosen then both Login name and Password) and click OK. (If you would like to use login providers which differ from the providers in the Login type list, refer to section “Login providers” and configure new providers.)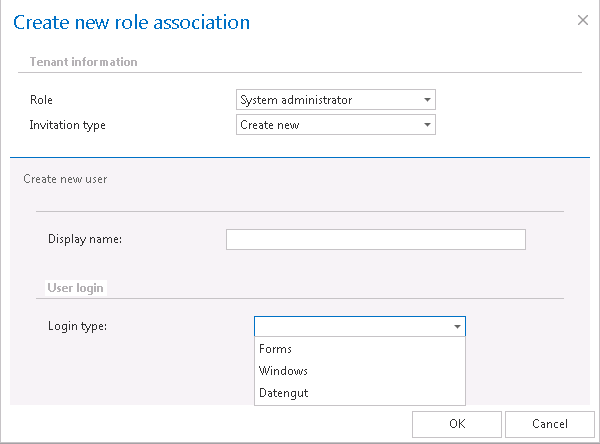
- Search for existing/Assign existing user
To the Search for existing user* field fill in part of name of the already existing user who you want to find. After you have selected the user click OK. This invitation type is available if user searching is enabled in the User search settings (more information here).
![]()
Option Assign to existing user is available if the user searching is disabled in User search settings (read more here). Simply type in the entire username into the dialog and assign the rights to this user.
![]()
- Send invitation
This option enables to invite a new member to whom you decided to grant system administration permissions. Select the System administrator role type, enter the E-mail address* and fill the Additional message* textbox which will be included in the email message that the invited user will receive from you. Then click OK.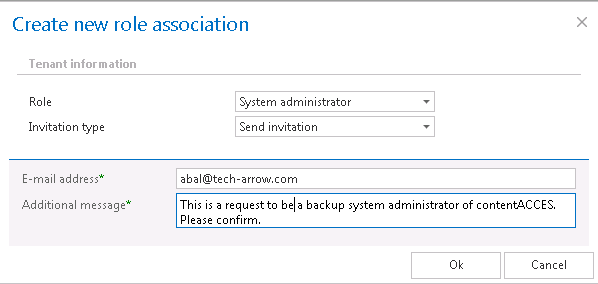
 ) to open the context menu, and delete the user.
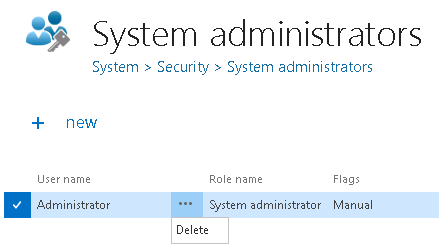 Note: It is good to know that from security reasons it is impossible to delete all system administrators from the list of users. It is possible to delete users with system admin permissions except of the default system administrator.