5.contentGATE welcome interface
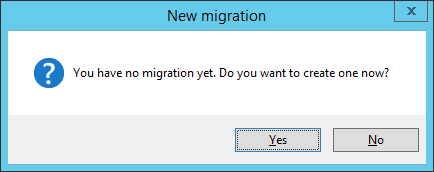
When contentGATE is started for the first time, no migration is defined. The application prompts you to create one. You can click No. New migration unit can be created anytime by clicking on the New migration option in the toolbar. The migration creation/configuration process is described later in this guide (chapter Creating a new migration project). First, the interface and general settings are detailed.

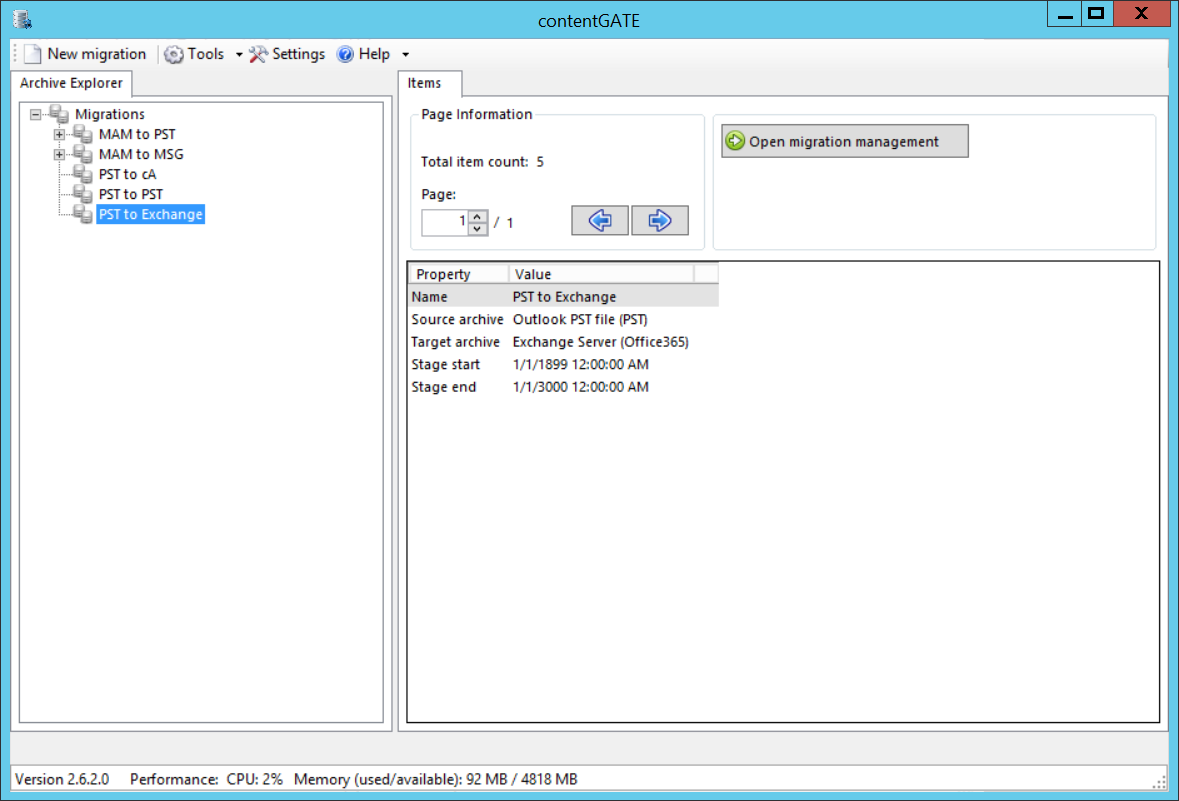
The contentGATE welcome interface features a toolbar, offering easy access to general settings and functions:

New migration – creates a new migration unit under which the source archive, target archive, user mapping etc. can be configured
Tools – connector specific tools are accessible from here
Settings – the general contentGATE settings and individual connectors (archives) settings are accessible from here.
Help – information about license, version etc.
The user interface below the toolbar is divided into two panes:
- Archive Explorer pane with a list of created migrations. Initially the pane is empty.
- Items pane that displays the content of a node selected in the Archive Explorer pane. Initially the pane is empty.
Use the Open migration management button to open the management interface of an advanced migration project that is selected in the Archive Explorer pane.
The Page information section in the Items pane allows you to adjust and handle items per page functionality.
