7.5.Creating migration group(s) and adding group members
In the next step we need to create a migration group and associate our mapped objects with it. Since a migration can be started on group level only, objects that are not group members cannot be processed.
Group management makes the migration process more transparent and manageable. You may check which objects have been already migrated, and it also helps to define priorities, i.e. to migrate the most important objects in the first round.
Create a migration group and add members to it
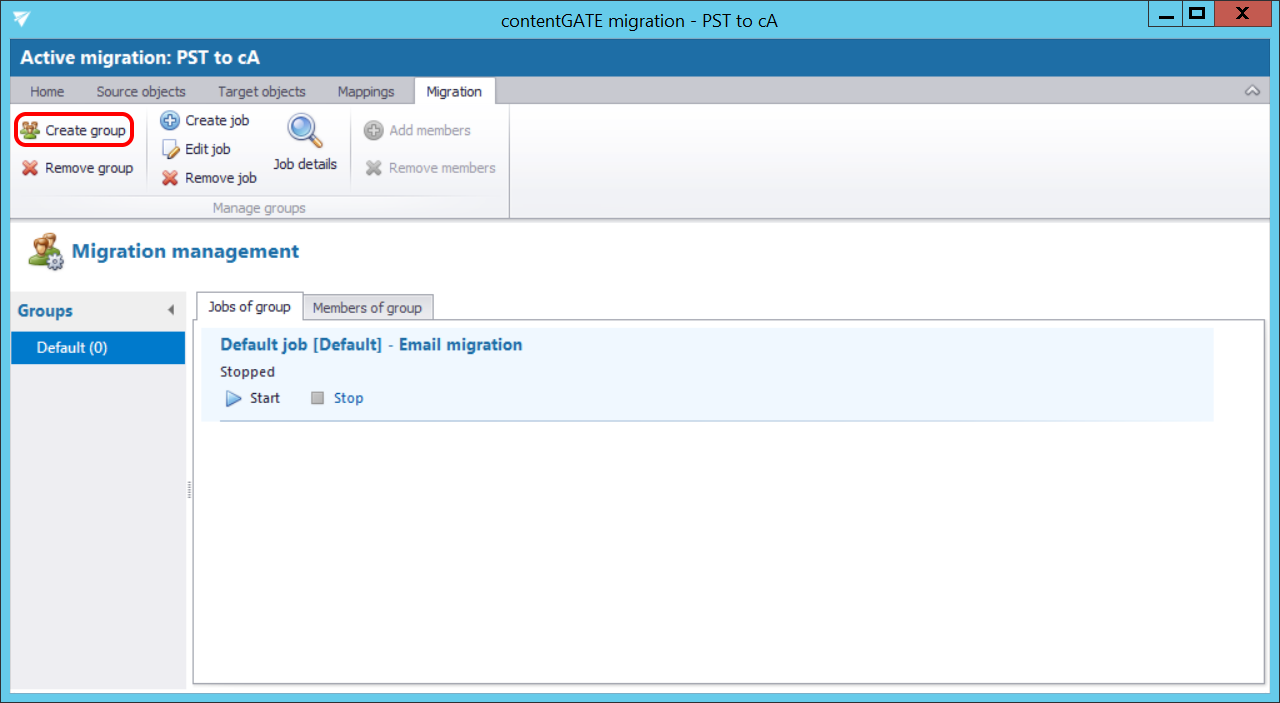
Navigate to “Migration” tab. As you can see, there is initially a Default group. Click “Create group” in the toolbar to create a new group (if you don’t want to use the default one).
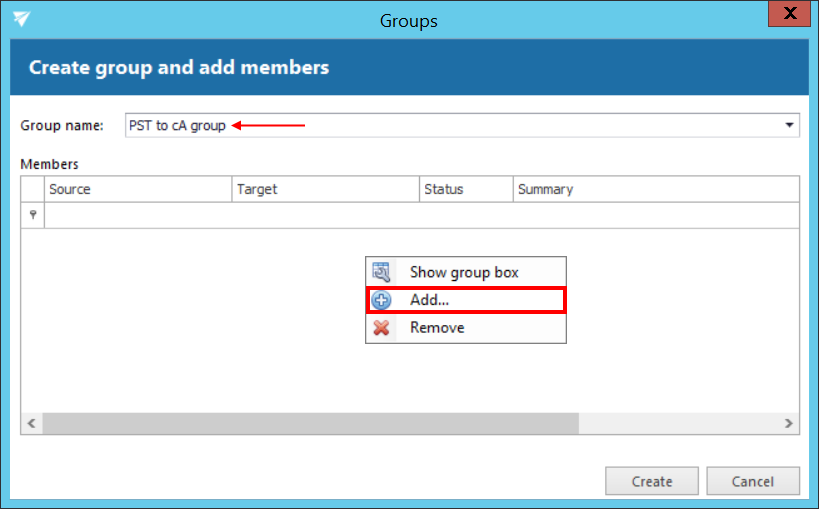
Name the group and add members to it using the context menu:
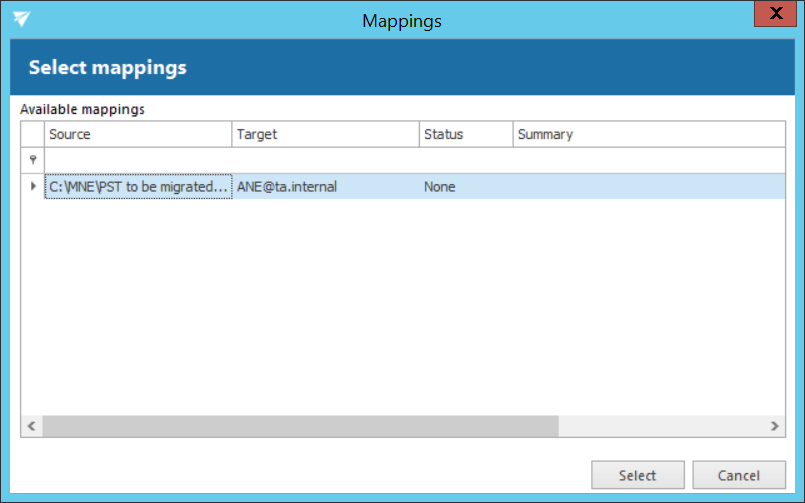
The next pop-up dialog displays all available mappings that can be added to the group. Pick the desired mappings and click “Select”.
In the next pop up dialog click “Create”.
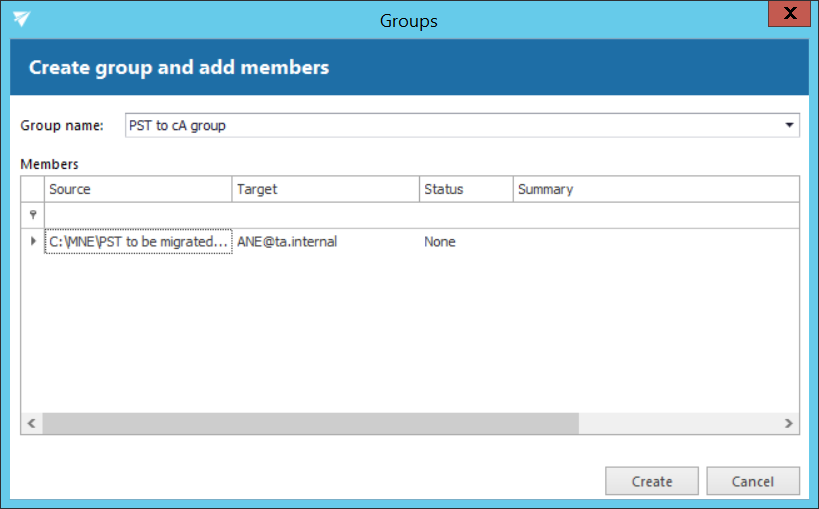
Objects to be migrated are now added to the “Members of group” grid as seen on the picture below:
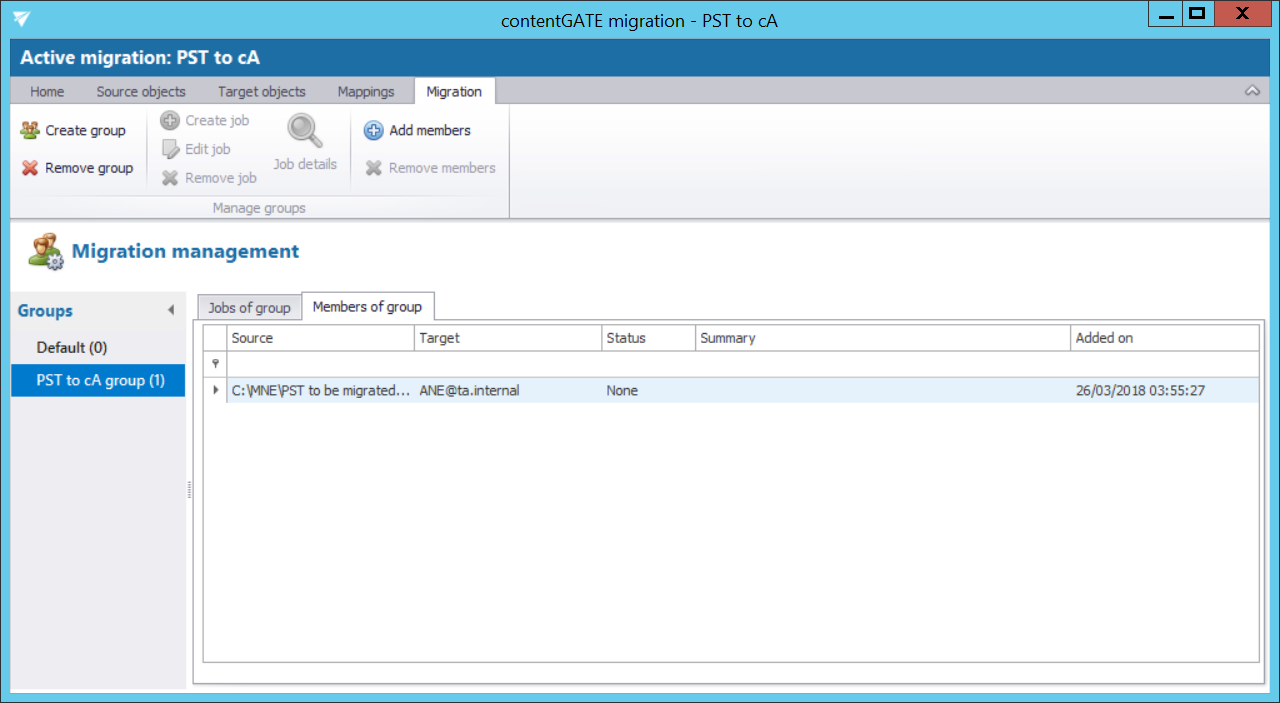
The “Jobs of group” grid is still empty. In the following subchapter we will learn how to add a migration job to our migration group.
