5.1.1.Specifying Source and Target archive connection settings
The Source archive (Outlook PST file)
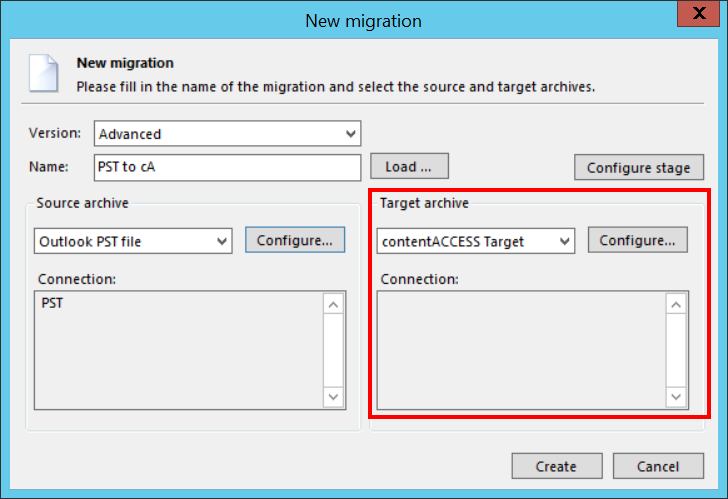
To configure the Outlook PST file connection, select it in the Source archive dropdown-list and click the Configure button in the dialog.

The PST connection dialog opens. Enter the folder path where the PST files to be migrated are located and click on “OK”.

The Target archive (contentACCESS Email archive)
Choose contentACCESS Target from the list of target archives and click on Configure.
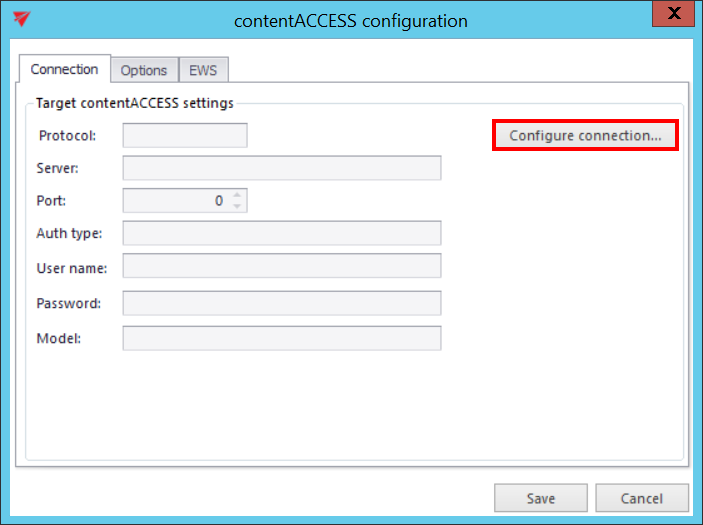
Click “Configure connection…” in the next dialog.
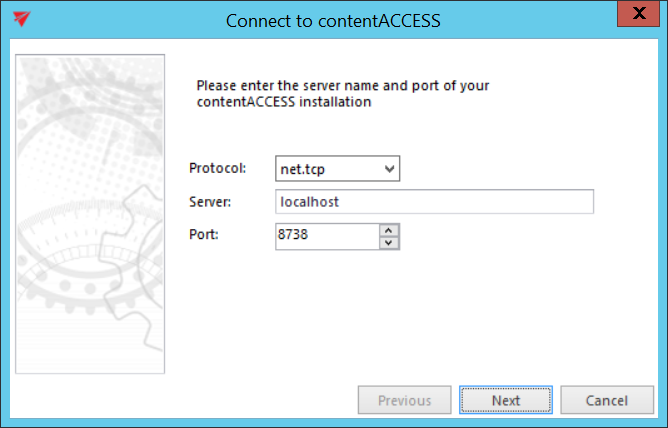
Further enter the server name and port of your contentACCESS installation and click “Next”.
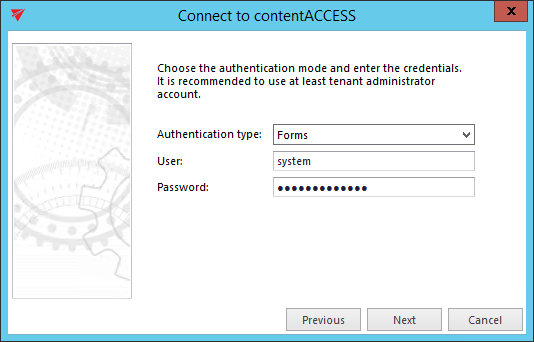
Choose the Authentication type to be used to connect to contentACCESS and enter the applicable user credentials. It is recommended to use an account with at least tenant administrator level permissions. Click “Next”.
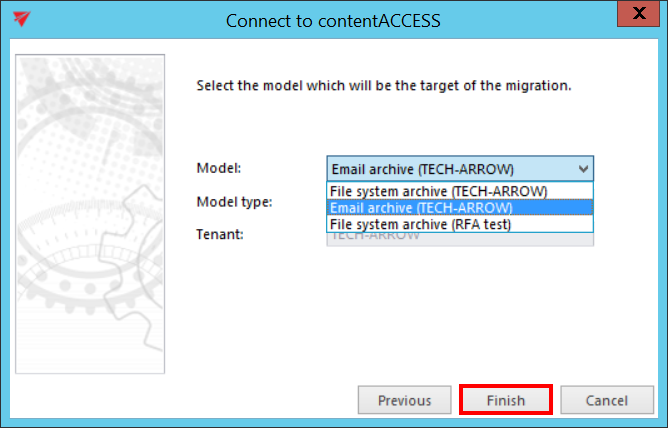
The next dialog will list all available models based on your contentACCESS license. The text in brackets refers to the contentACCESS tenant(s). Choose the Email archive model that will be the target of this migration and click “Finish”.
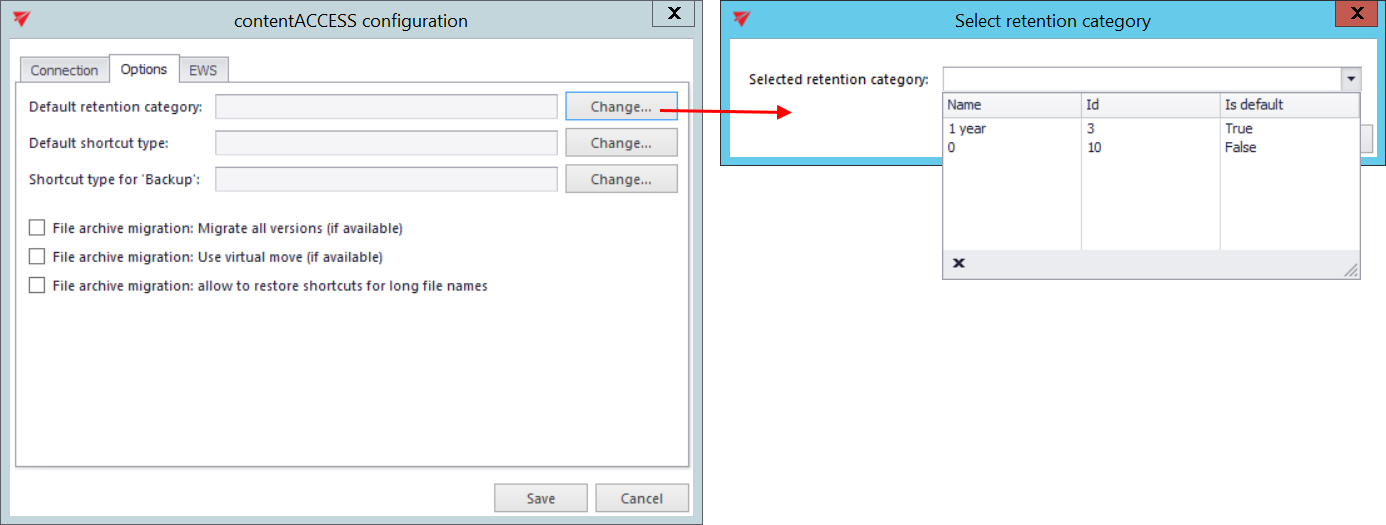
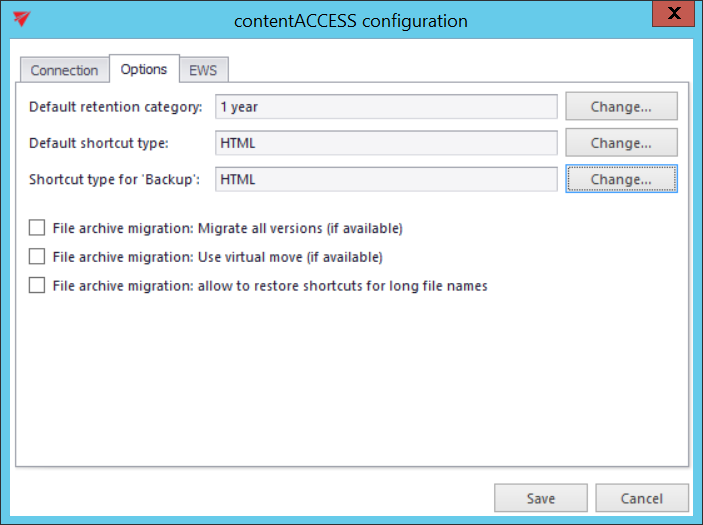
Back in the initial dialog switch to the “Options” tab. Use the “Change” buttons to set the
- default retention category,
- default shortcut type and
- shortcut type for “Backup”
that will be applied to the messages/shortcuts migrated into contentACCESS Email archive.
The available retention categories/shortcut types to be used in the target archive are listed based on the contentACCESS settings.
File archive migration checkboxes are unavailable for this type of migration, so please ignore these settings.
It is also possible to connect to contentACCESS via Exchange Web Services. To do this, click on the EWS tab and check the Email archive migration: Connect using EWS checkbox. Fill in the EWS address and select the EWS version of the server, where your email provider is running. Check the Use explicit credentials checkbox and enter the applicable credentials if necessary. Further specify the Domain name and Test address.
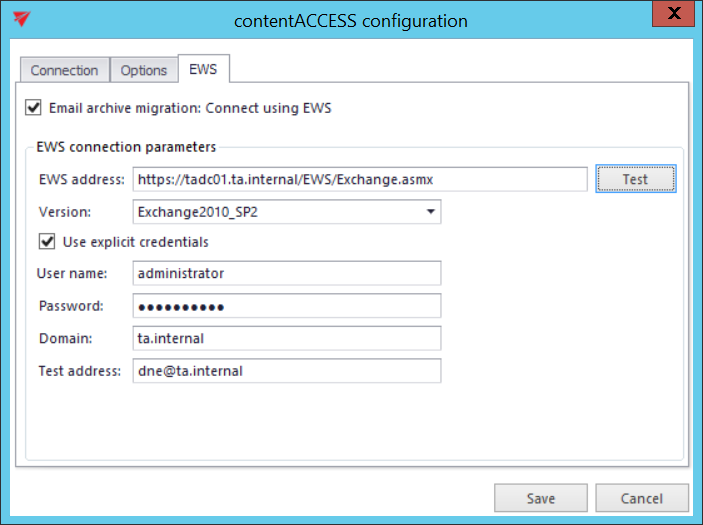
Click “Save”.
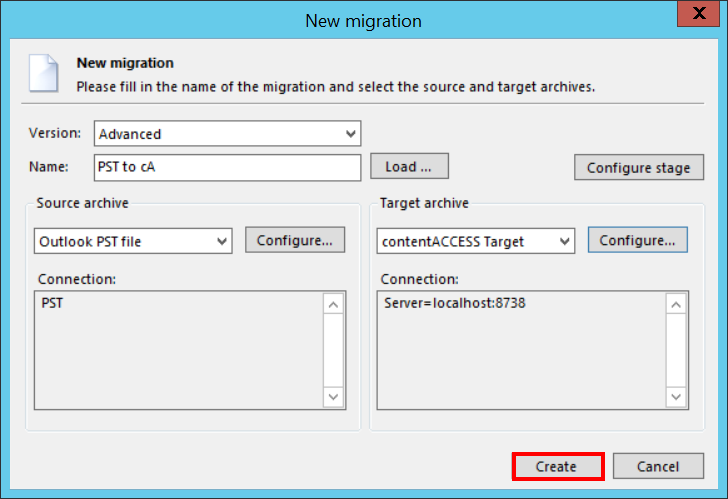
Once the source and target archive connection is set, click on “Create” back in the very first “New migration” dialog:
The migration project is now added to the Archive Explorer pane of contentGATE.
Now it can be configured on its management interface.

