3.Navigation ↑ Back to Top
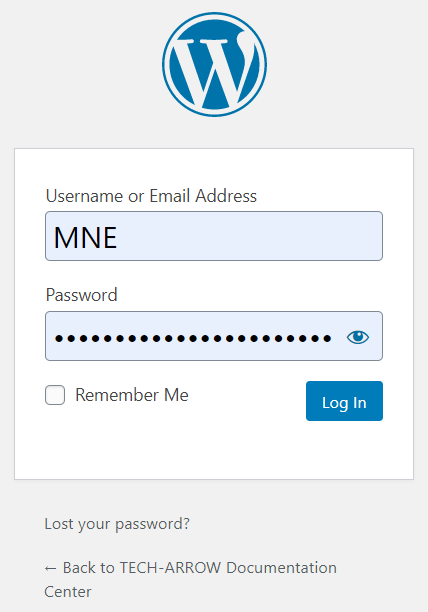
The first step will be, of course, logging in. Navigate to this page, enter your credentials and click on the blue Log In button.
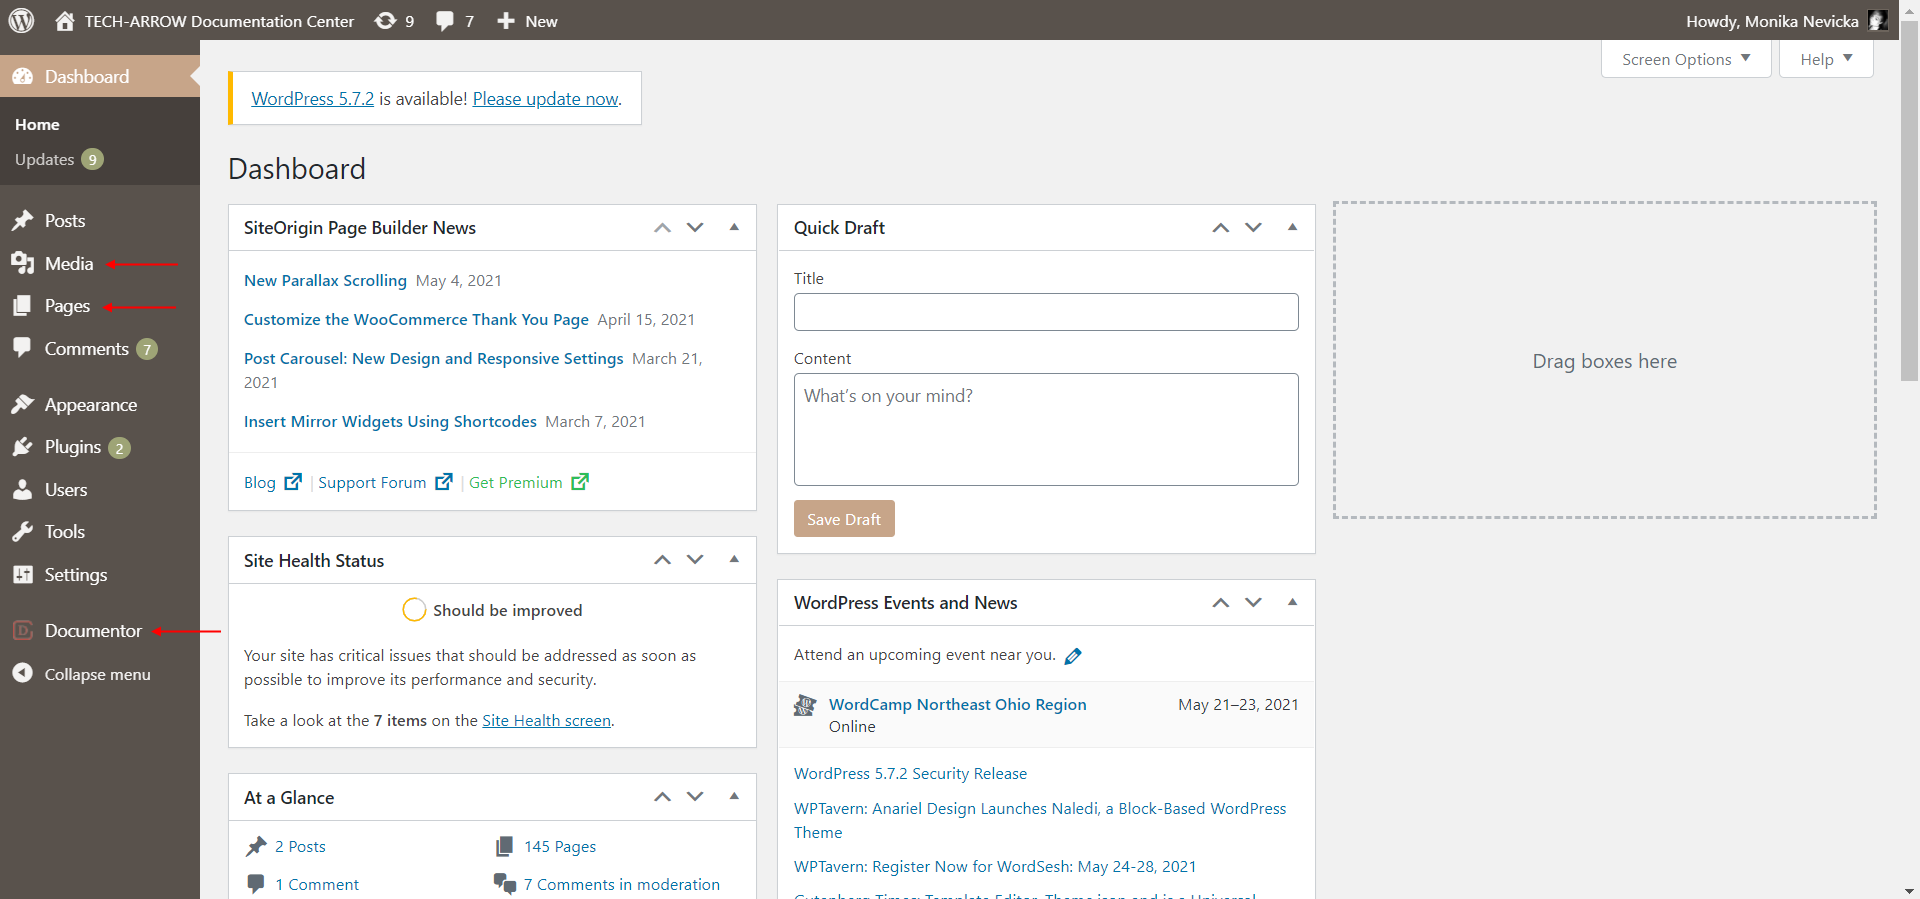
After you successfully log in, you will be redirected to the “home screen” – Dashboard. You will be working mostly with 3 parts from here:
- Media – all items uploaded that are used in documentation, mainly pictures
- Pages – list of pages; documentor guides need to be published as pages
- Documentor – list of documentor guides
Media
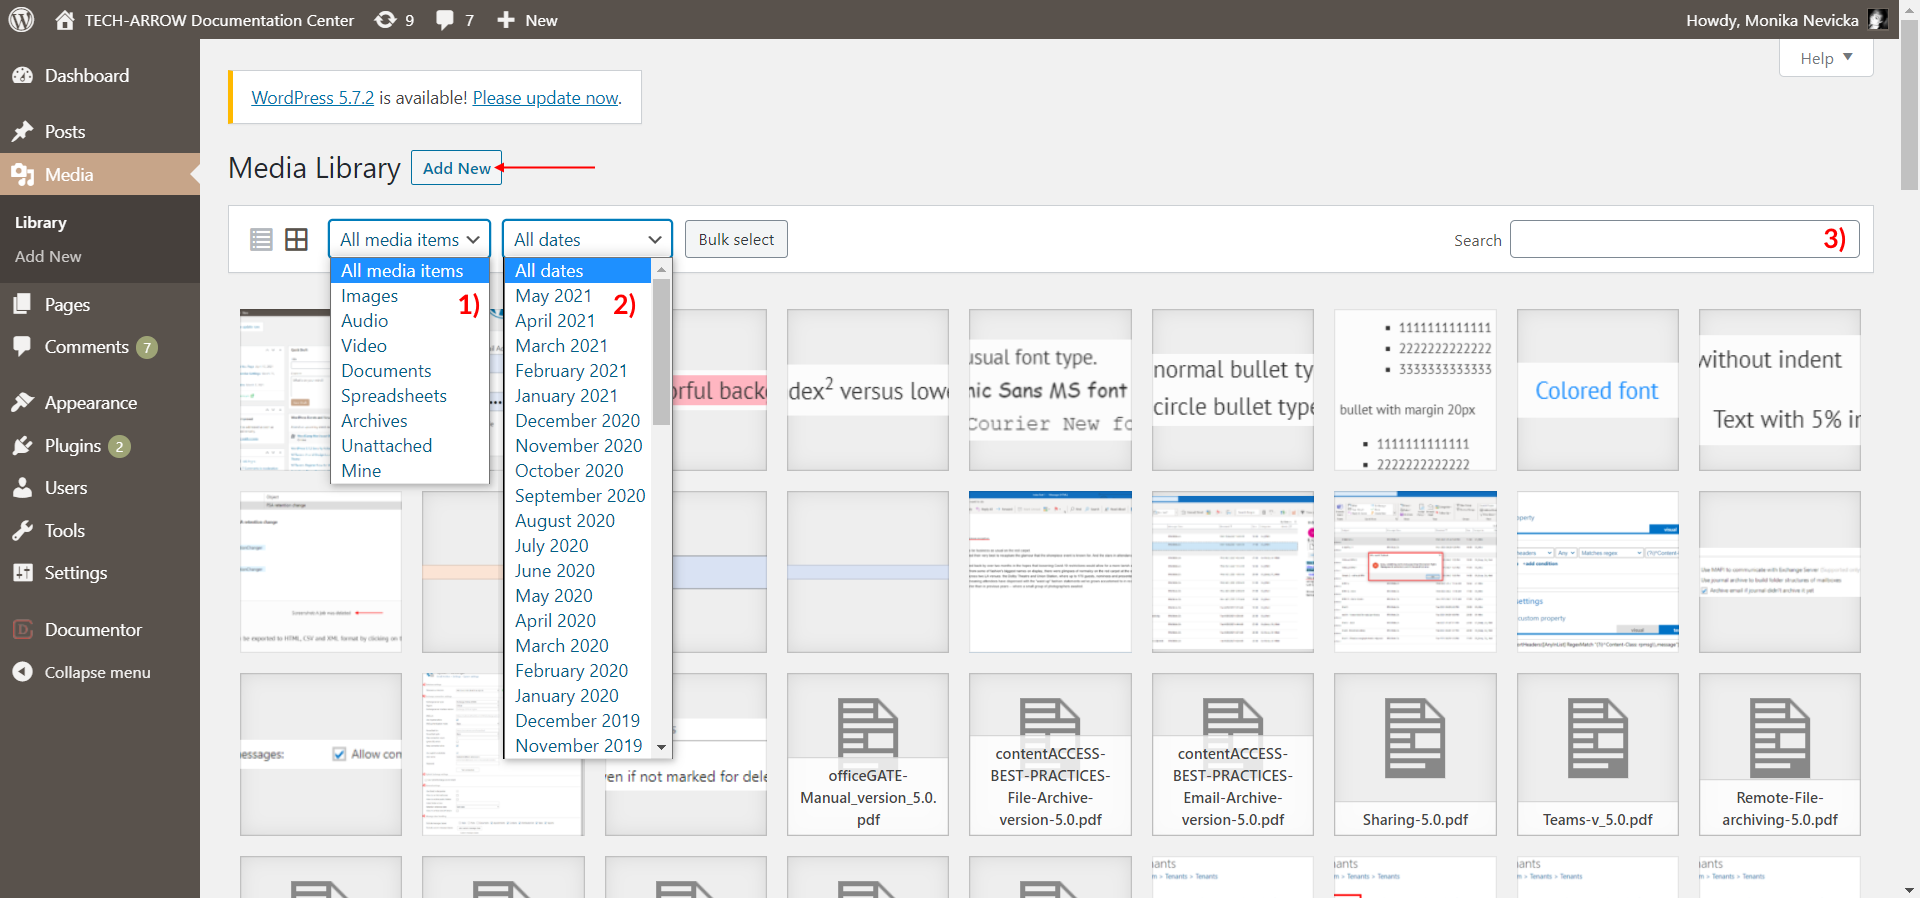
On this page, all the items that were previously uploaded are displayed. You can easily filter them by file type (1), by date/age (2) or even search for a specific document by its name (3). You can also upload new documents here (click on Add New button) to be later used in guides, but for me personally it is easier to do directly when editing/writing that guide.
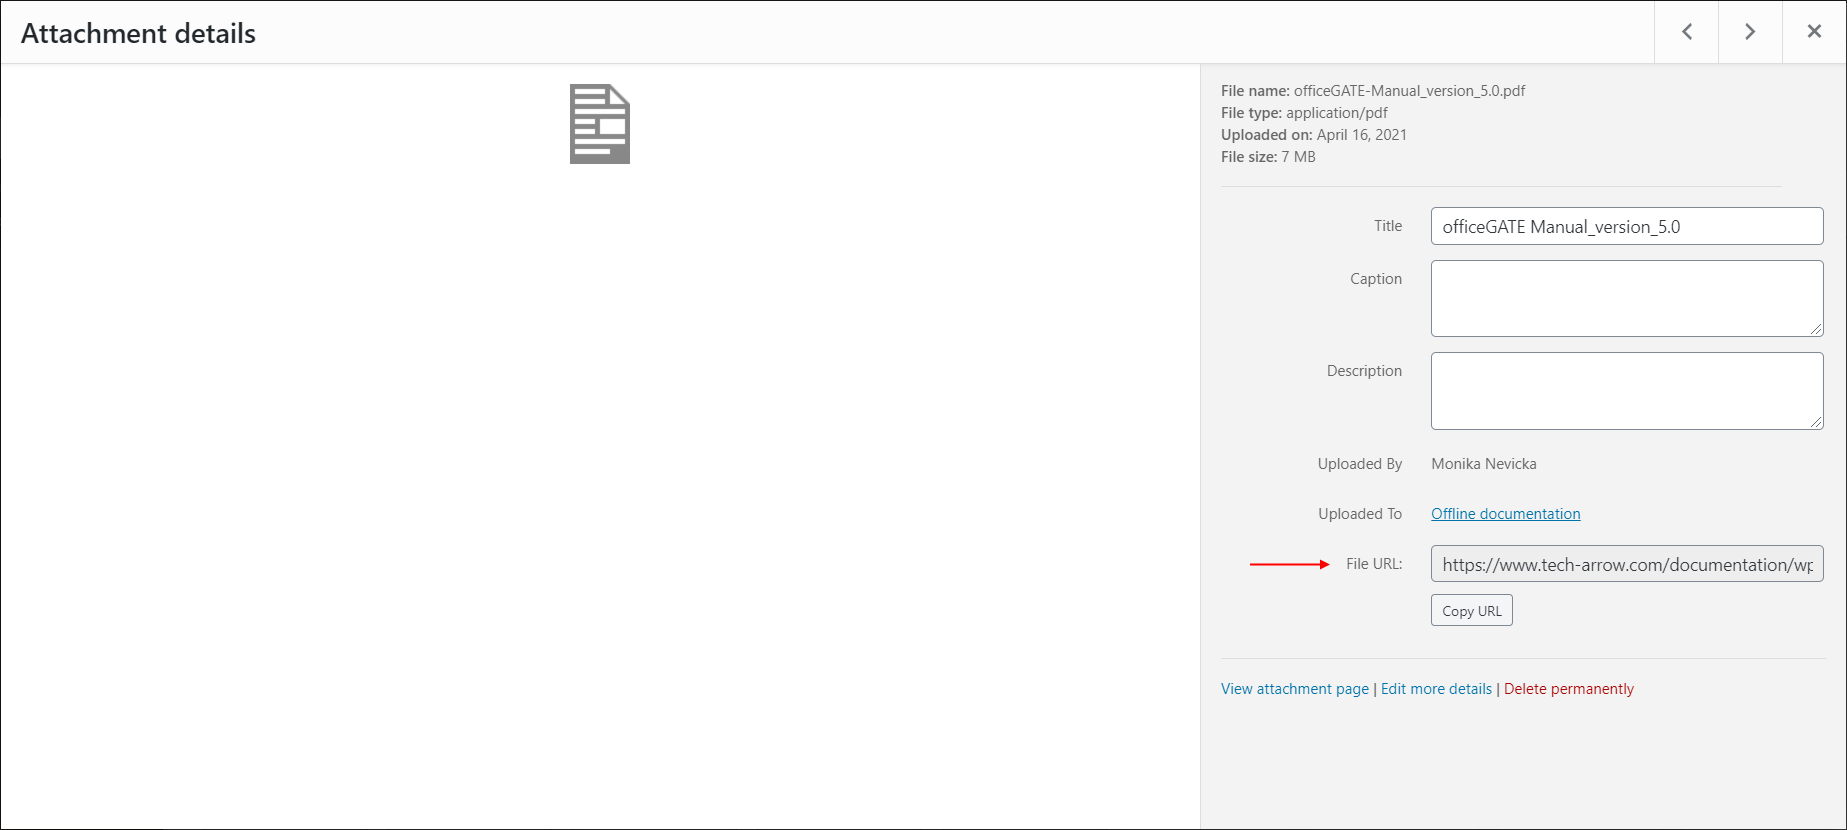
After you click on an item, its details get displayed. The most important part for us is the File URL, which is important for displaying images or attachments correctly.
Pages
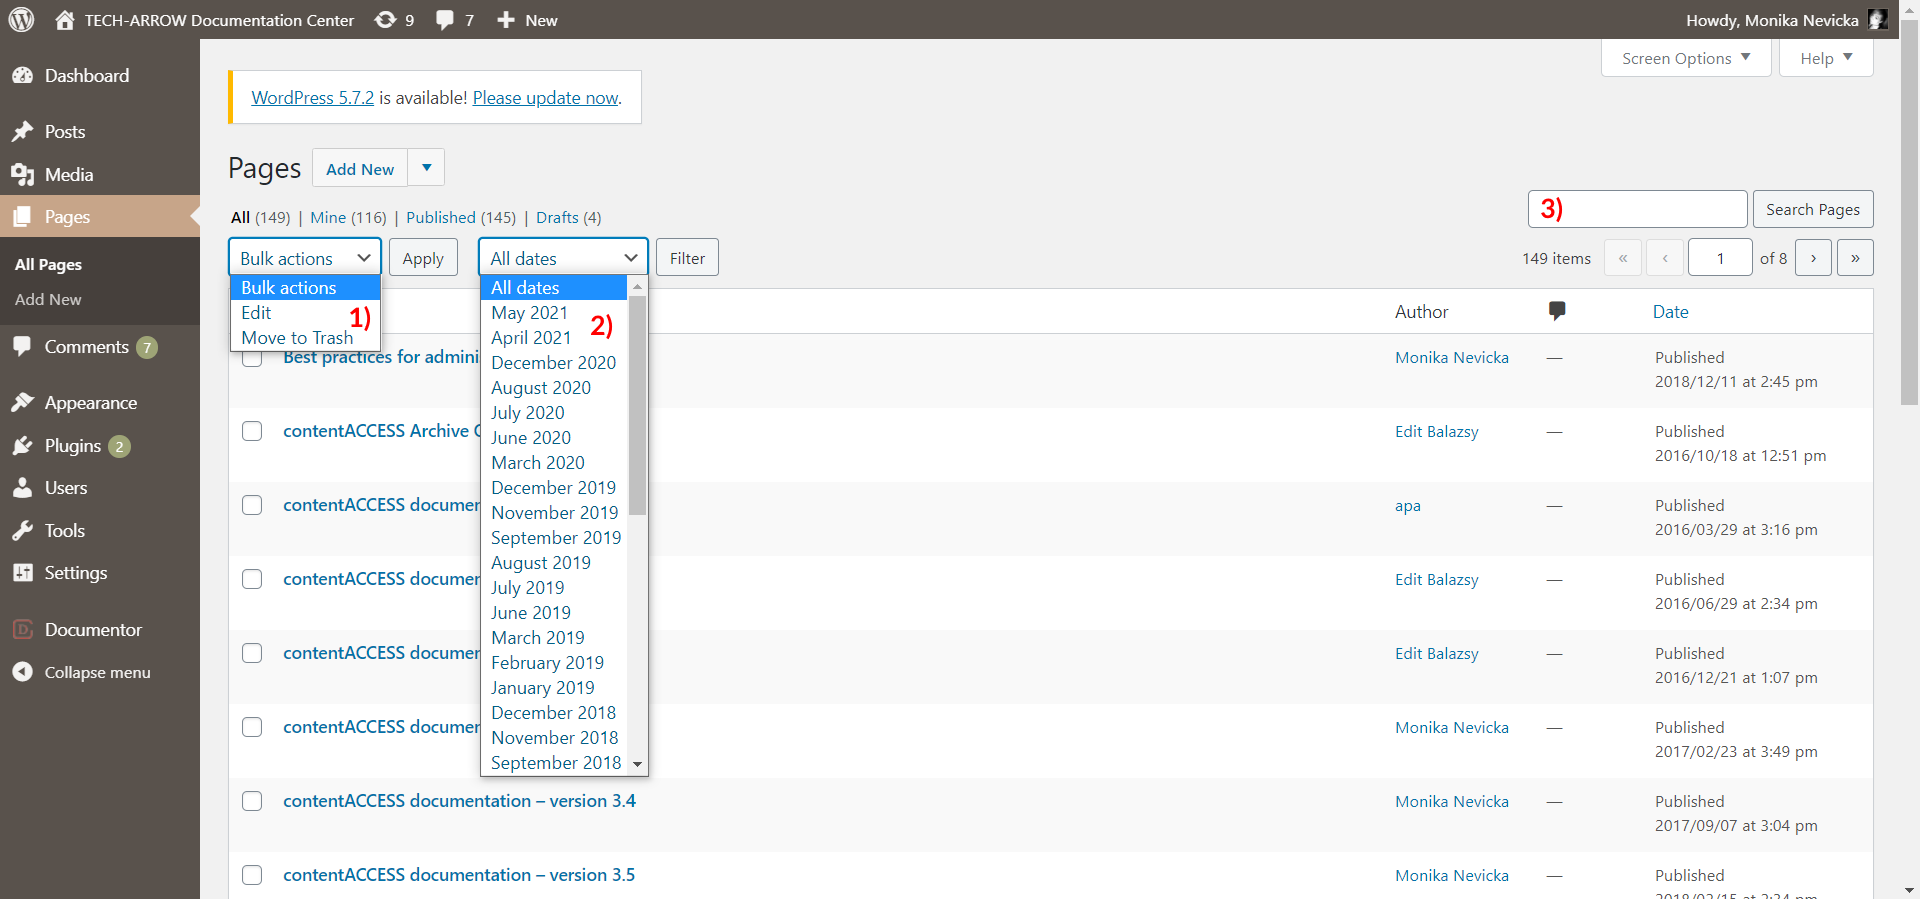
On this page, you can see a list of previously published pages. You can apply bulk actions (1), filter them by date/age (2) or search for a specific one by its name (3).
When you point your cursor at a guide, more options will appear:
- Edit – will be explained later
- Quick Edit – will be explained later
- Trash – deletes the page
- View – opens the page

Documentor
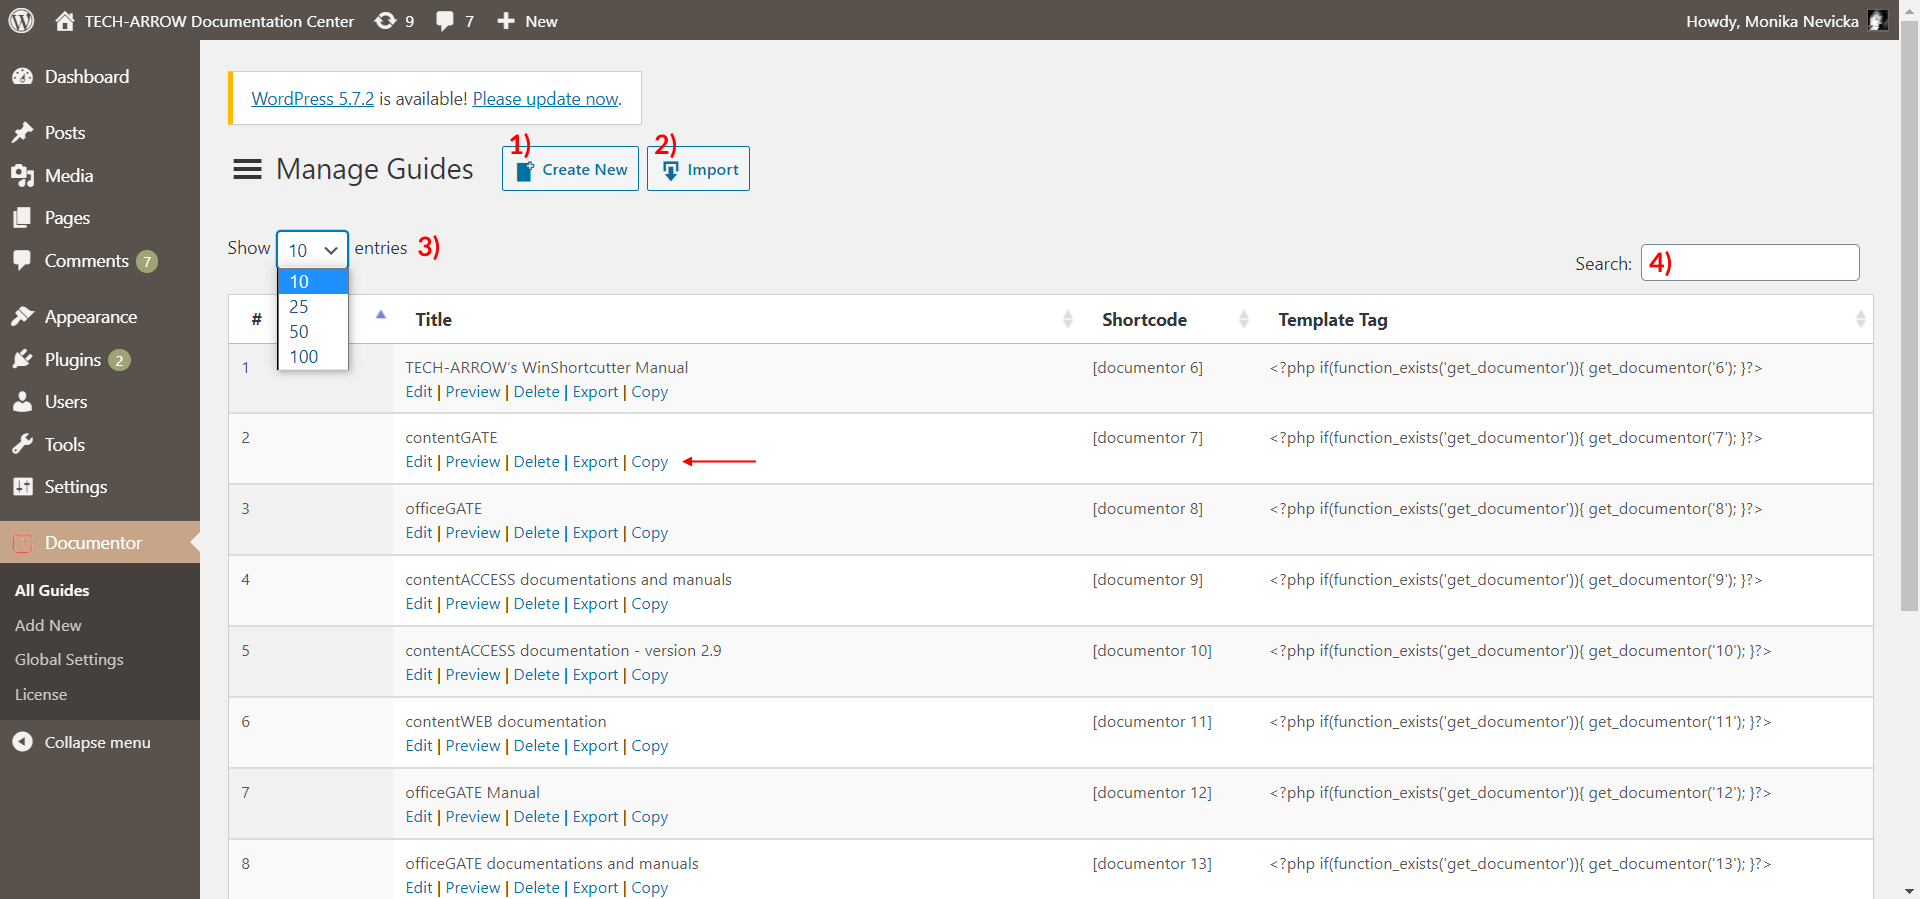
On this page, you can see a list of previously published guides. You can create a new guide (1), import a guide (2), change the number of guides displayed per page (3) or search for a specific one by its name (4).
Each guide has also actions that will only apply to that particular guide:
- Edit – will be explained later
- Preview – shows a preview of the guide, but the quality is not that good, so i never use it
- Delete – deletes the selected guide
- Export – exports the guide, details will be explained later
- Copy – copies the guide
