7.How to activate a template
To activate a template, click on the My templates button on the toolbar. Here, all templates (activated and not-activated) of your activated subscription are listed.
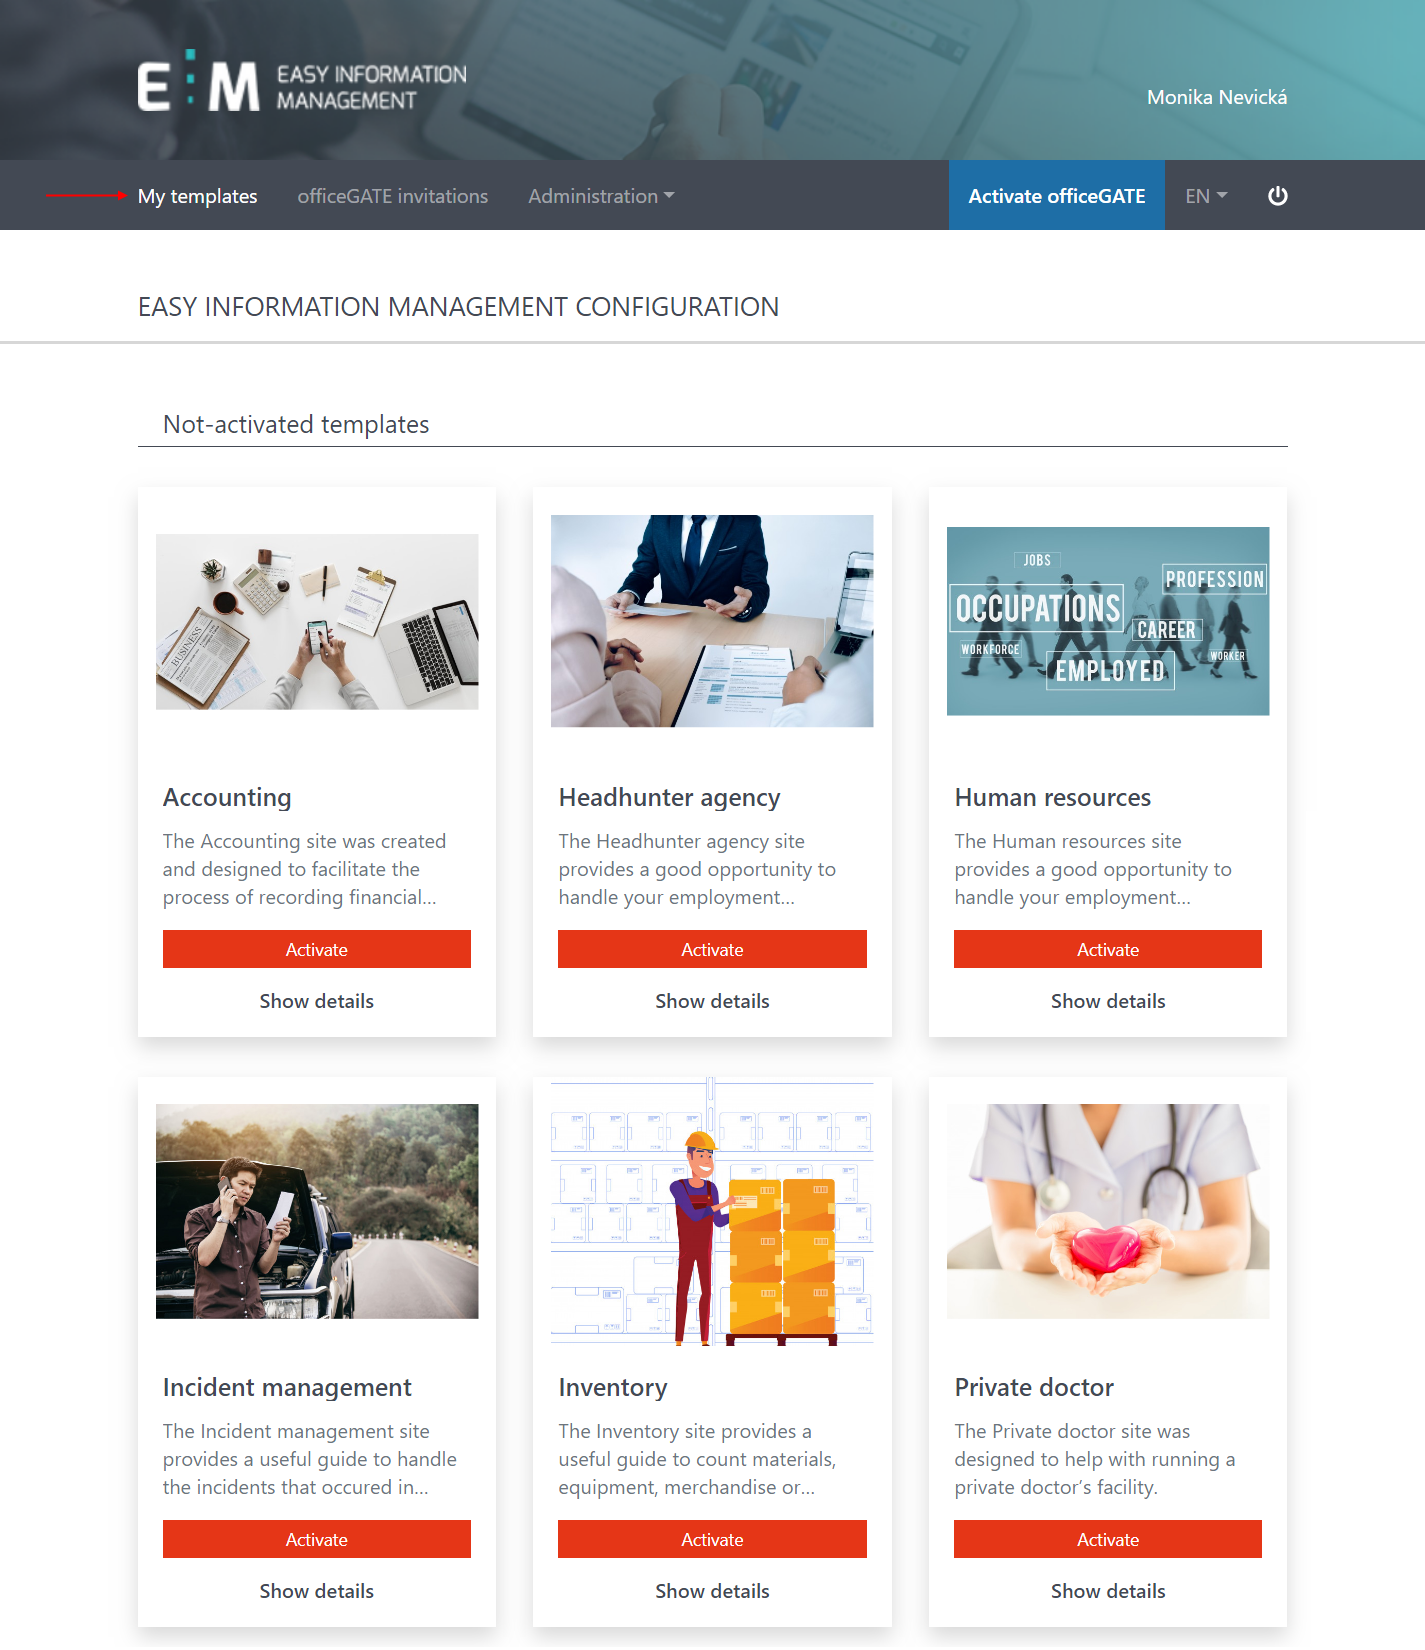
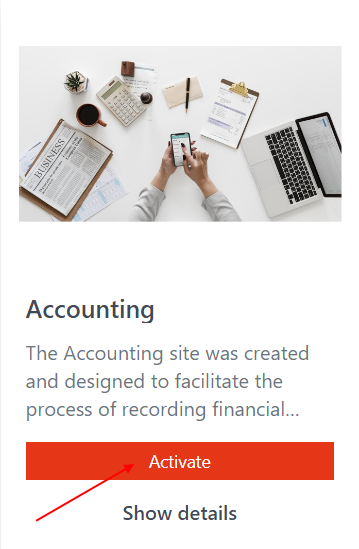
Choose the not-activated template you would like to activate. Click on its Activate button.
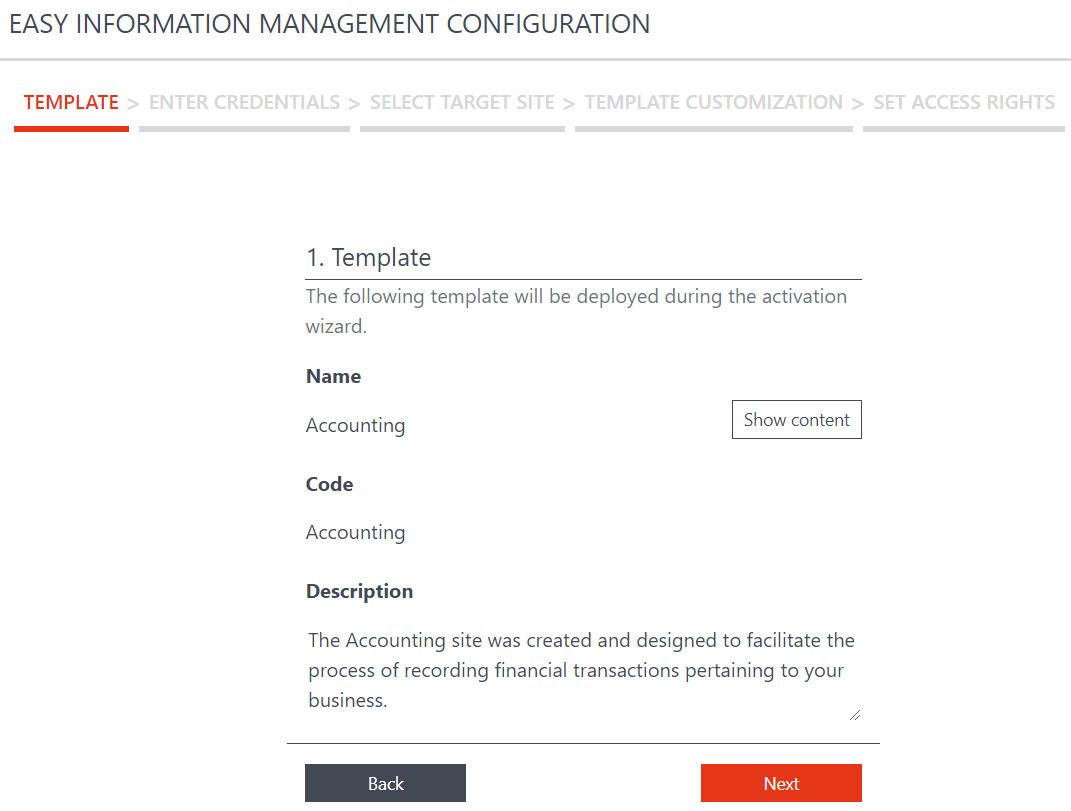
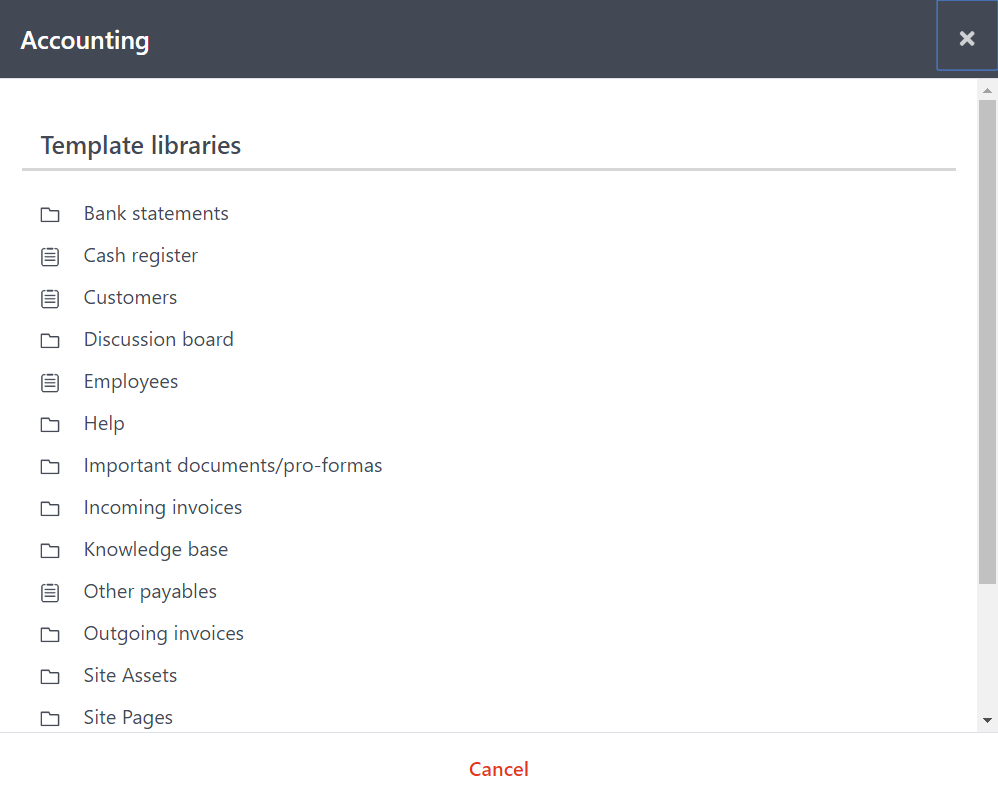
On the Template tab, it is possible to view a quick overview of the template. It is also possible to view the folder structure of the template by clicking on Show content button. Click Next.
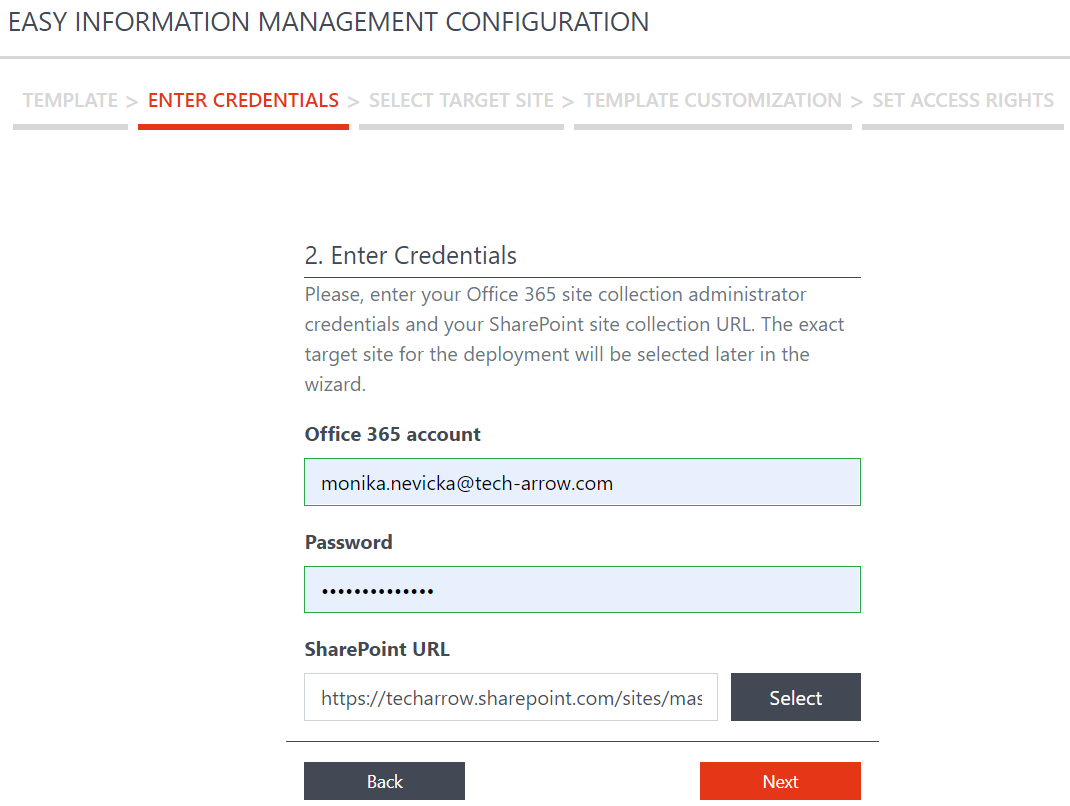
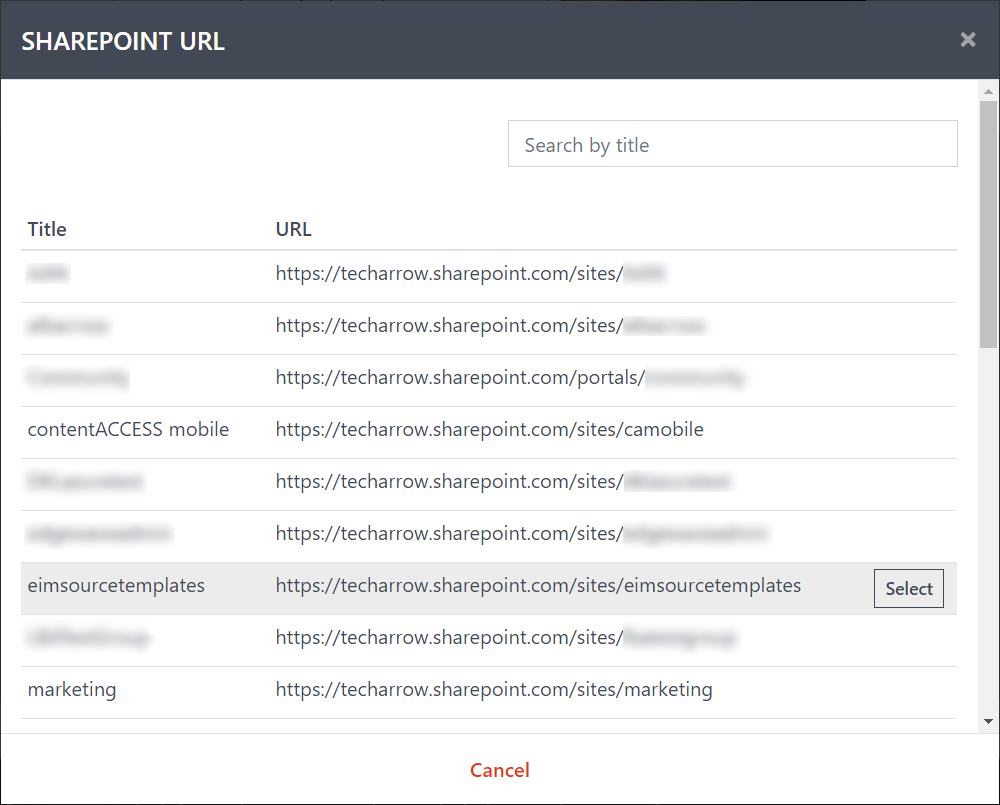
On the Enter Credentials tab, you will be able to specify the Office 365 site collection administrator credentials and your target SharePoint site collection URL. It is also possible to select the SharePoint site from the list of available sites, based on the account you are logged in with. Click Next.
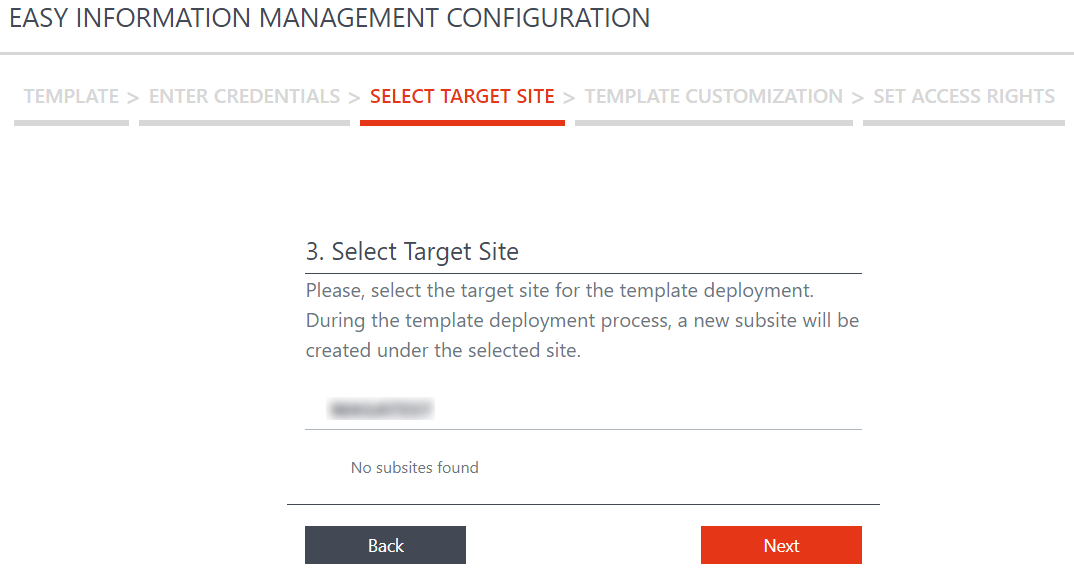
From the list, select the target site, where the template will be deployed. Click Next.
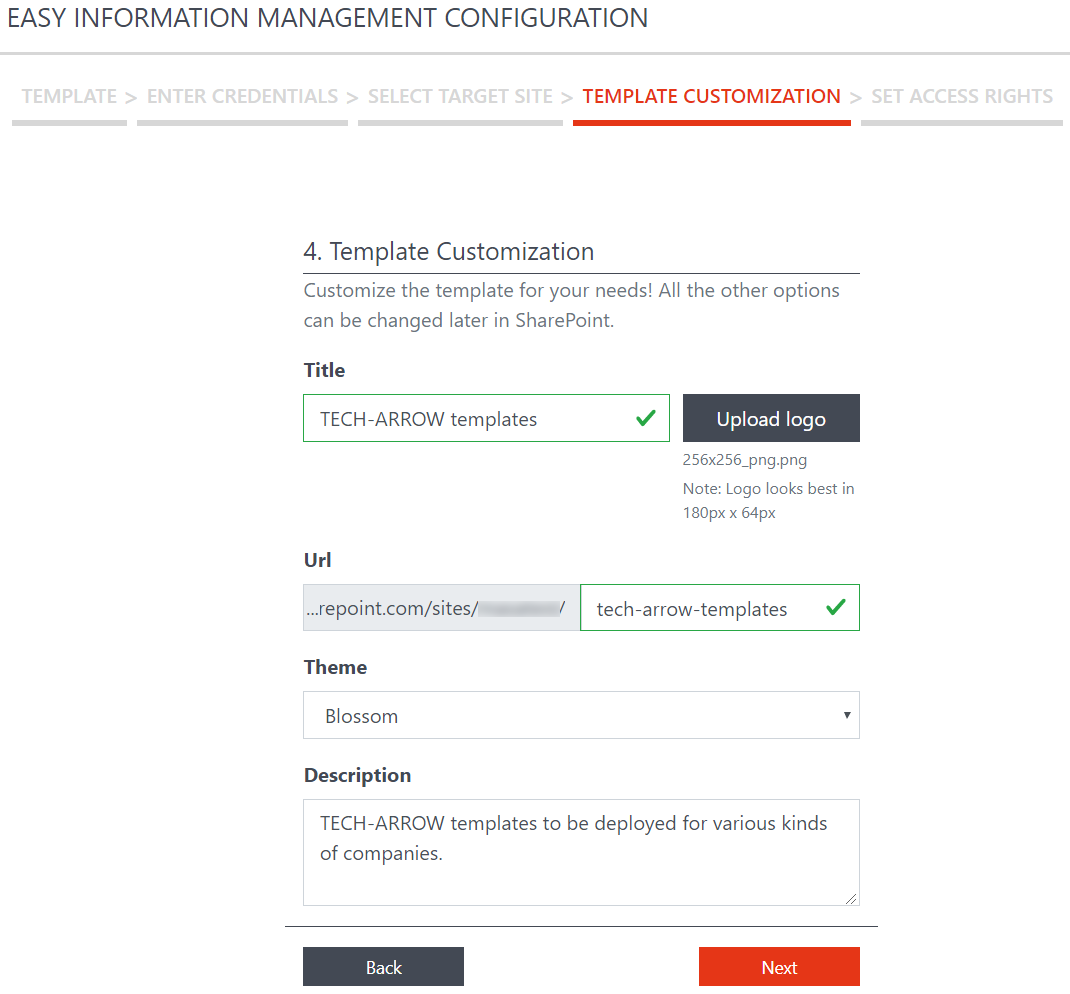
Here is possible to customize your template:
- specify the title of the subsite it will be deployed to
- upload the logo for the site, which will appear in SharePoint
- complete the URL of the subsite – when filling in the name, it will be filled in automatically together. It is possible to rewrite it and set a URL that will differ from the subsite title.
- choose one of the available SharePoint color themes from the dropdown list
- write a short description
Click Next.
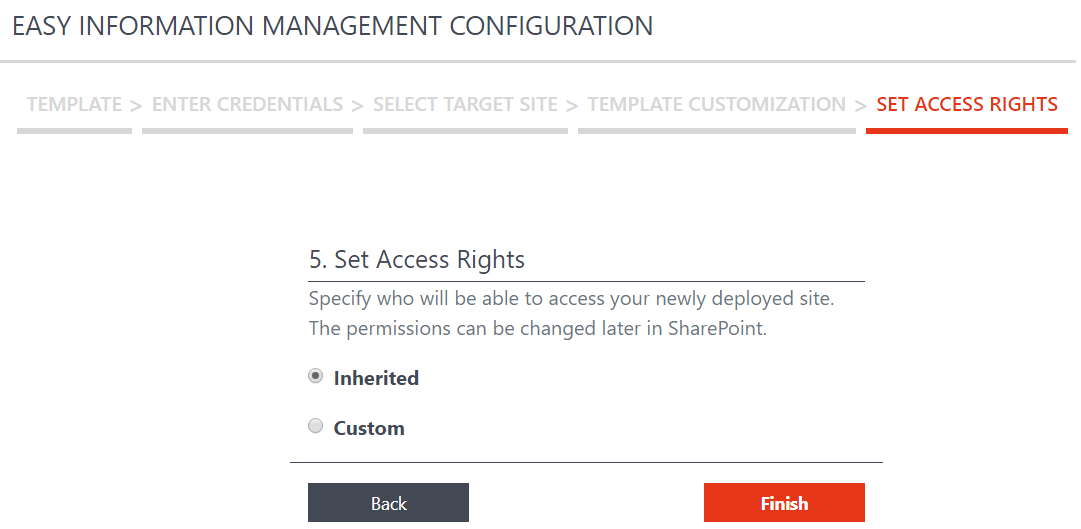
Select if the access rights will be Inherited from the parent site or if you want to set Custom ones later in SharePoint. Click Finish. Now the system will start deploying the template – it may take several minutes.

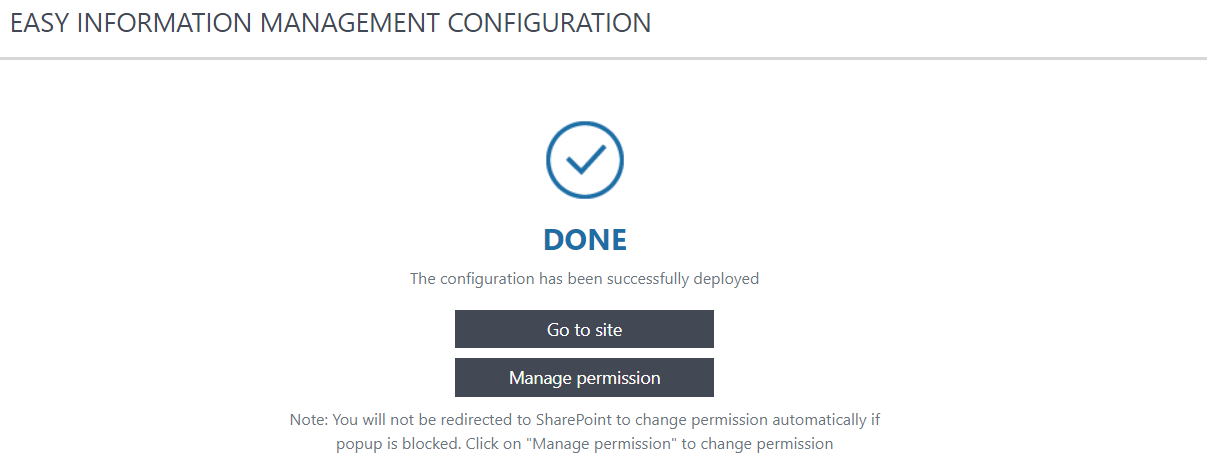
After the template has been deployed, you will get two options:
- Go to the site – this will redirect you directly to the SharePoint site with your newly deployed template
- Manage permission – this will redirect you to the settings part of the SharePoint site, where you can manage its permissions
