7.Mappings
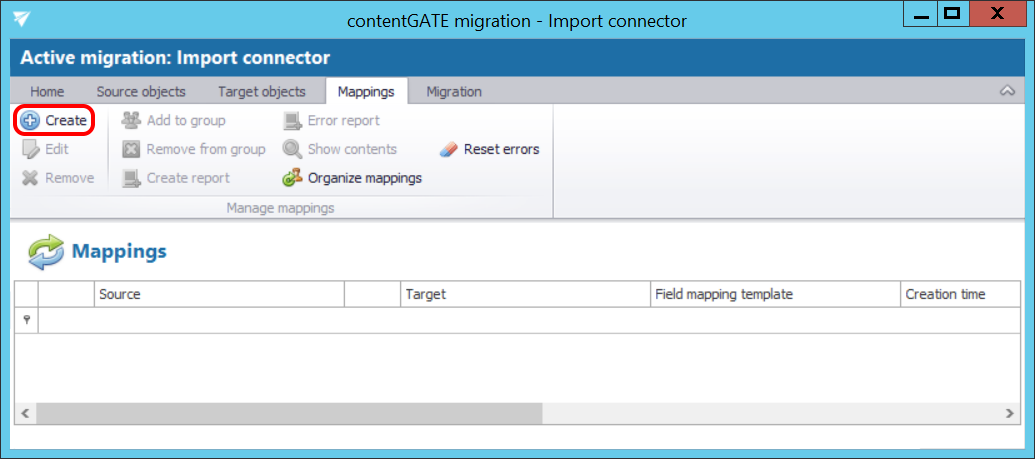
Open the “Mappings” tab and click “Create” in the toolbar to create the desired object mapping(s).
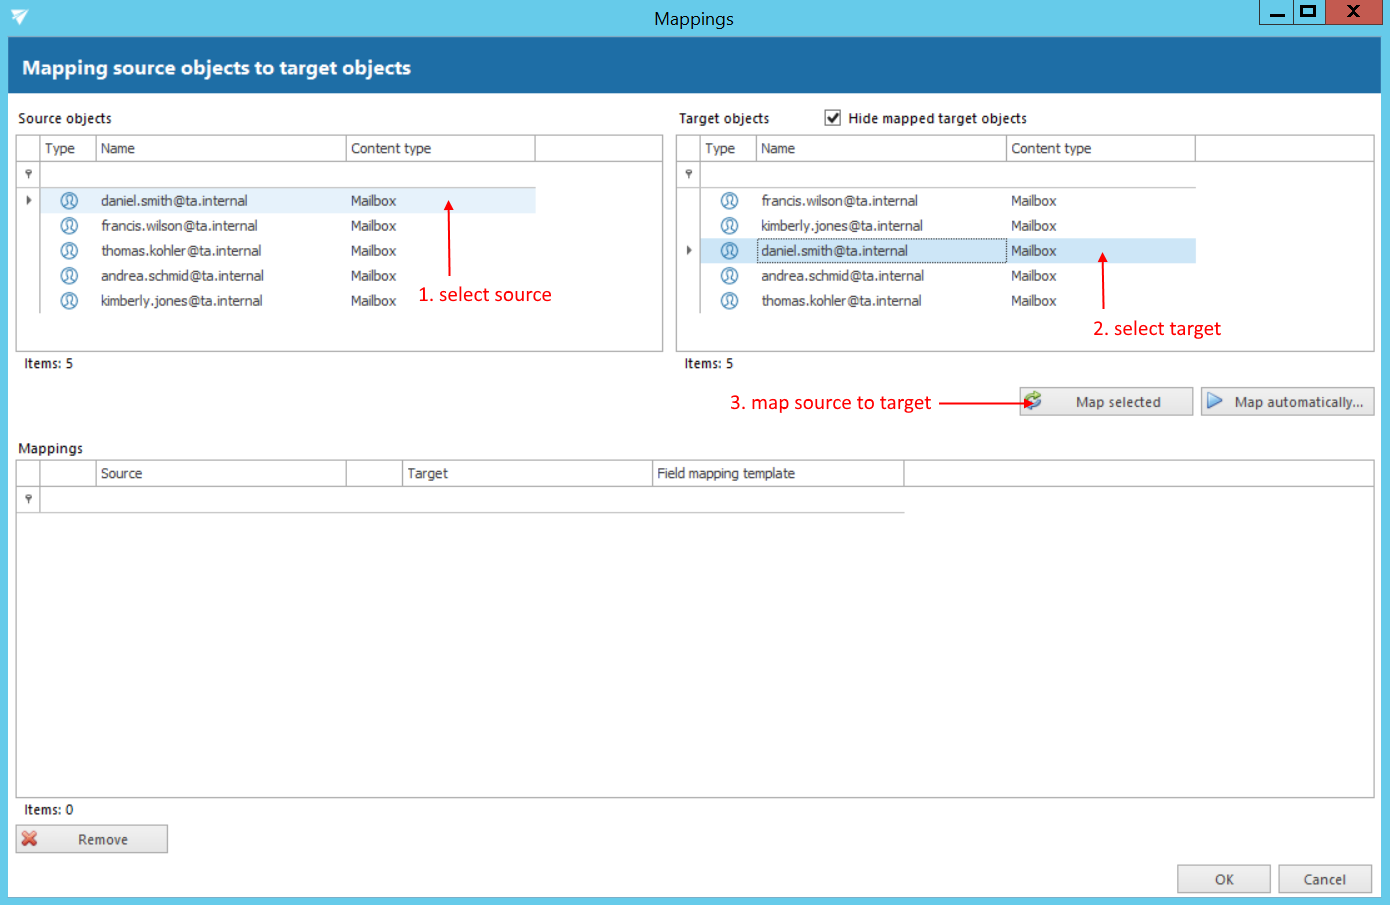
The “Mappings” dialog features the
- source object(s) TO BE MIGRATED on the source side, and
- target object(s) WHERE the source objects can be migrated on the target side.
Mappings may be specified either manually or automatically.
By manual selection select each source and target one-by-one, and map them together with clicking on the “Map selected” option.
Wish you use automatic mapping, 1) click on the “Map automatically” button and 2) select the mapping criteria.
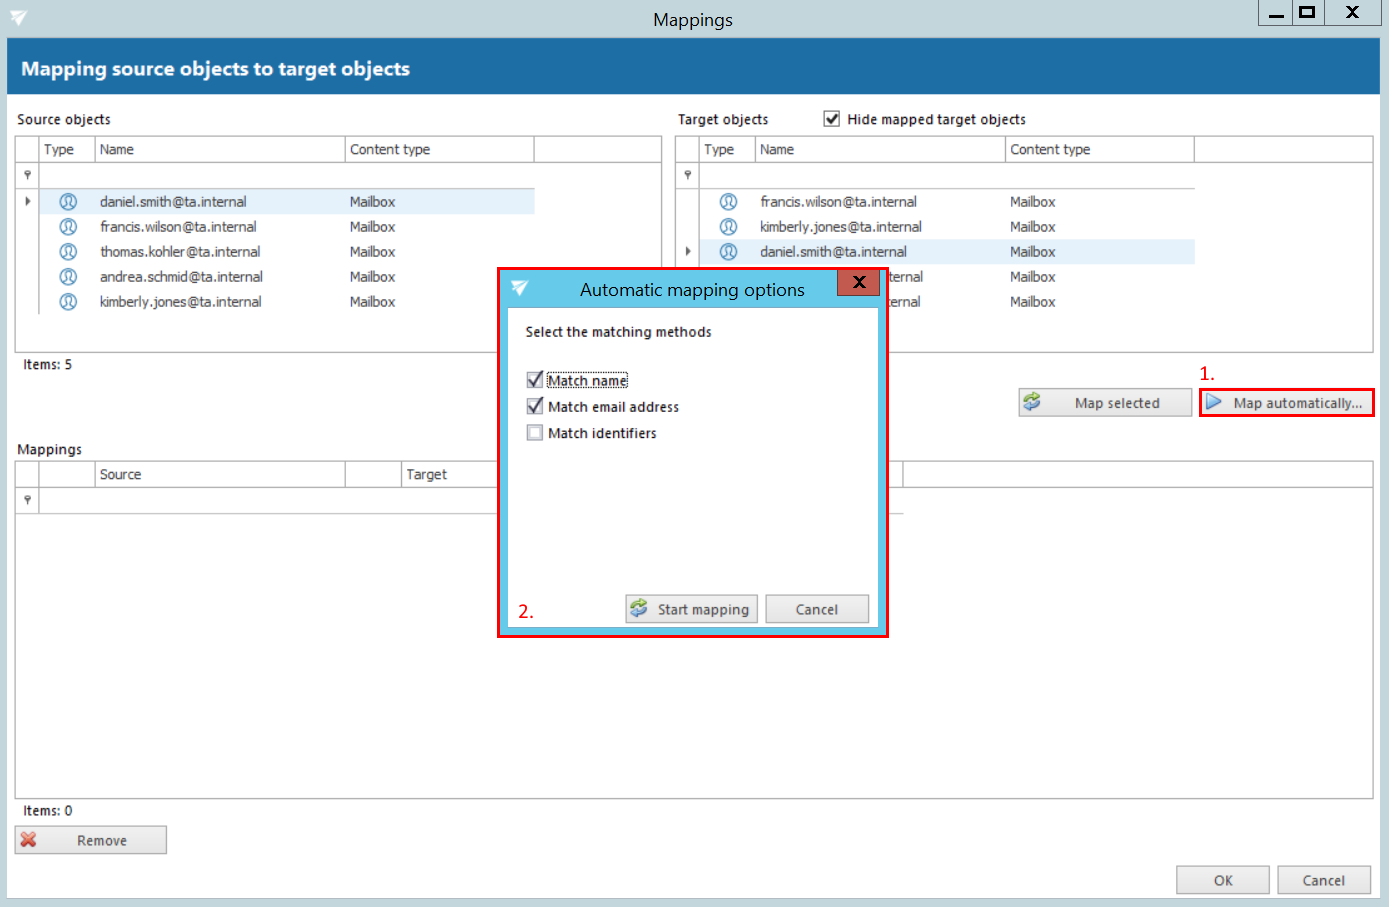
There are 3 auto-mapping methods available:
Match name – maps the objects based on name
Match email address – maps the source to target based on the email address included in the object properties
Match identifiers – maps the source to target based on the IDs included in the object properties (e.g. object ID, entity ID etc.)
Once the criteria are selected, click on the “Start mapping” button, and the objects will be paired automatically.
Added mappings are shifted to the lower part of the Mappings dialog.
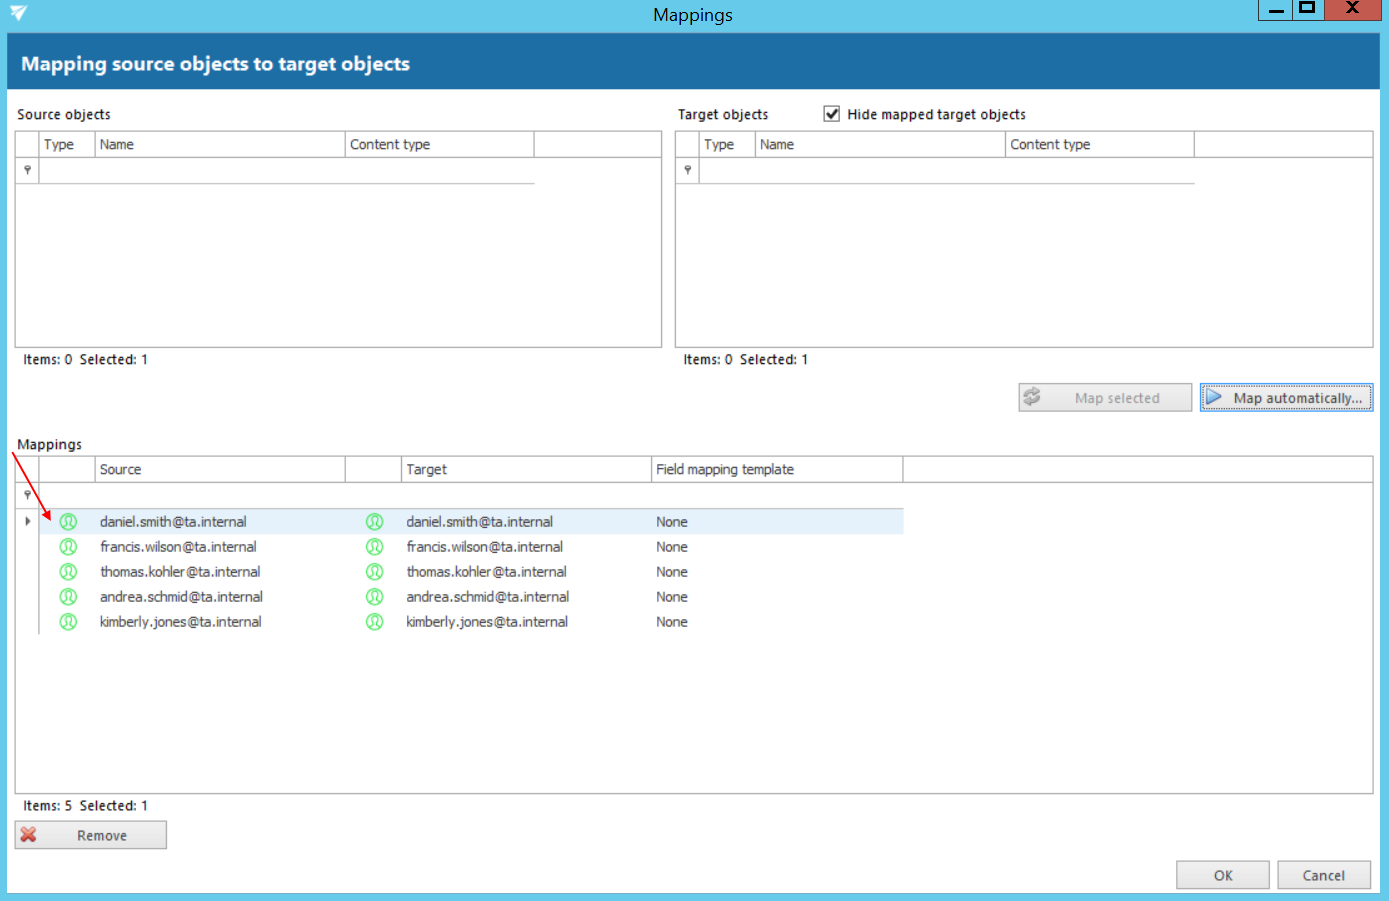
Click “OK” to add them to the grid.
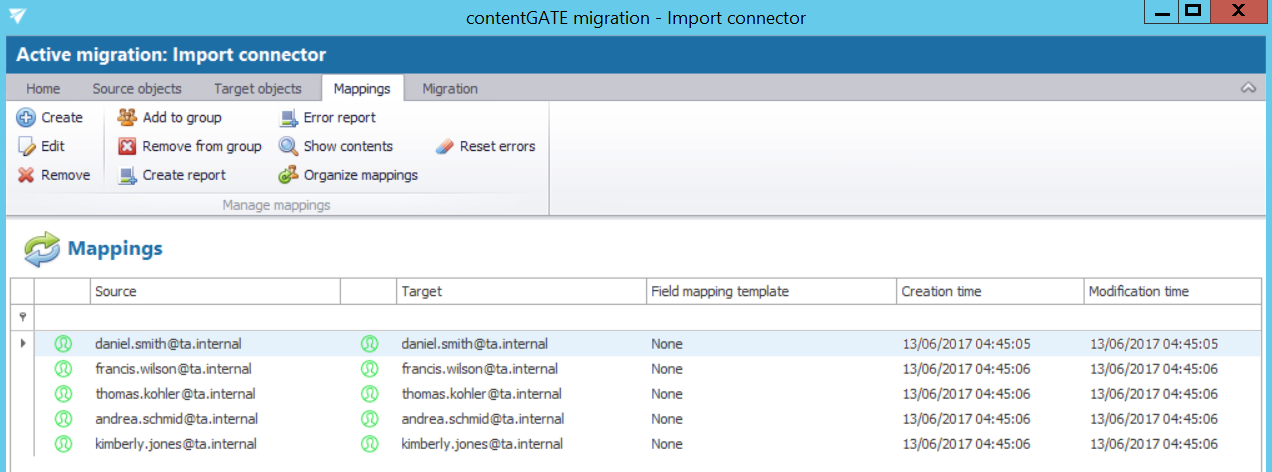
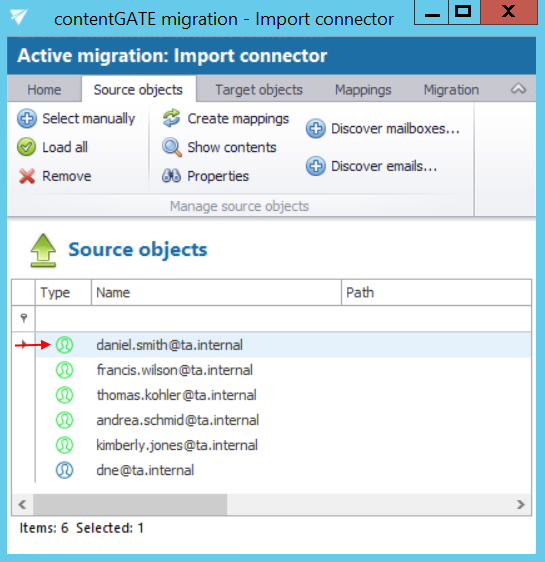
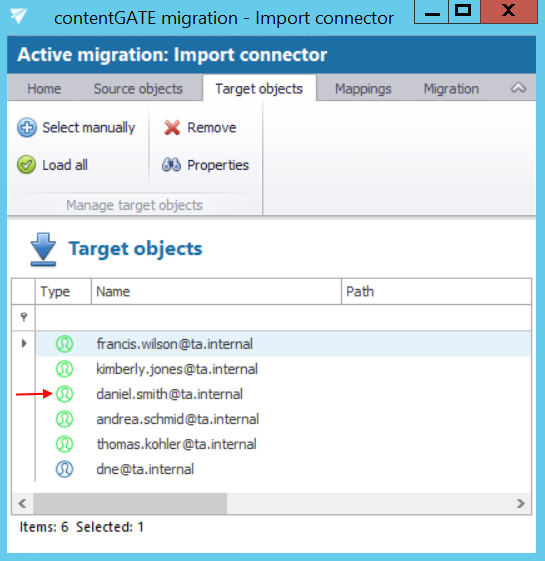
The contents of the mapped source objects can be checked using the “Show contents” button in the toolbar, too.
