6.1.1.Specifying Source and Target archive connection settings
The Source archive (Metalogix Archive Manager Exchange Edition – MAM EE)
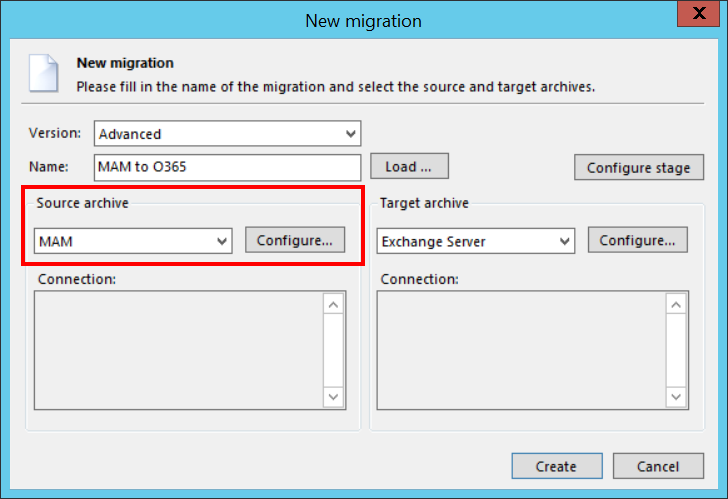
To configure the MAM connection, select it in the Source archive dropdown-list and click the Configure button in the dialog.
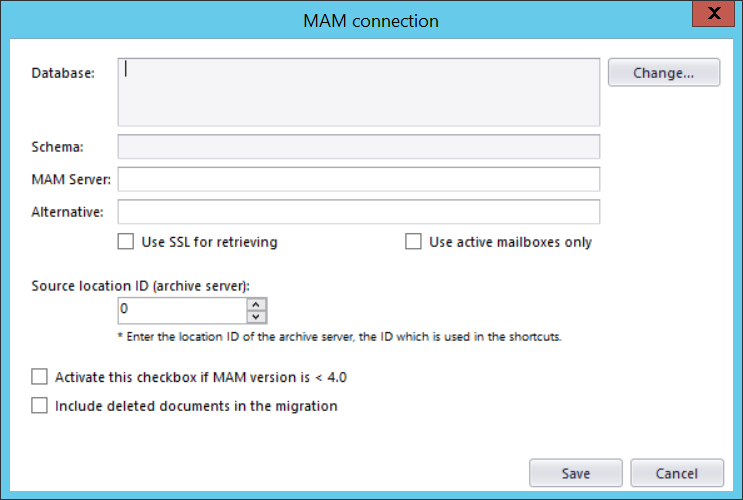
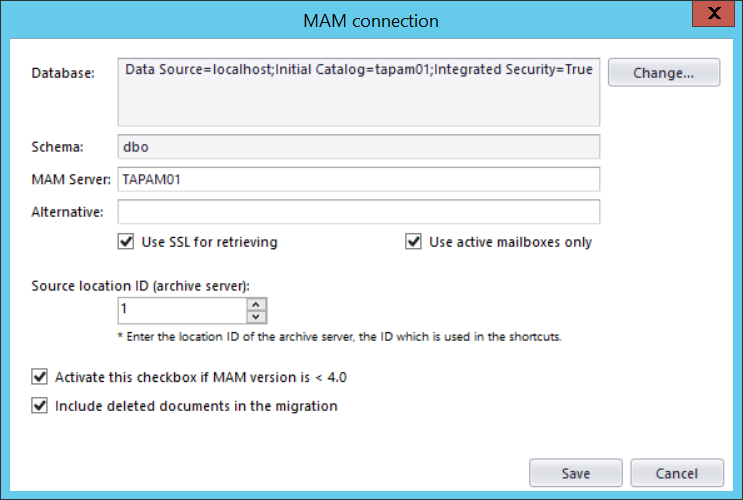
The MAM connection dialog opens. First, you will be required to configure the MAM database connection. Click on Change… button.
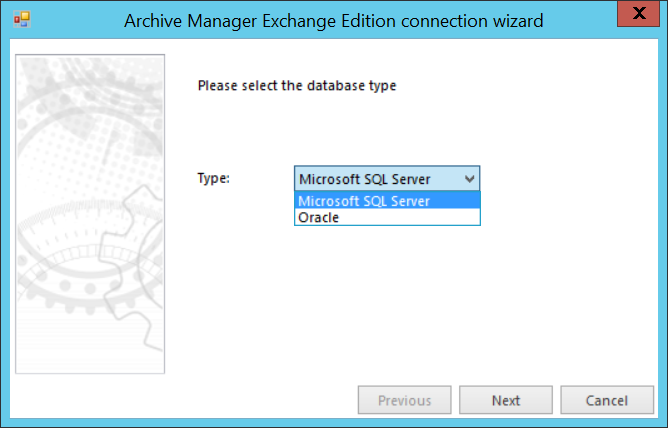
Select the database type from the dropdown list. Click Next.
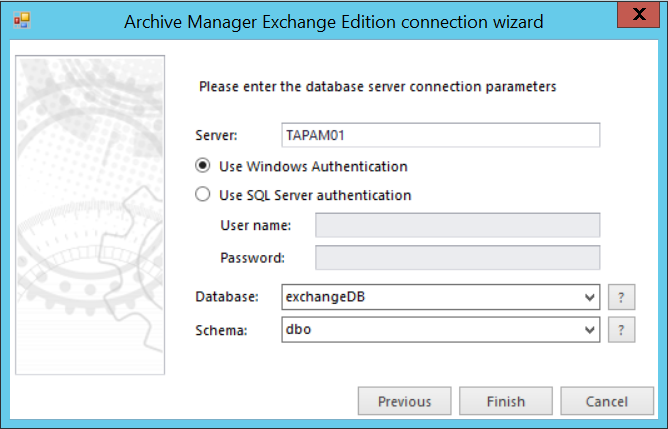
Specify the database server and the applicable database user credentials. You may use either Windows integrated authentication or specify an explicit user. The Database list lists all databases on the selected server. Pick the one where you have your desired data. Enter the scheme and click Finish.
Back in the initial dialog specify the Source MAM server. It is highly recommended to specify here the MAM retrieve server name. Use “localhost” if the MAM retrieve server is on the local server, where also contentGATE is installed. If you want to use SSL for retrieving or use only active mailboxes for the migration, check the respective checkboxes.
Source location ID must be defined due to shortcut retrieve. The location ID of MAM can be found in MAM.
If MAM version is lower than 4, the Activate this checkbox if MAM version is < 4.0 checkbox must be activated. If the user wants to include also deleted documents in the migration, the last checkbox must be checked. Click Save to save your settings.
The Target archive (contentACCESS Email archive)
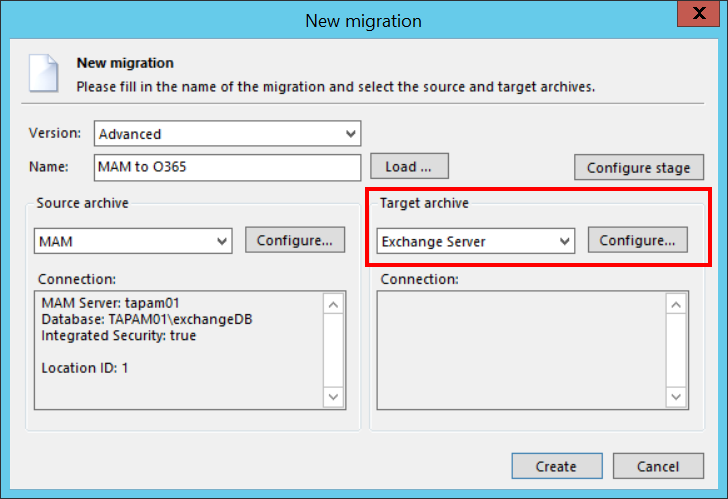
Choose Exchange Server from the list of target archives and click on Configure.
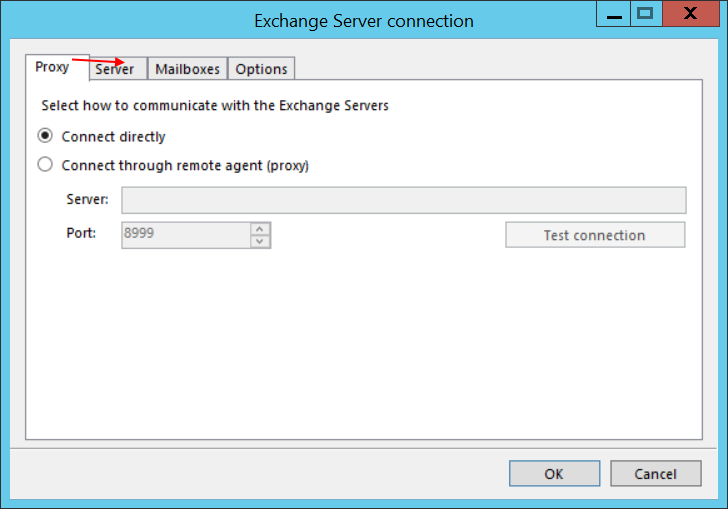
We will connect to the server directly, so we can switch to the Server tab.
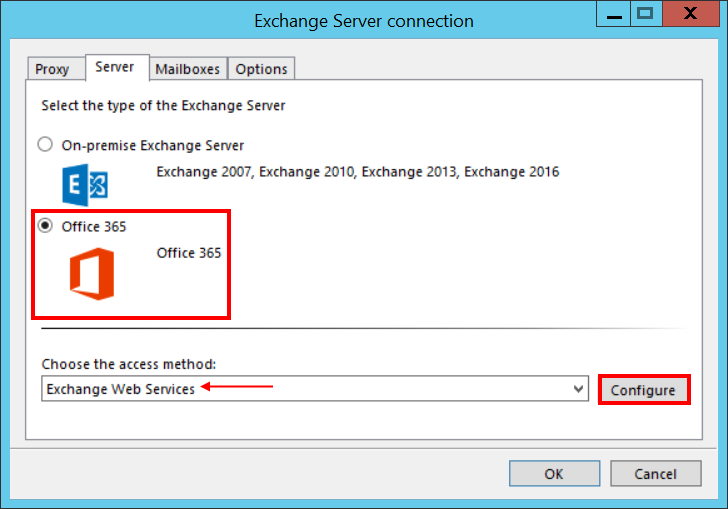
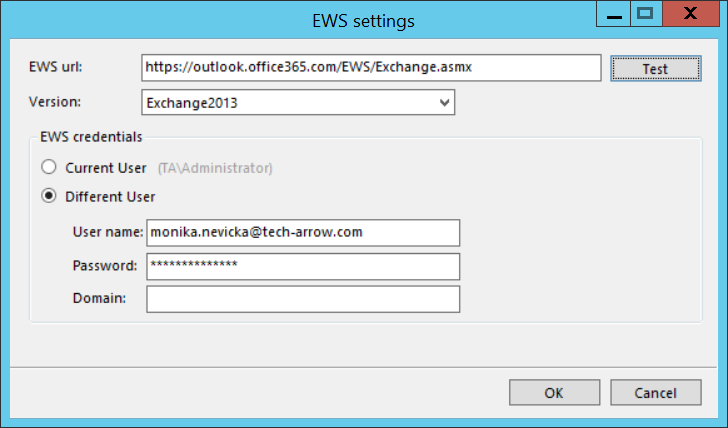
Select Office 365 and choose Exchange Web Services from the access method list. Click on Configure.
Enter the EWS URL, select the exchange version from the dropdown list and enter the credential of the exchange user with the necessary rights (at least view only organization management rights on the exchange and full access rights on the archived mailboxes to be migrated). Click OK.
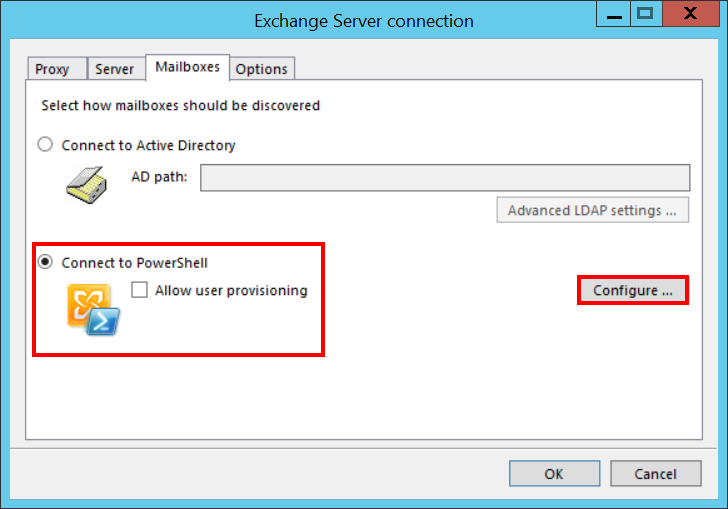
Switch to the Mailboxes tab. Select option Connect to PowerShell and click on Configure….
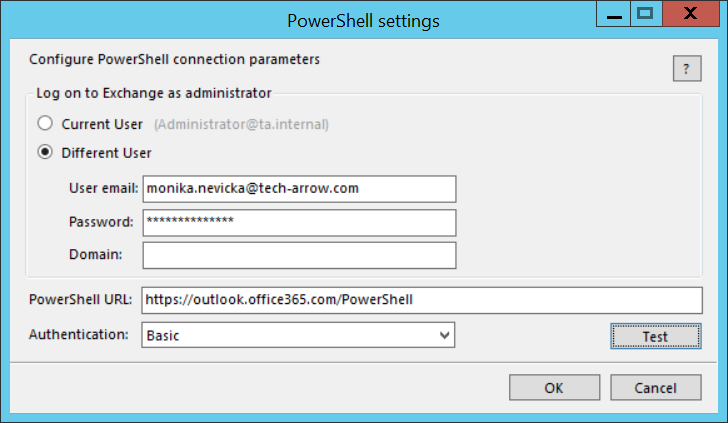
Configure the account that PowerShell will use to connect to the mailboxes. In case of O365 being the target archive, the Domain doesn’t need to be filled in. PowerShell URL will be generated automatically. Choose Basic authentication type, run a test connection and click OK. Then click OK again – this will redirect you to the New migration dialog.
Once the source and target archive connection is set, click on “Create” back in the very first “New migration” dialog:
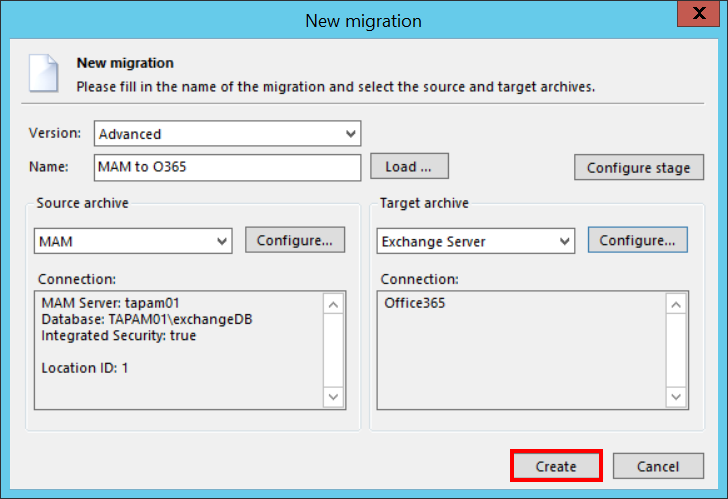
The migration project is now added to the Archive Explorer pane of contentGATE.
