7.License key activation
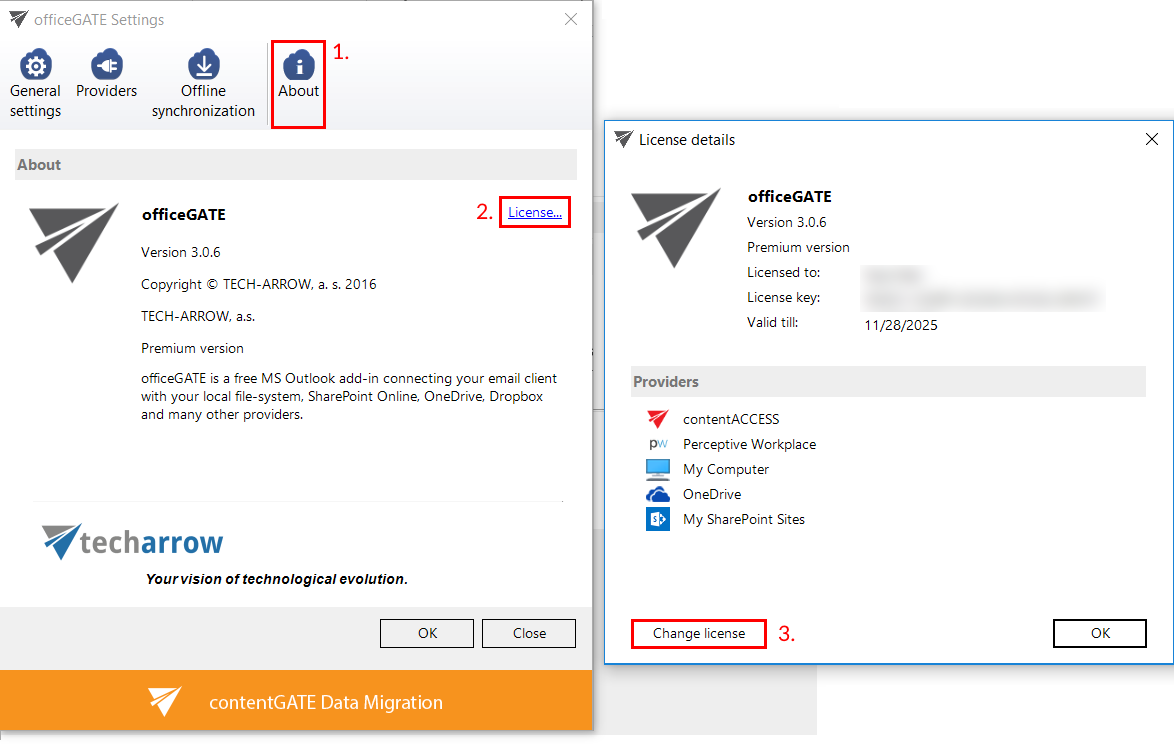
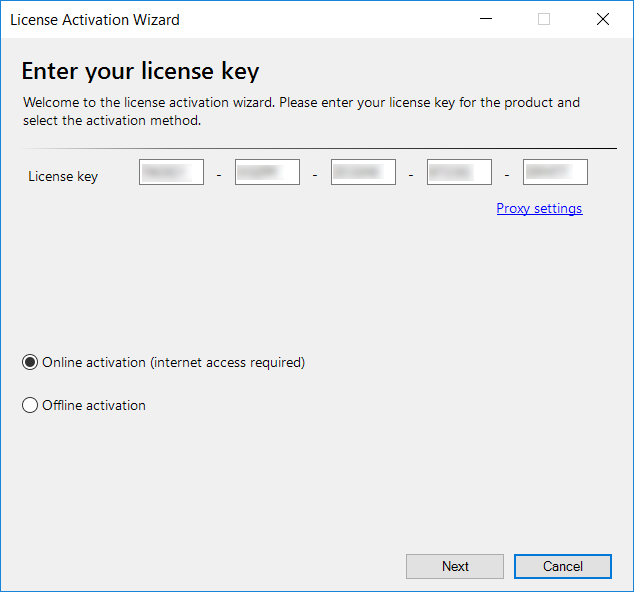
In the officeGATE Settings dialog click on  About tab ⇒ License button. In the License details window your actual license details will be shown. If you click Change license option the License Activation Wizard window will open. Here you can activate a new license key for the product. If you previously used a free version of officeGATE and now you decided to use Premium version then you need to activate the new license key right here.

There are two options how to activate a license key:

- If you choose online activation (internet access is required) – click Next and your license will be activated automatically.
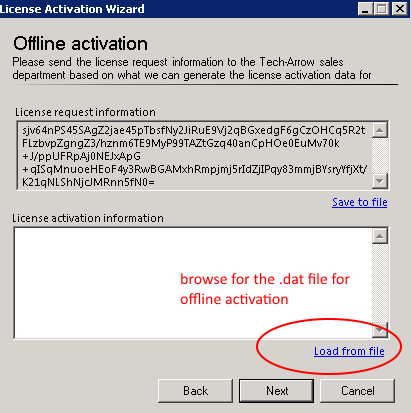
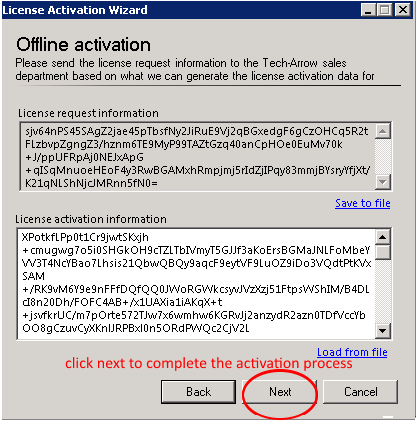
- If you choose offline activation (no internet access is required) – click Next and send the license request information from the textbox below to the TECH-ARROW sales department. You can simply copy the License request information text directly to the email or you can save the information via Save to file option in .dat format and send the request as an attachment. TECH-ARROW sales department will generate the activation data for you. Once the sales department delivered back the .dat file for you, click Load from file option under the License activation information box on right side and upload .dat file that you have received. Click Next and the license key will be successfully activated.


Help Guide Powered by Documentor
