officeGATE Manual – version 5.4

  1. Introduction to officeGATE
    1. Key features
    2. Software requirements
  2. Getting started
    1. Single installation of officeGATE
    2. Installation of officeGATE in a distributed company environment using Group Policy
    3. XML distribution with GPO in distributed company environment
  3. Launching officeGATE
    1. officeGATE pane’s overview
  4. Connection Settings
    1. Enabling/ disabling providers
    2. Connecting to providers
      1. Connecting to contentACCESS
      2. Connecting to third -party DMS providers (Datengut, Perceptive)
      3. Connecting to SharePoint site(s)
      4. Connecting to Dropbox
      5. Connecting to OneDrive
  5. General officeGATE settings
  6. Offline file access settings
    1. Enabling offline file access
    2. Selecting items for offline access
    3. Updating the offline items based on the online changes
    4. Disabling offline access
    5. Interrupted manual and automated synchronizations
  7. License key activation
  8. Handling with documents using officeGATE
    1. Setting favorites
    2. View selection: Tree view, List view, Collapse all
    3. Searching in officeGATE
      1. Search query language
    4. Working with nodes and files using the context menu
      1. Open contentACCESS Portal
      2. Online opening and editing of files directly from officeGATE
      3. Sending files as attachments
      4. Sending ZIP file
      5. Saving document(s) locally
      6. Copying/pasting document(s)
      7. Deleting document(s)
      8. Renaming document(s)
      9. Creating folder(s)
      10. Uploading new file(s)
      11. Folder refresh/provider refresh
      12. Sharing files and folders directly from MS Outlook
        1. Sharing with contentACCESS version 4.2 or older
        2. Sharing with contentACCESS version newer than 4.2
        3. Modifying sharing settings and checking sharing status
    5. Drag&Drop actions
      1. Attaching files to email message
      2. Uploading emails/attachments directly from the mailbox
      3. Manual email archiving using contentACCESS
    6. Handling emails – archive, restore, search
    7. SharePoint data handling
      1. Outlook calendar entry creation
    8. Teams data handling
  9. Troubleshooting

8.6.Handling emails – archive, restore, search

It is possible to archive, restore and search your archived emails directly from your MS Outlook.
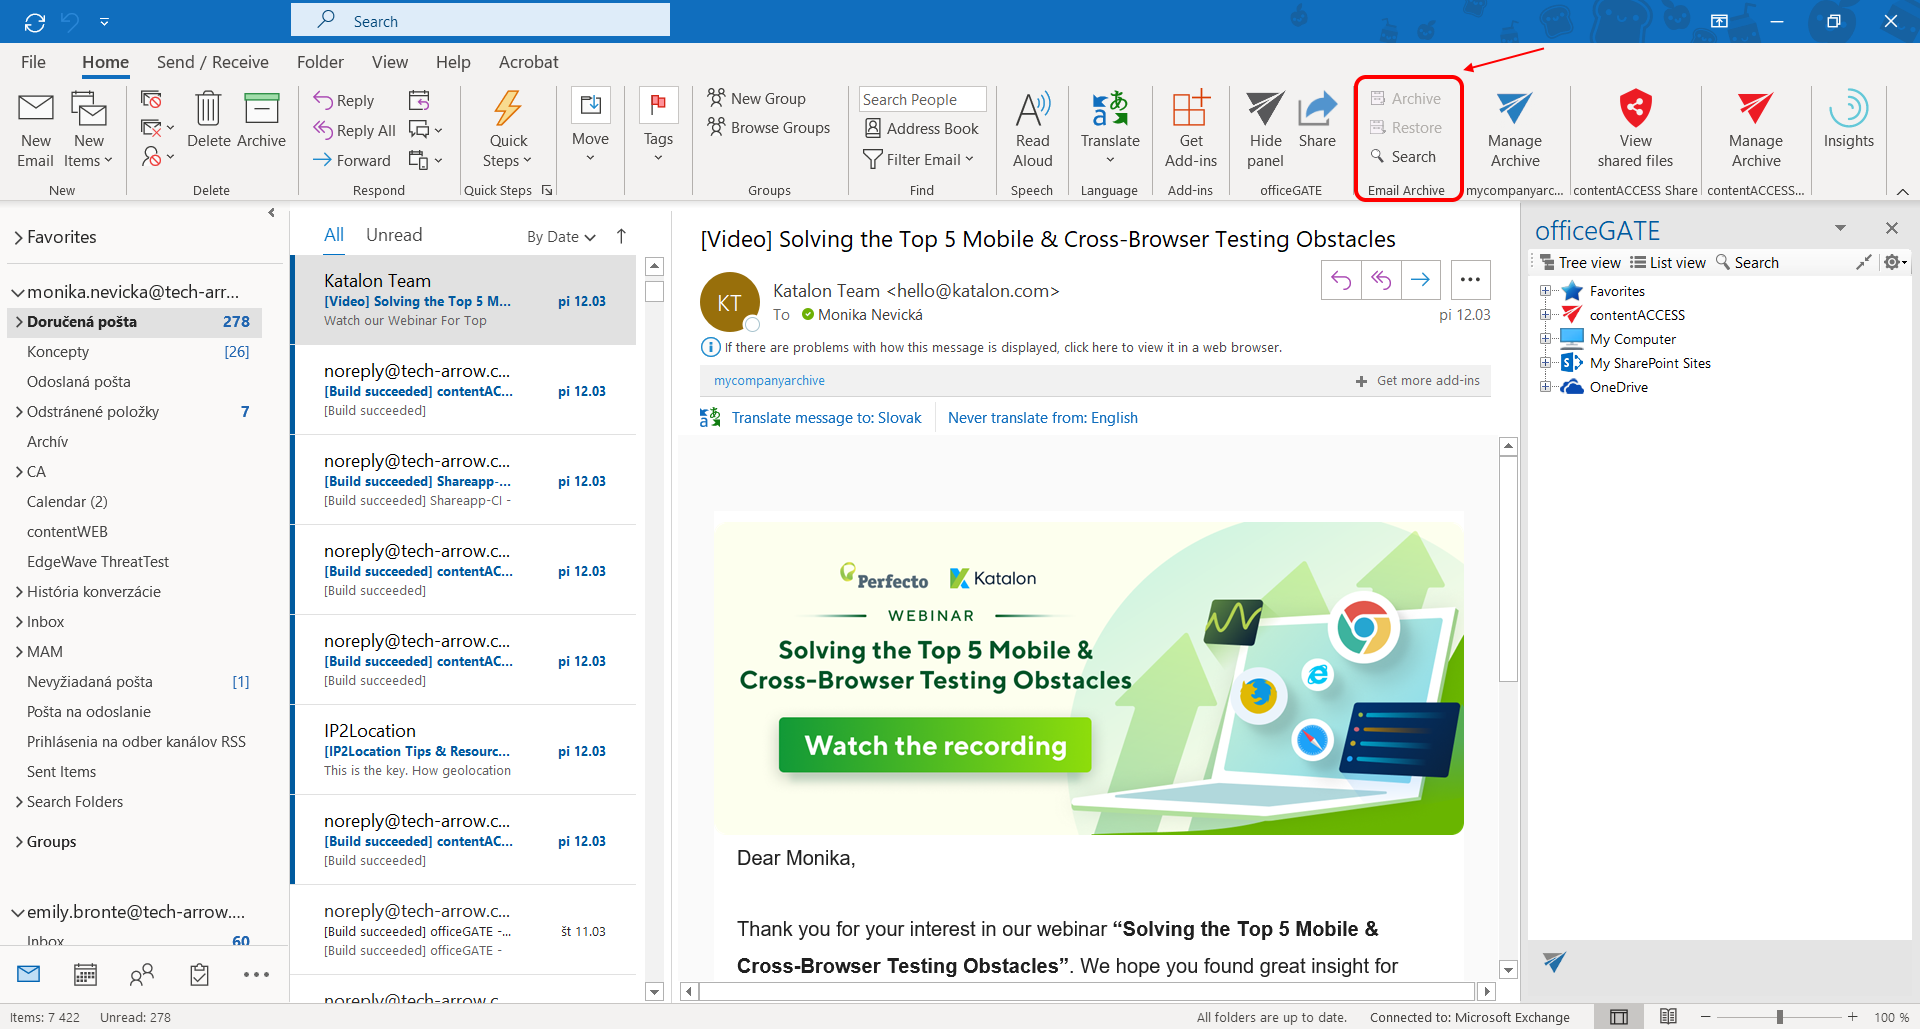
If you want to use this function, the following steps must be completed first:

  • officeGATE must be connected with contentACCESS
  • Email archive must be configured for the selected mailbox
  • Email archive job must be run at least once before for the mailbox
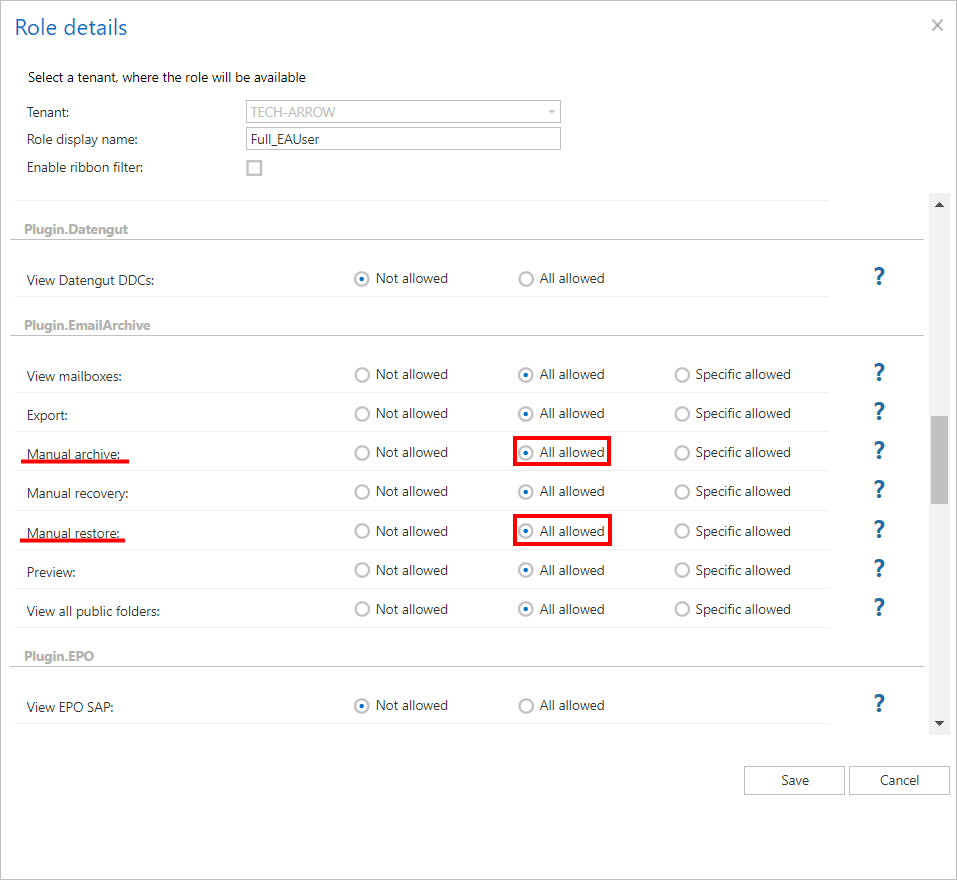
  • The signed in user must have the following permissions allowed in his role in contentACCESS

If the mail has been archived before, the option Archive will be disabled and Restore enabled (screenshot A). If the mail hasn’t been archived yet, the Restore option will be disabled and Archive enabled (screenshot B). When archiving an item, properties set for the mailbox in the Address book will be applied to the mail.

Screenshot A

Screenshot B

Note: For more information about email archiving and restoring, please check these sections : archive, restore.

Note: The Split attachments option is active (checked) by default. That means that the body of the email and the attachment are stored separately. If the email message containing attachments has been archived by a job, where this option was not checked, our apps (MailApp, officeGATE, contentACCESS Mobile) will show 0 attachments. However, if you open the original email, the attachments are shown.
Documentation373

If this option was checked, but the email was containing embedded email (.msg attachment), this embedded email won’t be displayed between the attachments in our apps.

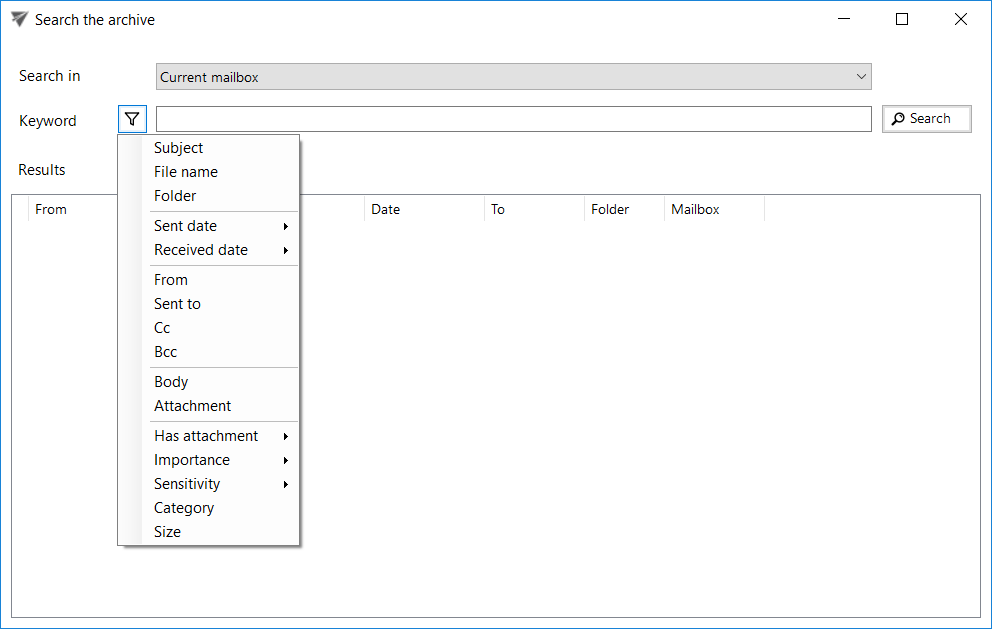
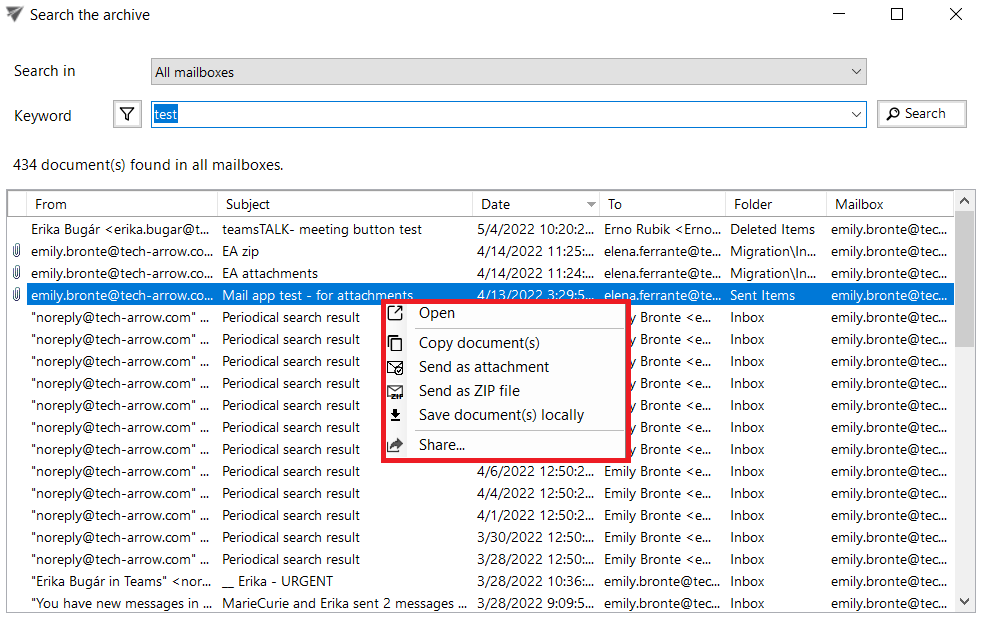
If you want to search for emails, they must be archived and processed by the indexing job before. After clicking on the Search option, a pop-up window opens.
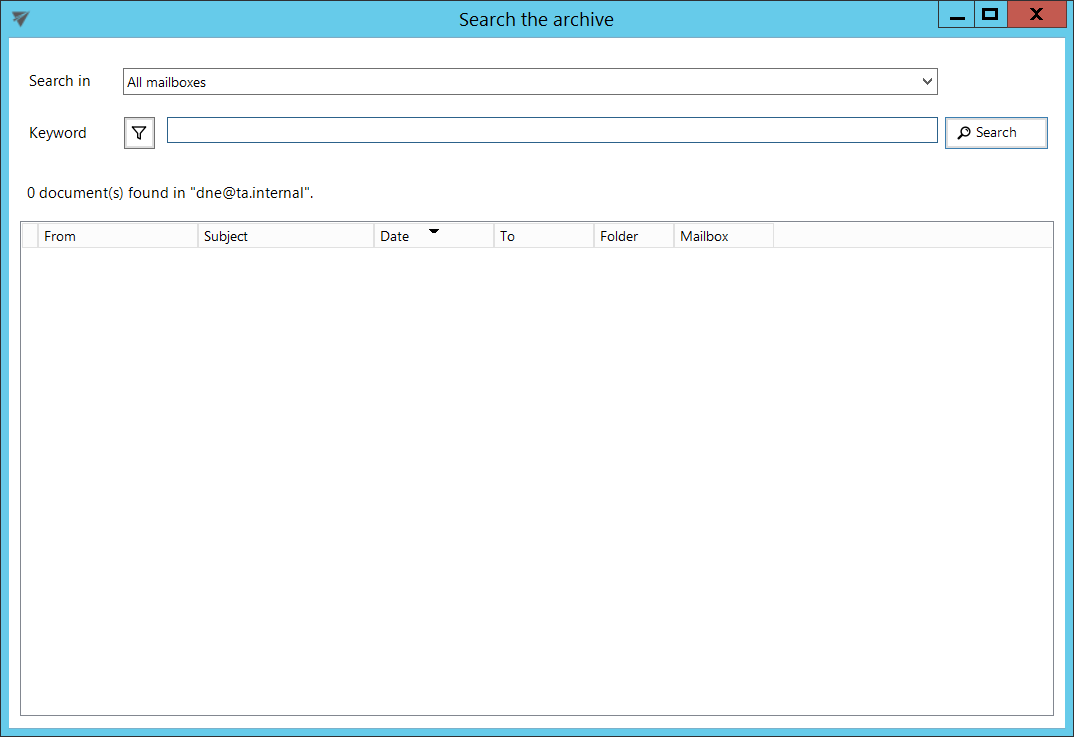
In the Search in dropdown list, it is possible to select from the following options:

To specify the properties to be searched for, click on the Search refinement icon.

After clicking on an option, it will be added to the Keyword list and you can define it.
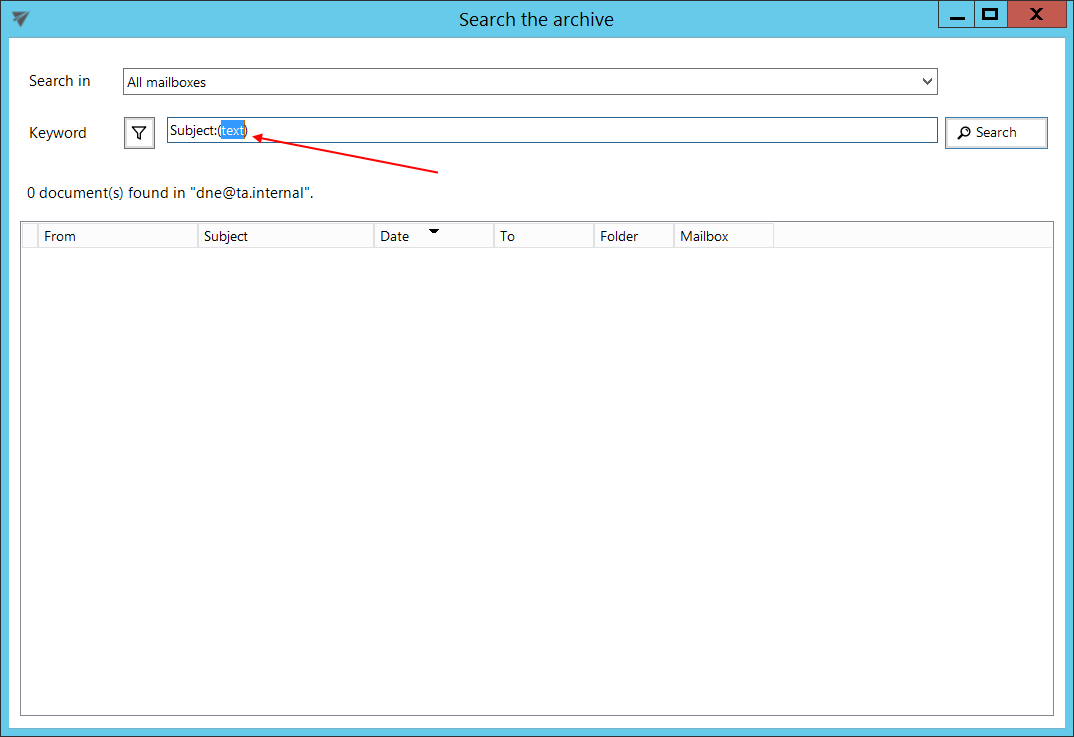
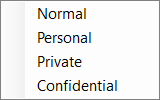
Sent date, Received date, Has attachment, Importance and Sensitivity do not need to be specified manually, you can choose one from the predefined options.
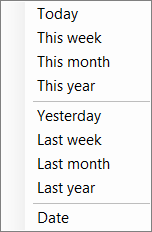
Screenshot : Sent date/Received date options

Screenshot : Has attachment options

Screenshot : Importance options

Screenshot : Sensitivity options

It is possible to sort the search results by sender (from), subject, sent date (date) or recipient (to).
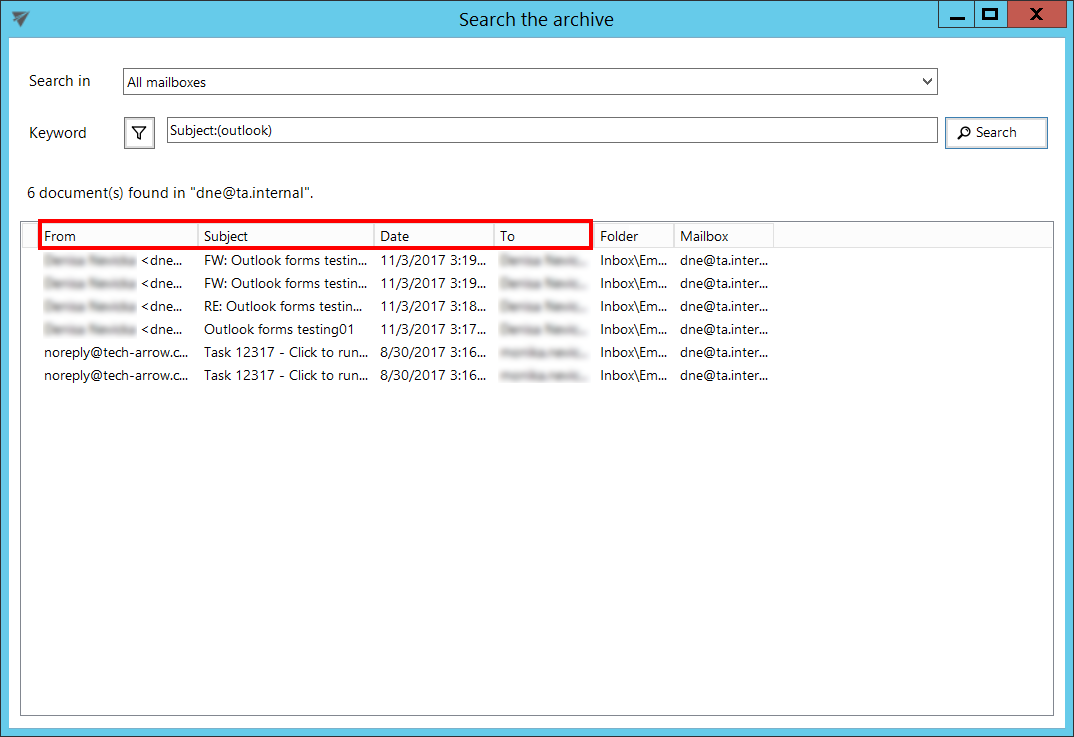
It is possible to process the search results further using the context menu.
Yes No Suggest edit
Help Guide Powered by Documentor
Suggest Edit