officeGATE Manual – version 6.0

  1. Introduction to officeGATE
    1. Key features
    2. Software requirements
  2. Getting started
    1. Single installation of officeGATE
    2. Installation of officeGATE in a distributed company environment using Group Policy
    3. XML distribution with GPO in distributed company environment
  3. Launching officeGATE
    1. officeGATE pane’s overview
  4. Connection Settings
    1. Enabling/ disabling providers
    2. Connecting to providers
      1. Connecting to contentACCESS
      2. Connecting to third -party DMS providers (Datengut, Perceptive)
      3. Connecting to SharePoint site(s)
      4. Connecting to Dropbox
      5. Connecting to OneDrive
  5. General officeGATE settings
  6. Offline file access settings
    1. Enabling offline file access
    2. Selecting items for offline access
    3. Updating the offline items based on the online changes
    4. Disabling offline access
    5. Interrupted manual and automated synchronizations
  7. License key activation
  8. Handling with documents using officeGATE
    1. Setting favorites
    2. View selection: Tree view, List view, Collapse all
    3. Searching in officeGATE
      1. Search query language
    4. Working with nodes and files using the context menu
      1. Open contentACCESS Portal
      2. Online opening and editing of files directly from officeGATE
      3. Sending files as attachments
      4. Sending ZIP file
      5. Saving document(s) locally
      6. Copying/pasting document(s)
      7. Deleting document(s)
      8. Renaming document(s)
      9. Creating folder(s)
      10. Uploading new file(s)
      11. Folder refresh/provider refresh
      12. Sharing files and folders directly from MS Outlook
        1. Sharing with contentACCESS version 4.2 or older
        2. Sharing with contentACCESS version newer than 4.2
        3. Modifying sharing settings and checking sharing status
    5. Drag&Drop actions
      1. Attaching files to email message
      2. Uploading emails/attachments directly from the mailbox
      3. Manual email archiving using contentACCESS
    6. Handling emails – archive, restore, search
    7. SharePoint data handling
      1. Outlook calendar entry creation
    8. Teams data handling
  9. Troubleshooting

2.1.Single installation of officeGATE

  1. Download the setup package (.exe).
  2. Select the language for installation from the available languages:

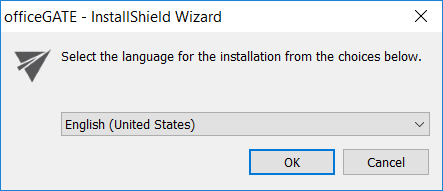
    Hint: By The Group Policy instlallation only the English language is supported. For detailed information about GPO installation refer to chapter Installation of officeGATE in a distributed company environment using Group Policy of this guide.

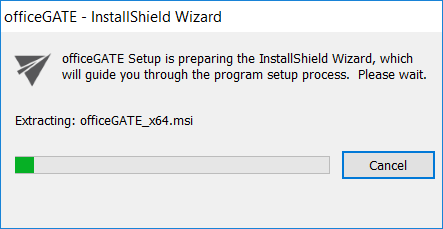
  3. Run the setup package and follow the on-screen instructions.

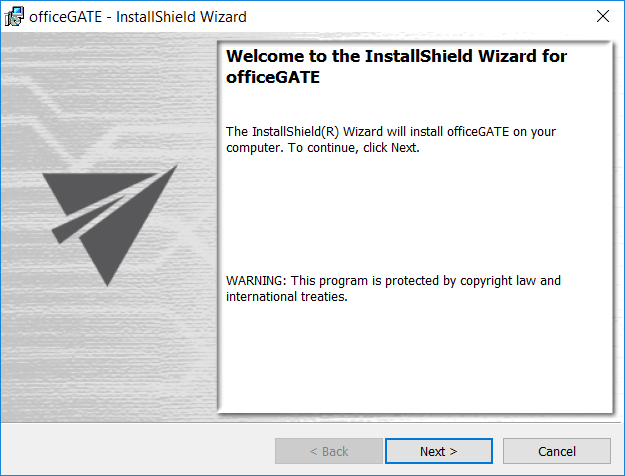
  4. The officeGATE InstallShield Wizard will appear as shown on the screen below. Click Next.

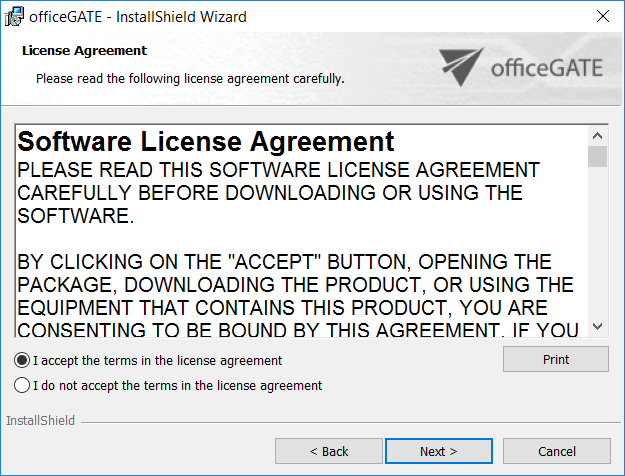
  5. In the next step click on I accept the terms in the license agreement radio button and click Next.

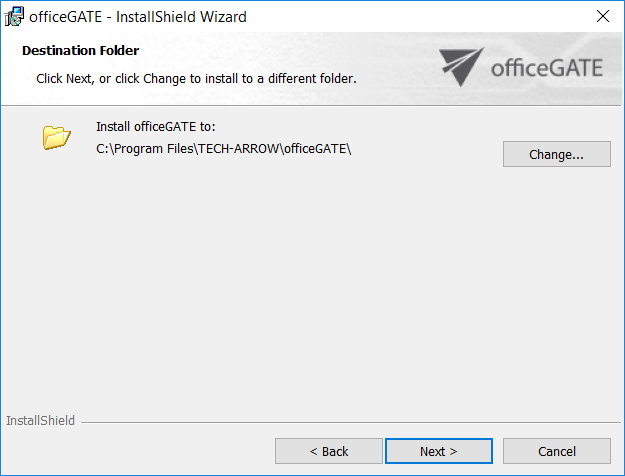
  6. Choose the destination folder where officeGATE will be installed on your PC and click Next.

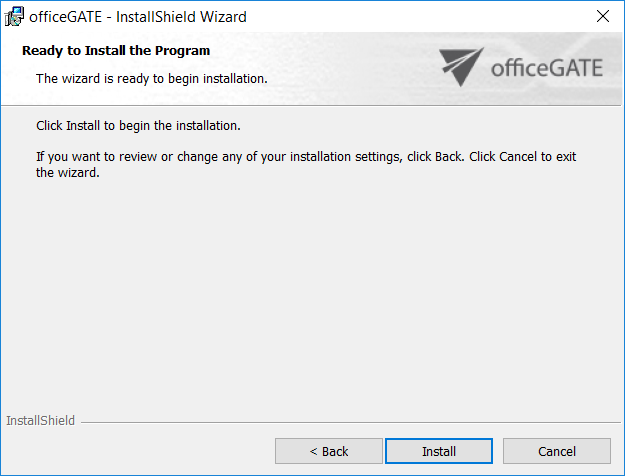
  7. Click Install and then Finish to complete the installation process.


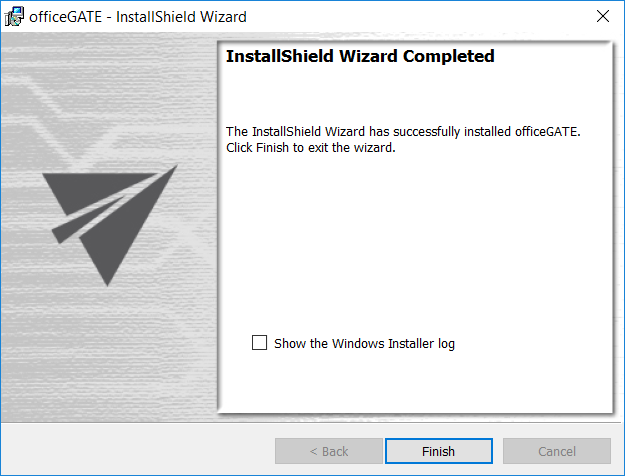
The last window of the installation process will offer for the user to open the Windows Installer log. Wish you check it, mark the “Show the Windows Installer log” checkbox. In case you would not like to open it leave this checkbox empty.

When the installation is complete, open officeGATE in MS Outlook. If MS Outlook was originally opened a restart of MS Office after installation is needed.

If you downloaded and installed the officeGATE setup from the central Administration, then the following two sections will help finish the process. If you bought the officeGATE from the store and installed it from the Download Center, enter and activate the license key, and you all set.

Yes No Suggest edit
Help Guide Powered by Documentor
Suggest Edit