7.3.Searching in officeGATE
By using the search filter the user may quickly find the document what he is looking for. Searching among files stored in the respective officeGATE providers is provider specific. This means, that officeGATE search uses the search engine(s) of the respective provider. Search button is located in the header part of the officeGATE pane.
It is possible to search
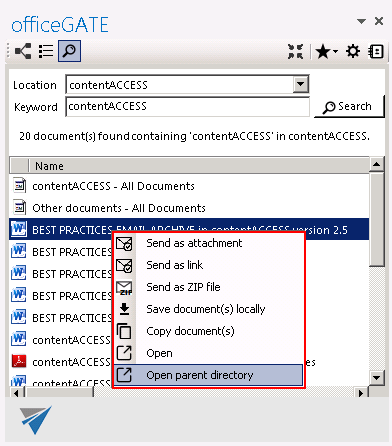
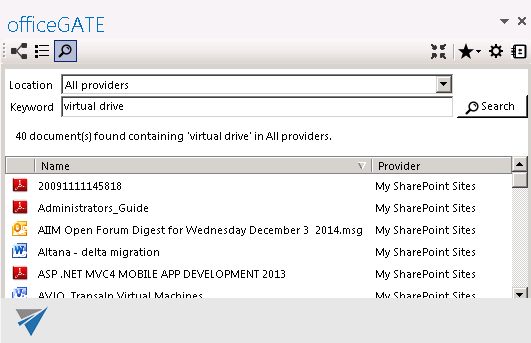
a) In all available (available=connected) providers ⇒ in this case select the “All providers” from the “Location” dropdown list, specify the keyword and click “Search“. 3 columns will be listed as a result; a column with icons, a column containing the name of the documents and the last column containing the respective provider (in case of contentACCESS the model name is also visible).
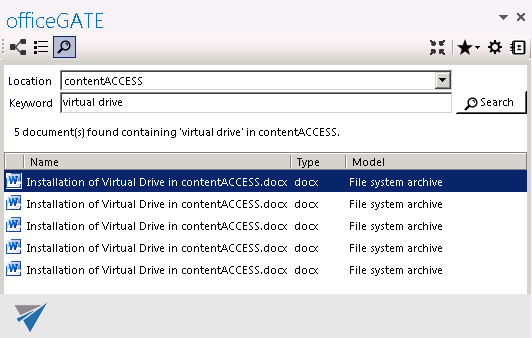
b) In one of the connected providers ⇒ in this case select the desired provider from the “Location” dropdown list, enter the demanded keyword and click “Search”.
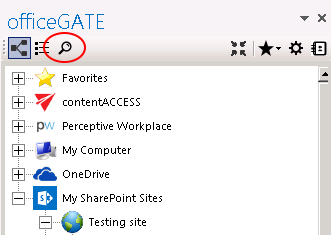
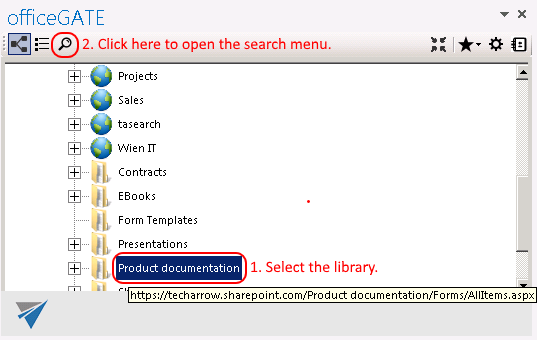
c) In the selected node’s content (node=folder or library) ⇒ In this case locate the desired folder/library in the tree view and click on it. Then click on the magnifier mark in the pane to open the search page. The Location will be already preselected. Specify the keyword and click “Search”.
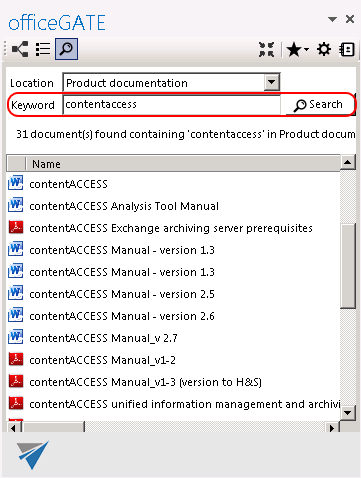
The following use case will demonstrate how to search for contentACCESS guides in the “Product documentation” SharePoint library. Select the “Product documentation” library under the SharePoint node, and click on the magnifier mark ( ):
):
Searching on the local disks – indexing options
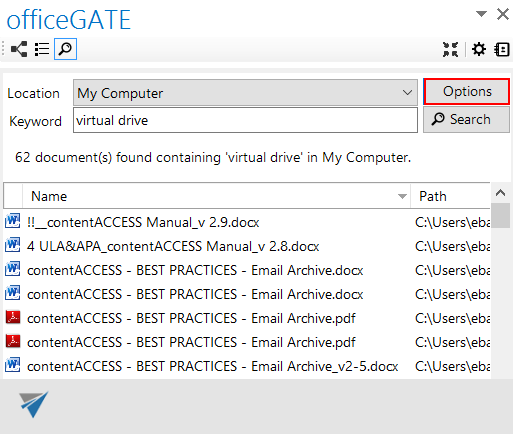
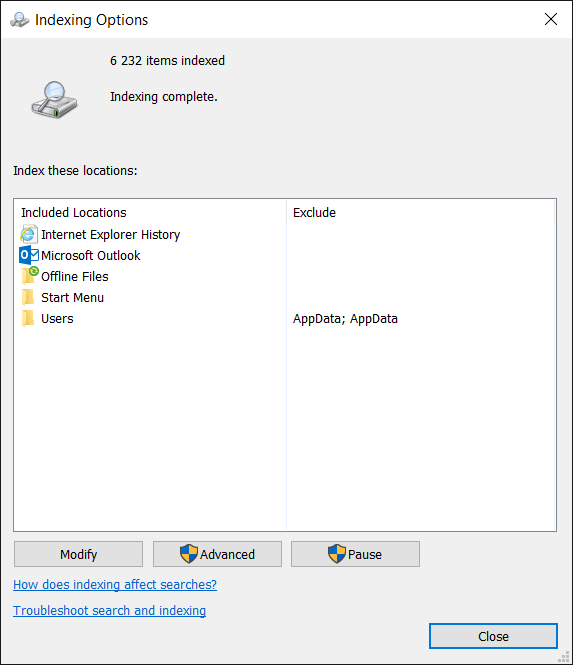
If the user selects My Computer from the Location dropdown list (i.e. he is searching for a document that is located on a local disk) the “Options” button appears on the search page. With clicking on this button the user may check the local disks that are already indexed.
