5.1.Analyze
If the Azure application was successfully registered previously, you are ready to analyze your SharePoint data.
At first, a quick introduction page appears on the Analyze tab, where you can see the high-level steps to set up the analysis. Here, the following three actions are available:
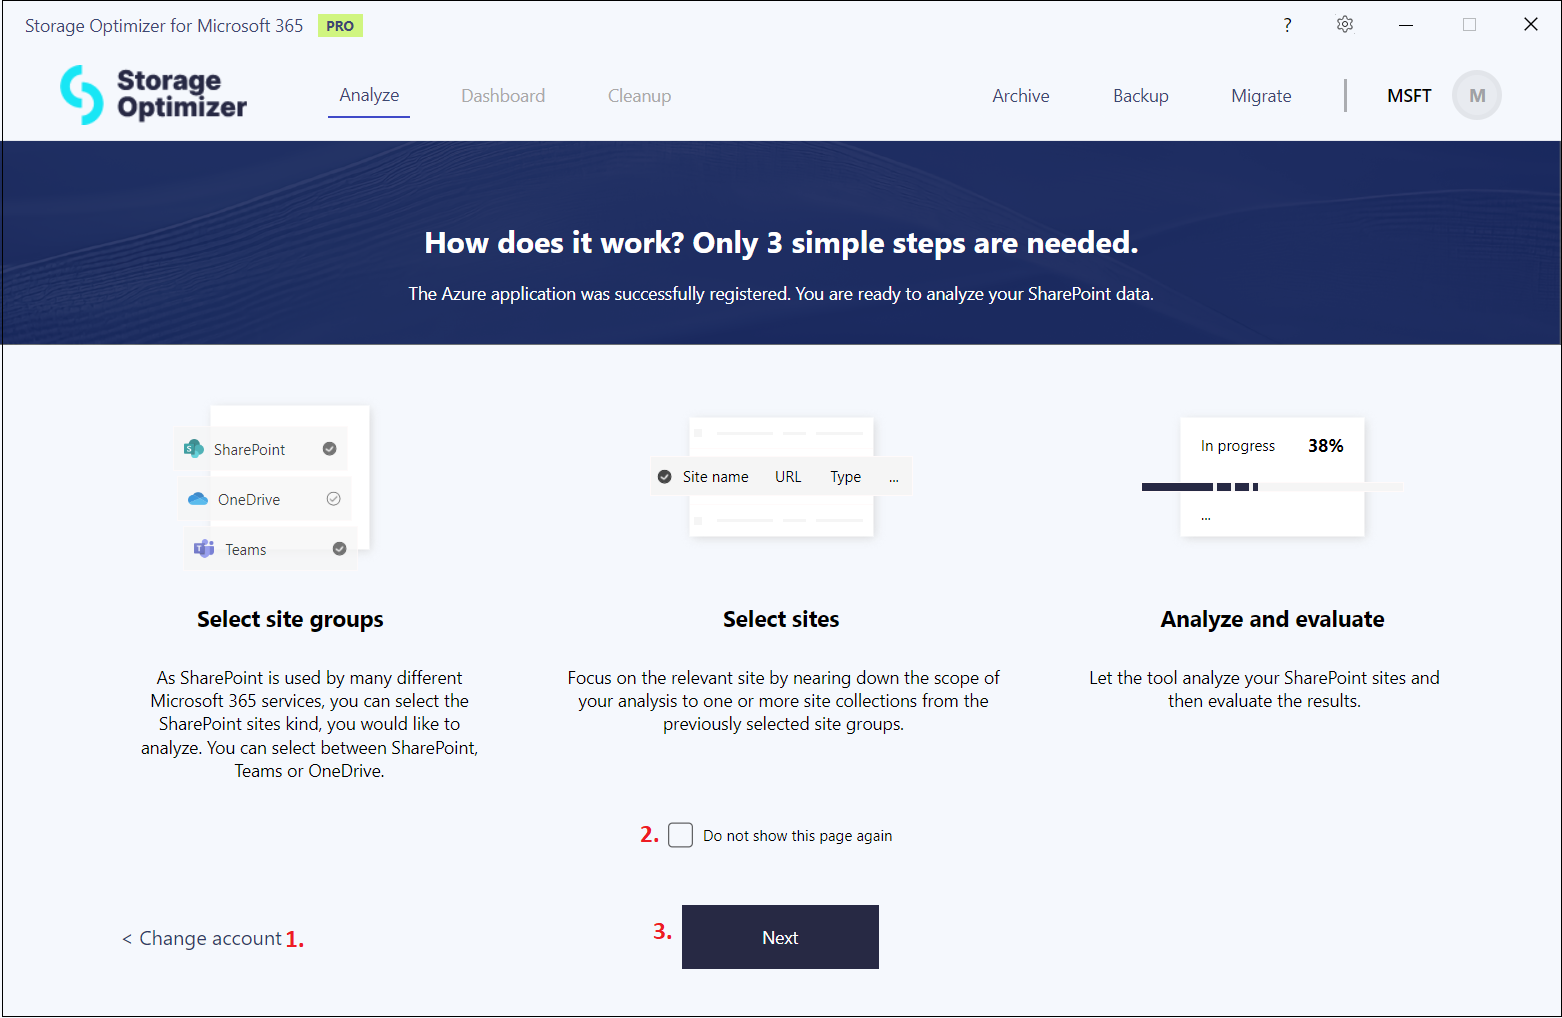
- Change account – if you wish to log in with another account, click this button. It will lead you to the starting page, where you can connect to the desired Microsoft 365 account.
- Next – by clicking this button, you will be redirected to the next page, where you will see three main categories – SharePoint, OneDrive or Teams – which can be selected for the analysis.
- “Do not show this page again” checkbox – you can skip this introduction page by selecting this checkbox before hitting the Analyze page.
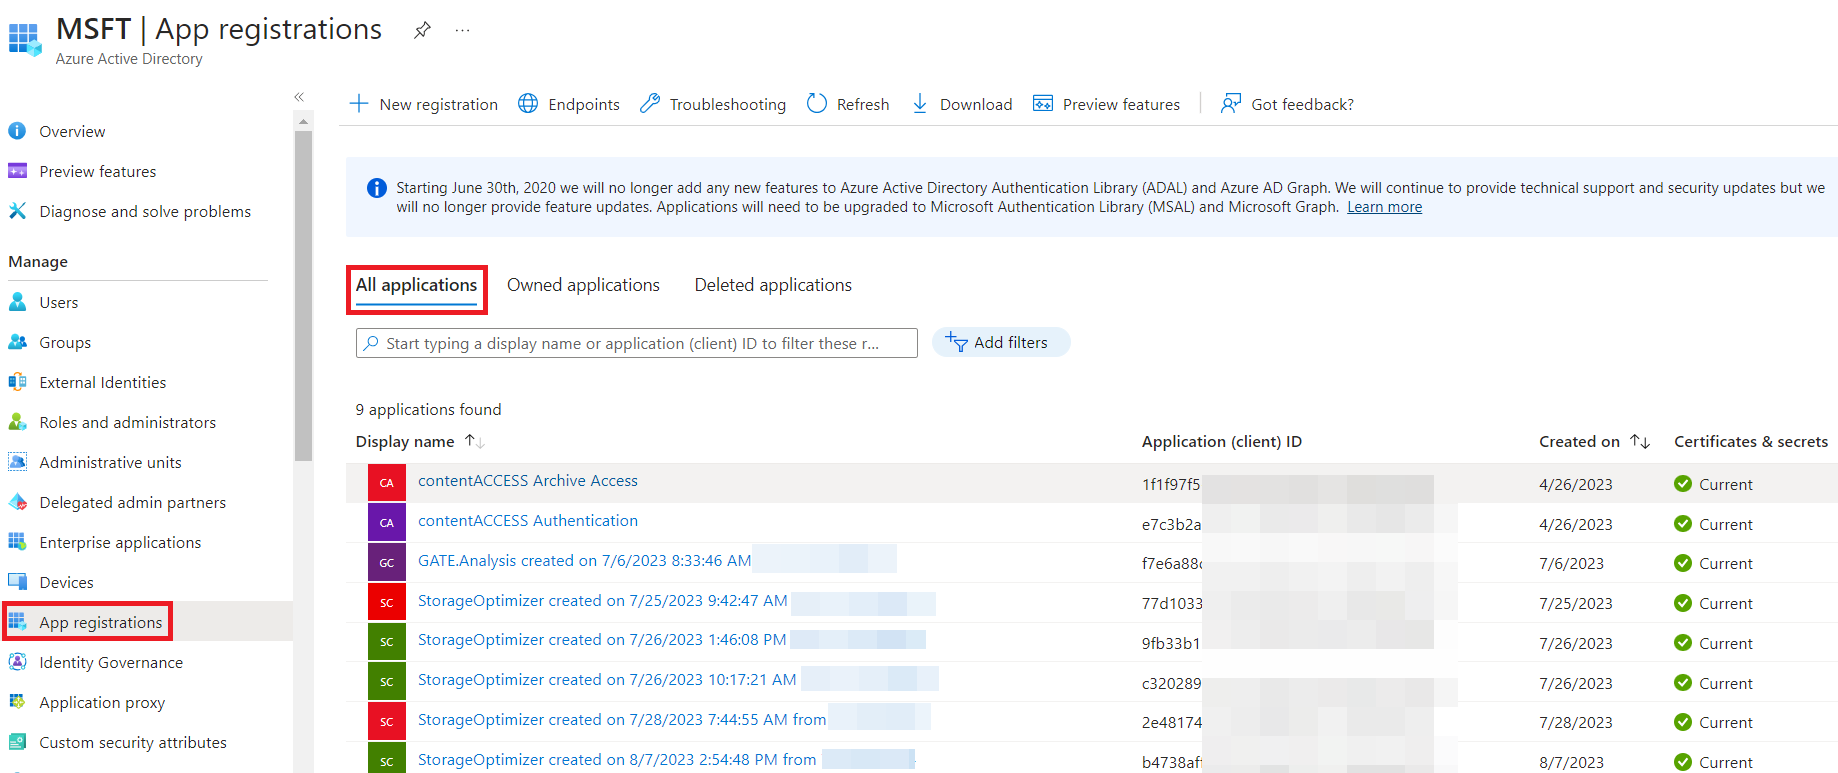
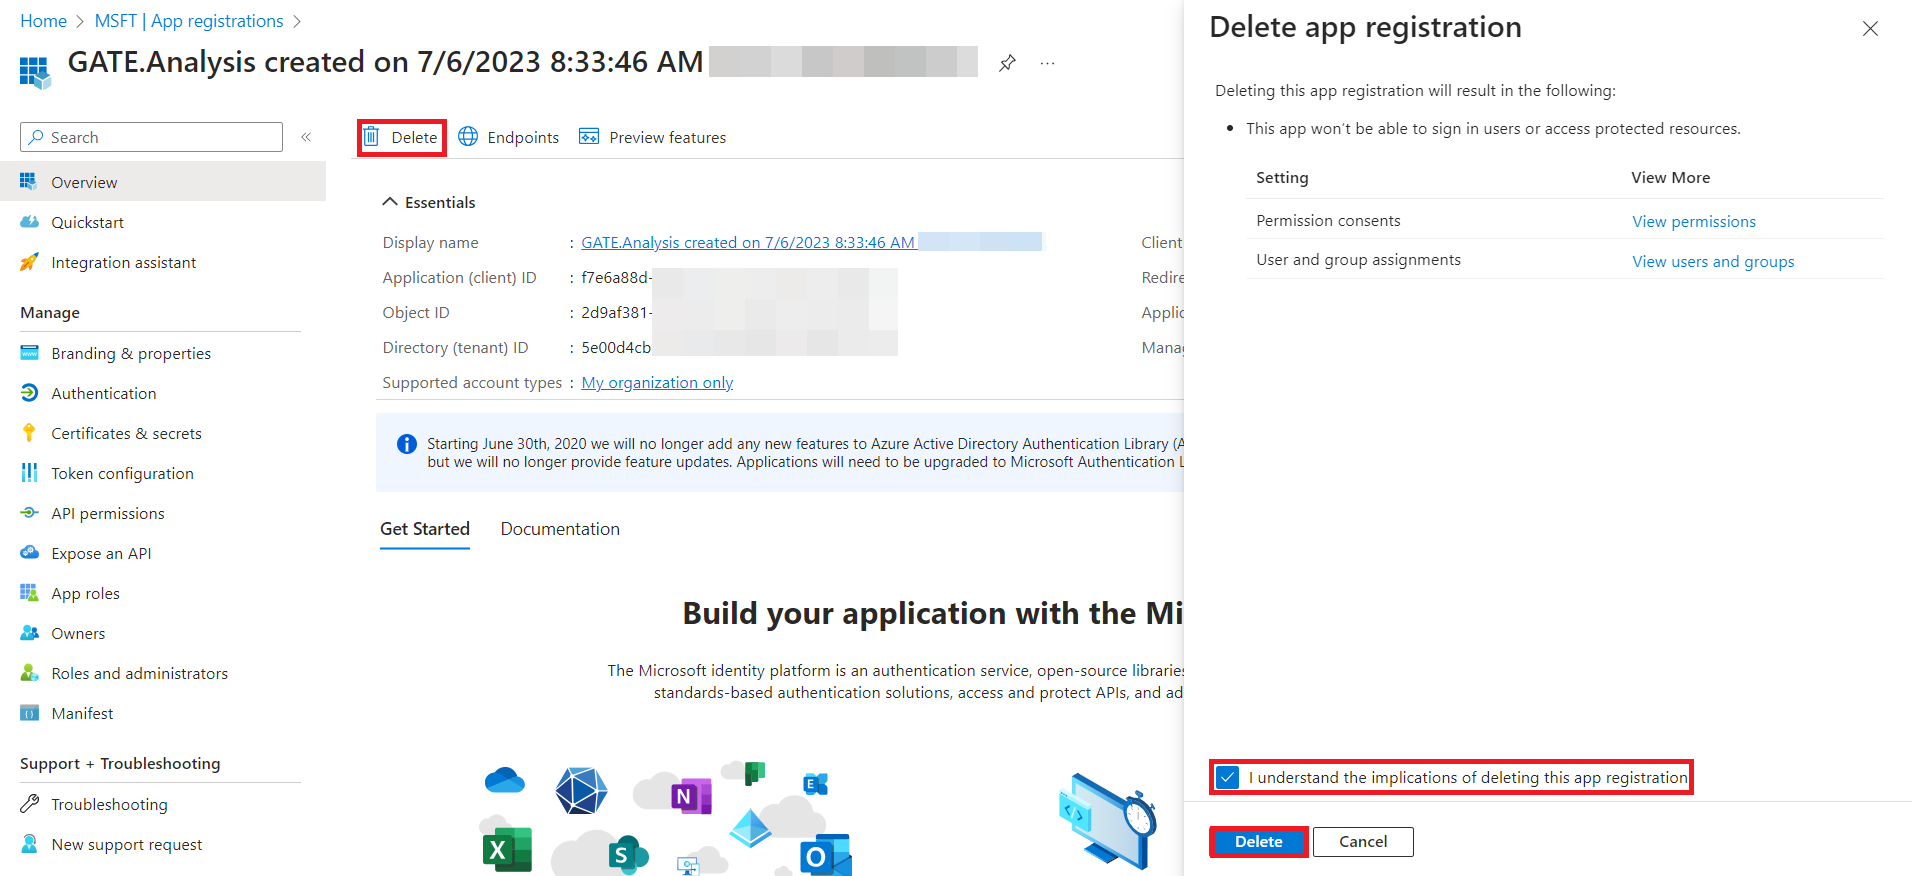
To ensure clarity and currency, it is advisable to eliminate outdated applications from the list. To achieve this, initiate the process by launching the application slated for removal, followed by the selection of the ‘Delete‘ option. Within the ‘Delete app registration‘ tab, check the ‘I understand the implications of deleting this app registration‘ checkbox, and confirm the deletion by clicking the designated button.
By clicking on the Next button, you will see the Site groups page on the Analyze tab. Here, you can decide which site groups you wish to analyze. The options are grouped by types:
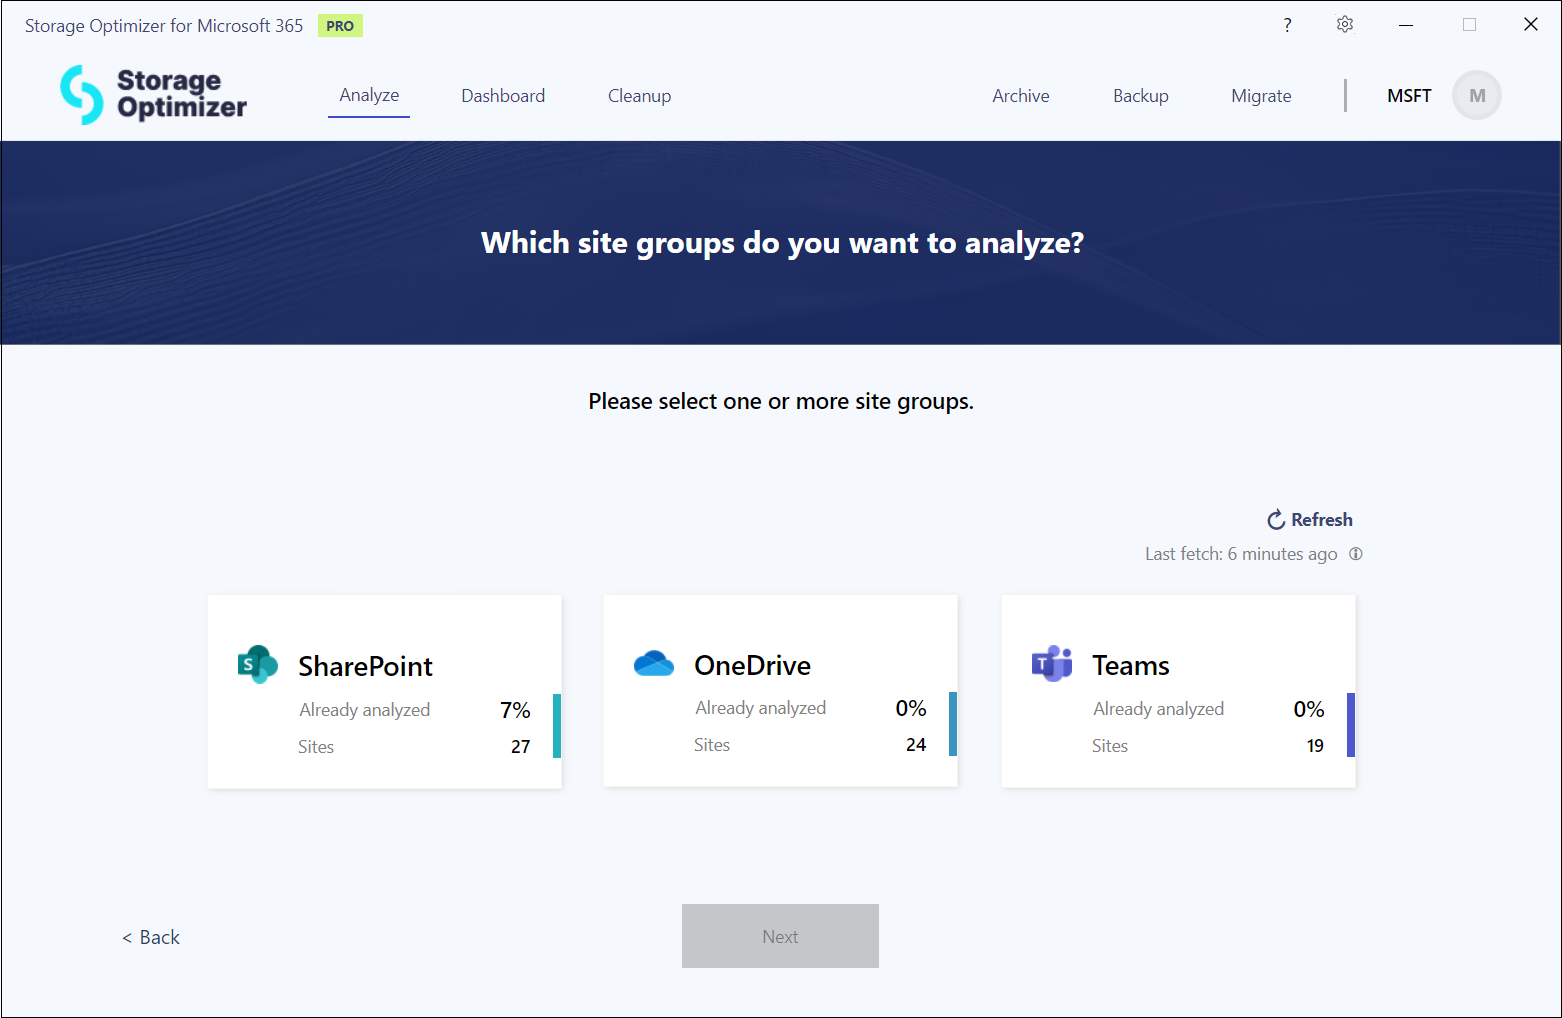
- SharePoint – regular SharePoint sites
- OneDrive – sites, where the user’s OneDrive files are stored
- Teams – SharePoint sites behind Teams and channels
You can select single or multiple categories on the page. For all site groups, the following information is displayed in the groups’ boxes:
- Already analyzed – the state of the analysis, how many percent of the site collections in the group were already/previously analyzed
- Sites – the number of site collections in a group
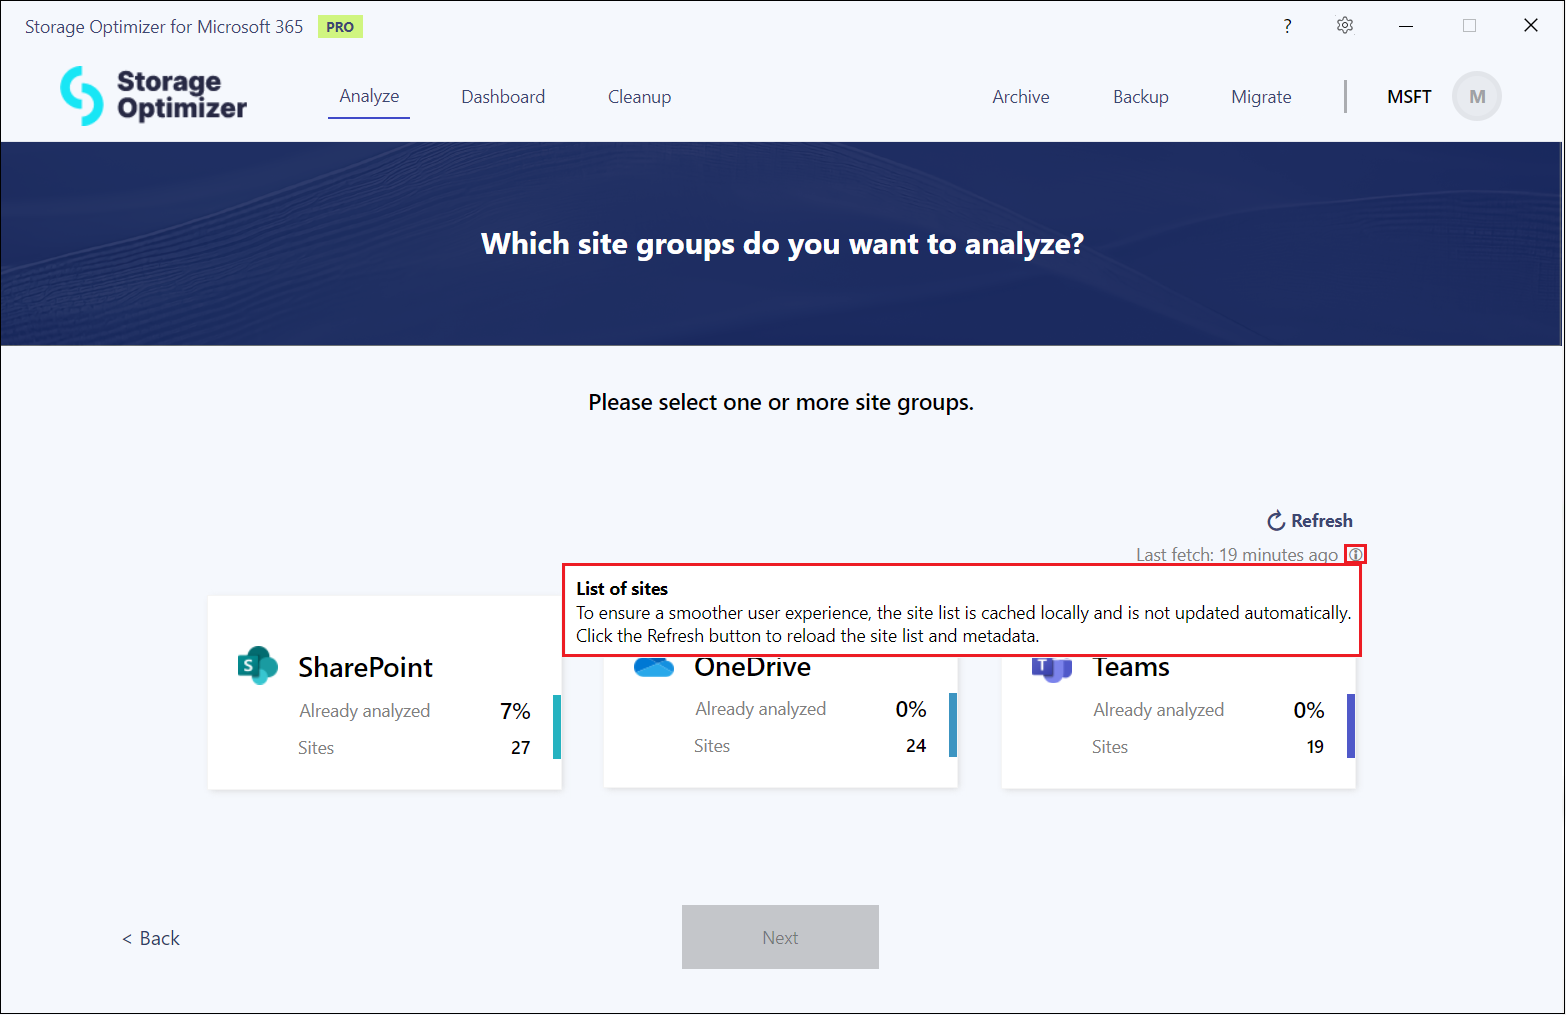
If you use the tool for the first time, the application fetches the list of available site collections automatically. To speed up the work with the application, this list is stored locally for later use. If you want to update this list (for example, a new site was added to SharePoint, or sites were deleted/renamed, etc.), the list of site collections needs to be refreshed. With the Refresh button, you can keep the site collections current.
Below the Refresh button, you can also check the date of the last fetching in the tool.
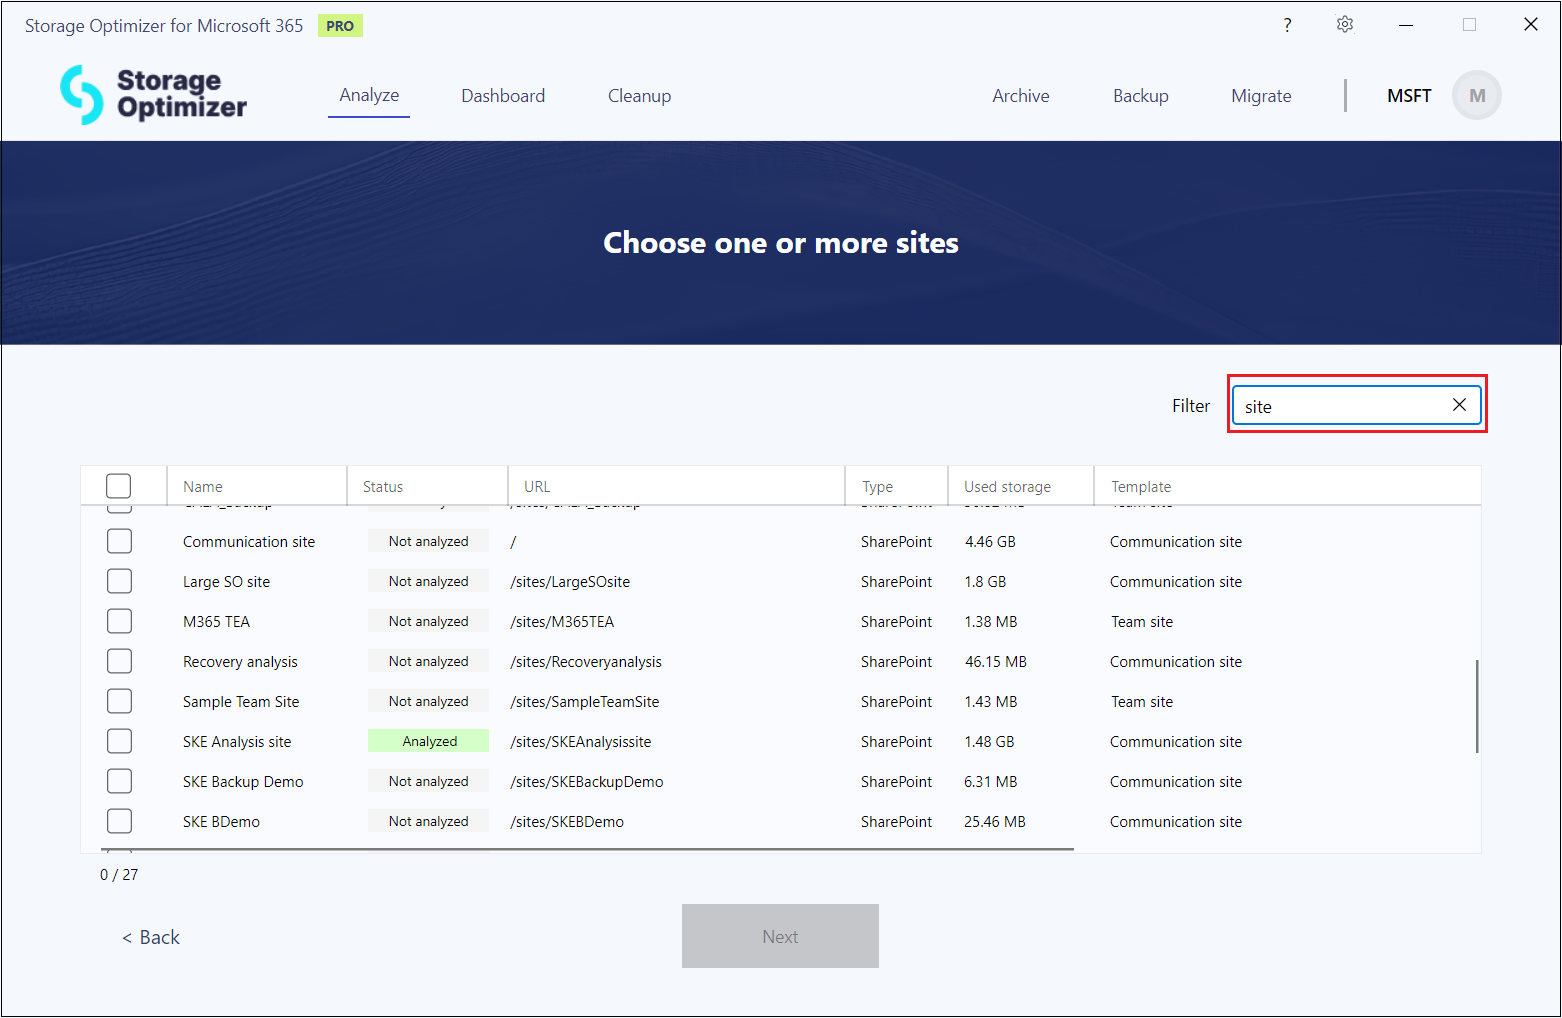
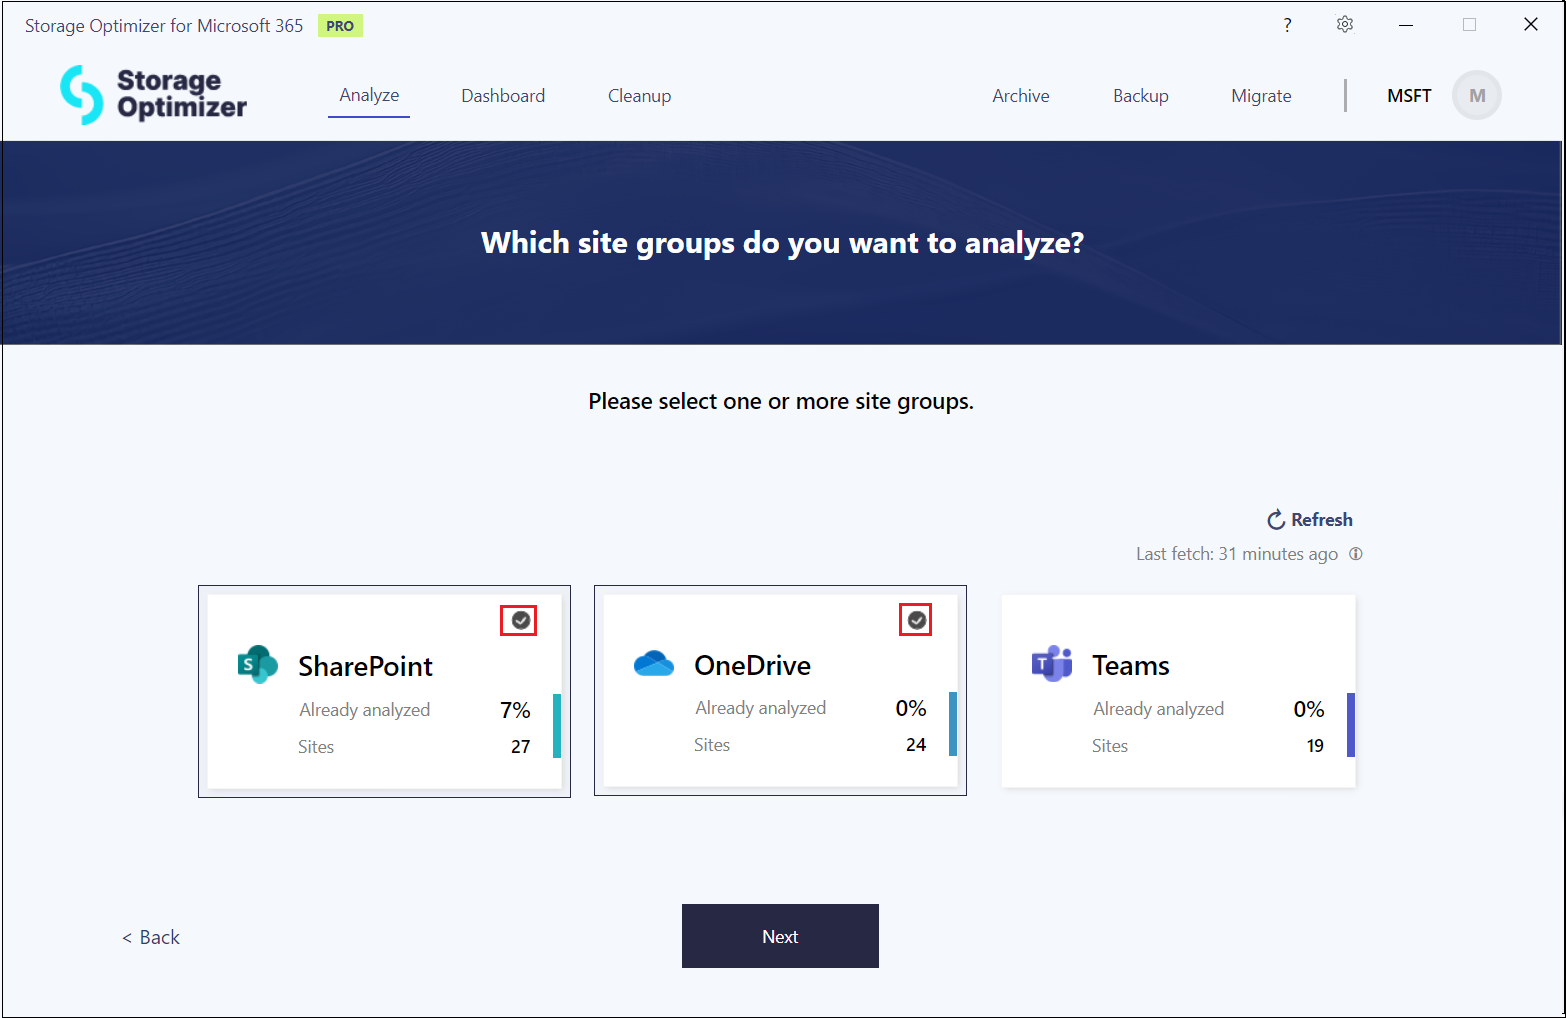
By clicking these categories, a list of SharePoint site collections will be filtered down for the selected category(ies). This list will contain all site collections you have permission to access. This list can be filtered, sorted and searched in all text-based properties.
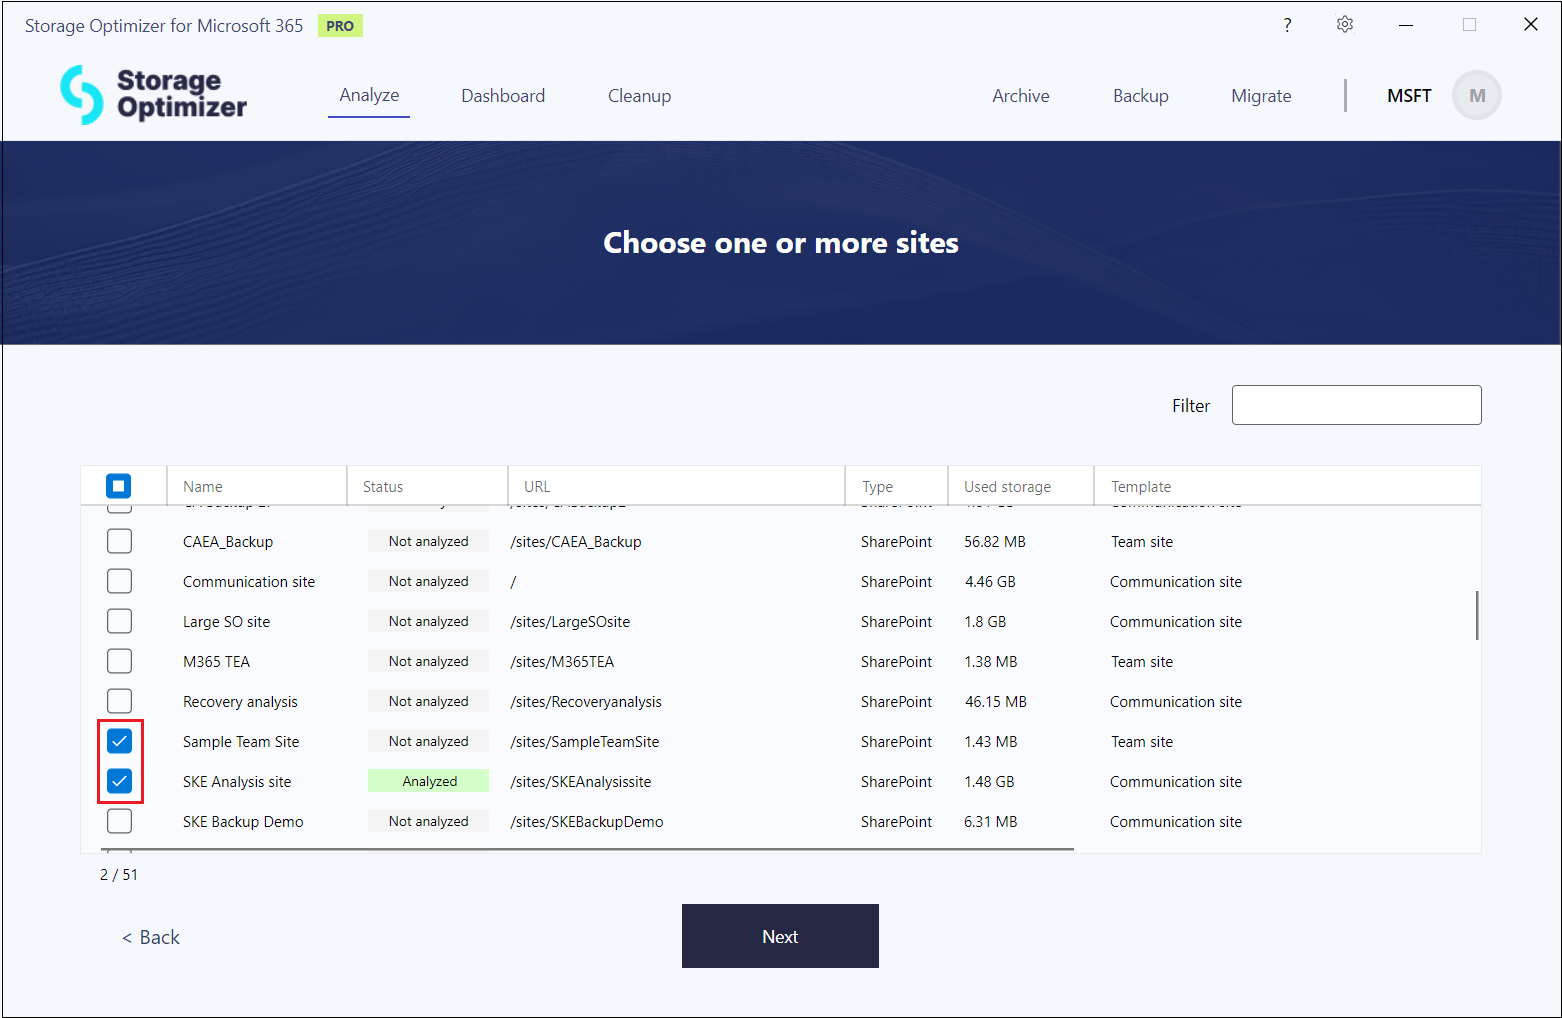
The site(s) selection allows you to either select only one or multiple sites at once for the analysis.
After choosing the wished sites, click Next. On the Summary page, an automated name is generated for the analysis (called scope), but you can rename this scope as needed. The scopes will be saved under the given name.
When you add a previously analyzed site into the new analysis, the ‘Update already analyzed sites‘ checkbox will become visible on the Summary page. This checkbox allows you to reanalyze the already analyzed data.
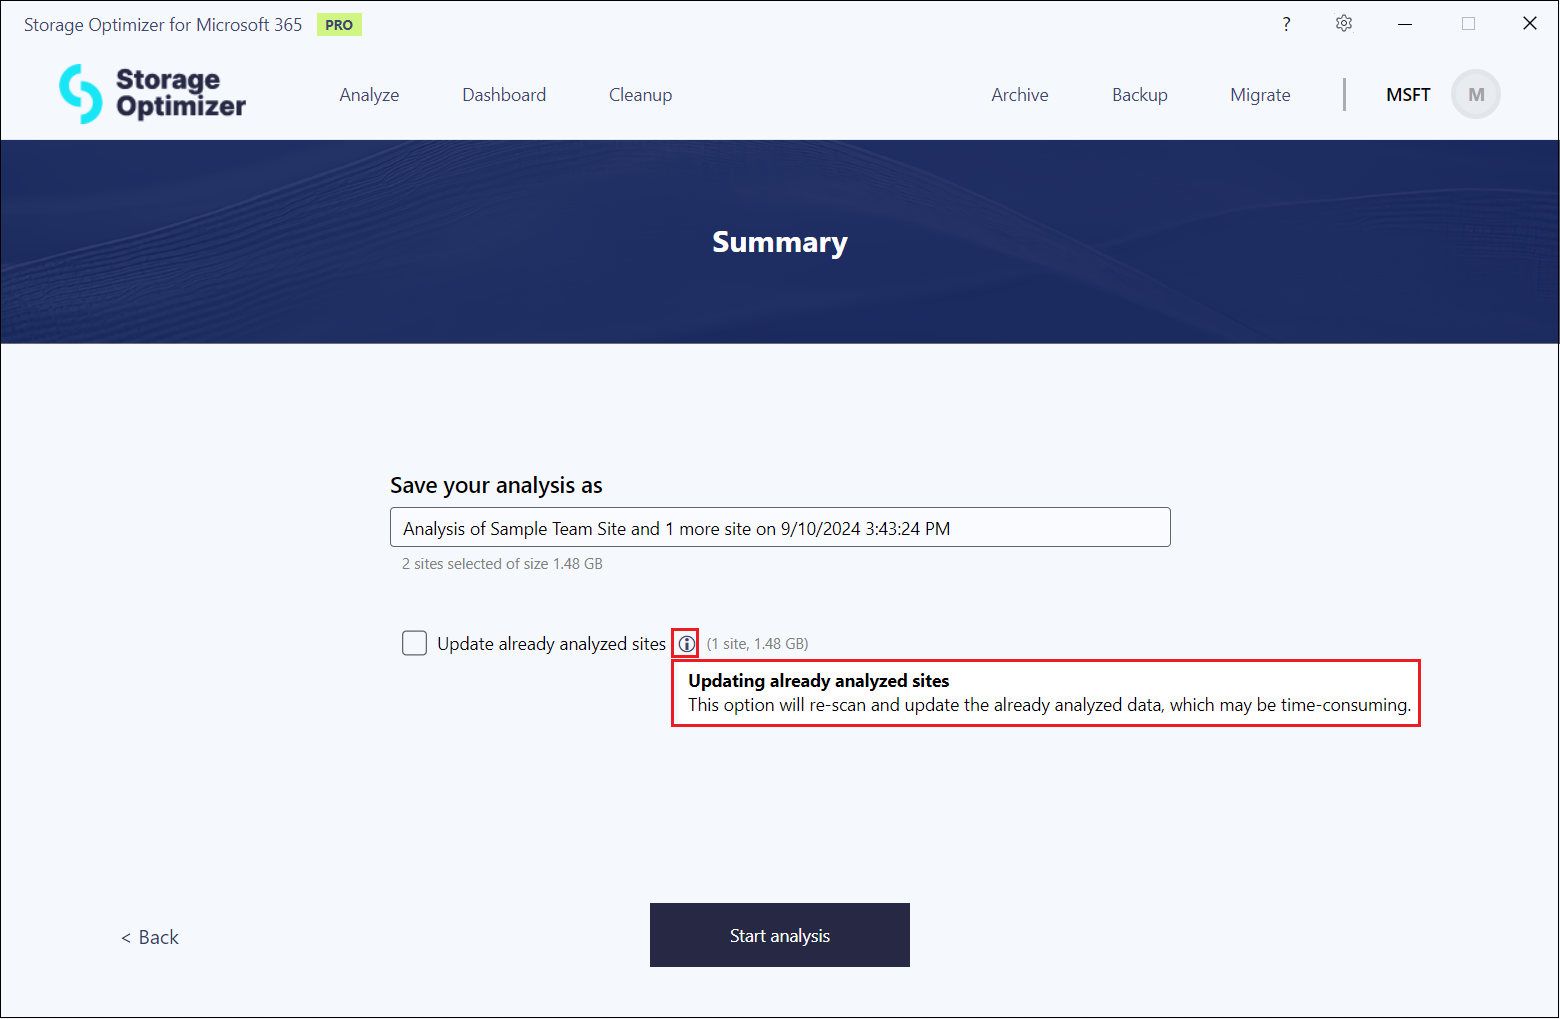
Once your scope is ready, click the Start analysis button, which will lead you to the Dashboard tab, where the analysis process can be followed, and you can check the analyzed data in a visual representation.

