5.3.Cleanup
The Cleanup function in the Storage Optimizer for Microsoft 365 tool helps you efficiently manage and optimize your storage by removing unnecessary data. Whether you’re dealing with old files, excessive document versions, or a cluttered recycle bin, the Cleanup function provides a straightforward way to free up space and maintain an organized environment.
The cleanup process is broken down into the following steps:
1. Selecting an analysis
First, you’ll be prompted to choose an analysis from a dropdown menu. This analysis determines which sites will be available for cleanup. The “Next” button will become active once you’ve made your selection, allowing you to proceed to the next step.
![]()
2. Choosing site groups
Next, you’ll select the site groups you want to clean up: SharePoint, OneDrive, or Teams. Each group shows the number of sites that have already been fully analyzed. You can select one or more groups based on your needs before moving forward. Each option has a checkbox in the upper right corner to select or deselect the group.
![]()
3. Selecting specific sites
After choosing your site groups, you’ll see a list of individual sites that are ready for cleanup. Each site is displayed with details such as name, storage used, and type. You can select specific sites from this list to include in the cleanup process. Each site has a checkbox on the left side, allowing you to select or deselect sites for cleanup. There is a filter box on the top right where you can search for specific sites in the list. Moreover, the list of sites is sortable by every column.
![]()
4. Choosing cleanup options
Finally, you’ll choose how you want to clean up your selected sites. You have three options:
- Delete document versions – reduce the number of saved versions of your documents by keeping only the most recent ones. You can either set a date to delete versions created before that, or choose to keep the last X versions. Please note, that the two options cannot be used together. The cleanup can only be run with one option or the other at a time.
Important: If the Delete document versions option is selected along with “Keep number of versions,” and the count is set to 1, only the latest version of the file will be kept in the SharePoint site, and all previous versions will be deleted.
- Delete old files – remove old and unnecessary documents and files by deleting files modified before the set date
- Empty recycle bin – permanently delete files waiting in your recycle bin, freeing up space sooner
All three options can be used individually or together. However, if you use the first two options together and the files match both criteria, the ‘Delete old files’ option takes precedence. Affected files will be counted only once in the Summary and will only appear in the Old files report.
Once you set the options, a Summary will appear on the right side of the page. Here, for each option, we display how much storage space will be freed up after the cleanup, how many files will be deleted (from the site and the recycle bin), and in the ‘Saved costs‘ row, we show how much can be saved in costs through deletion.
Once you choose your cleanup options, press the ‘Next’ button.
![]()
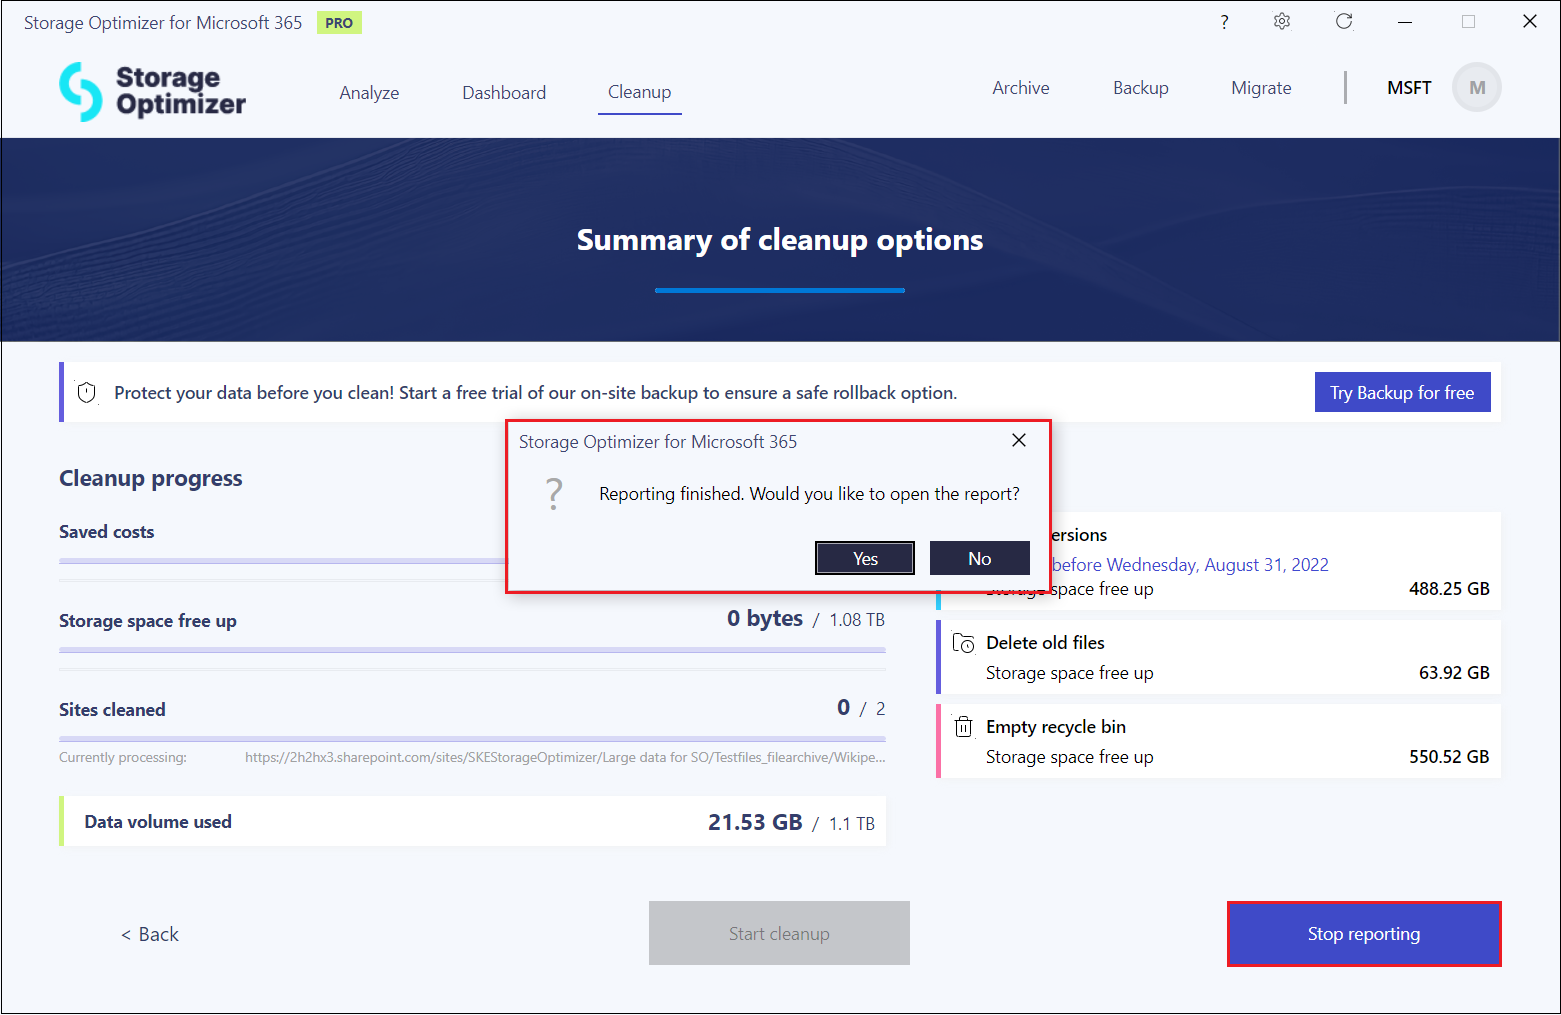
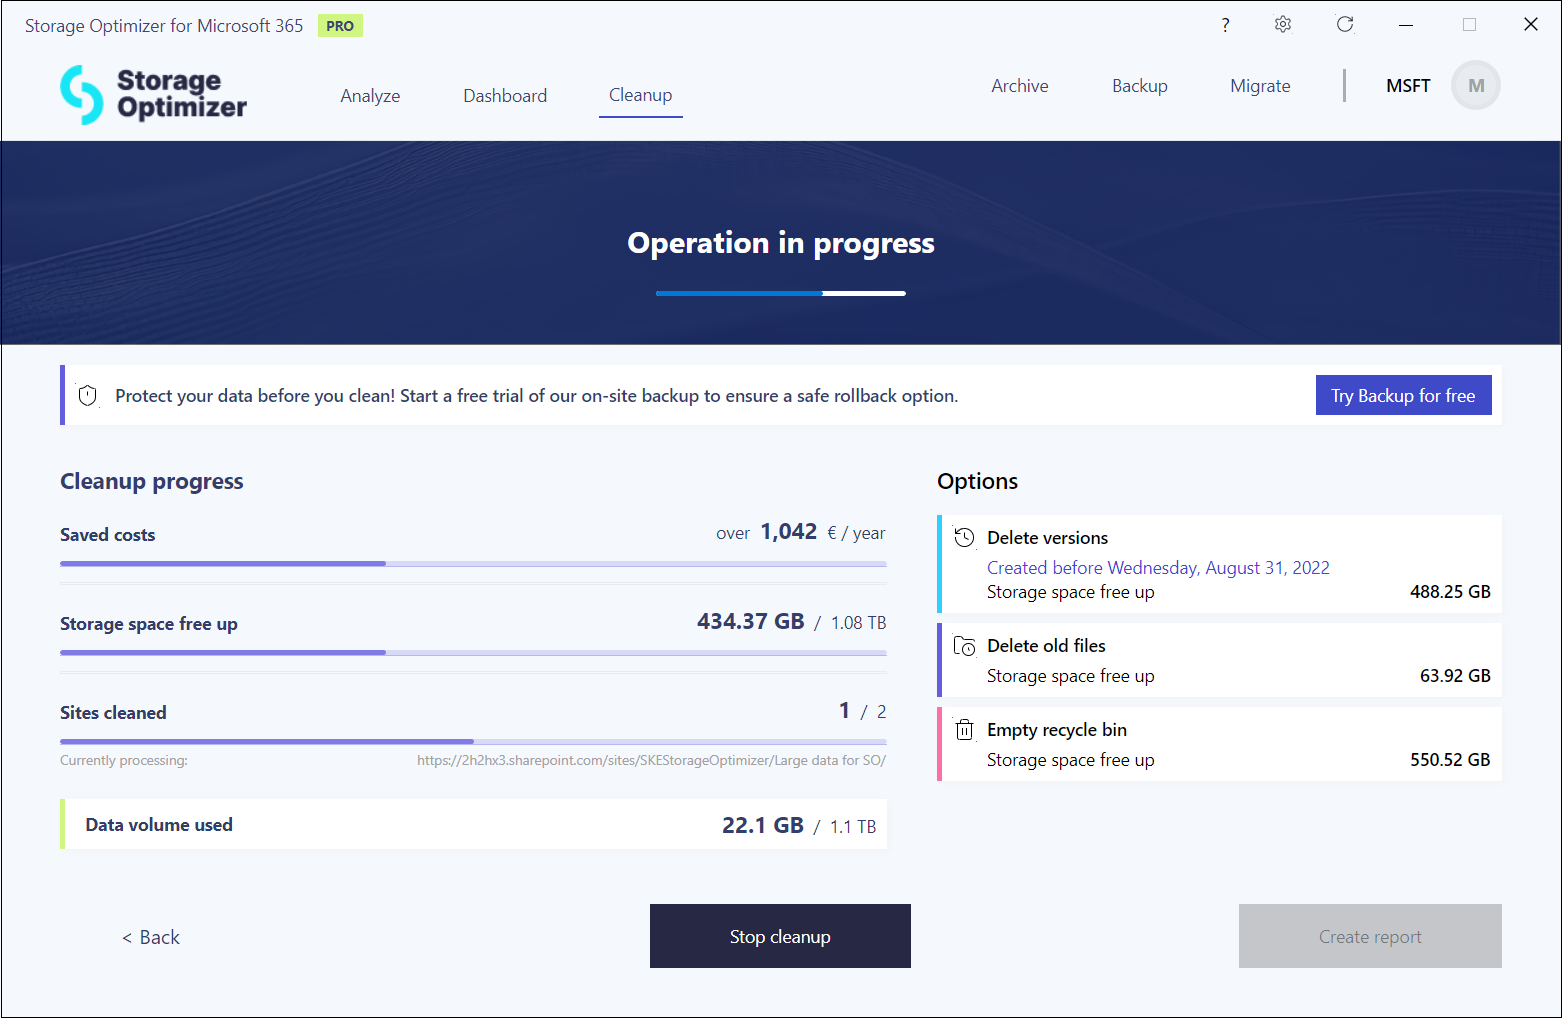
The next page is the Summary of cleanup options. Here, you can view the Cleanup progress on the left side of the page and check the previously configured options on the right side. Please note that the options cannot be modified on this page. If you wish to change any options, you will need to return to the Choose your cleanup options page.
In the Cleanup progress section, you can see how much cost was saved and how much storage space was freed up by the cleanup. If you’ve reached the storage limit, you can purchase additional data volume by pressing the Buy additional data volume button.
![]()
There are also two buttons available on this page:
- Create report button – the cleanup job will run in report mode. The completed report(s) can be downloaded, allowing you to review the list of files that will be processed during the actual cleanup.
- Start cleanup button – it will immediately initiate the cleanup process. Progress will be monitored and displayed in the Cleanup progress section.
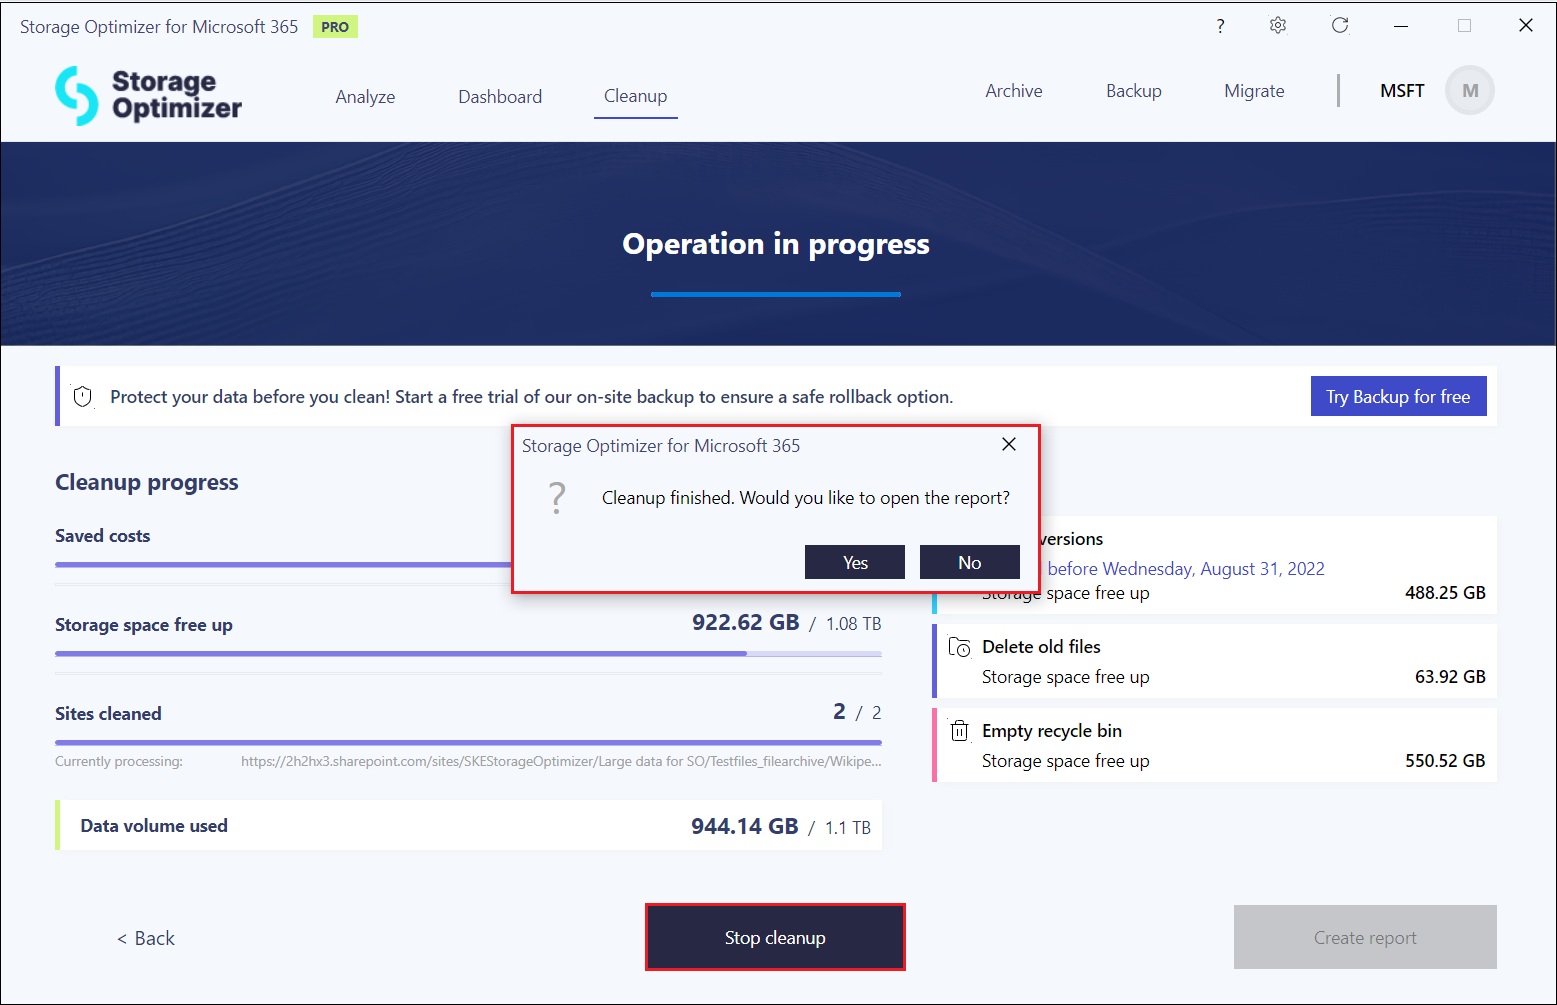
At the end, a pop-up message will appear, allowing you to download a report to see which files were successfully cleaned up.