4.Starting the Storage Optimizer and logging in
After the successful installation, start the Storage Optimizer application. On the screen, the Connect your Microsoft 365 account page will appear.
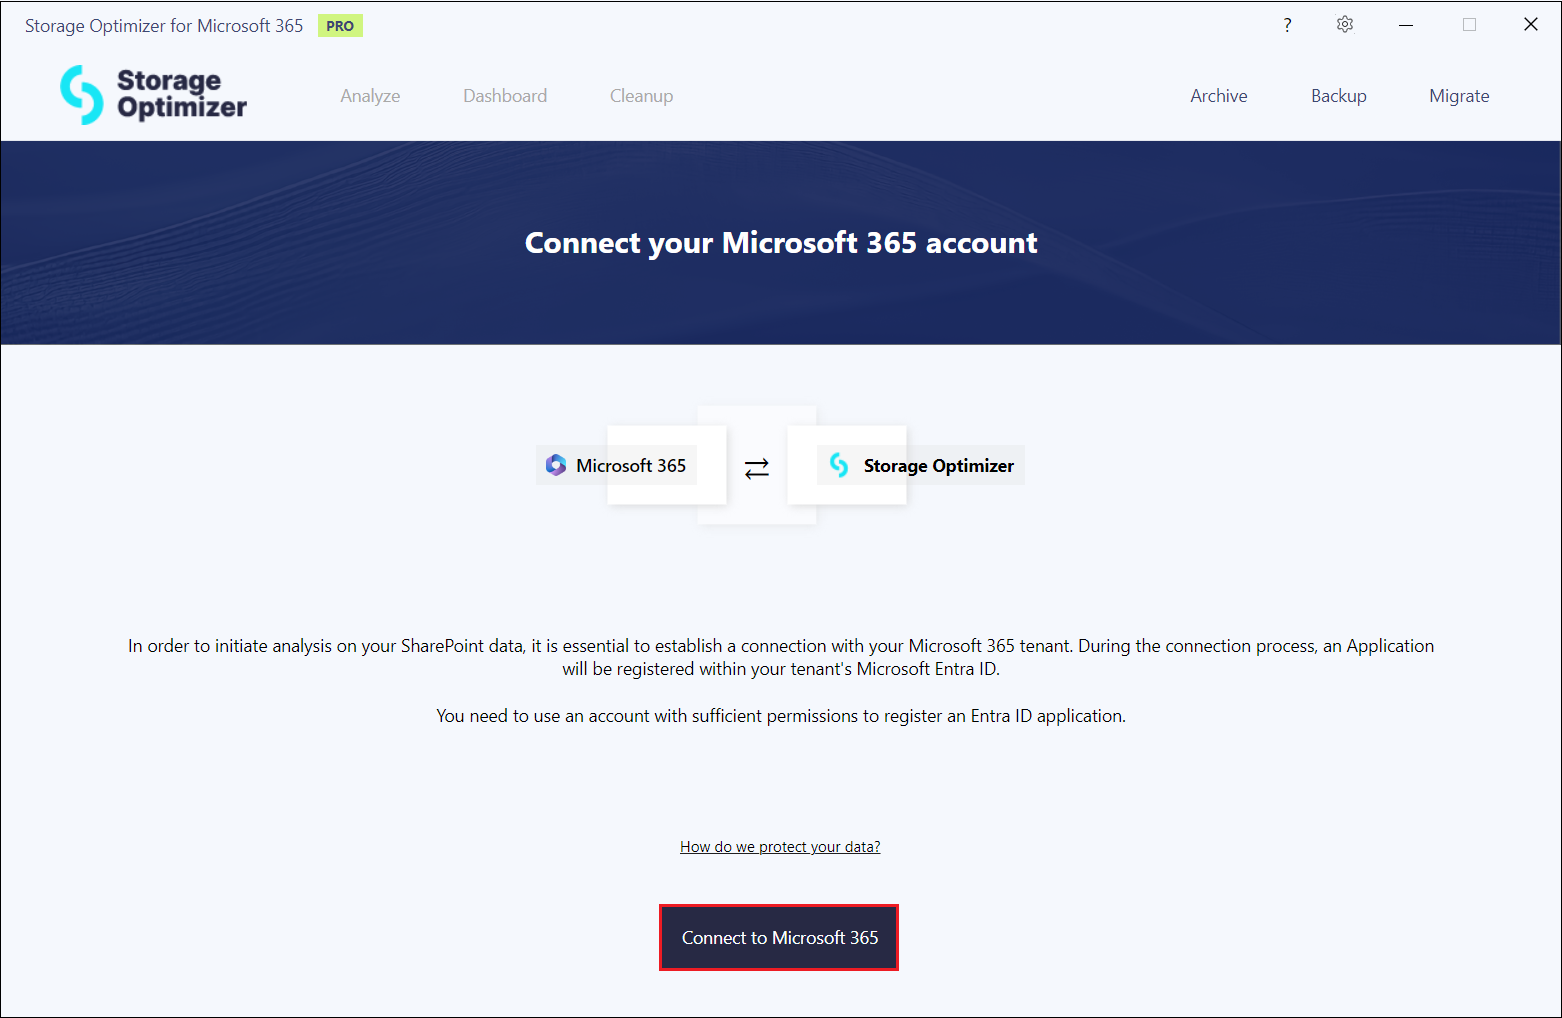
To initiate analysis of your SharePoint data, it is essential to establish a connection with your Microsoft 365 tenant. During the connection process, an application will be registered within your tenant’s Entra ID (formerly called Azure Active Directory).
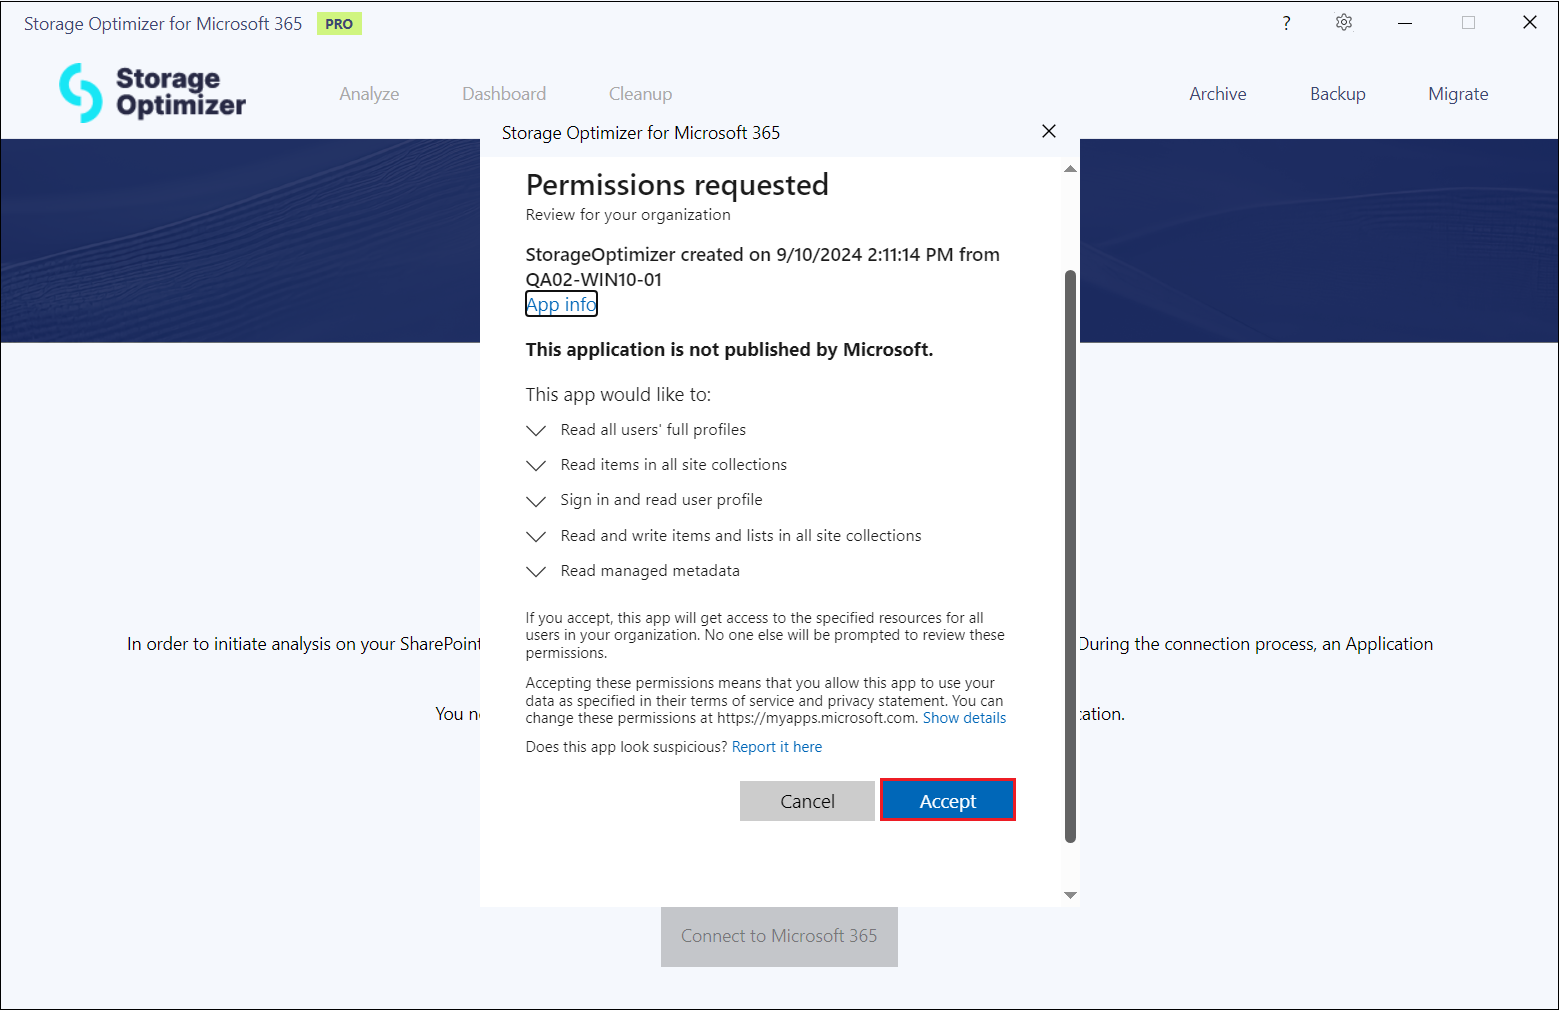
The registration of the Entra ID Application is a two-step process, but it happens in the same authentication dialog. First, you need to create an Entra ID application. This requires a user having the Application.ReadWrite.All permission. The second step is to consent the application permission. This requires a privileged administrator user account. The easiest way is to use the same Administrator account for both actions. You can read more about the required permissions in the ‘How do we protect your data?‘ section of this manual.
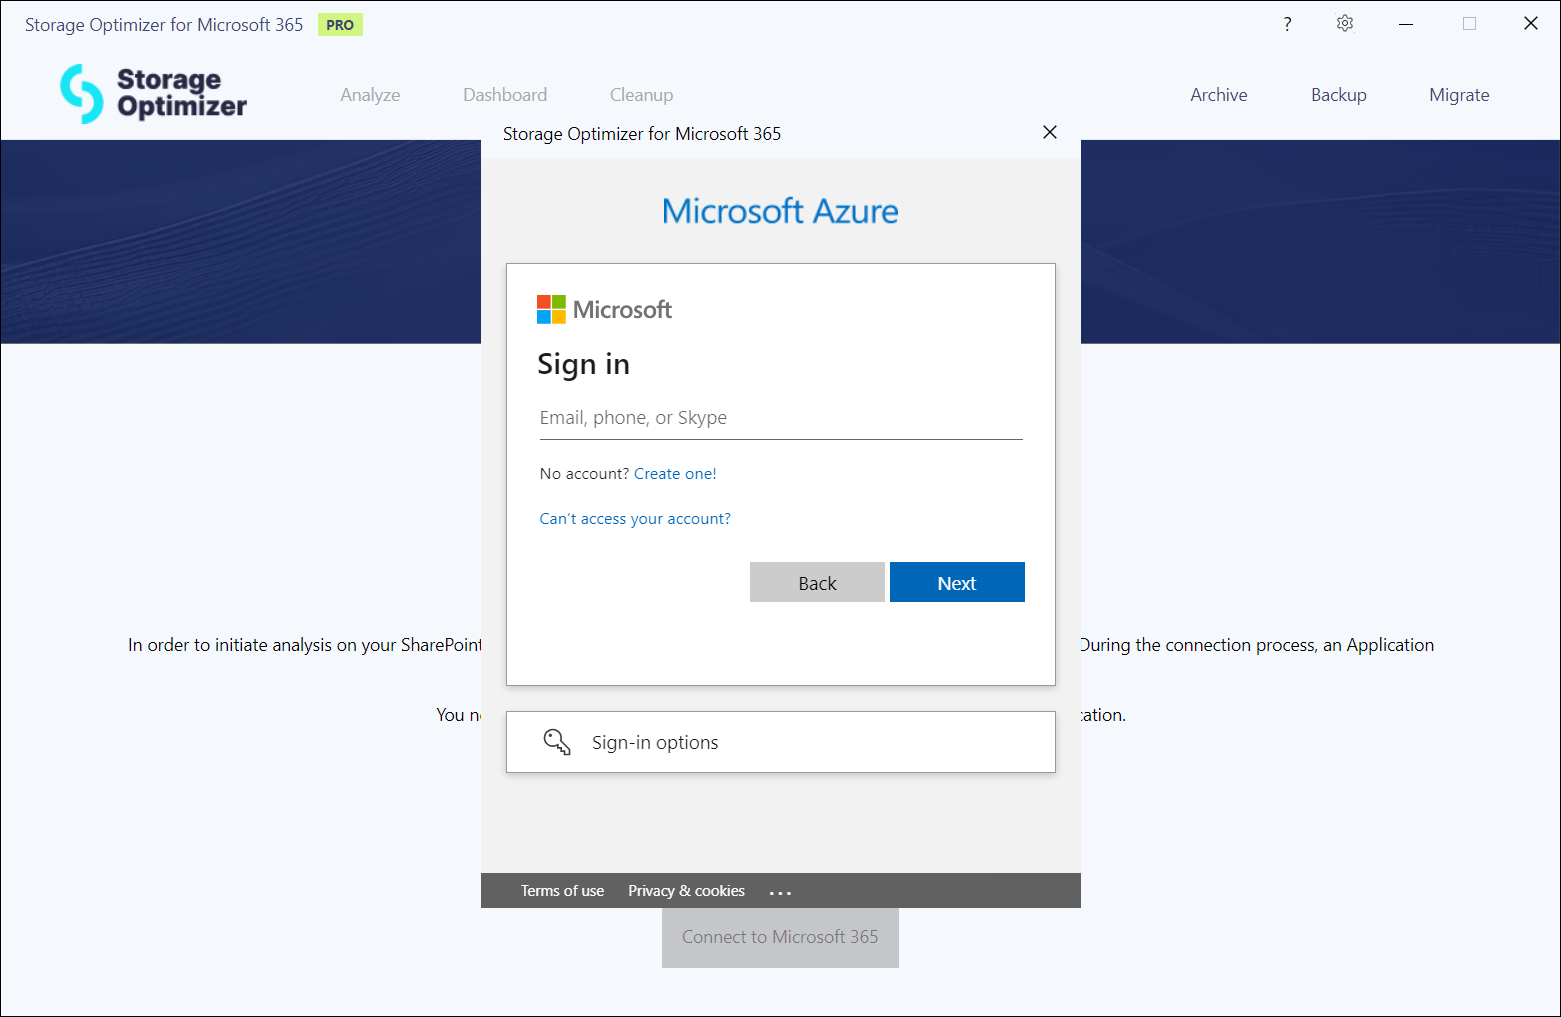
When the registration is completed, click the Connect to Microsoft 365 button, then sign in with your credentials.
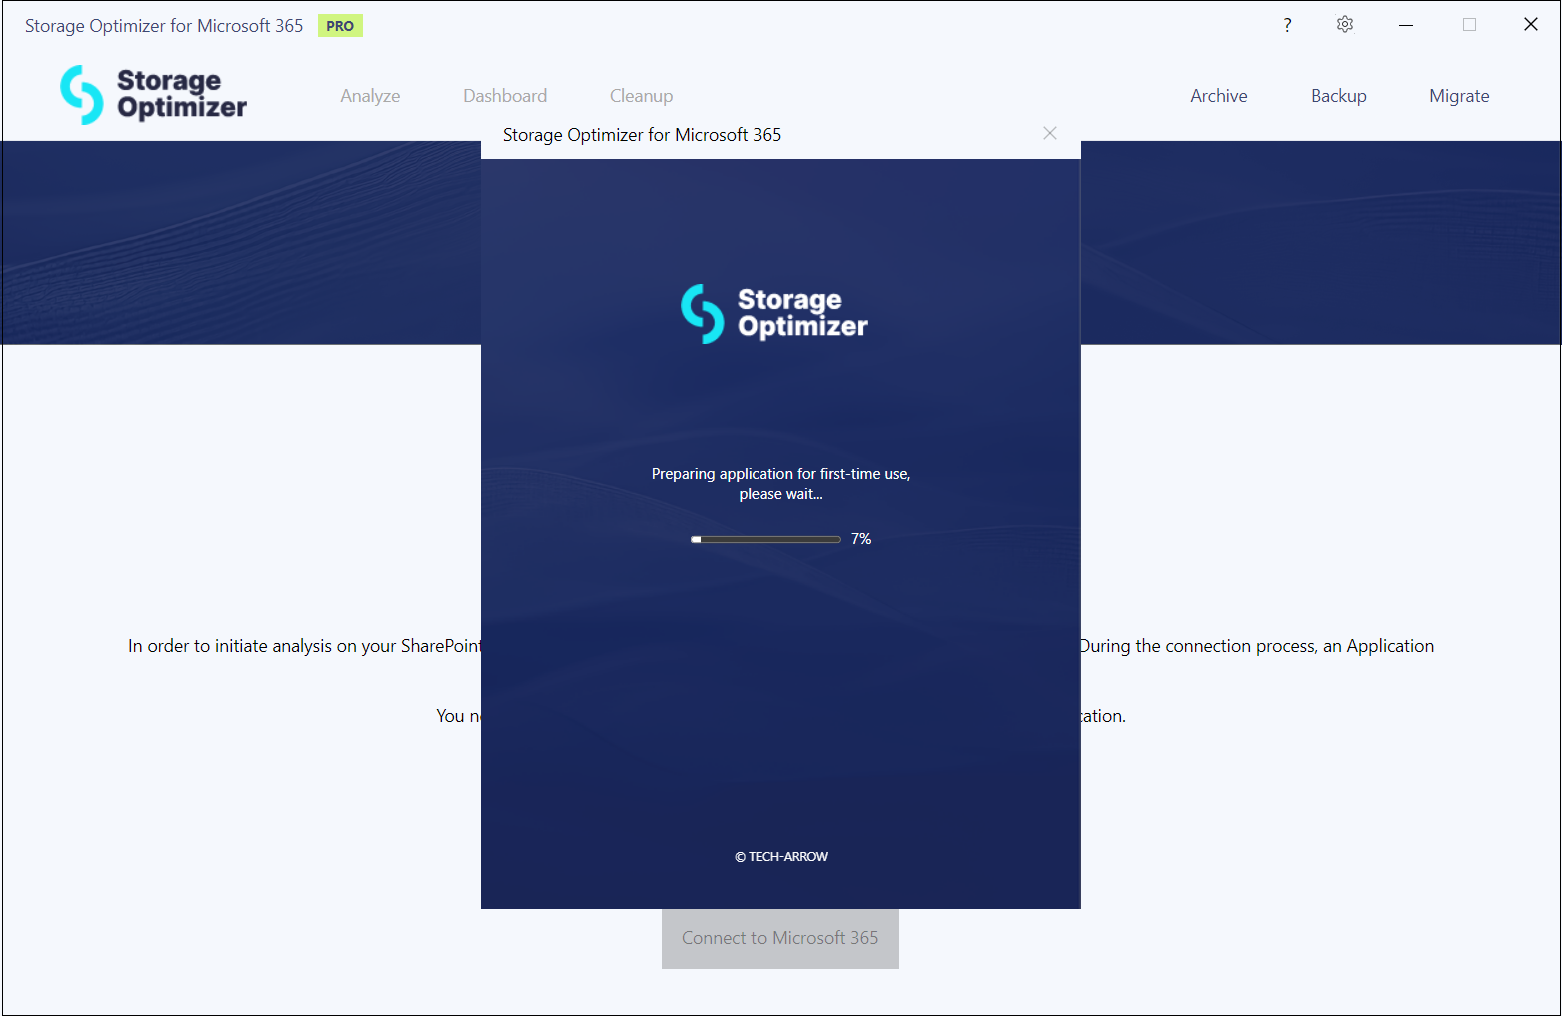
If the login is successful, the application is prepared for first-time use. This takes approximately 1 minute for the Entra ID application to be created.
As the next step, you need to consent the Entra ID application’s required permissions.
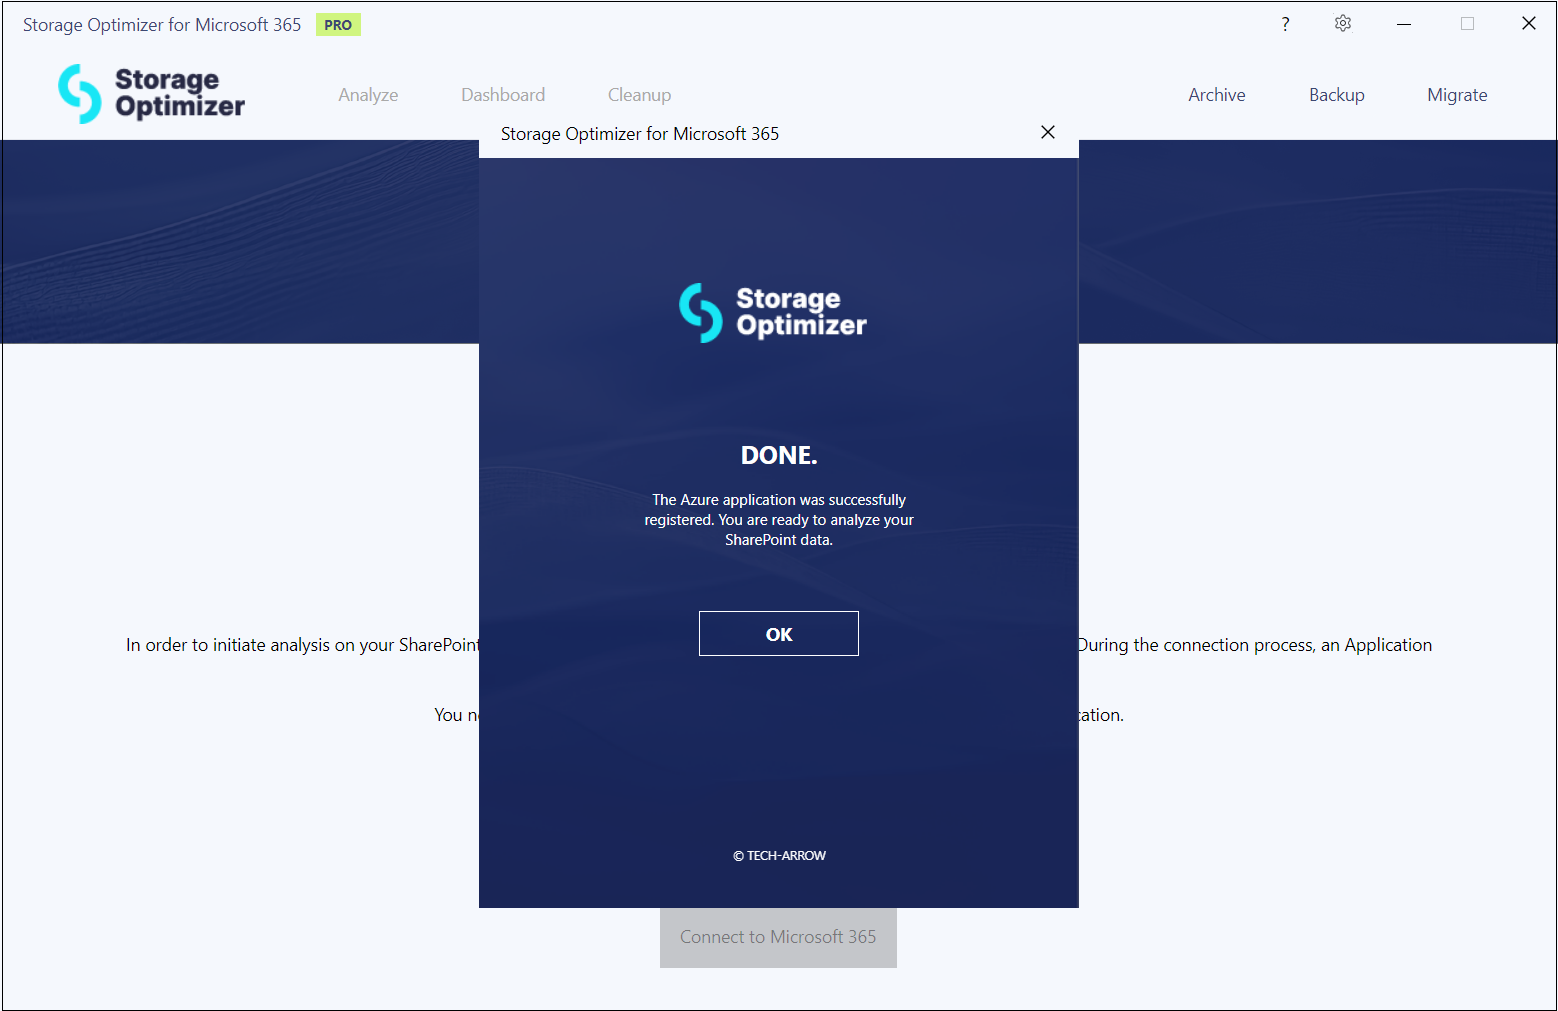
When the application is created and the consent has been given, the app is ready to use. Now, you can analyze your SharePoint data.
After the successful login, you will be redirected to the Analyze page. This tab will be described in detail in the next section.
