Backup job
As it was mentioned before, the purpose of the backup job is to securely store data and prevent or aid any potential data loss. A backup job can be easily created from the Jobs page by clicking the + New button. Then, select the Backup option from the dropdown menu. The Job configuration page will appear, where you can configure the backup job according to your preferences.
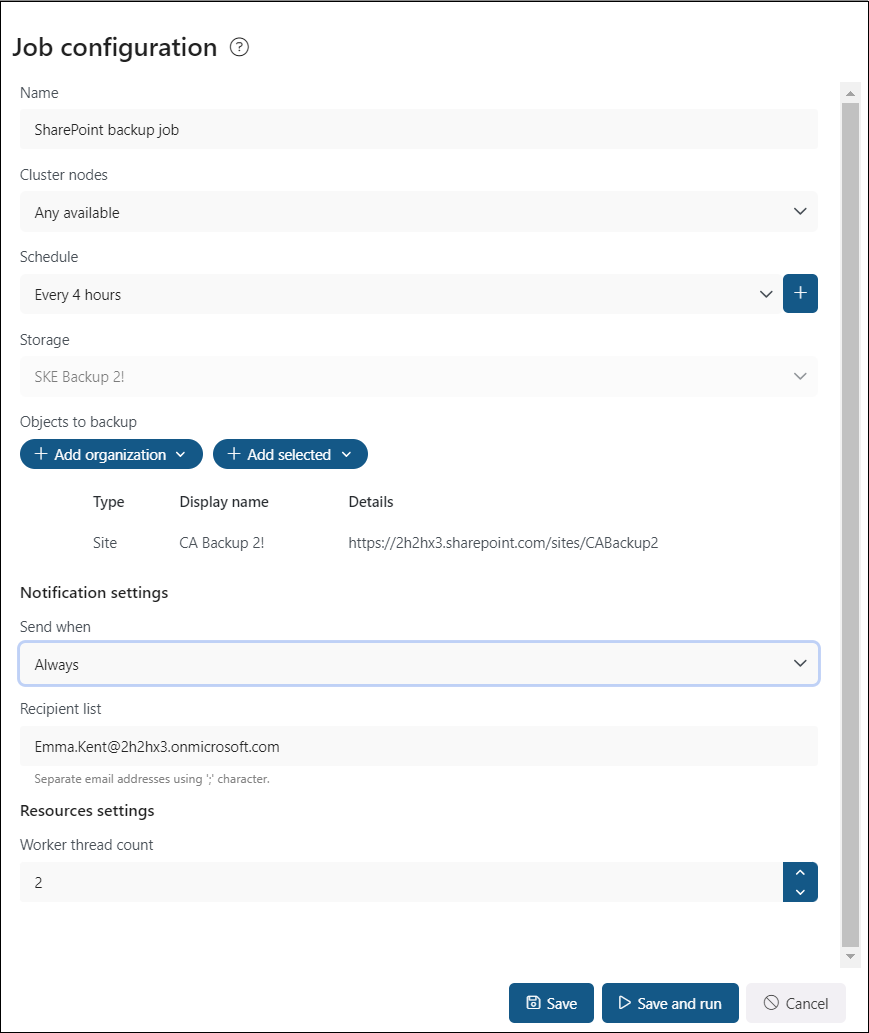
On the job’s configuration page, you need to go through the following sections:
✓ Name – each backup job requires a unique name to distinguish it from other backup jobs. It is recommended to give the job a name that clearly indicates the model’s backup it was created for.

✓ Cluster nodes – here, you can set the node, where the backup job will run.

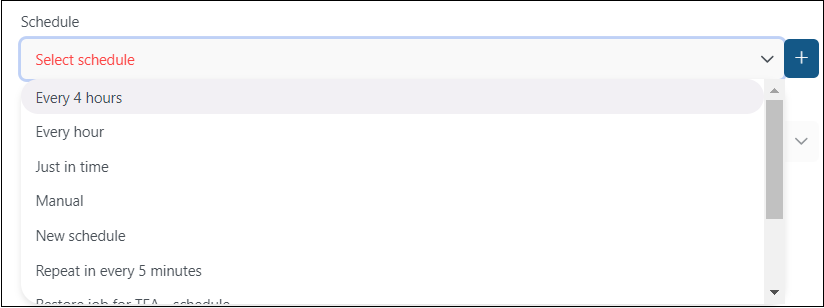
✓ Schedule – in this step, you must select the running times of the backup job. You can either select a schedule from the list or create a new one by pressing the + button in the Schedule row. For backup jobs, it is recommended to set up a schedule that will run continuously, or at certain times during the week. For more information about setting schedules, please refer to the section Schedules above.

✓ Storage – the processed binaries will be stored here. This section cannot be edited on the Job configuration page because the default storage set on the Storages tab will automatically be used for the backup job. For more information on setting storages, refer to the section Storages.

✓ Objects to backup – in this section, you can select mailboxes and mailbox groups, SharePoint and OneDrive sites, teams and private chats to be processed by the backup job. There are two options to choose from: + Add organization (in this case, the whole organization or all mailboxes/SharePoint sites/OneDrive/teams/private chats will be processed) and + Add selected (where only the selected mailboxes/mailbox groups/SharePoint sites/OneDrive/Teams/Private chats will be processed).

If you select the whole organization or all mailboxes/SharePoint sites/etc., the chosen entities will be listed in the Object to backup section. If you wish to back up only selected entities, click the + Add selected option first, then choose from the dropdown menu.

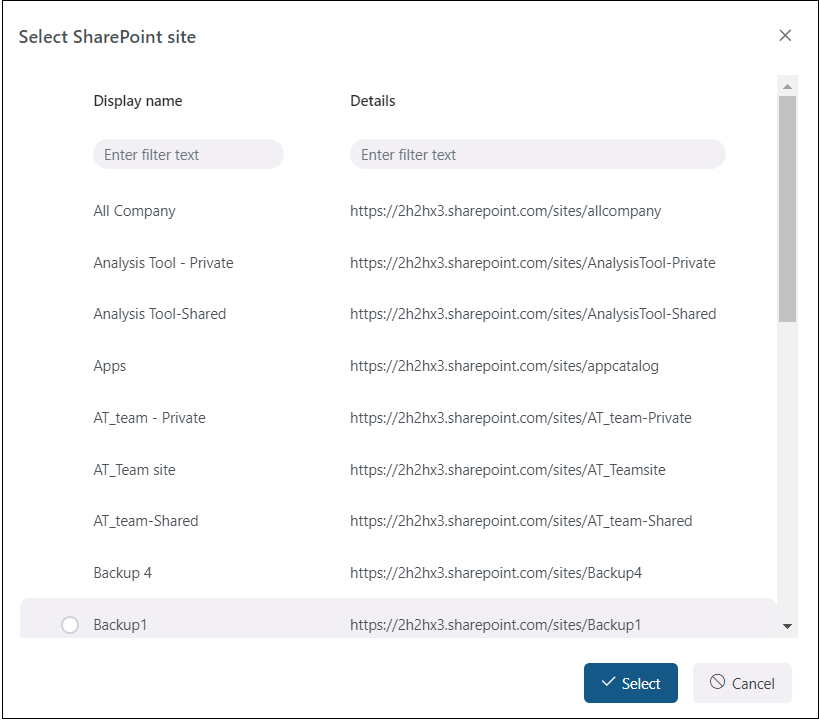
Upon selecting an option, a repository of mailboxes or mailbox groups/SharePoint sites/OneDrive/teams or private chats will appear in a pop-up window. Check the desired entities, then click Select.

It is also possible to remove the chosen entities by selecting them. In this case, a Remove option will appear in the Object to backup section, allowing you to remove the previously selected entity.

✓ Notification settings
Here, select the cases when you need to receive notification emails from the backup job. You can choose to receive notifications always, never, or only if an error/warning occurs during the backup process. For example, if the backup of one or more items fails, you may get a notification email about this error. In the Recipient list textbox, insert the email address(es) of the person/people to whom you would like to send these emails.

✓ Resource settings
Set the value, that will determine how many items will be processed simultaneously by the backup job. The recommended value is 2.

Never forget to save your job configurations at the end. Click the Save button at the bottom of the UI to be redirected to the Jobs page.
If you want to start the processing immediately, press the Save and run button. This action will start the backup job, and you will be redirected to the Job progress page.

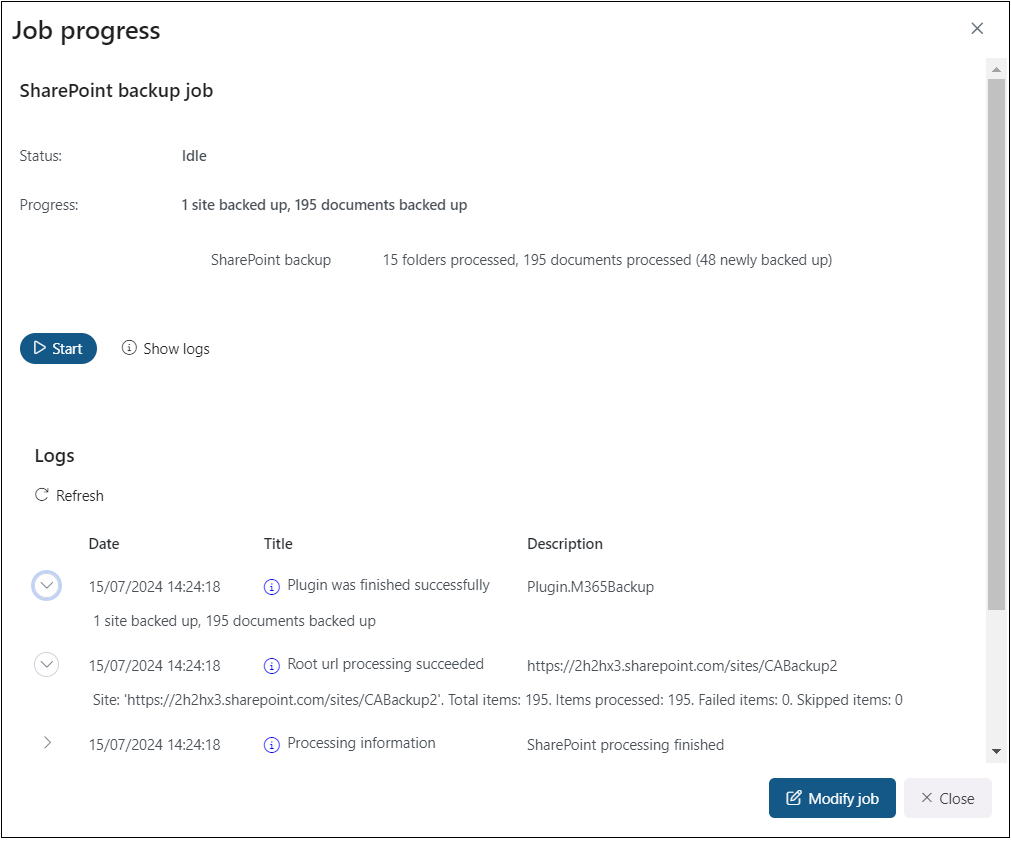
In the Job progress window, you can check the progress bar, which shows the current state of the job (if it’s running or done) and the progress of the backup.
Moreover, you can restart a finished job or stop a running job by clicking the Start/Stop button on the Job progress window, as well as check the last logs by clicking the Show last logs option.
This window also contains the session logs for the currently running job.
Additionally, it is also possible to modify the job from this page. Upon pressing the Modify job button, you will be redirected to the Job configuration page.
