Microsoft 365 connection
In this section, we will explain how to register an application on the Azure portal, enabling Backup Administration for Microsoft 365 to authenticate and connect to the Microsoft Dataverse environment using modern authentication. Modern authentication is a category of several different protocols (rather than a single method like username and password) that aim to enhance the security posture of cloud-based resources. It relies on token-based claims to authenticate with an identity provider and generate an access token. OAuth, an open standard, is used by many applications and websites to grant access to other systems’ information without sharing the passwords.
Backup Administration uses modern authentication to connect to Exchange Online, SharePoint, OneDrive, and Teams. This requires an Azure App registration configured on the Microsoft 365 tenant.
Manual configuration through the Azure portal is not required; you can either use an existing application to set up the connection, or the Application registration process will automatically handle the connection and permissions on the Microsoft 365 connection page in Backup Administration.
Use existing application
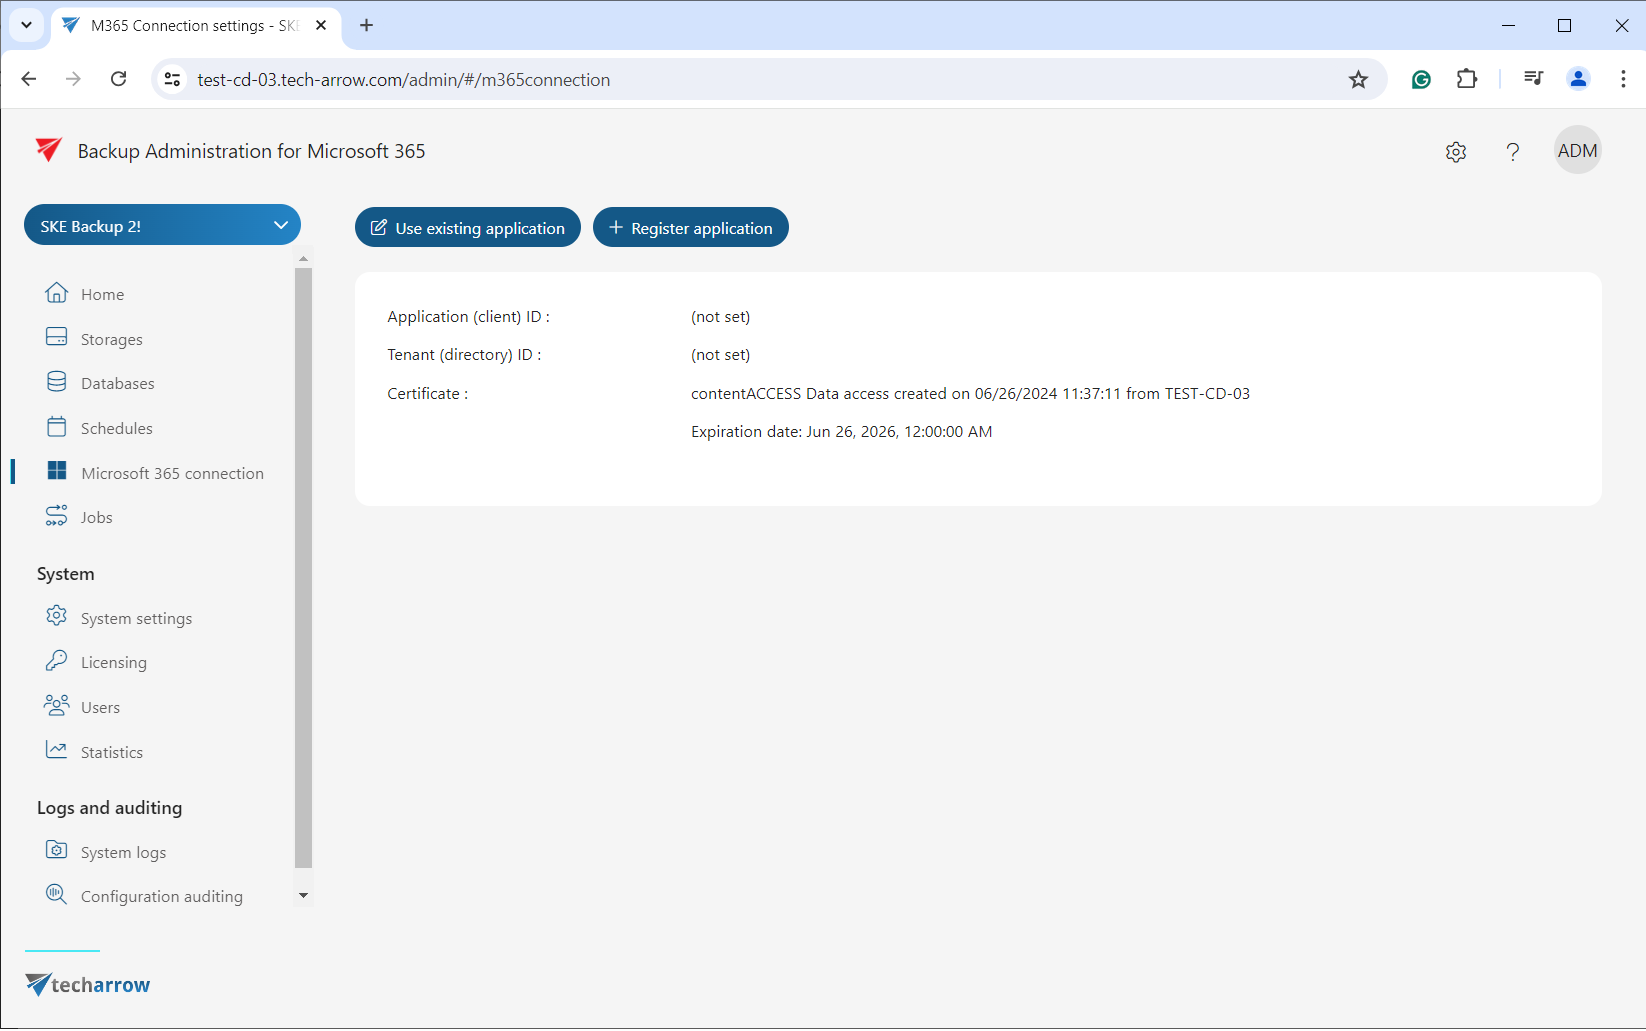
Navigate to the Microsoft 365 connection page and click the Use explicit application button. A pop-up window will appear where the administrator needs to establish the connection with Microsoft 365 services by configuring a previously registered application.
It is also possible and recommended to test the connection by clicking on the Test connection button.
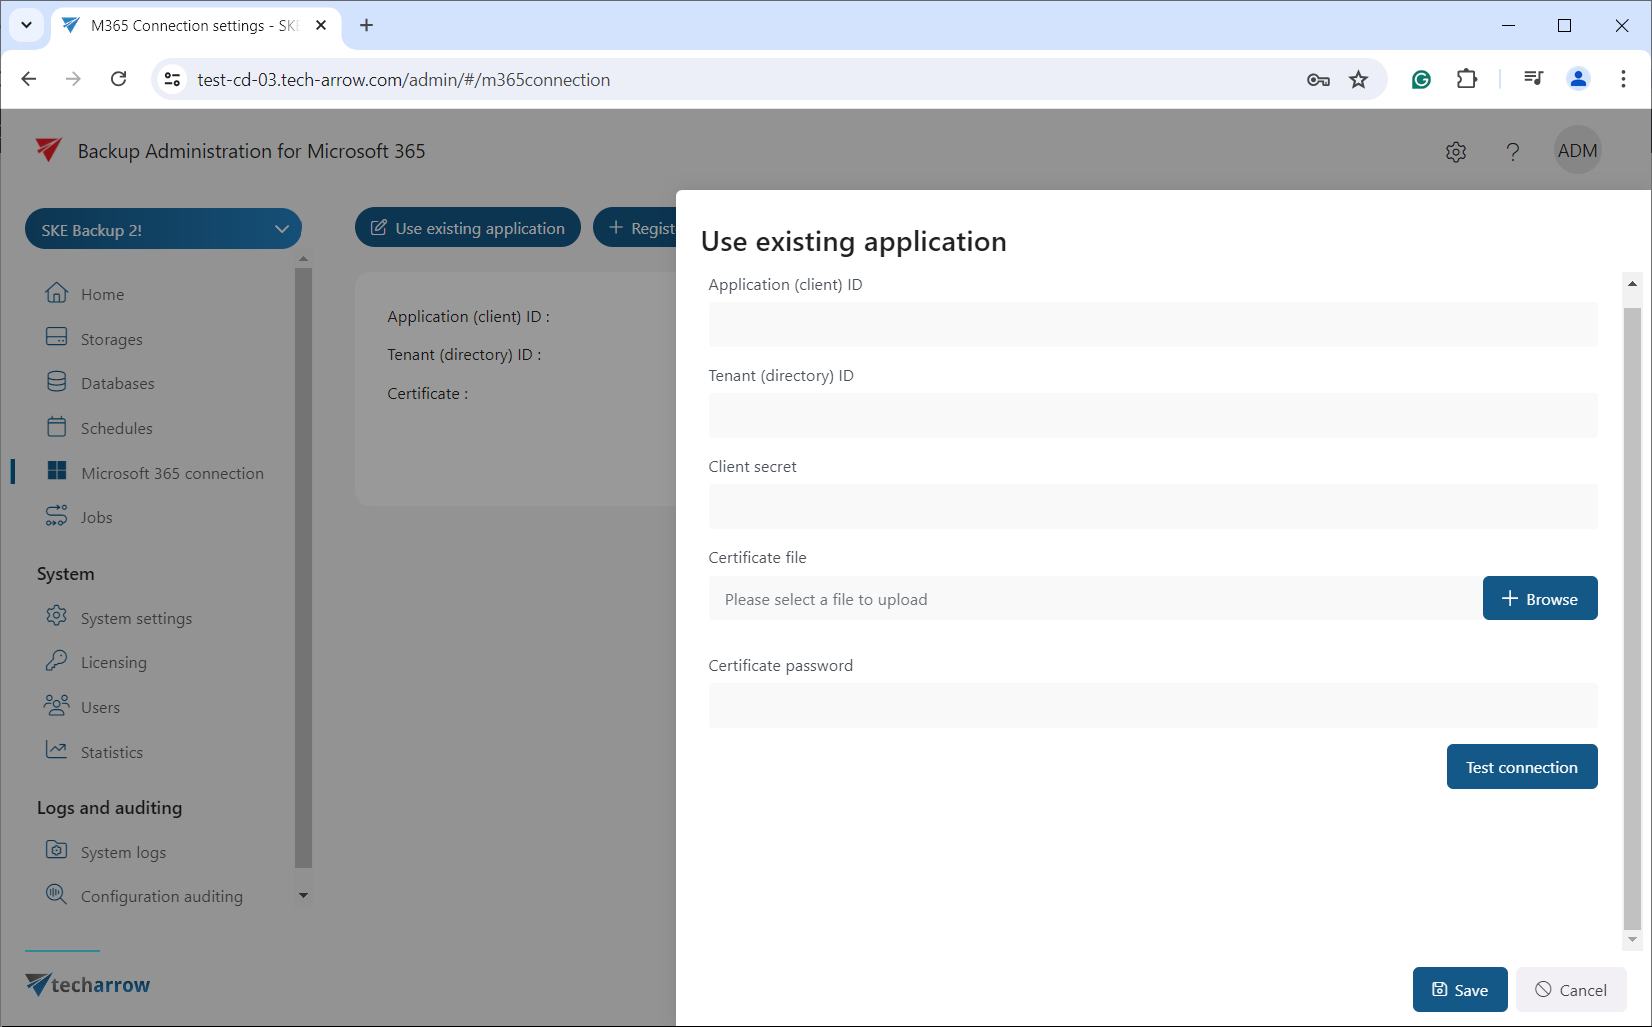
To enable contentACCESS to authenticate and connect to Microsoft 365 services through a previously registered application, certain permissions are required. The required permissions will be collected in the following subsection.
Register application
This option will create a new Azure application for contentACCESS with all the required permissions. Click the + Register application button. The Register application window will appear. Here, press Next to start the registration process.
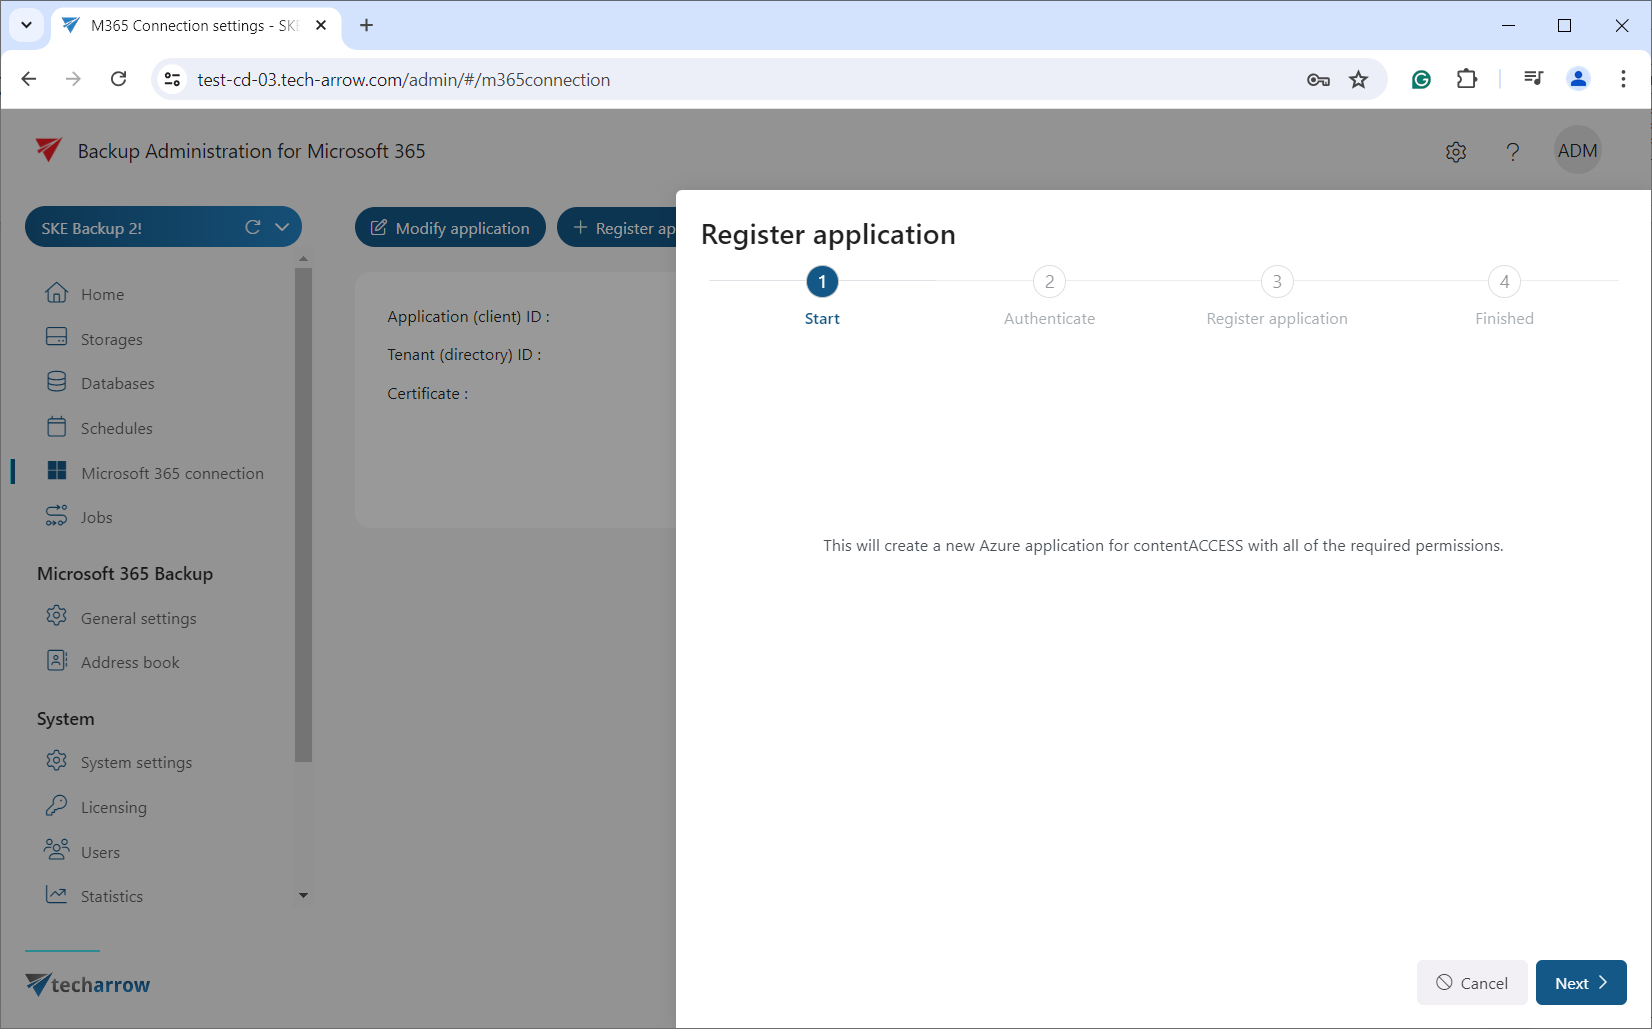
The next step is authentication. First, copy the generated code before clicking Next or verify it in the window that appears (upon clicking the “here” link).
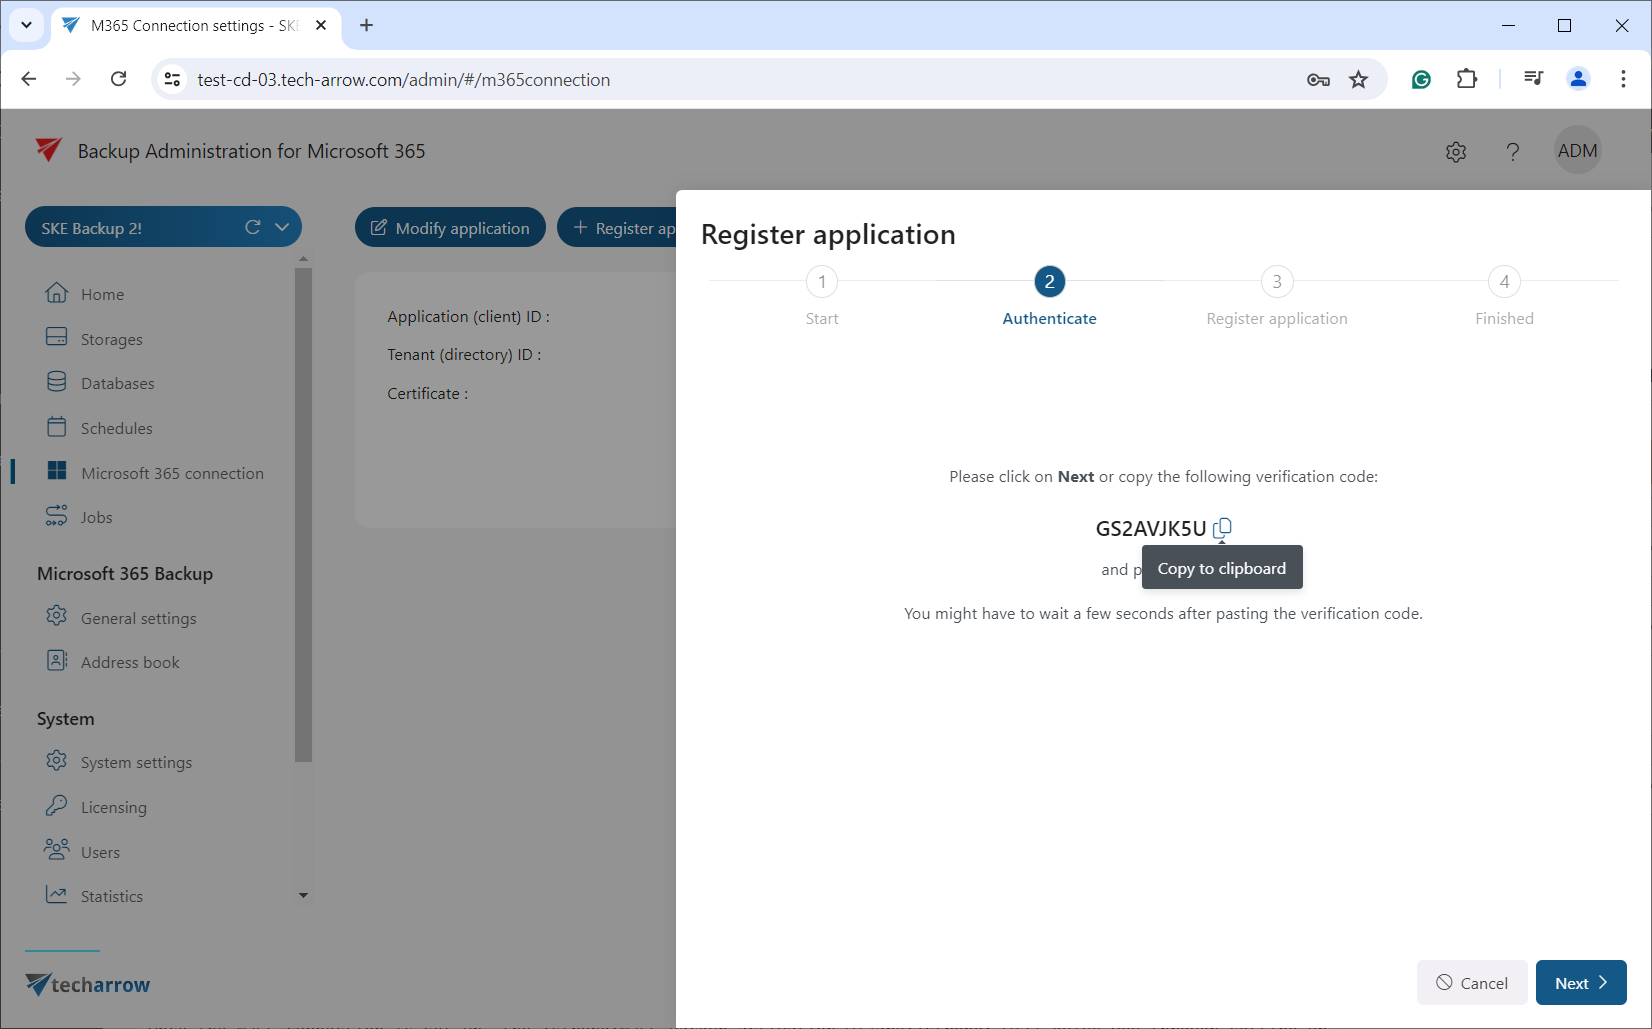
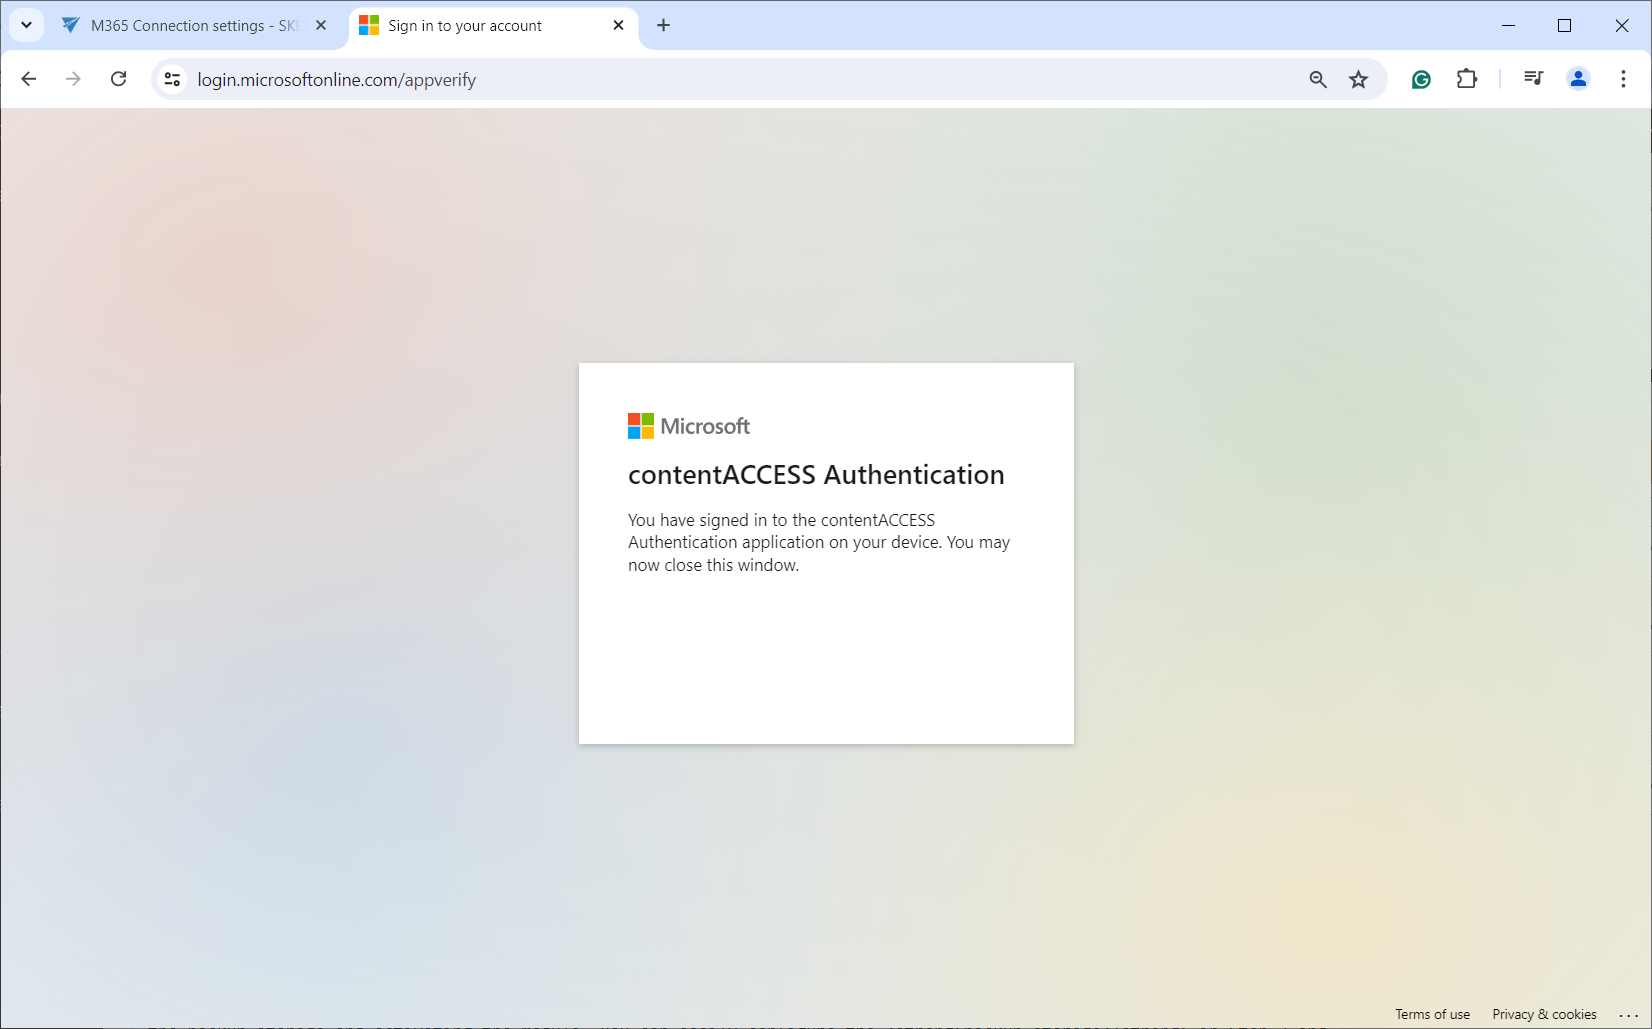
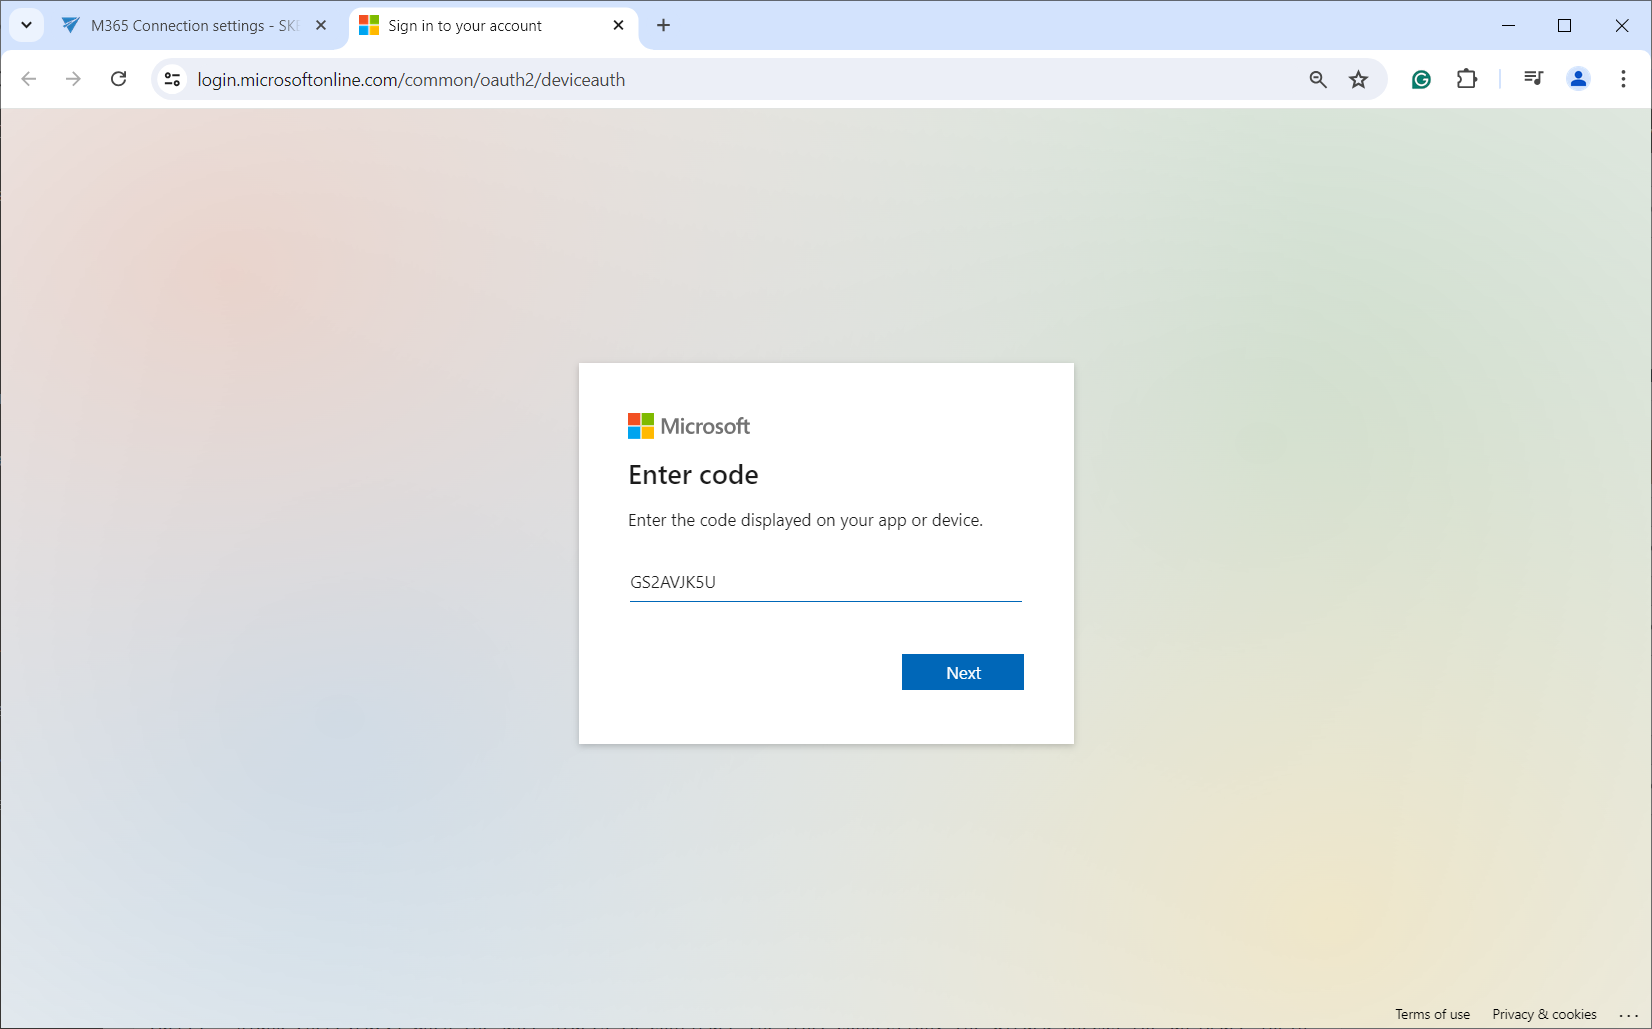
Enter the code, sign into your Azure account, and accept the requested permissions.
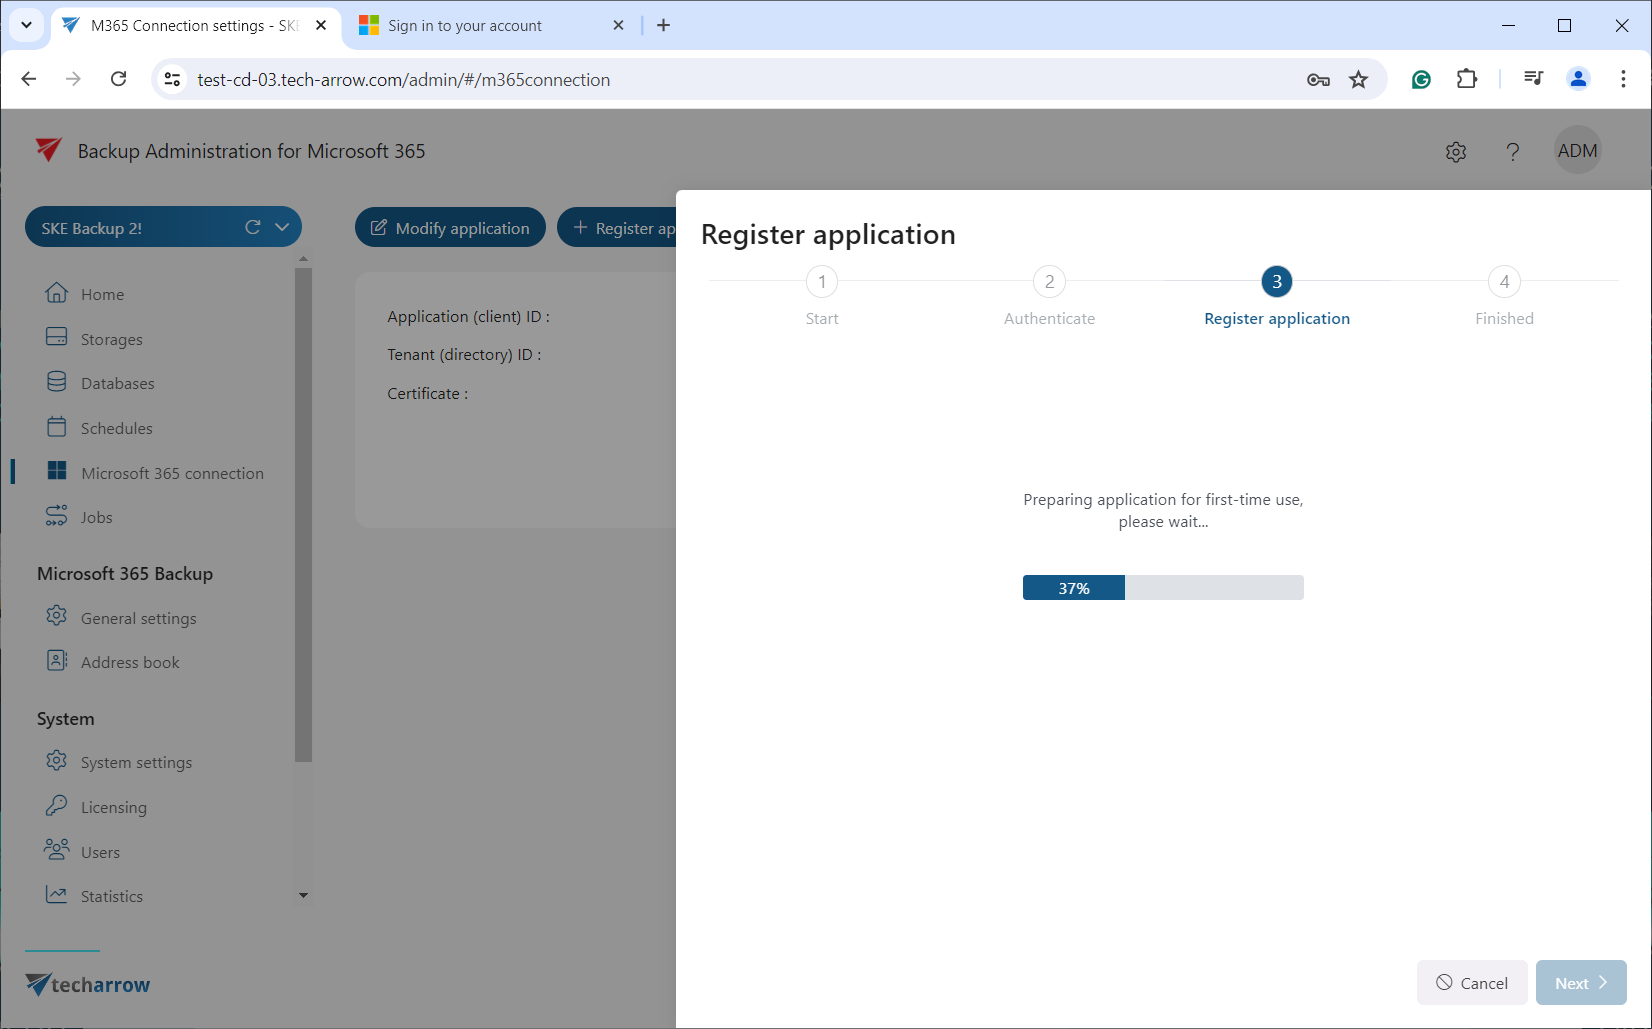
After this, return to the Microsoft 365 page to continue the registration process. App registration will begin as the third step. This may take some time, so please do not close this window or leave the page in the meantime!
Once processing is finished, the Azure application will be created, and you should grant the requested permissions for the app.
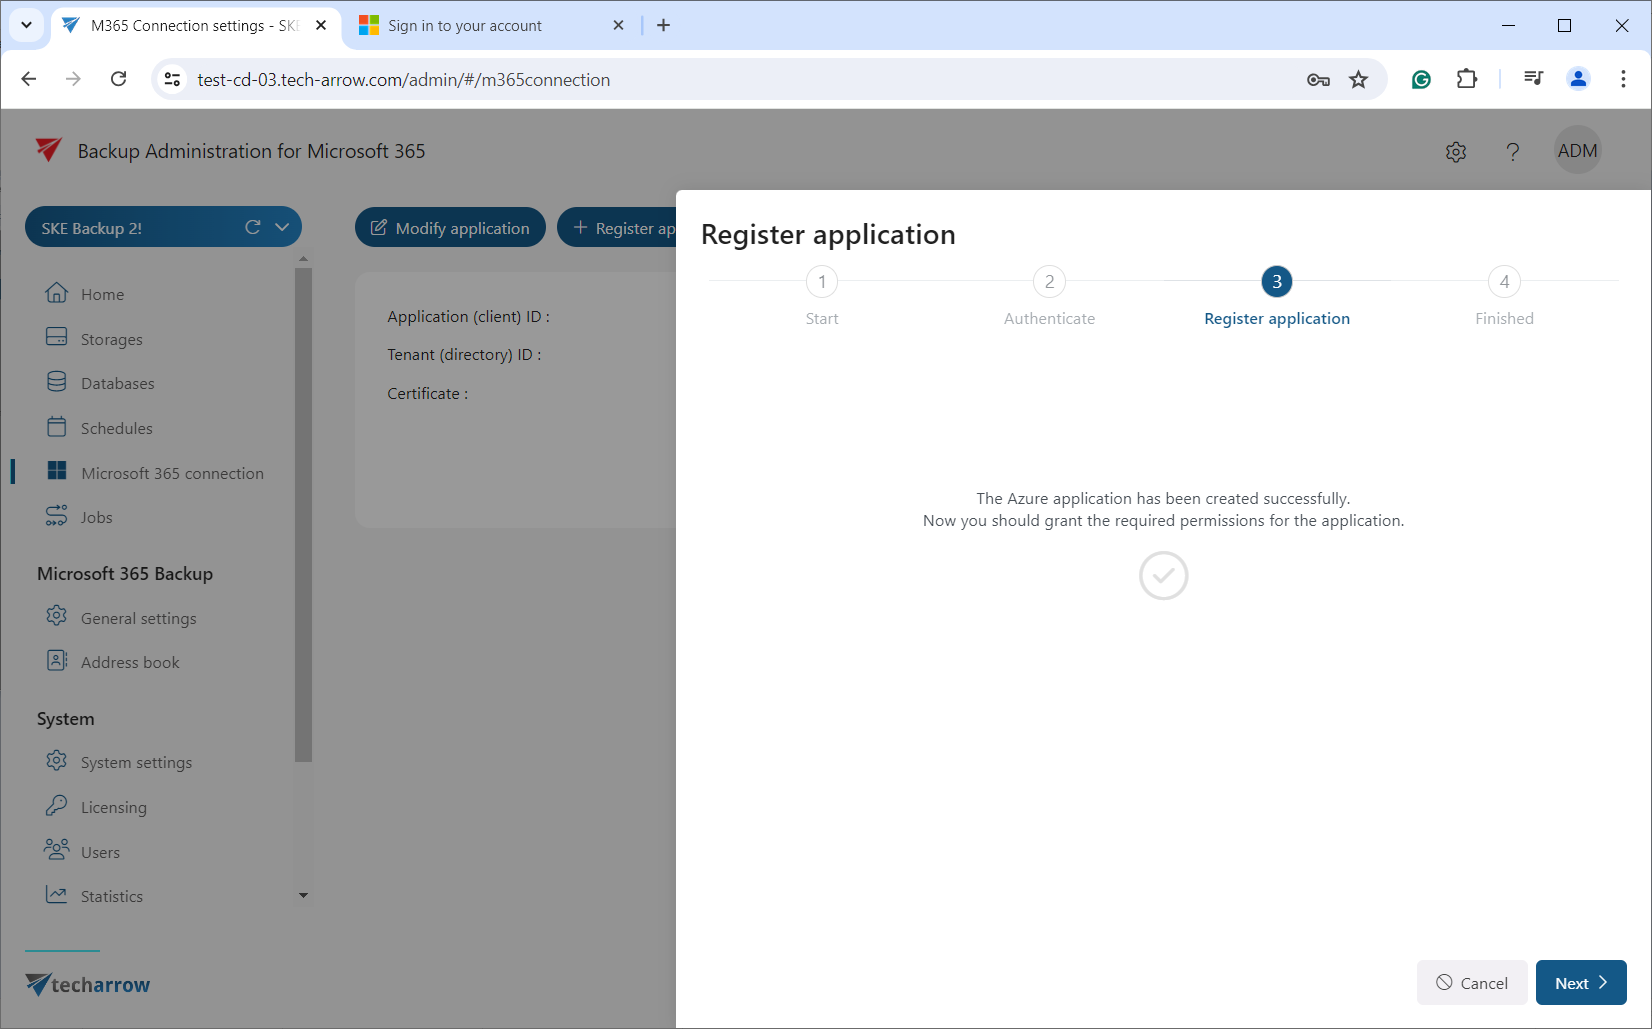
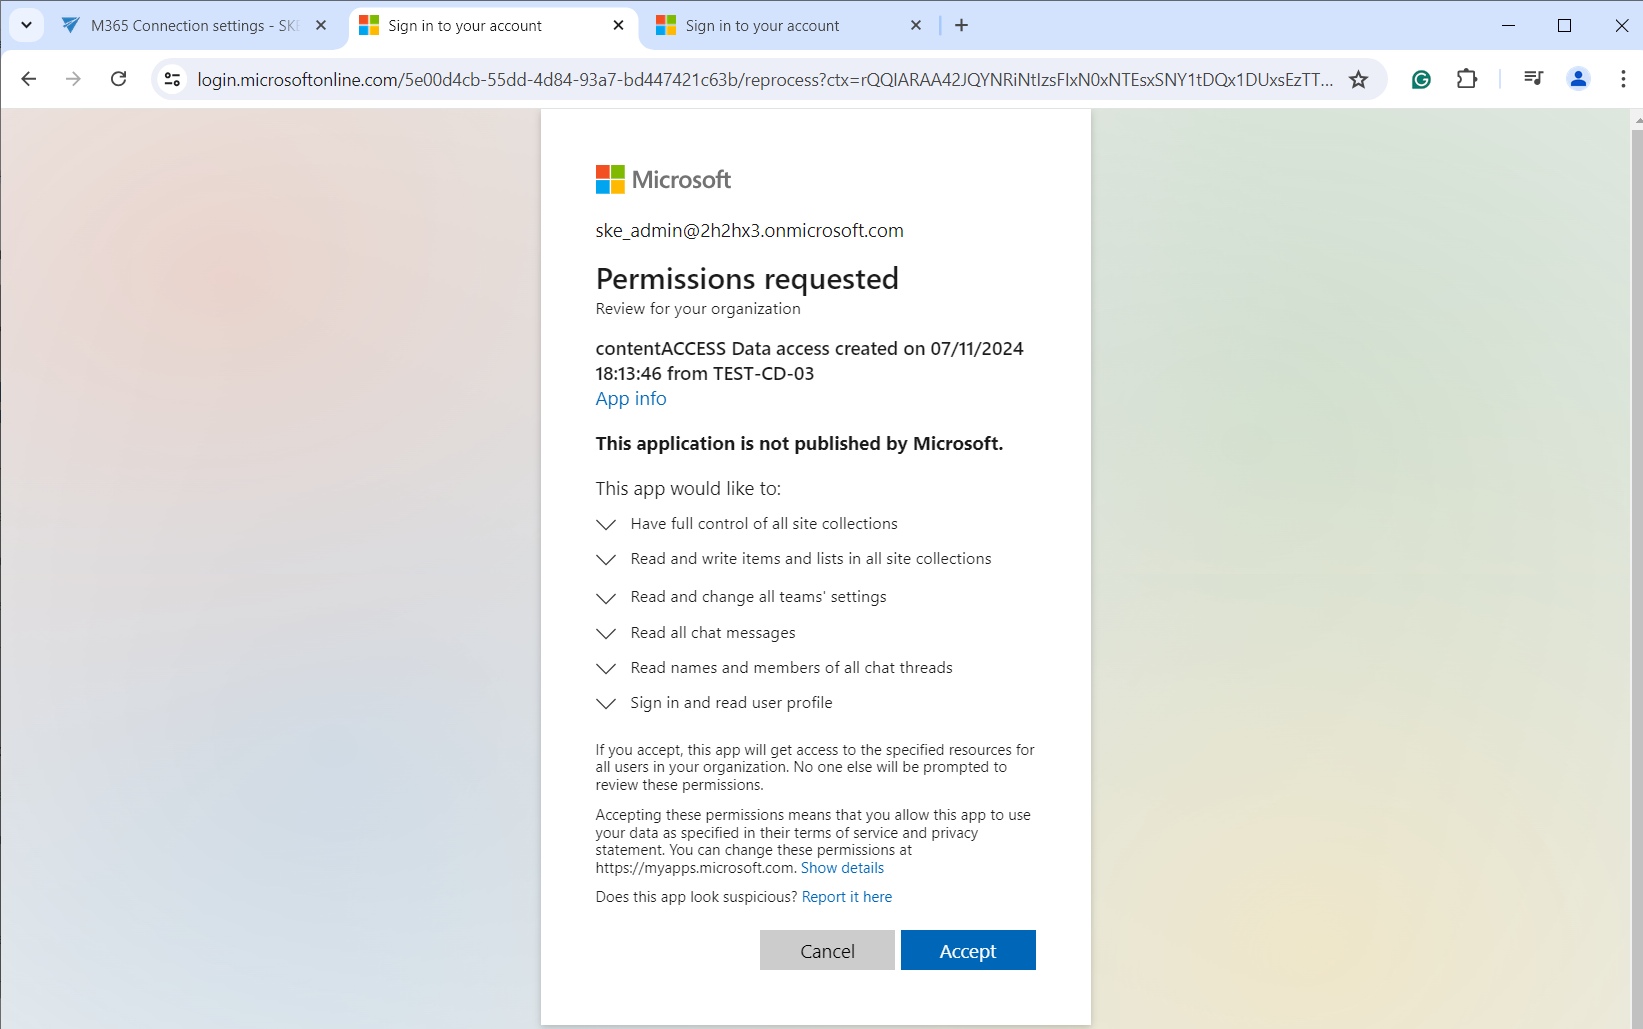
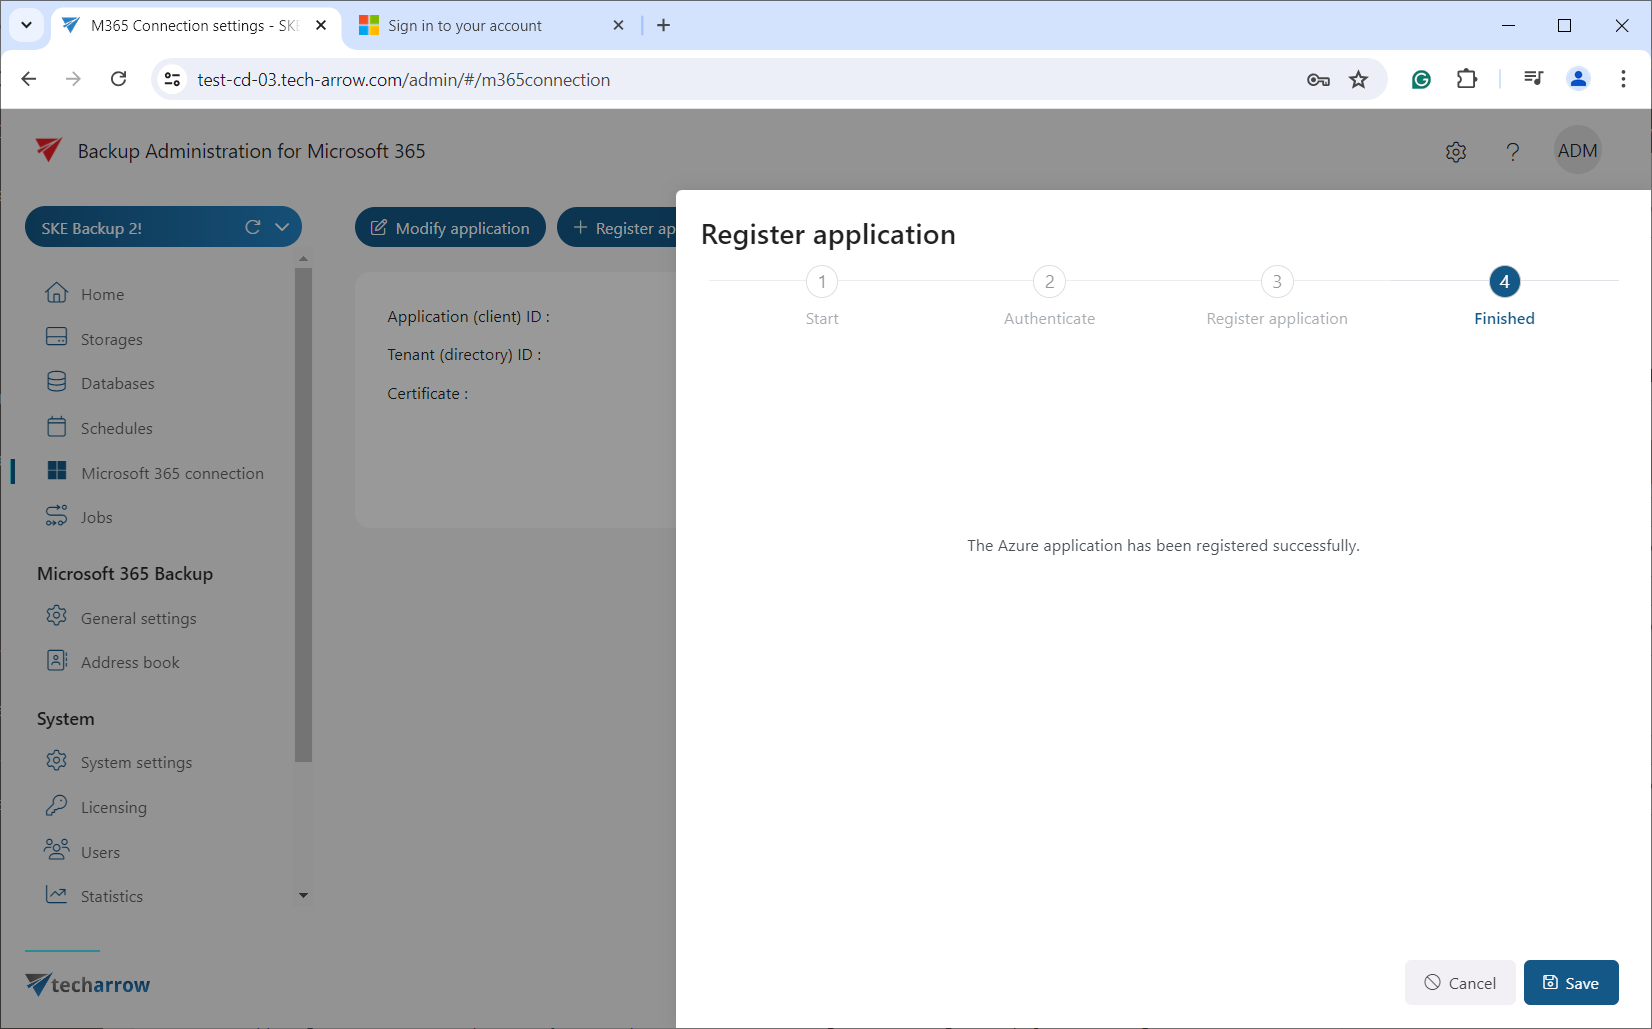
Additionally, the M365 connection can create an Azure login provider if it doesn’t already exist. (Please note that the User.Read.All permission must be consented to on the Azure portal for this to work. Find out more about the Azure app registration here.) When the user starts to configure the M365 connection, the wizard checks for an Azure login provider. If it’s not configured, it will create 2 Azure applications: one for contentACCESS login (for the login provider) and one for the contentACCESS Data access (for the backup itself). You need to consent to both permissions.
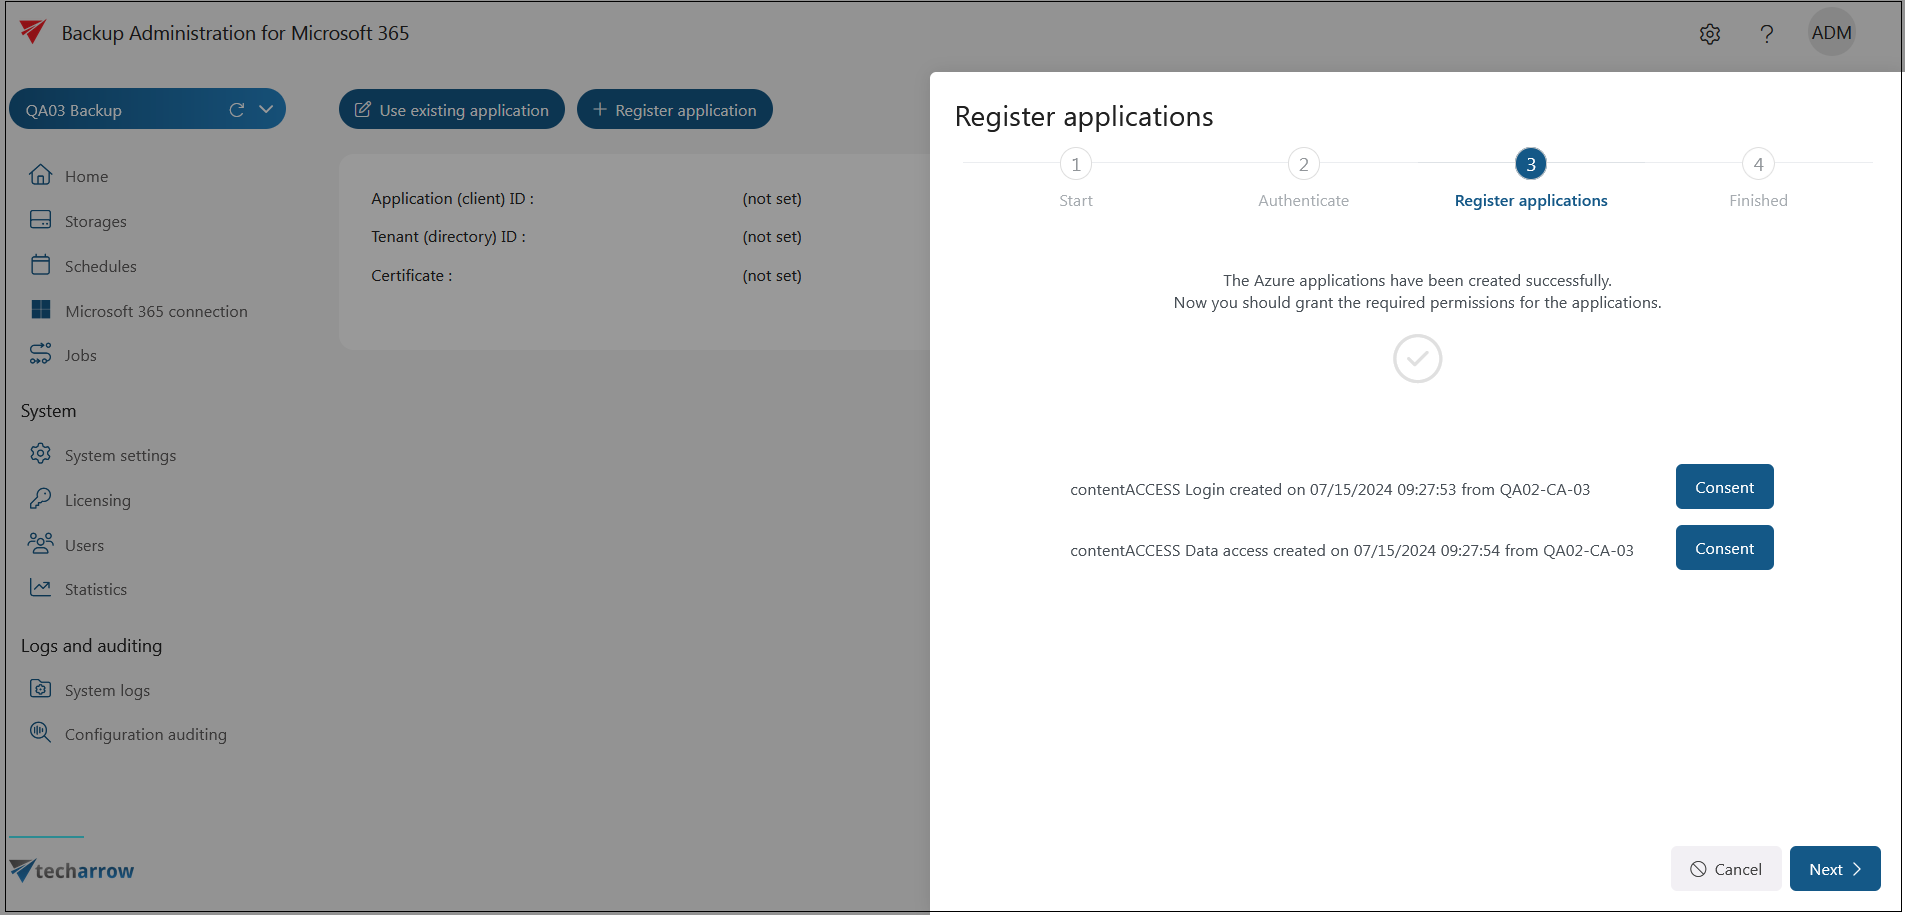
The login provider is created when you save the M365 connection settings changes. This login type is necessary for processing Azure users. If the Azure login provider is already configured, the activation process will skip this step.
After granting the requested permissions, return to the Backup Administration and complete the registration by clicking on the Save button. Once the registration is complete, the Modify application button will replace the Use existing application button, allowing you to modify your registered application if necessary.
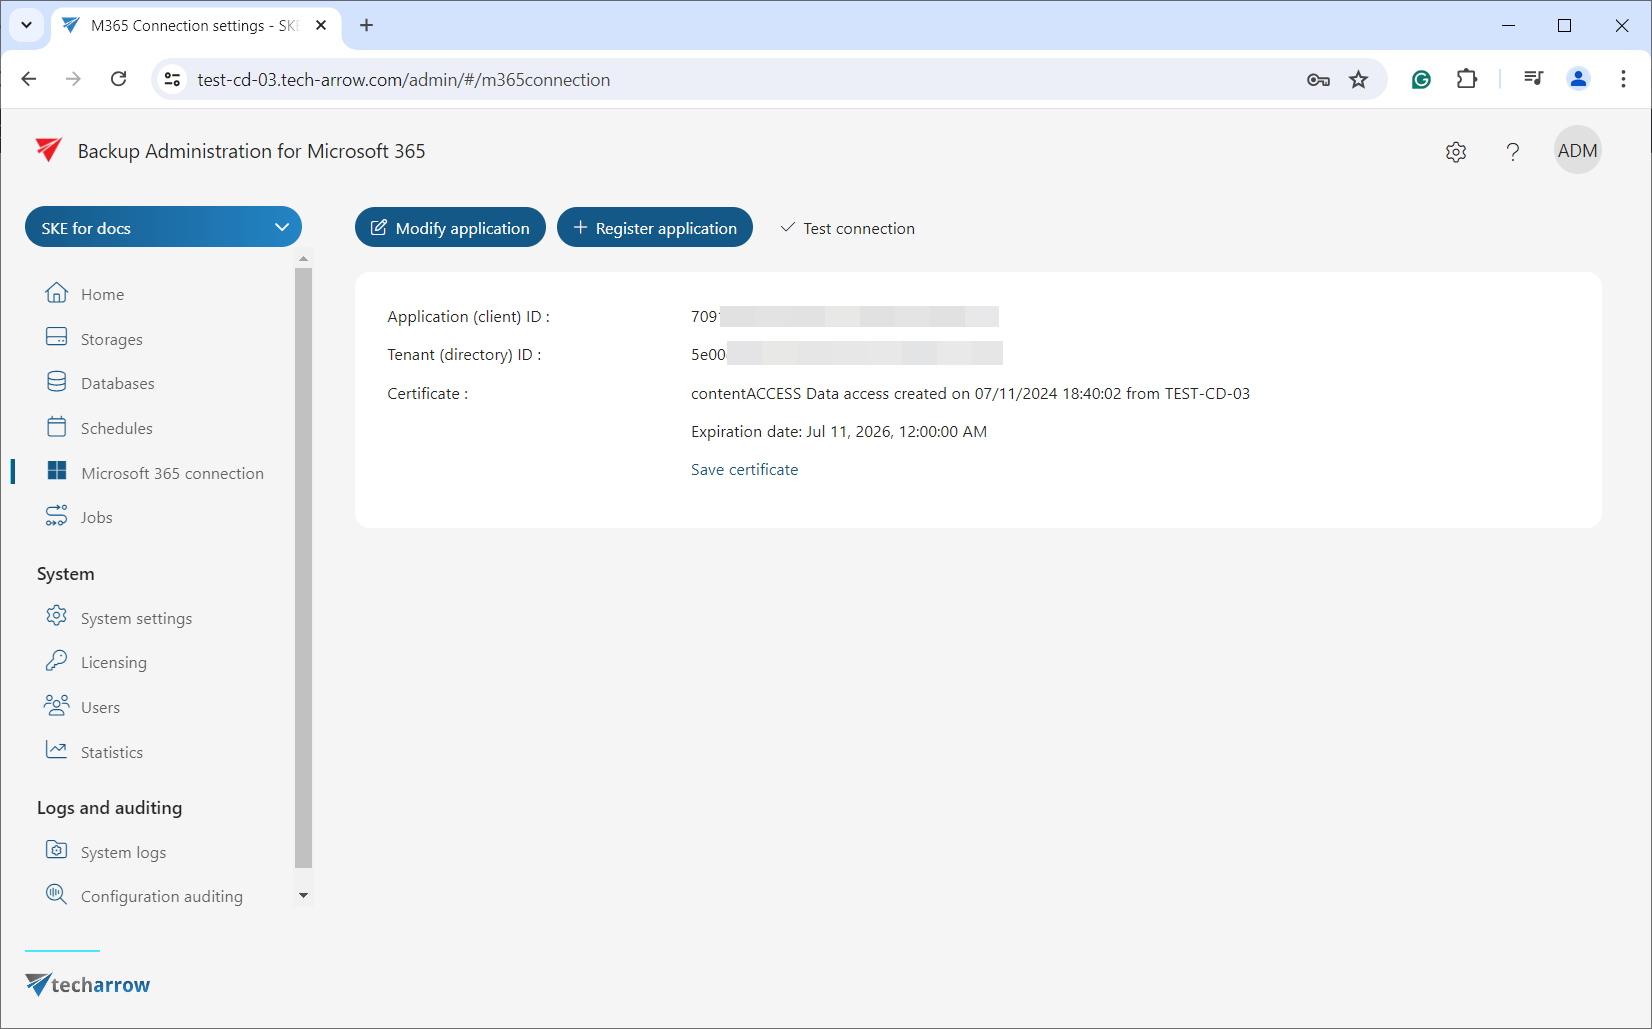
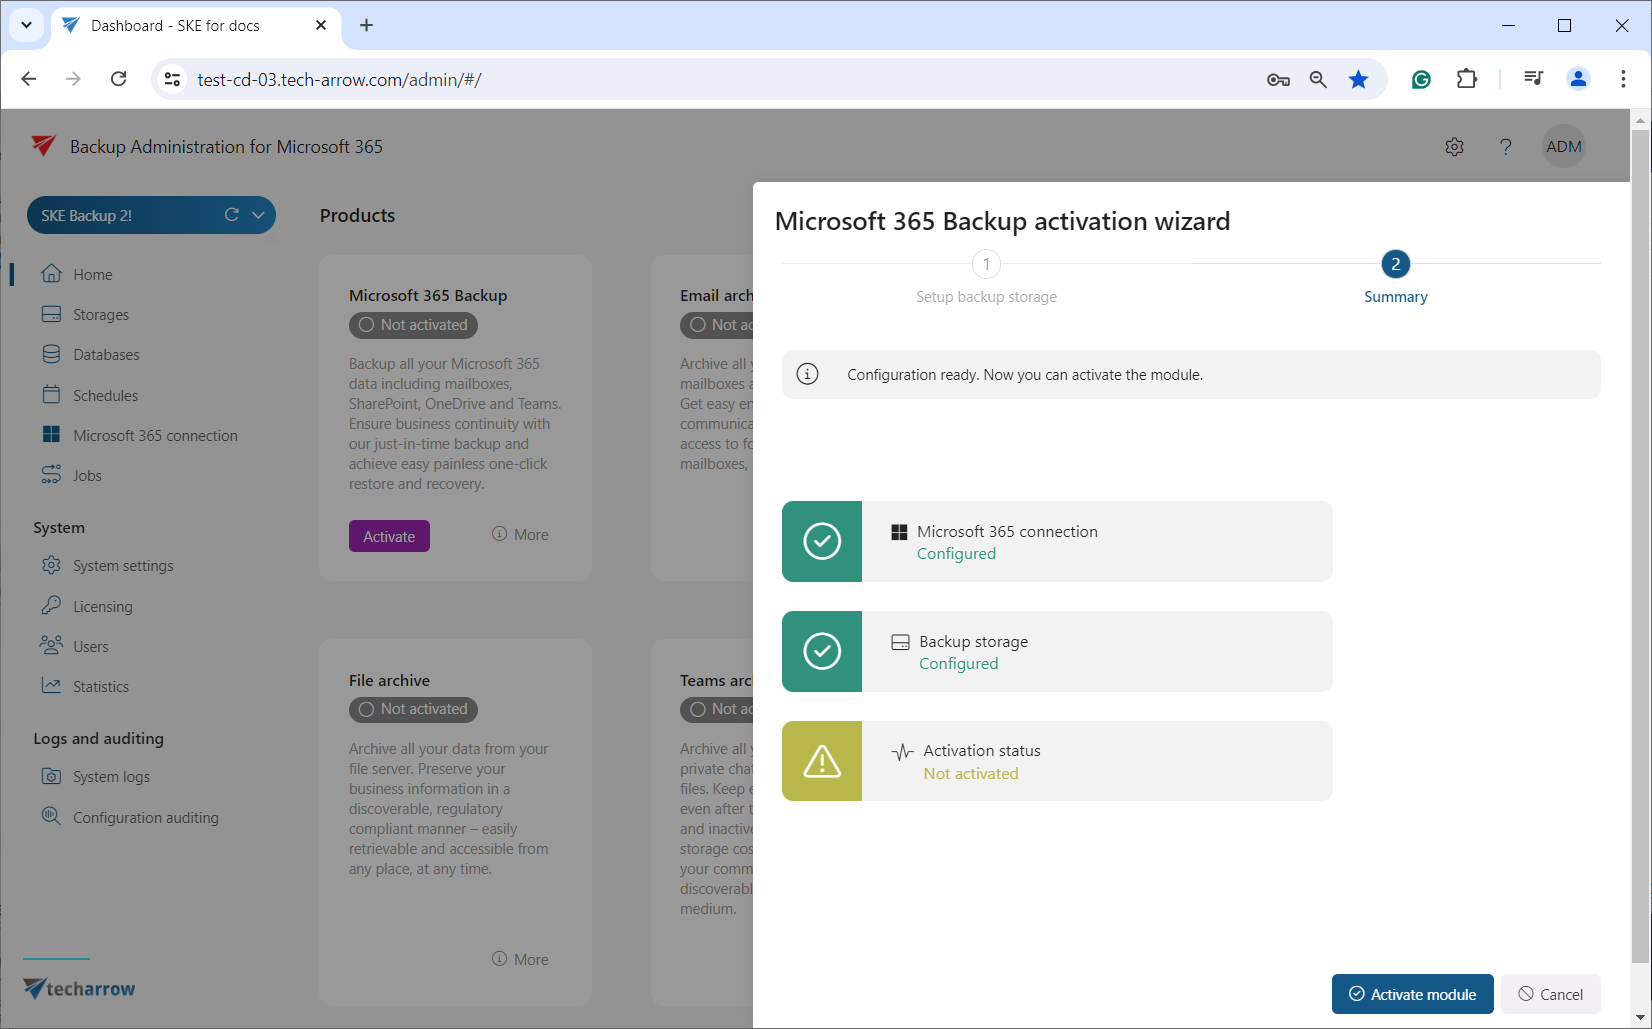
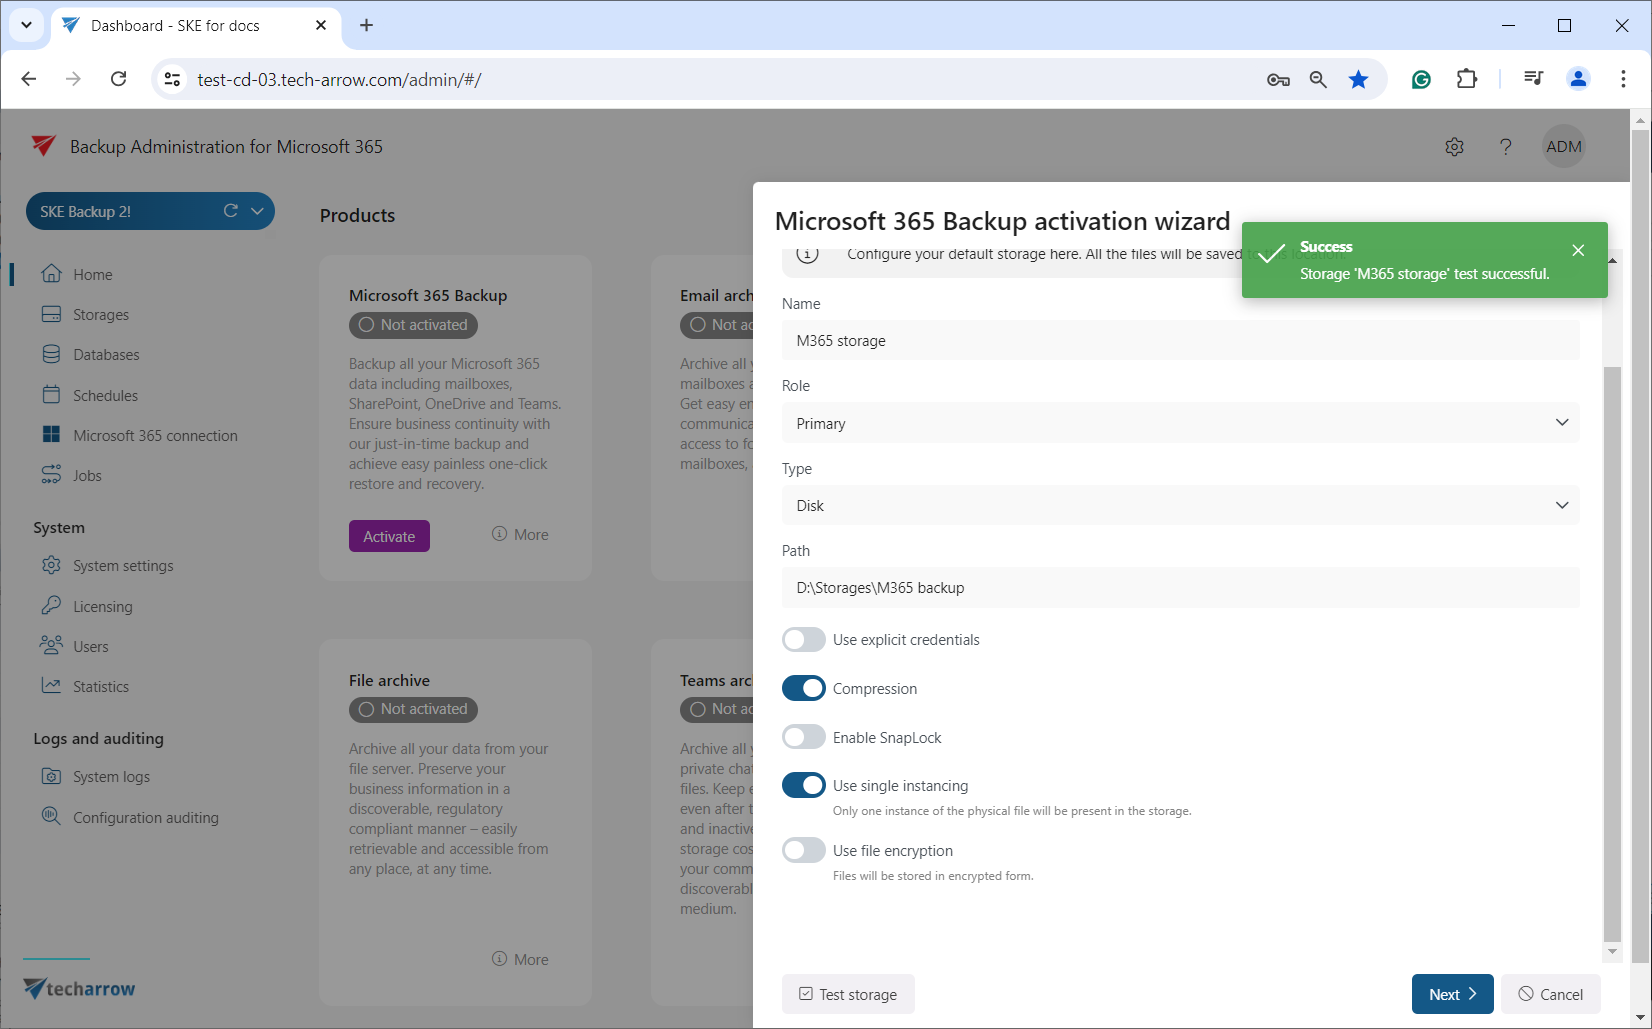
Once the M365 connection is set up, the M365 Backup activation wizard will guide you through setting up the backup storage and activating the module. Clicking the ‘Activate’ button on the Home page will guide you through the storage configuration and tenant activation. You can easily configure the backup storage in Step 2 and activate the module on the Summary page.
After this, you can create a backup job directly from the activation wizard or from the Jobs page.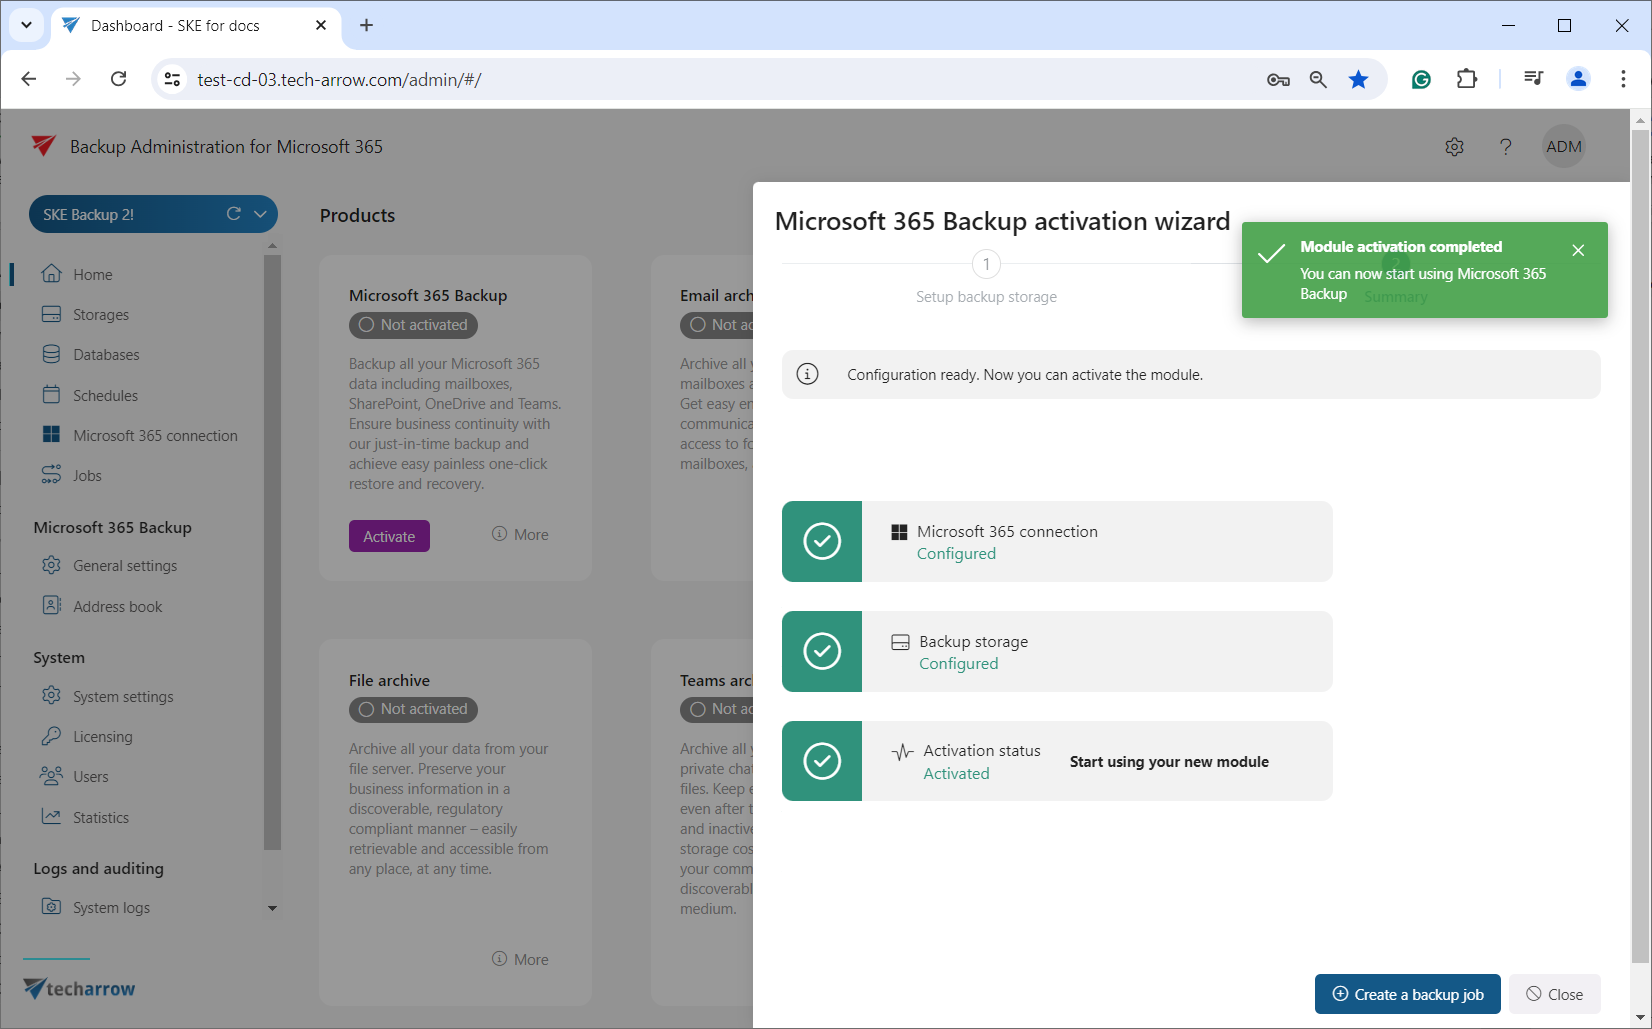
After the app registration is completed, you can proceed with creating the backup jobs.
