15.4.Teams archive Address book
Navigate to Teams Archive ⇒ Archive ⇒ View Address Book to open the View address book page:
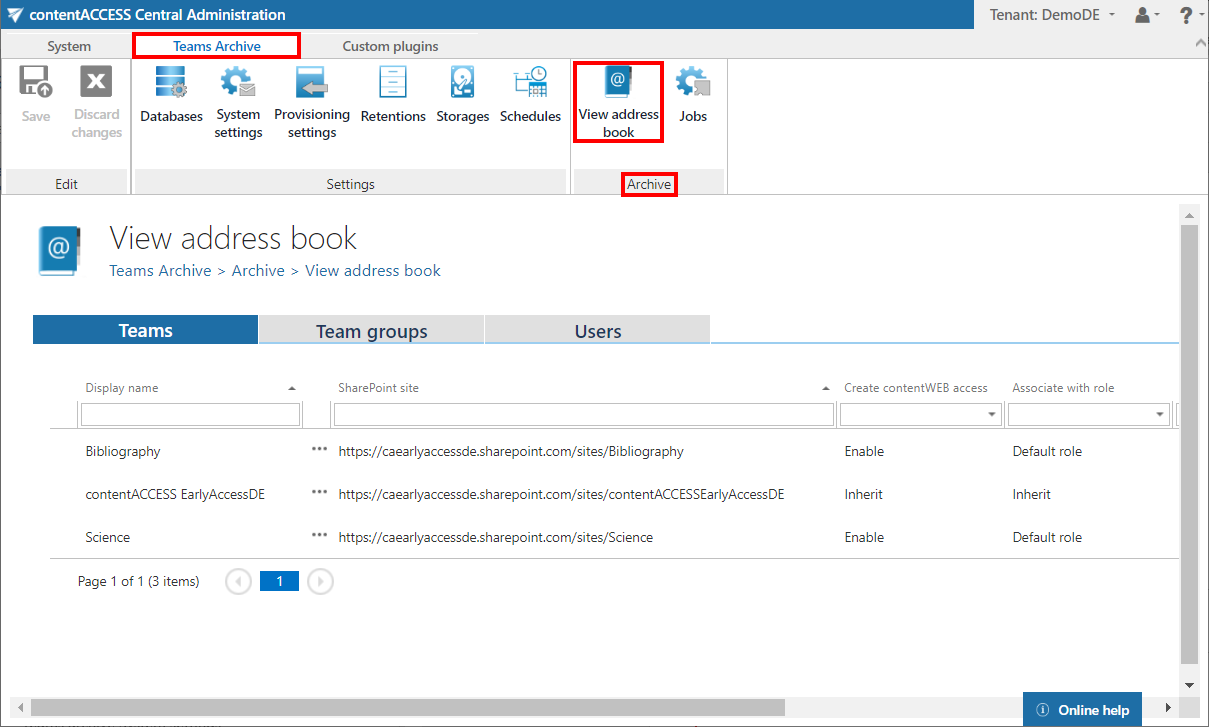
The address book contains a read-only list of objects that are provisioned in the address book. To simplify their management, contentACCESS provides the option to group teams into Team groups. This is especially useful and recommended to do in case that same archiving policies need to be applied on multiple teams (same database, store, index zone, contentACCESS user creation policy, etc.).
The objects can be added to the address book:
- by the provisioning job (Teams, users)
- created manually from the address book (Team groups)
A team group can be created by two ways:
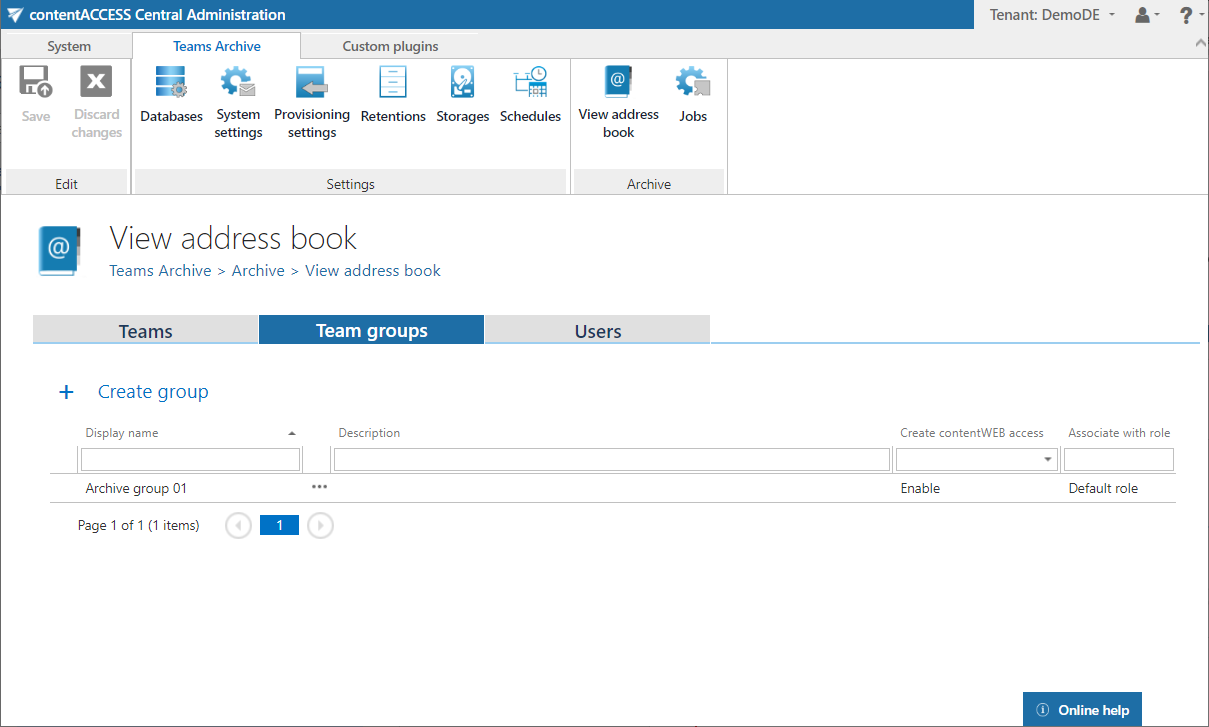
- from the Team groups tab
- from the Teams tab
Click on + Create group. A pop-up window will open. Here you need to name your group and can write also a description. After clicking on Create, your group will be added to the list of groups in the tab.
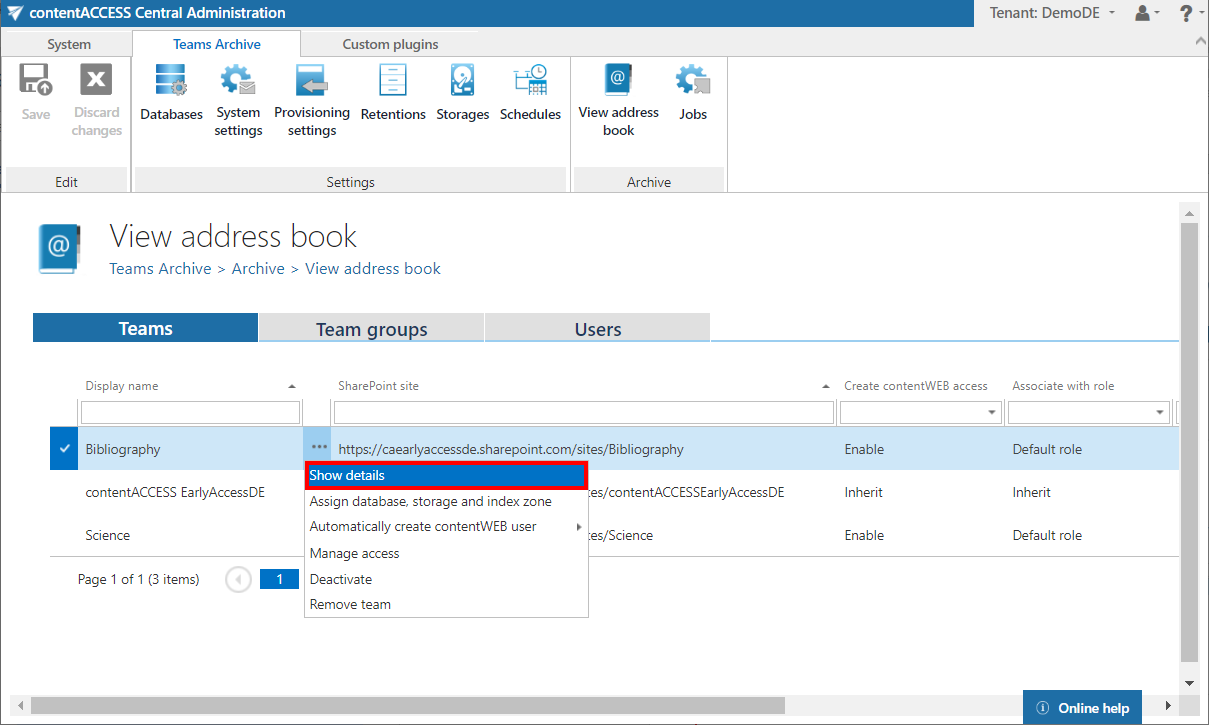
Select your desired team and click on Show details in its context menu.
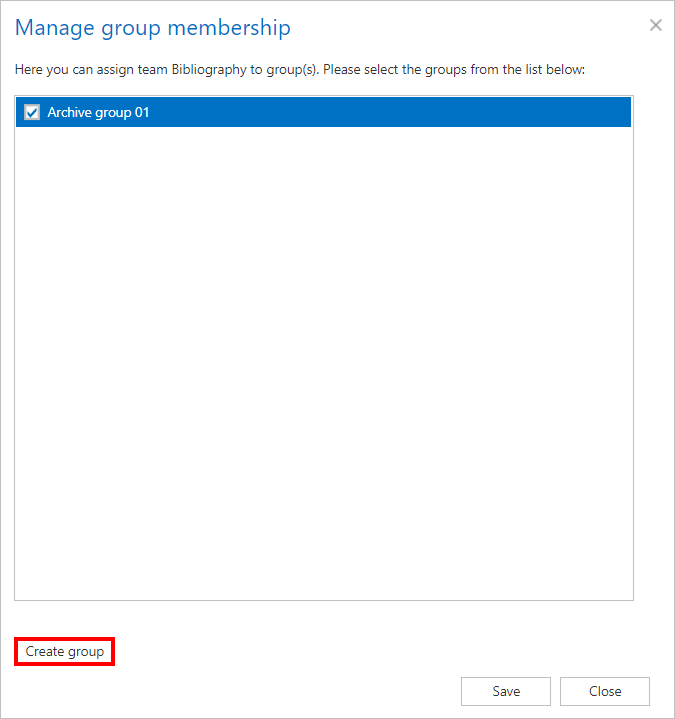
Switch to the Groups of the team tab and click on Manage group membership.
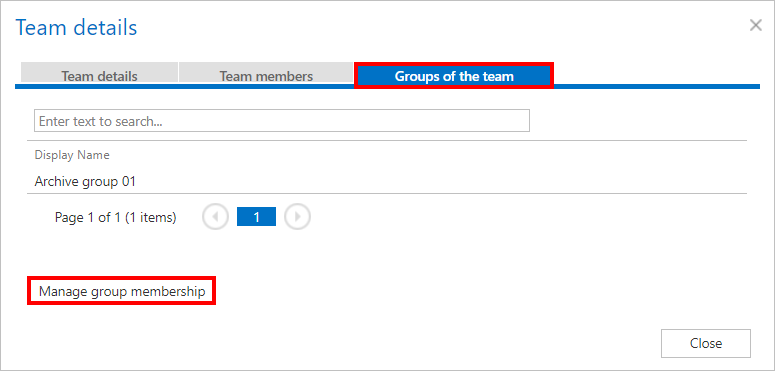
Here it is possible to Create group or assign the Team to one of the previously created groups.
The address book objects are organized on the page into three tabs: Teams, Team groups and Users.
The SharePoint site column displays the SharePoint site, where the content of the Team is stored.

The Create contentWEB access column indicates if there is a command for the Provisioning job to create contentWEB users for the selected object. If the create contentWEB access value displays Inherit on the Users tab, it means that the teams of the user and groups of the teams will be checked. The Inherit value on the Teams level means that the value set for the group of the team will be used (if the team is in more groups, the user will be created if at least one of the groups has contentWEB user creation enabled). Once a contentWEB access is granted (provisioning job must be run), every user of the provisioned object will be able to access the archived content of the objects he has the necessary permissions for.

The Associate with role column displays the role assigned/to be assigned for the object by the next running Teams provisioning job. By default, the objects inherit the default role specified in the Teams archive Provisioning settings, but the administrator can decide to assign custom roles for the objects.

The Teams archive database, storage and index zone assigned to the objects are displayed in the Archive database, Store and Index zone columns. Database and storage is assigned automatically by the first running archive job, or manually using the object’s context menu (this option is used when the selected team to archive does not have associated database and storage). If a Team does not have an index zone assigned, the next running indexing job will assign the index zone set in its configuration.

Column “Active” shows, if the respective object is active in contentACCESS. With this feature it is possible to deactivate no longer used objects, keeping the licenses under control. Deactivated objects are not touched by the Teams archive job, nor are they counted to the licensed objects. To set an object to active/inactive, the telemetry job must be run, too. It is running automatically every day or can be started manually on the Licensing page (System tab => Services group => Licensing, option “update telemetry”).

Column Deleted shows if the selected Team was deleted from Teams.

If the selected Team was deleted, column Deleted on will show when it was deleted.

Column Description shows the description that was written for the selected group.

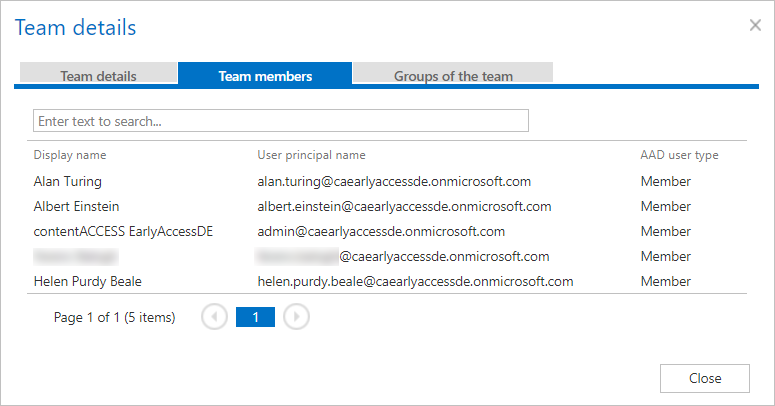
In the column User principal name, the email that the user is using to log into Teams is displayed.

The AAD user type column shows the user type of the selected user in Azure Active directory. There are 2 options: Member and Guest.

Using the Team’s/group’s/user’s context menu, the administrator with the necessary permissions can:
- View object details
- Assign database, storage and index zone for Exchange groups and mailboxes
- Automatically create contentWEB user also with custom permissions
- Manage access for second users to the selected Teams
- Activate/Deactivate (Teams)
- Remove team/group/user
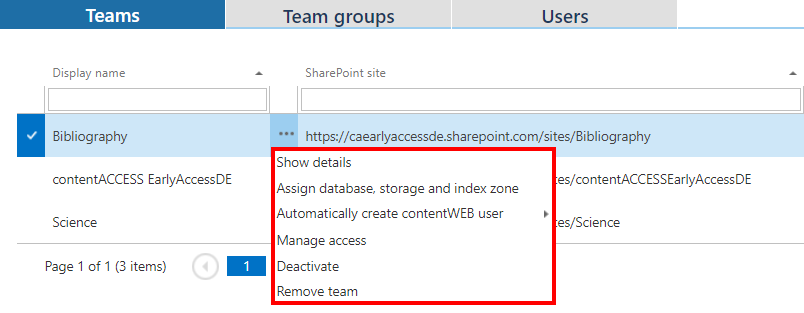
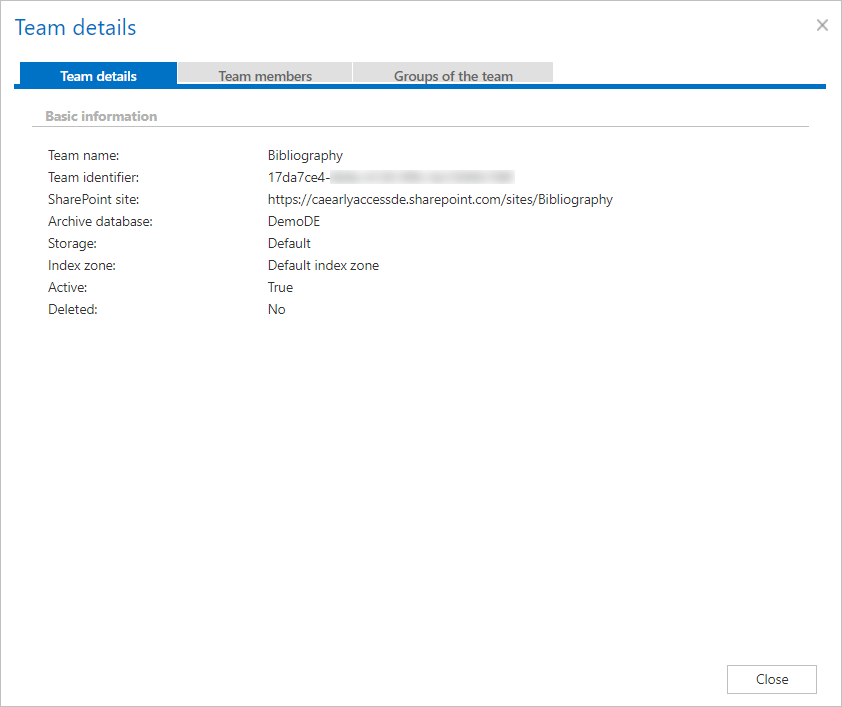
After clicking on Show details, a pop-up window opens. Here it is possible to view the Team’s details, members of the Team and also groups that the Team belongs to.
On the Team members tab, it is possible to see what members belong to the currently selected Team.
On the Groups of the team tab, it is possible to Manage group membership and create new groups as mentioned above in this section.

