2.2.Update of contentACCESS
Considerations before the contentACCESS update:
- 1) check the Software requirements and contentACCESS prerequisites – what needs to be installed on the machine (where the contentACCESS installation wizard will run) and what is needed for the contentACCESS archive server
- 2) updating from an older version can cause a longer database update – planning a wider update window is recommended!
- 3) read the release notes to learn more about the new components and features
The update of contentACCESS is similar to the process of the first installation.
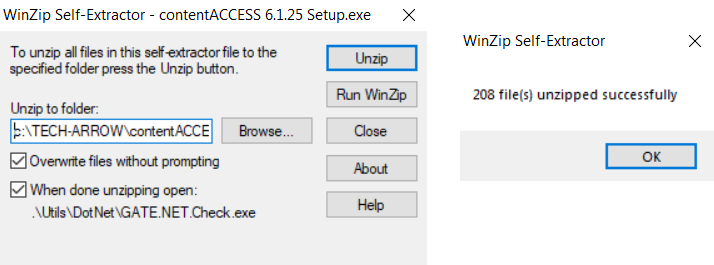
1. Download and run the setup package (contentACCESS X.X Setup.exe). As default, it unzips to C:TECH-ARROWcontentACCESS_Package folder, but you can use the Browse button if you want to change the directory. Click Unzip. After the files have been unzipped successfully, click OK.
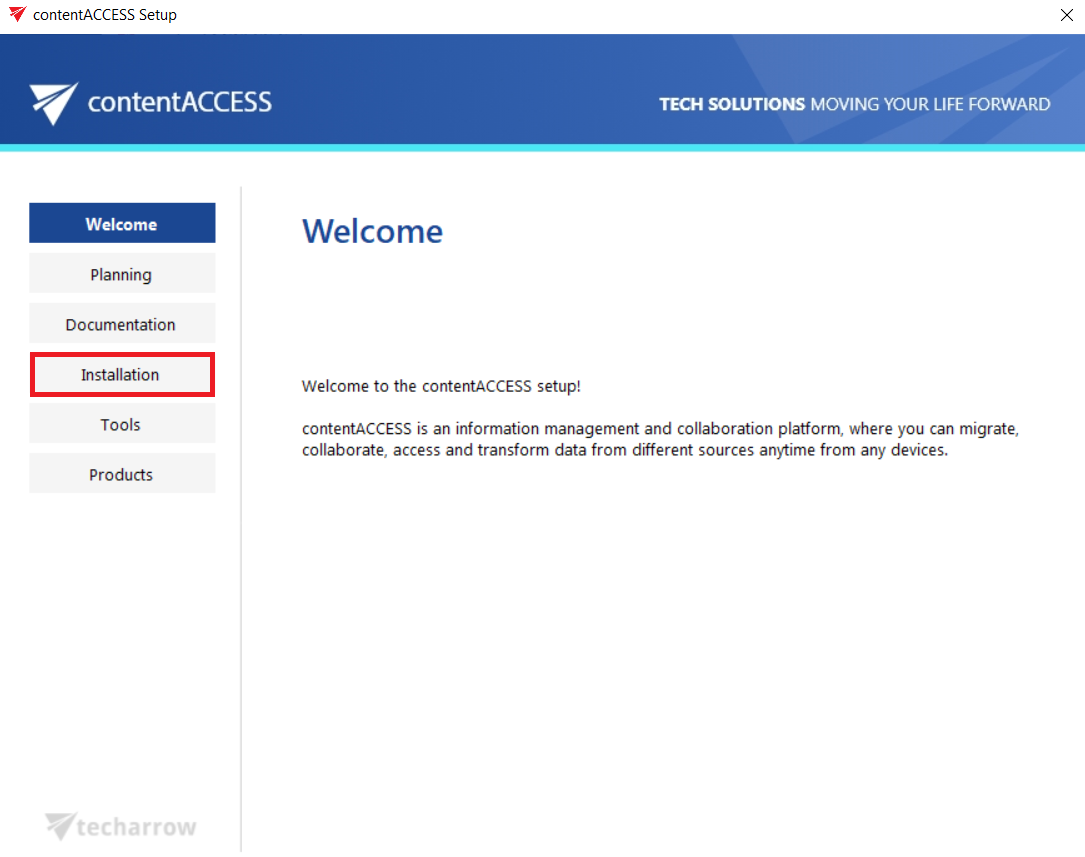
2. contentACCESS installation wizard will open, and it will lead you through all the steps of the updating/deploying process. All components of contentACCESS can be updated during the deployment process. Click Installation on the Welcome page.
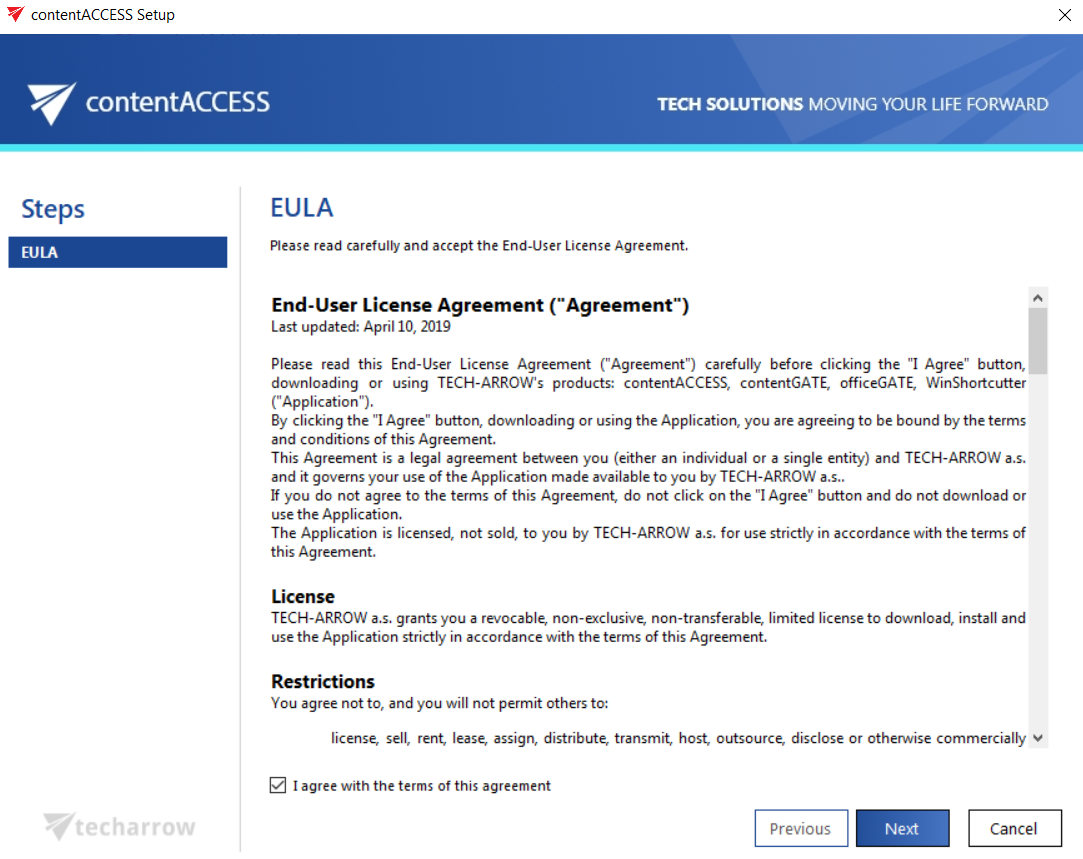
3. The first page is the End User License Agreement, where you need to check the checkbox I accept the term of agreement before you can click Next. The EULA needs to be accepted even if you update the contentACCESS from a previous version.
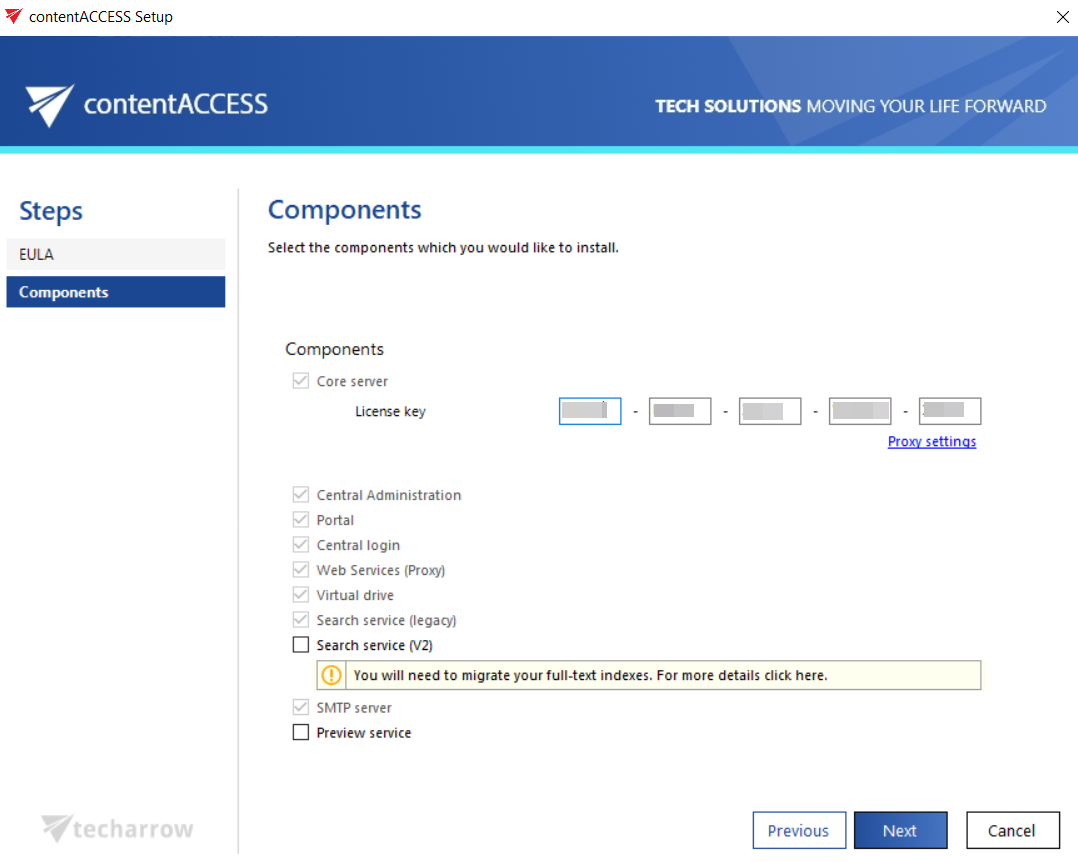
4. During the update, the Installation type step is skipped, and the Components page appears for the users. Here, you can check the new contentACCESS components you want to install during the update. You can always read more about the new components and features before the update in the release notes. The components are fully described in chapter contentACCESS components. It is recommended to read this section about the new components before you select them to be installed.
When you update the contentACCESS, the license key is already applied from the previous version, so you only need to select the new components and click Next.
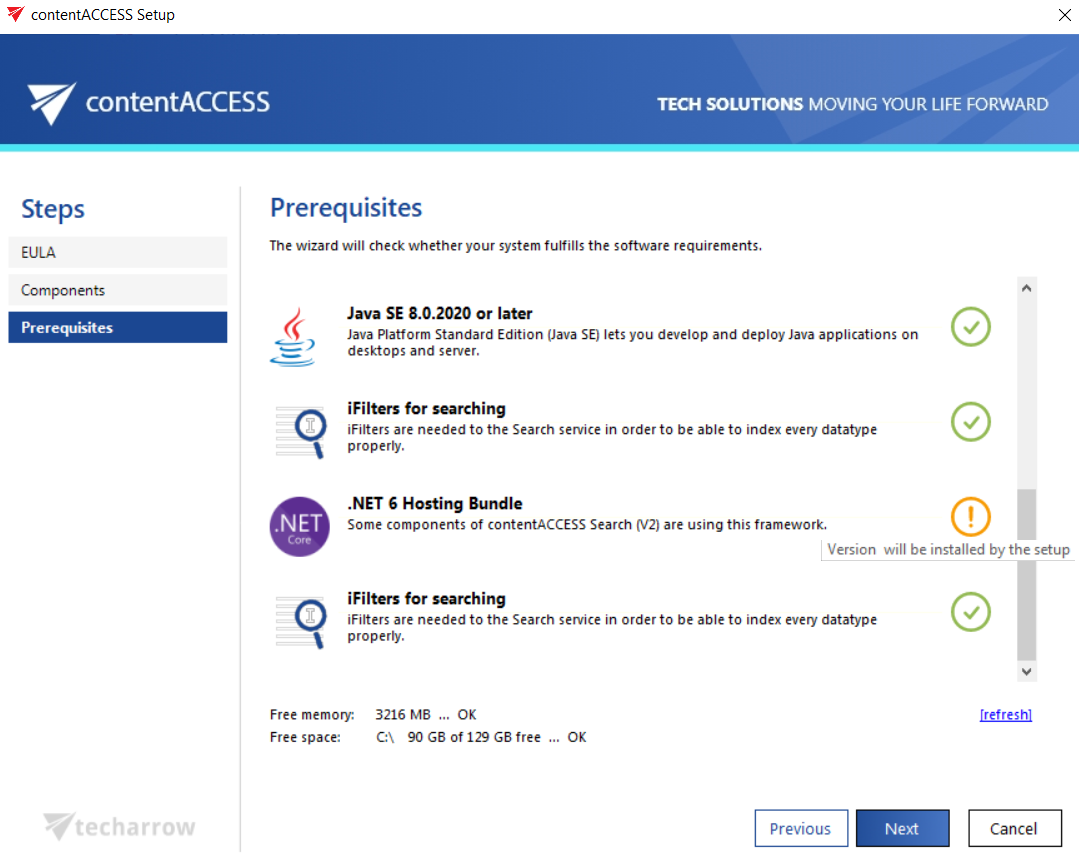
5. On the Prerequisites page, the wizard will check if your system (still) fulfills the software requirements. Some of the missing prerequisites will be installed directly from the wizard during the installation (having the yellow mark), but some must be installed manually (marked with the red cross).
Use the [refresh] button to actualize the prerequisite information after the missing software is installed. If it still doesn’t recognize some, restart the server and start the contentACCESS installation again. Once it is ready, the user can continue with the installation process. After the wizard has run the system requirements check, click NEXT.
For more information about these requirements, check the section above: Software requirements.
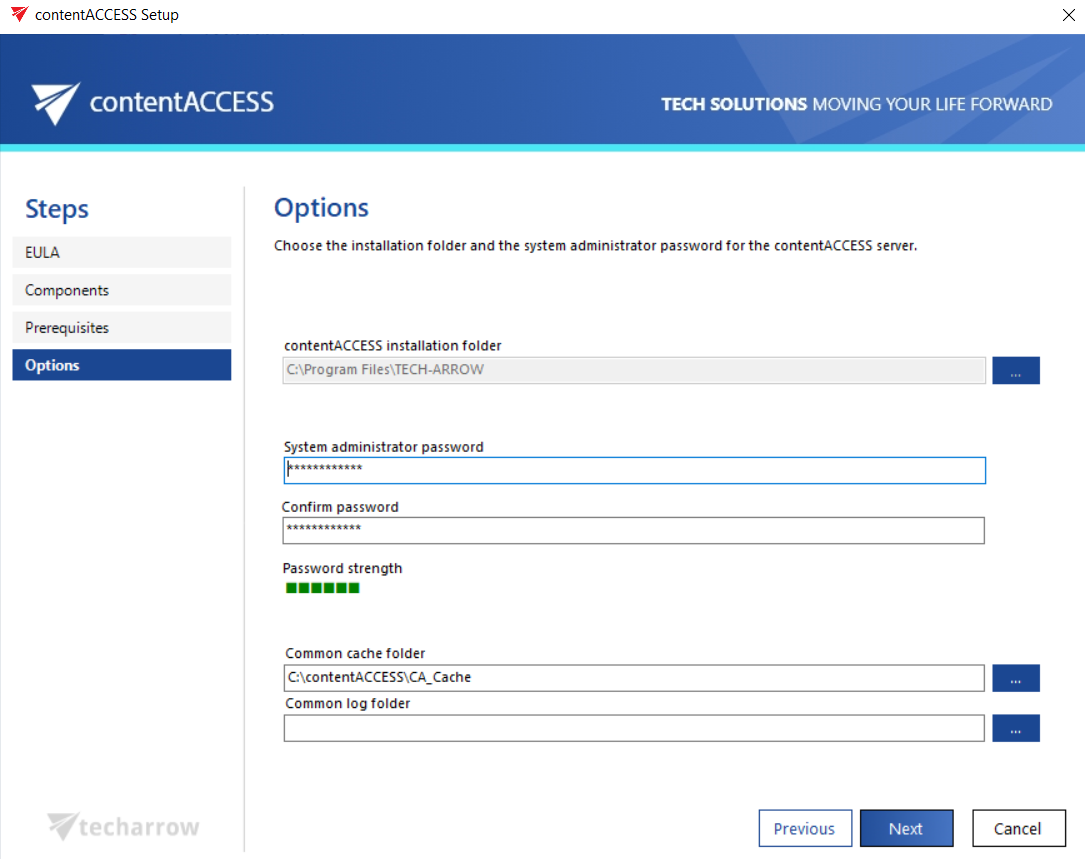
6. In the first install process, the next step is to select the installation base folder on the Options page. During the update, the base folder, the system administrator, and cache folder sections are filled out (saved from the previous installation process). In the latest versions of the contentACCESS, a new section appears, where you need to specify a Common log folder. This folder will be used for saving the logs from the contentACCESS. Click Next.
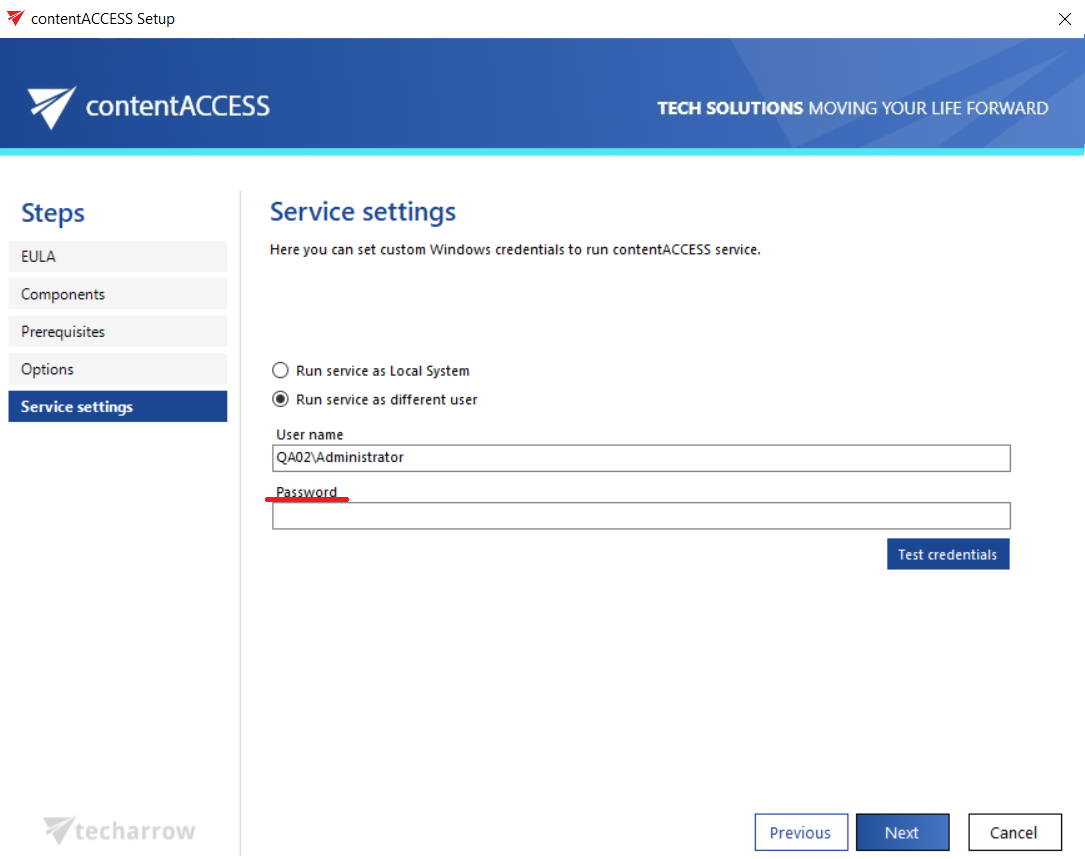
7. Service settings – here, you can keep the original settings or switch to the other option. If you previously selected the Run service as different user, during the update, you must re-enter your password to proceed. You can also test the credentials by clicking on the Test credentials button. Then click Next.
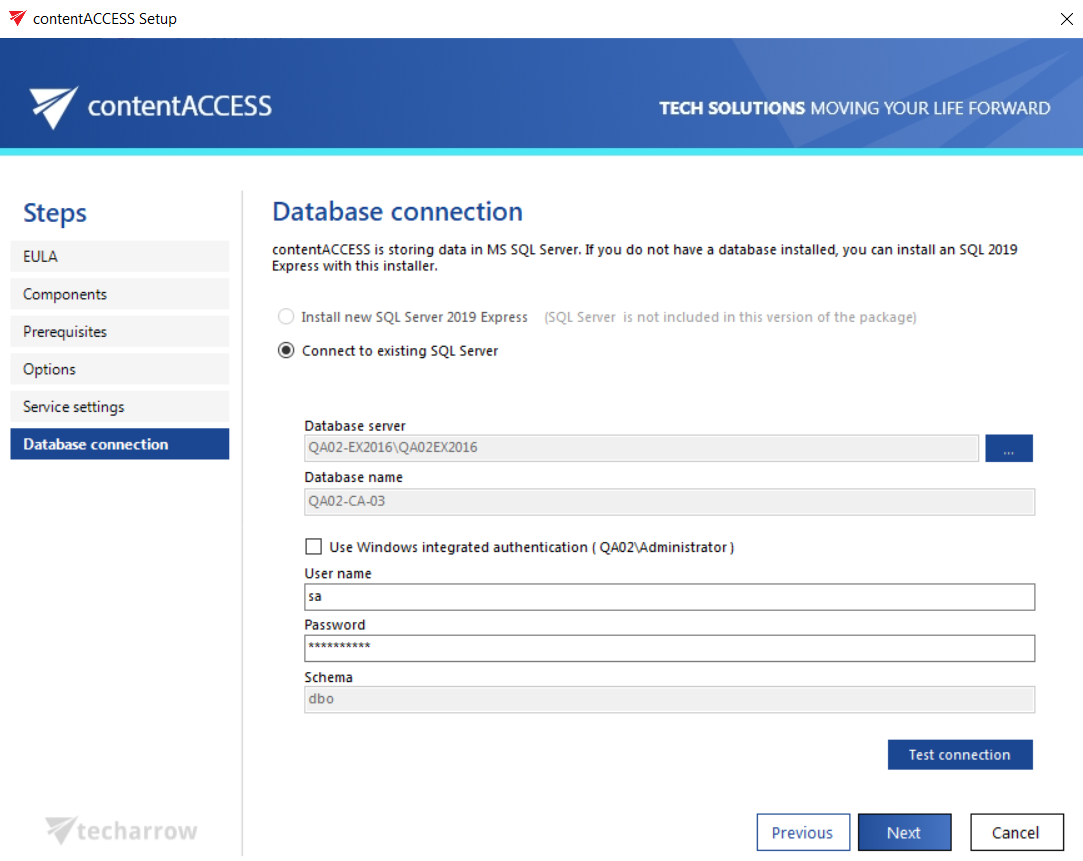
8. On the Database connection page, if it’s required, you need to re-enter the password, and you can also check the Use Windows integrated authentication checkbox. The other sections are disabled for safety reasons (changing the settings could cause issues in the database and in retrieving the archive date).
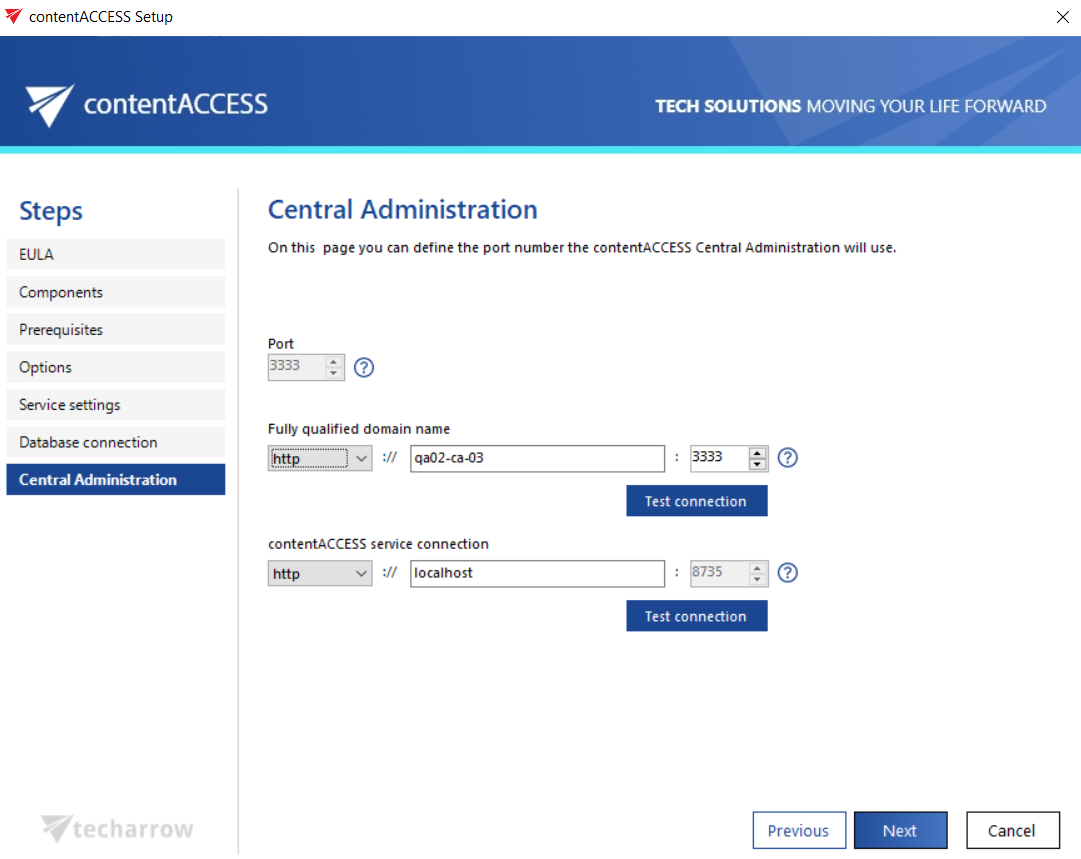
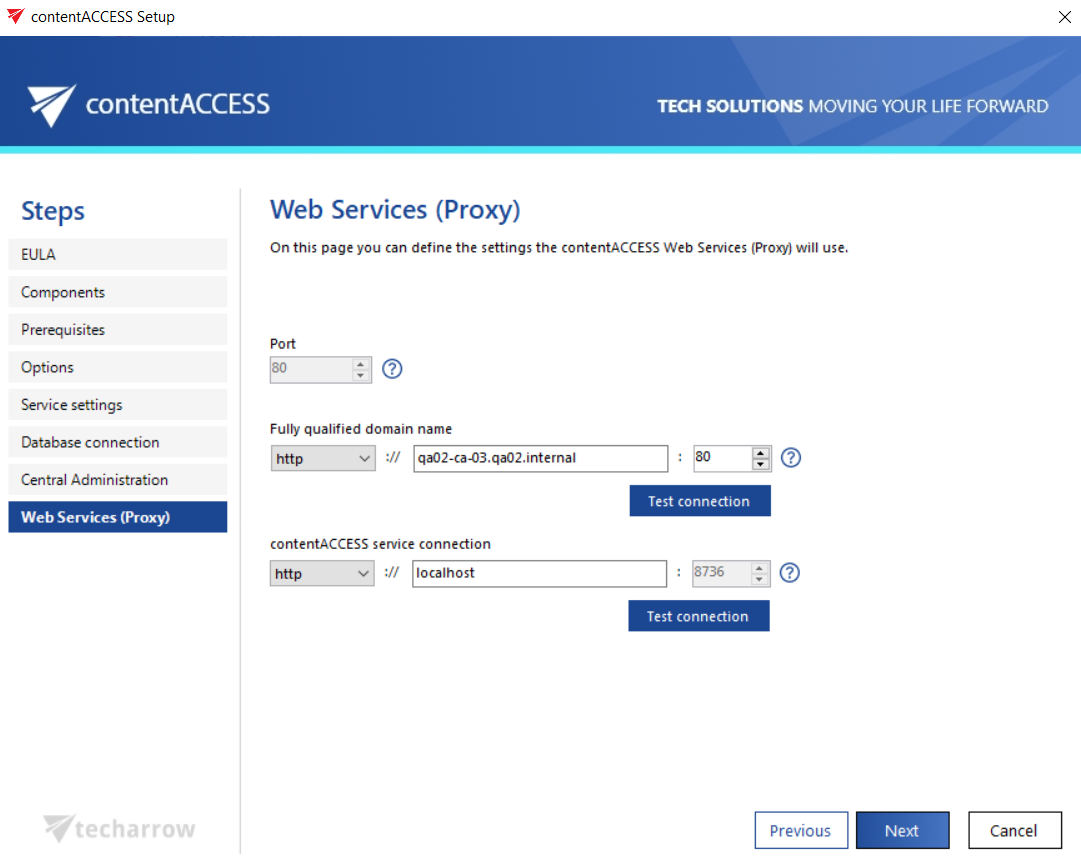
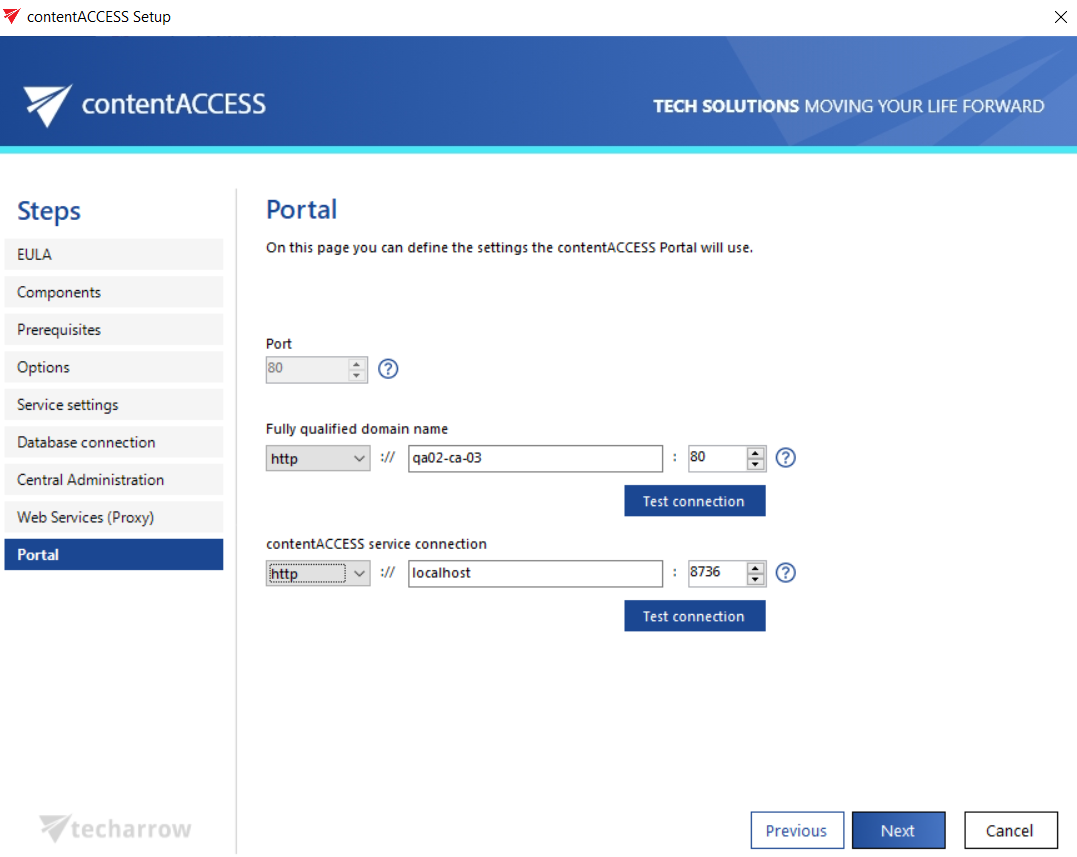
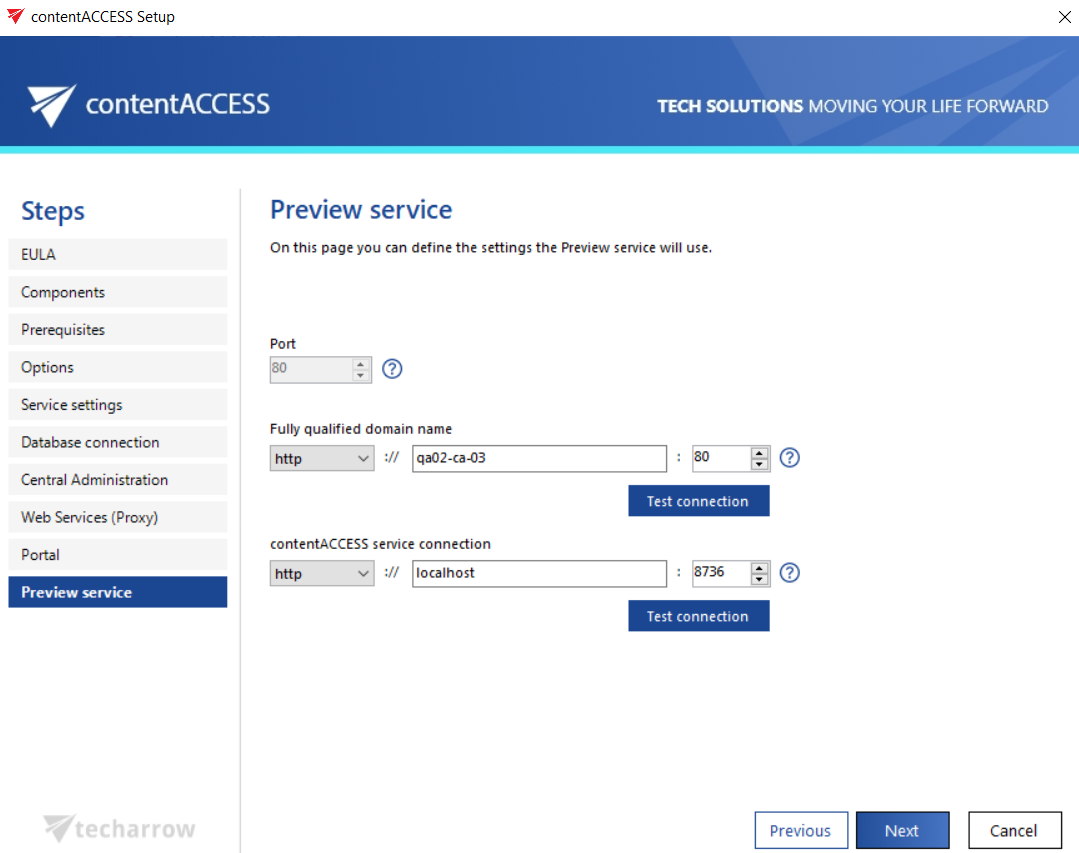
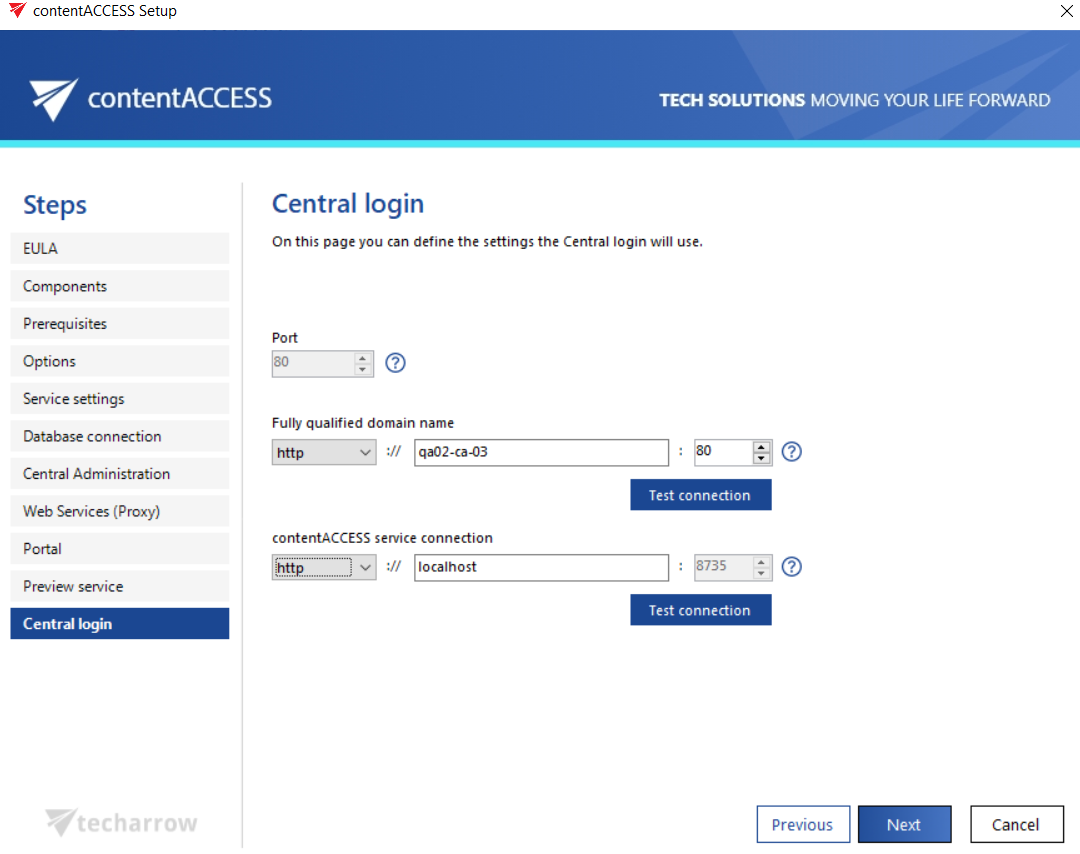
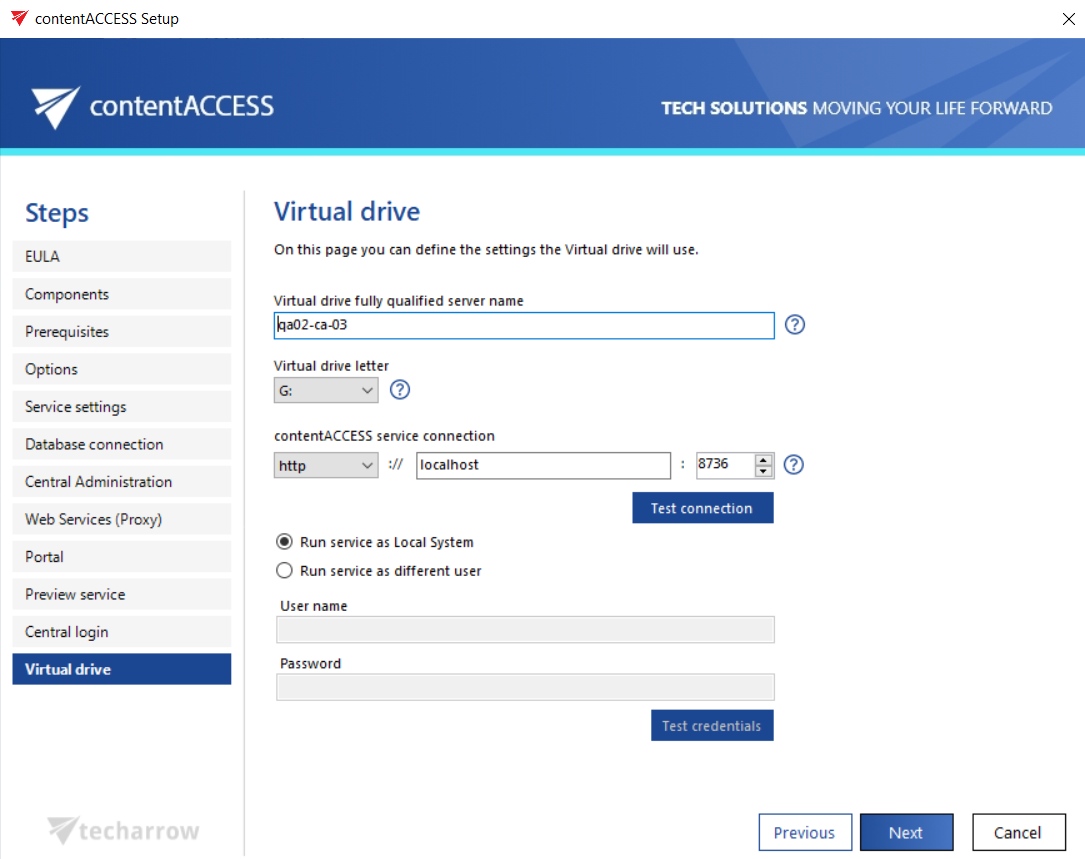
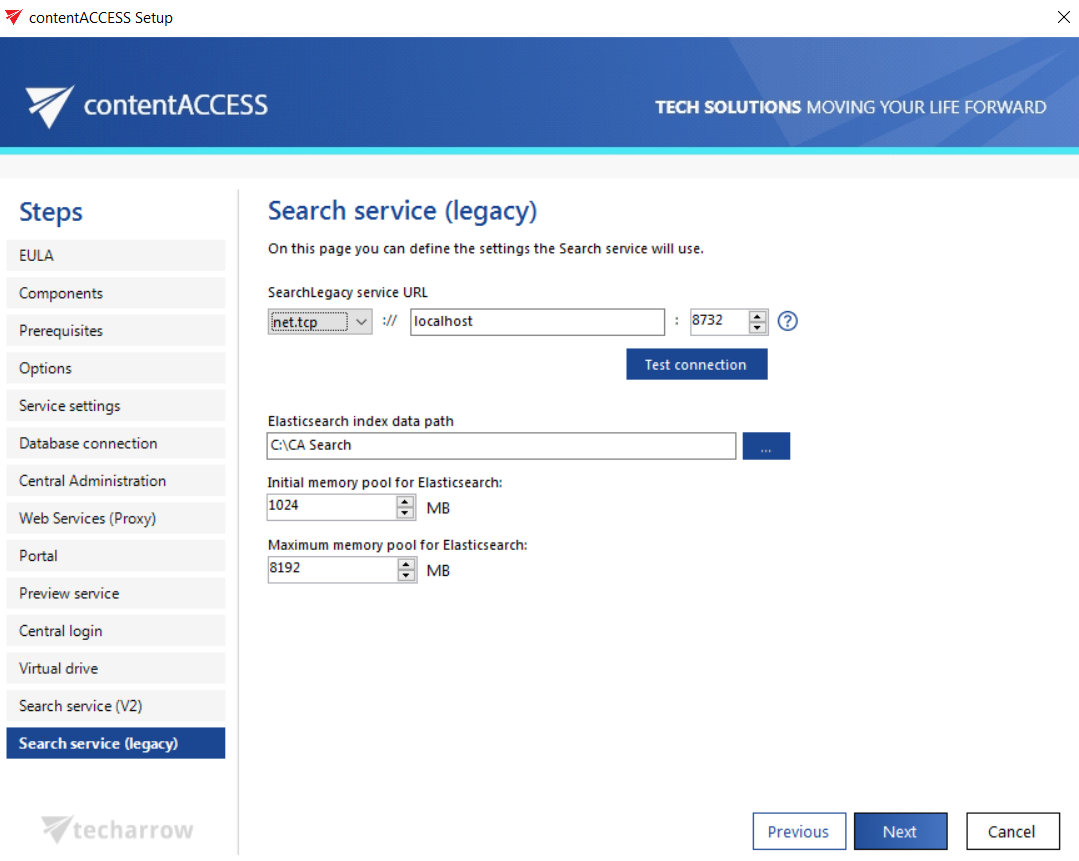
9. You previously defined the port number, the domain name, and the connection, and these settings are kept for the following components:
- contentACCESS Central Administration
- contentACCESS Web Services (Proxy)
- Portal
- Prievew service
- Central login
- Virtual drive
- Search service (legacy)
In the update process, you can go through the pages without editing them. For more information about these components, please read the contentACCESS components chapter.
10. When you update from a version, which did not support the Search service (V2) component, you need to enable and install it during the update. First, you need to check the checkbox on the Components page (see above), then set the Elasticsearch index data path by pasting the copied folder URL or browsing from the menu. You can also define how to run the Elasticsearch service (as Local System or as different user). When all set, click on Next.
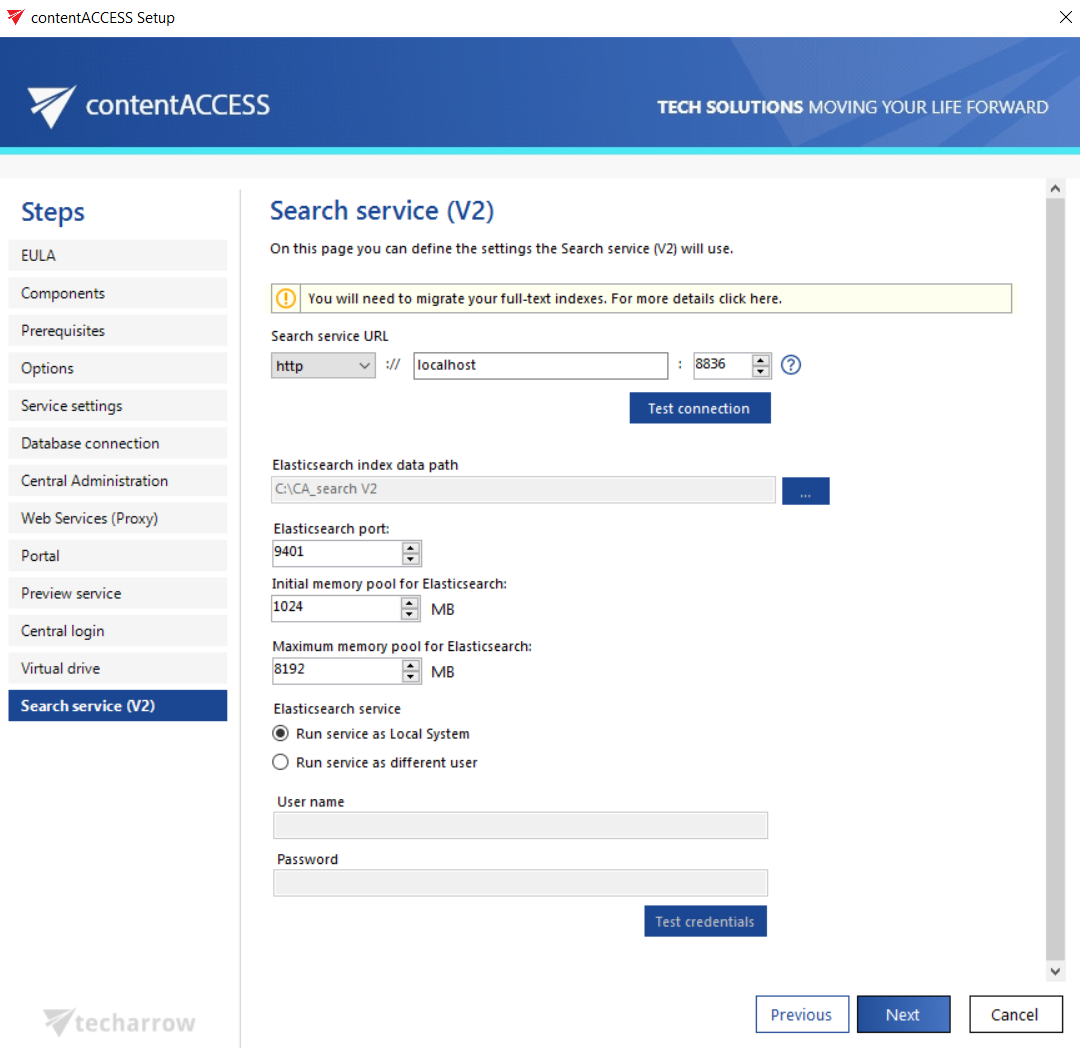
For more information about the installation of the Search service (v2) component, read this chapter of the manual. In case you would like to learn more about why we have two Search services, please refer to the “Why there are two Search services?” section on the contentACCESS setup package page.
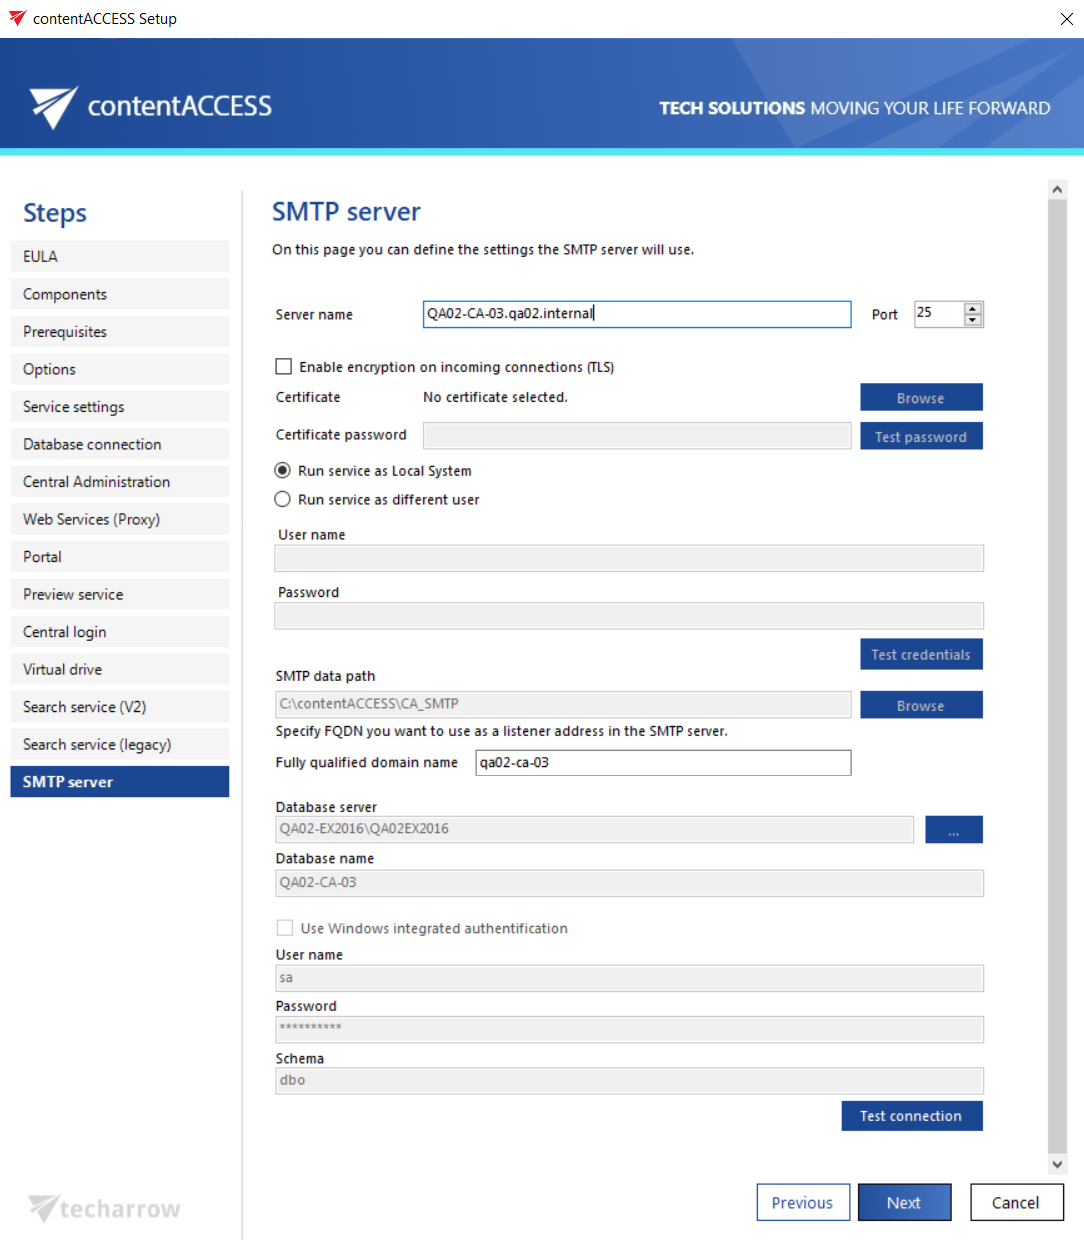
11. If the SMTP server was configured with the previous version(s), all you have to do to click on Next and proceed with the update. If you decide to install the SMTP server now, you can use this section as the guide for the setup.
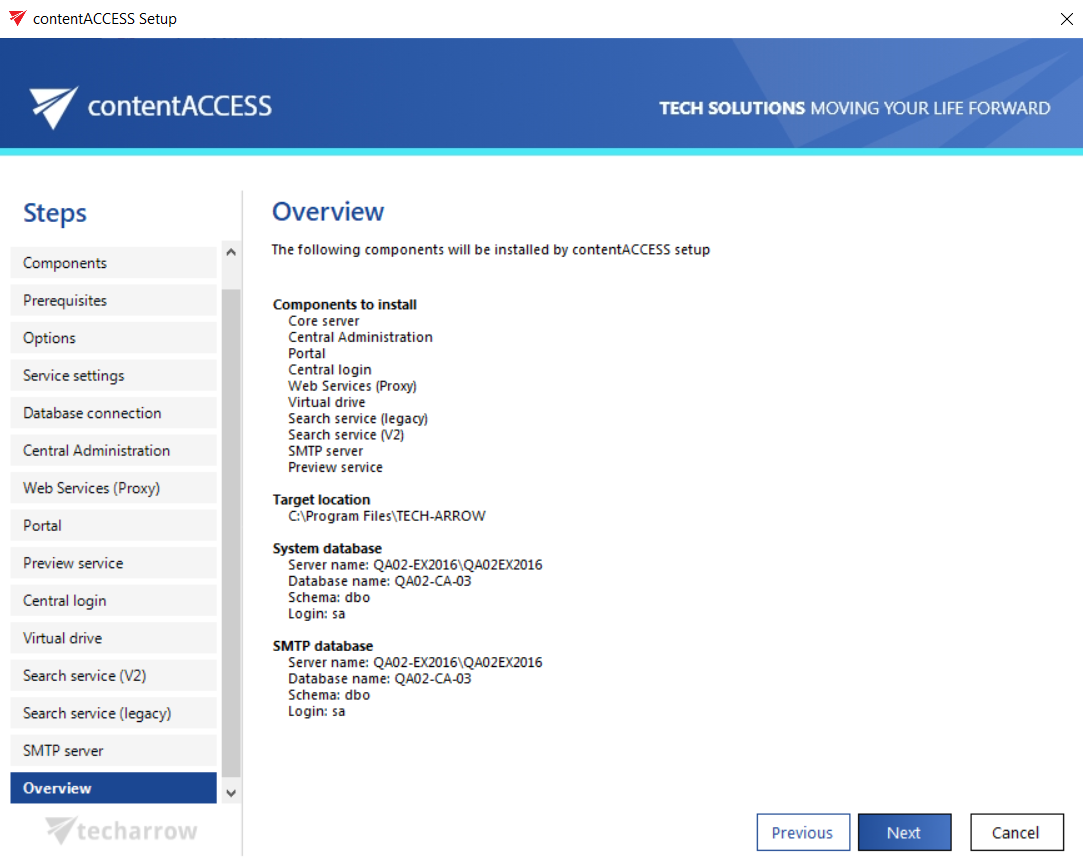
12. The Overview step is the same for the first install and the update: the contentACCESS setup gives a general overview of the components you selected to install on the server. Click Next.
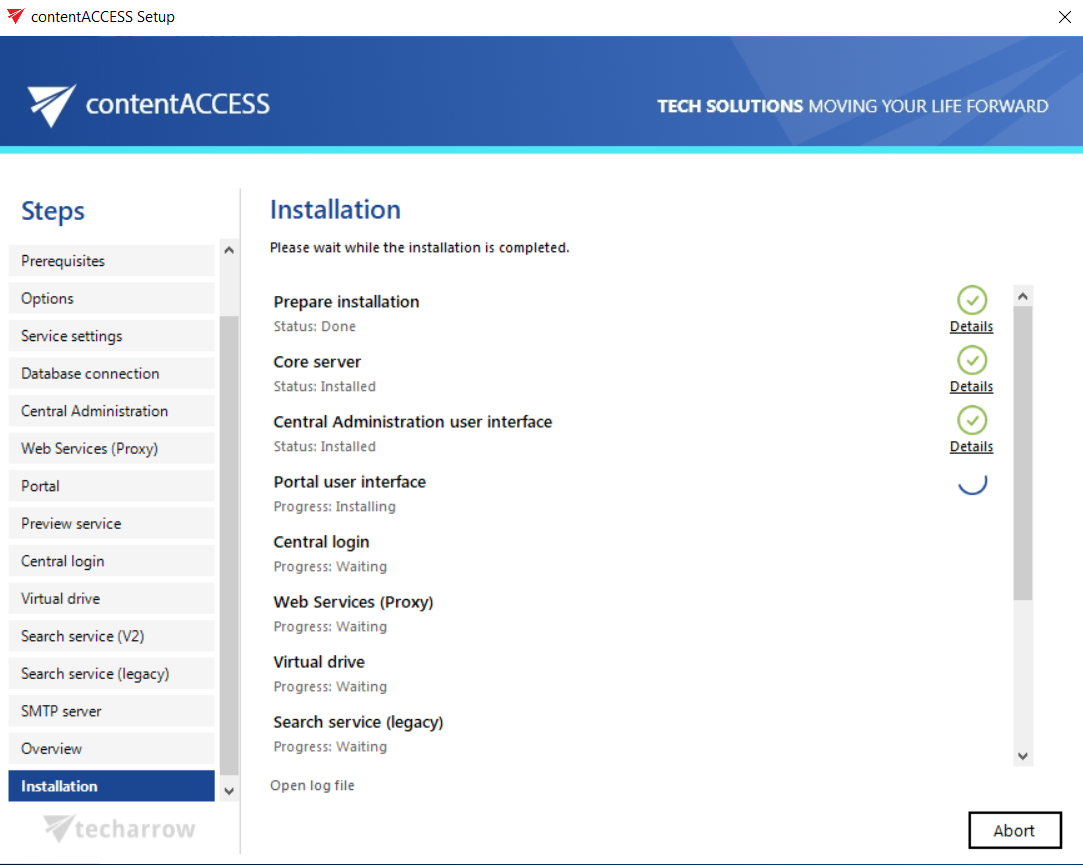
13. Click Install and wait until the installation process is completed. In the latest version(s), we display the action when the package stops the contentACCESS services and restarts them after the components are installed/updated. It is possible that for some reason the package does not restart the services, in which case you have to restart them manually.
It is possible that for some reason the package does not restart the services, in which case you have to restart them manually. If this is the case, a blue restart icon is displayed in the “Finalize Installation” row.
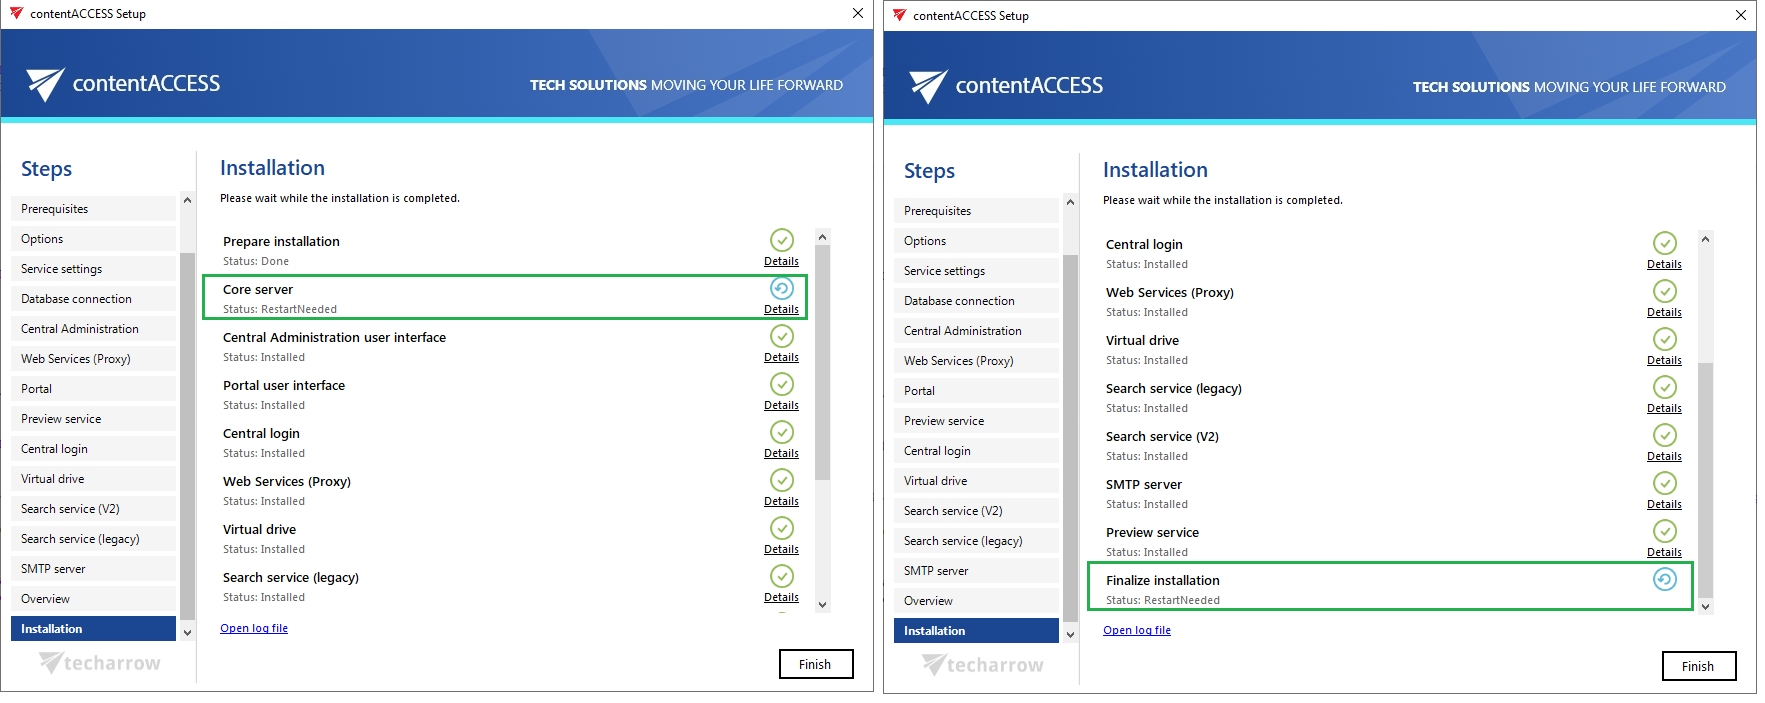
14. The last step is the Summary page. This window will give an overview of the already installed products:
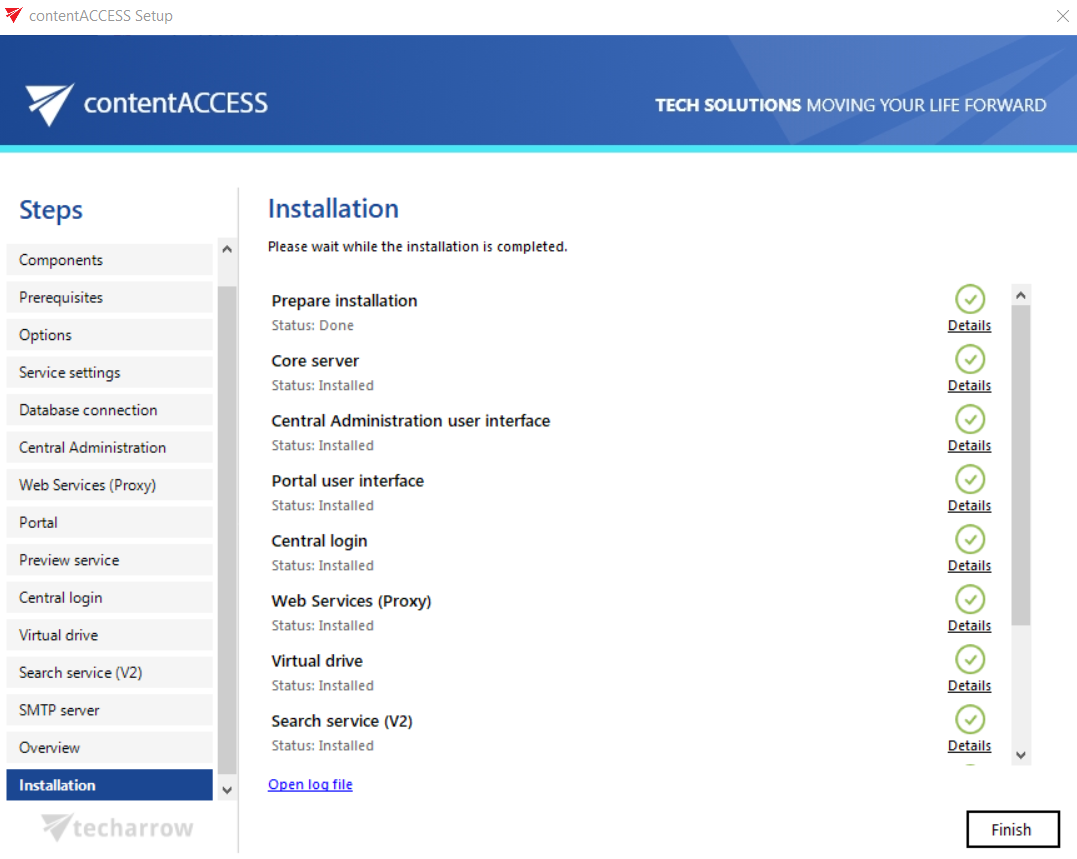
On any failure, the same installation was to be started and executed again. This will repair the installation. Before the repair is performed, it is highly recommended to restart the server.
Click Finish to complete the whole installation process.
After installation is completed and you want to continue with further settings and configurations in the contentACCESS Central Administration, click on Yes in the following popup window. This dialog pops up if you have installed the component now or if you have already installed it on another server (distributed environment).
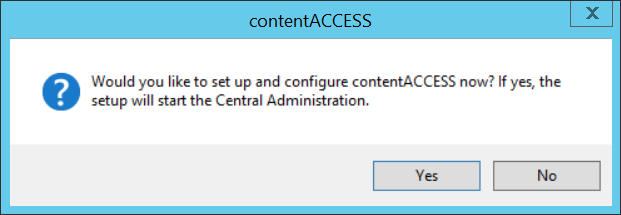
After the update, please verify the functionality, and check the UI for new settings/configuration options.
It can happen that the database update does not run/finish correctly. In that case, the following (warning) message appears. If this happens, you can “Deploy” it automatically or “Download and deploy” it manually (then re-run the checking).

