6.2.5.Mapping source objects to target objects
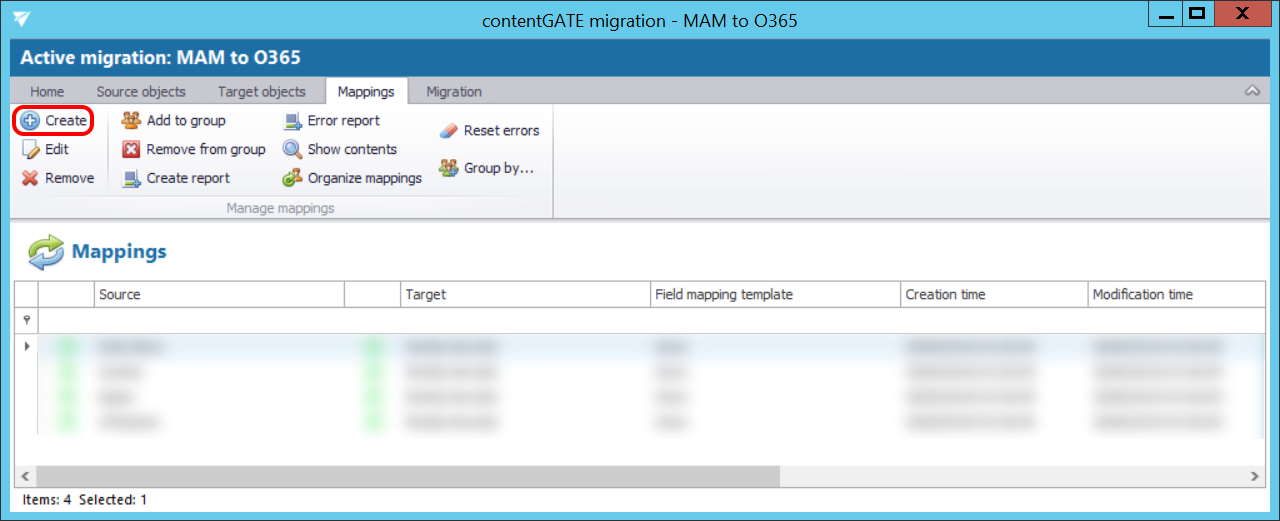
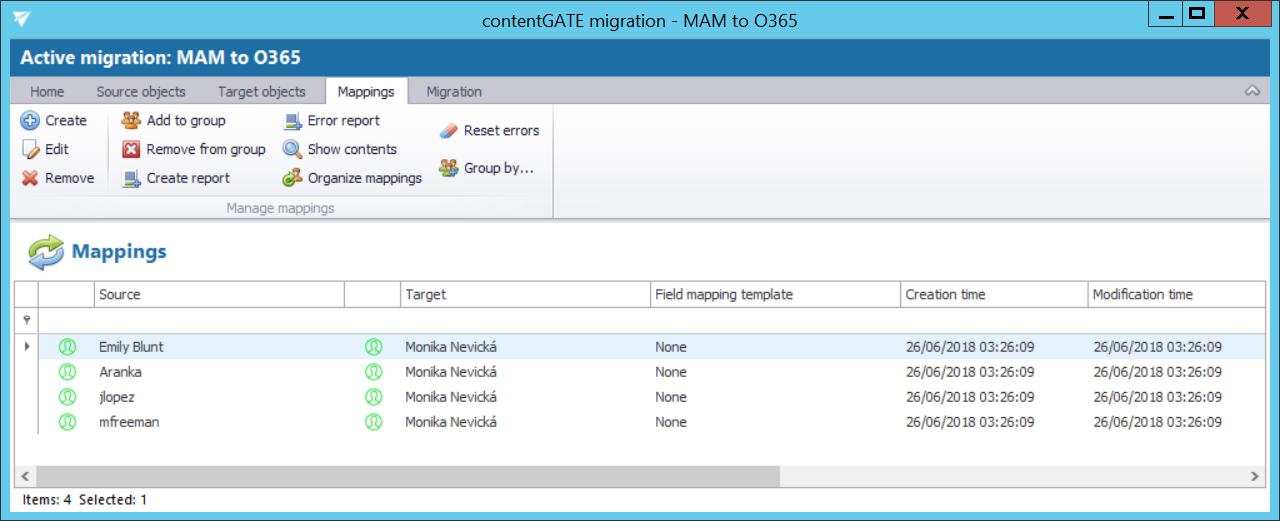
Open the “Mappings” tab and click “Create” in the toolbar to create the desired object mapping(s).
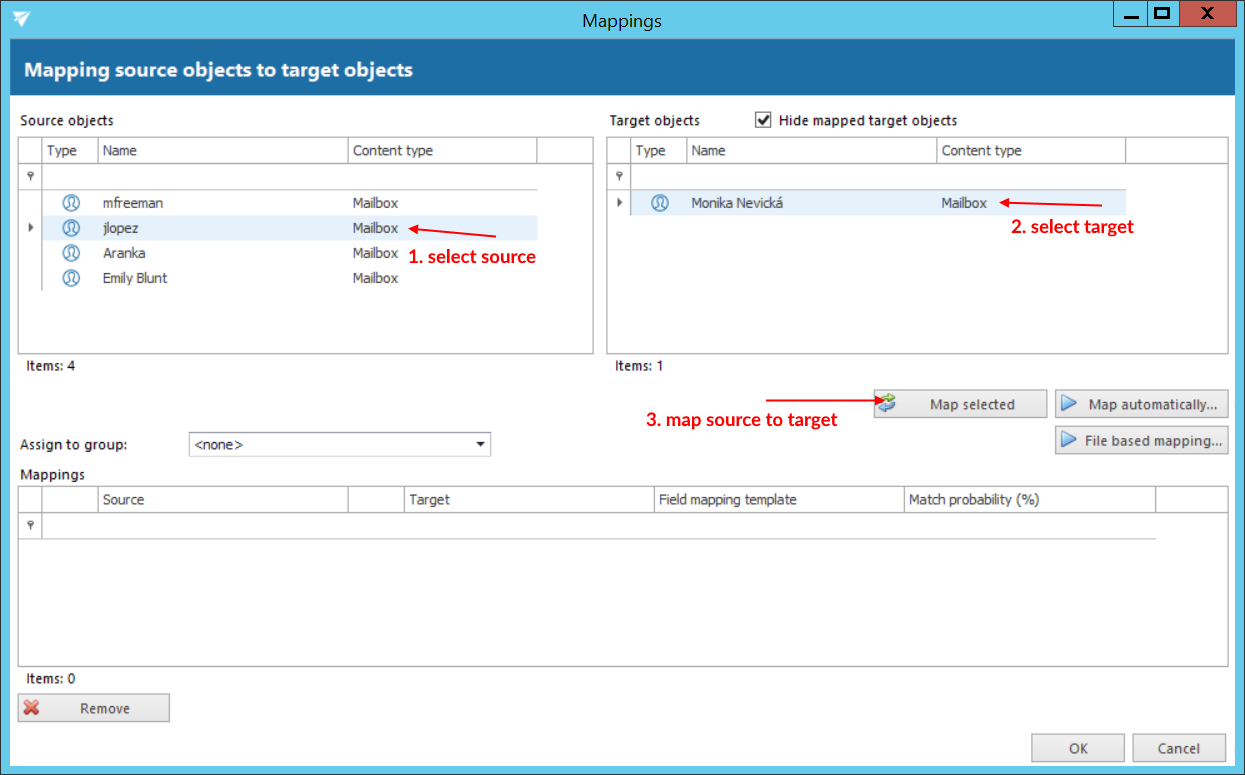
The “Mappings” dialog features the
- source object(s) TO BE MIGRATED on the source side, and
- target object(s) WHERE the source objects can be migrated on the target side.
- manually or
- automatically.
Mappings may be specified either
By manual selection select each source and target one-by-one, and map them together using the “Map selected” option.
Wish you use automatic mapping, 1) click on the “Map automatically” button and 2) select the mapping criteria.

There are 6 auto-mapping methods available:
Match name – maps the objects based on name
Match email address – maps the source to target based on the email address included in the object properties
Match identifiers – maps the source to target based on the IDs included in the object properties (e.g. object ID, entity ID etc.)
Use heuristics (name) and accept match if rate is more than the selected amount
Match email address with prefix – map email addresses with the same email prefix (part of email address that appears left of the “@“ symbol)
Match target name with login name – maps the objects if the target name matches the login name of the source.
Once the criteria are selected, click on the “Start mapping” button, and the objects will be paired automatically.
Added mappings are shifted to the lower part of the Mappings dialog.
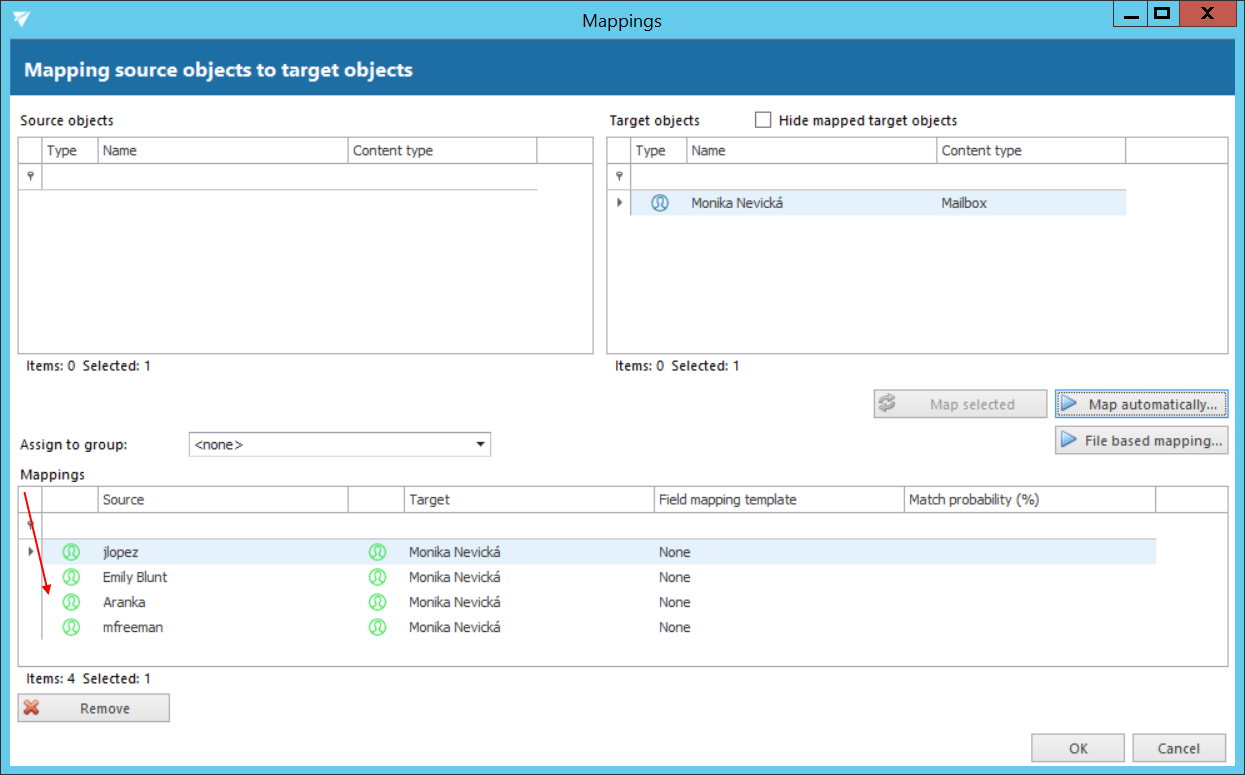
Click “OK” to add them to the grid.
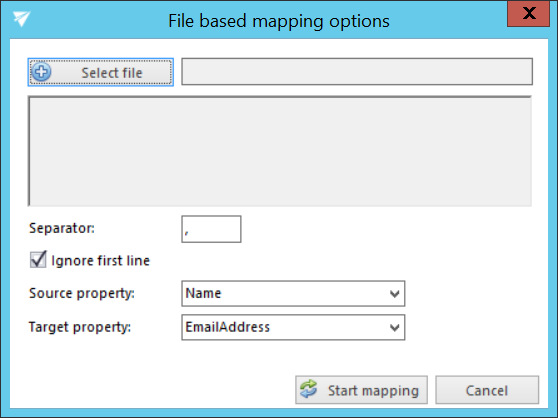
It is also possible to map objects based on a .CSV file. Click on File based mapping in the mappings dialog and select the desired file. Specify the separator of the properties. If you want to ignore the first line of text in your file (e.g. header), check the Ignore first line checkbox. Select the Source and Target properties from the dropdown lists respectively. Click on Start mapping and then Apply changes. The remaining steps are the same as when mapping manually and/or automatically.
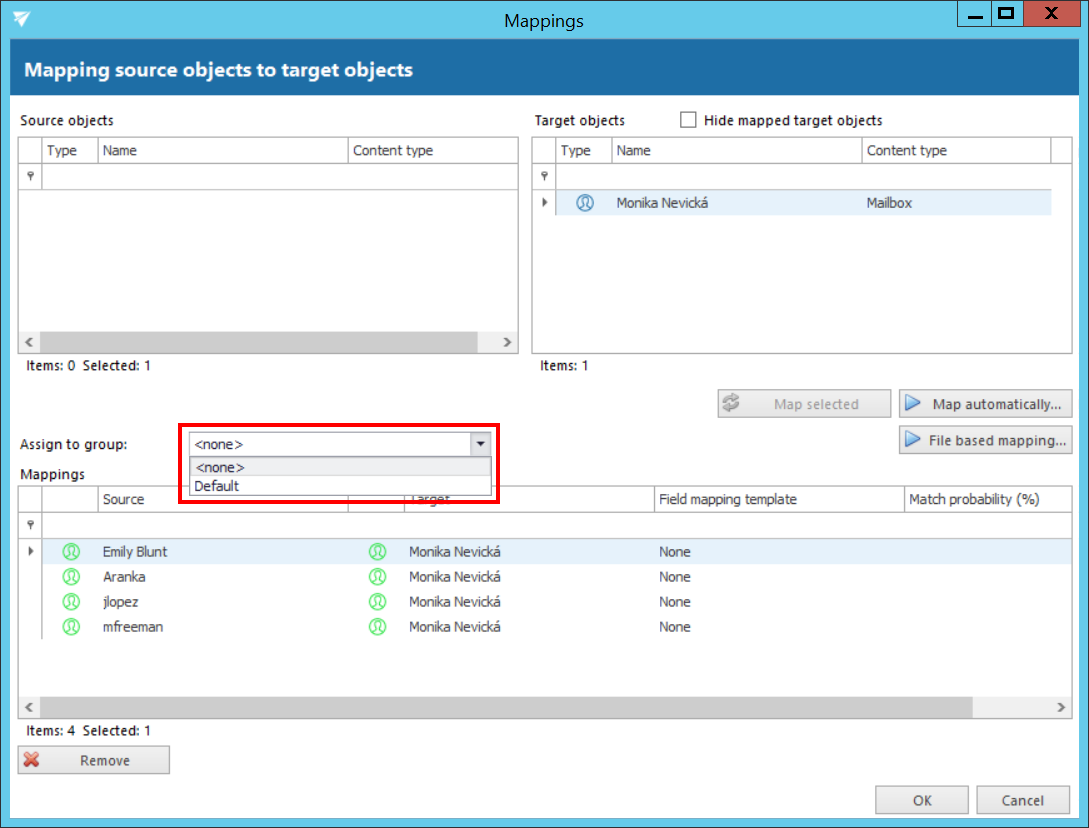
It is also possible to assign the mapping to a Group directly from the Mappings tab. Select the desired group from the Assign to group dropdown list.
