7.Tenant provisioning tool
By using the provisioning tool, the administrator can automatically deploy a new tenant with the selected modules and all necessary resources (storage, database) and configuration in contentACCESS.
Using the Tenant provisioning tool
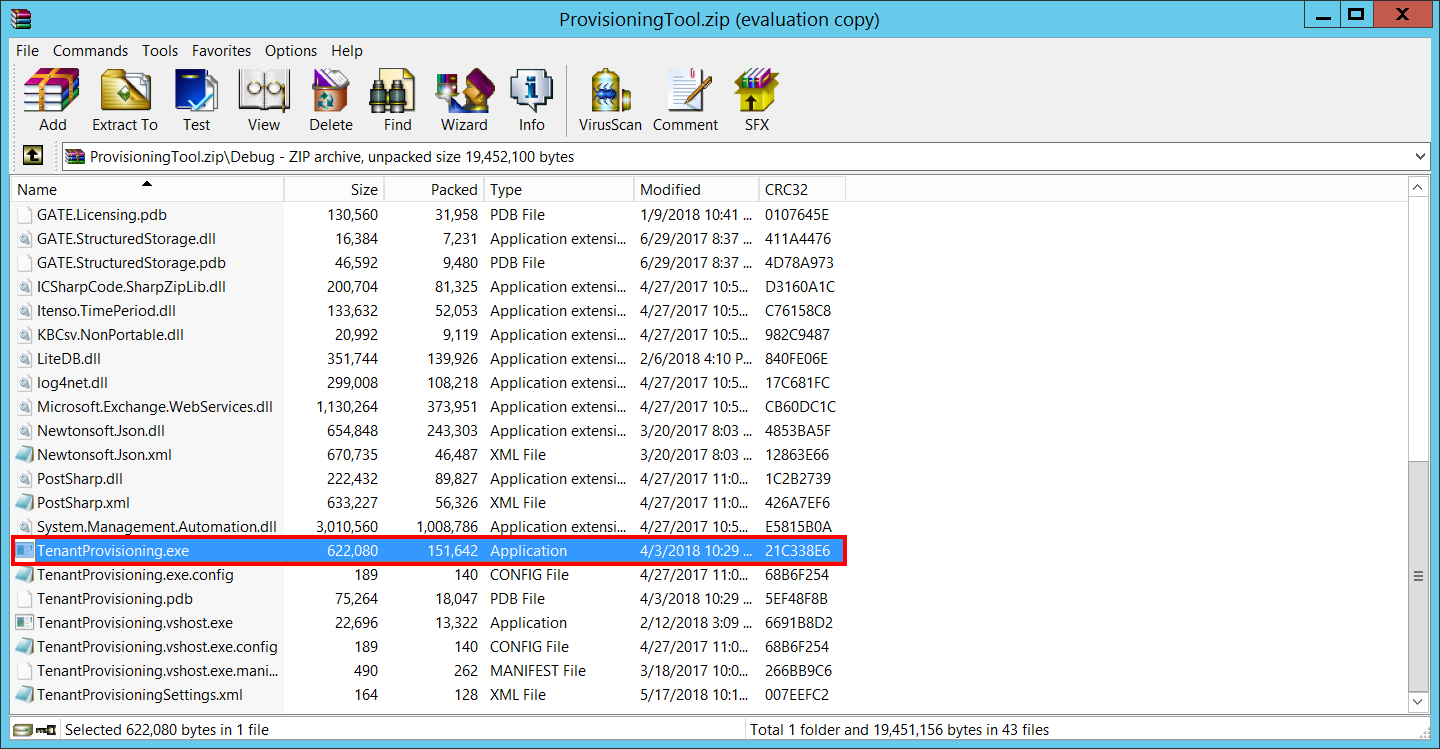
Start the provisioning tool by double-clicking on the TenantProvisioning shortcut on the desktop or by opening the ProvisioningTool.zip file and double-clicking on TenantProvisioning.exe:

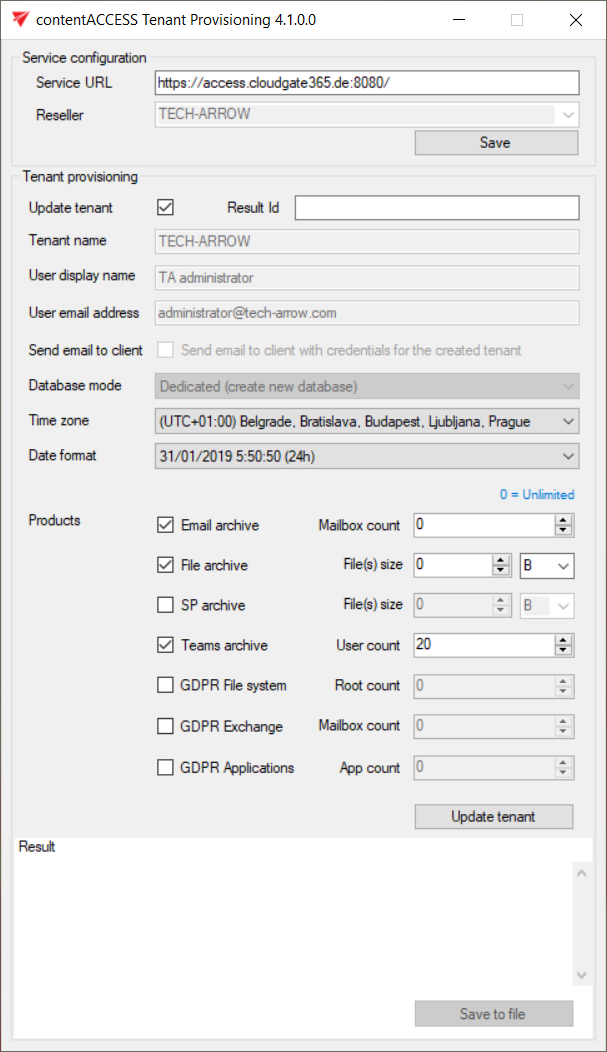
The tool opens. Here you have to configure the following:

- Service URL – URL where the provisioning backend service is installed. This URL will be provided by the contentACCESS host.
- Enter the name of the reseller into the Reseller field – this information is present on the invoices
- Update tenant – if this checkbox is checked, a new text field named Result Id will appear. Here, the tenant ID must be specified. This option is used to quickly update an already existing tenant. When this option is checked, the next 5 fields/options get disabled.
- Tenant name – name of the tenant that will be created
- User display name – displayed name of the tenant administrator
- User email address – email address of the tenant administrator
- Send email to client – if this checkbox is checked, an email with credentials for the created tenant will be sent to the email specified in User email address above
- Database mode – there are two options – Shared and Dedicated. If Dedicated is selected, a new database will be created for the tenant.
- Time zone – pick a time zone for the tenant. This is really important regarding schedules.
- Date format – pick a date format for the tenant
- Products – check the checkbox of the products/plugins you would like to configure for the tenant
- Email archive – set the maximum number of mailboxes to be archived
- File archive – set the maximum size of files to be archived
- SP archive – set the maximum size of files to be archived
- Teams archive – set the maximum number of users to be archived
- GDPR File system – set the maximum number of file system locations (roots) to be archived
- GDPR Exchange – set the maximum number of mailboxes to be archived
- GDPR Applications – set the maximum number of applications to be archived
Click on the Create tenant button.
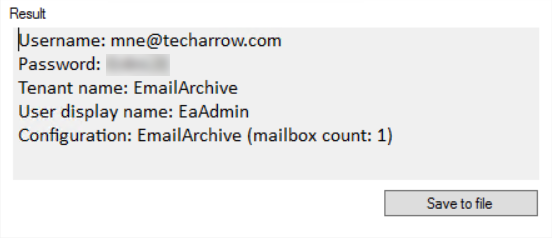
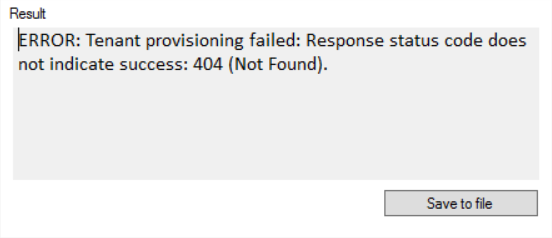
When the provisioning process is finished, the result will be shown inside the ‘Result’ box:
- In case of success, it will show the details and credentials for the newly created tenant
- In case of error, it will show the error message
- It is possible to save the content of the result box by clicking on the Save to file button – the content will be saved as a .txt file


If at least one checkbox was checked, the tenant provisioning tool will create/configure the following:
- Tenant
- Database on Azure
- Azure blob storage
- Tenant administrator
- Default shortcut
- Default retention
- The most used schedules
All other settings (like EWS for example) must be configured manually.
